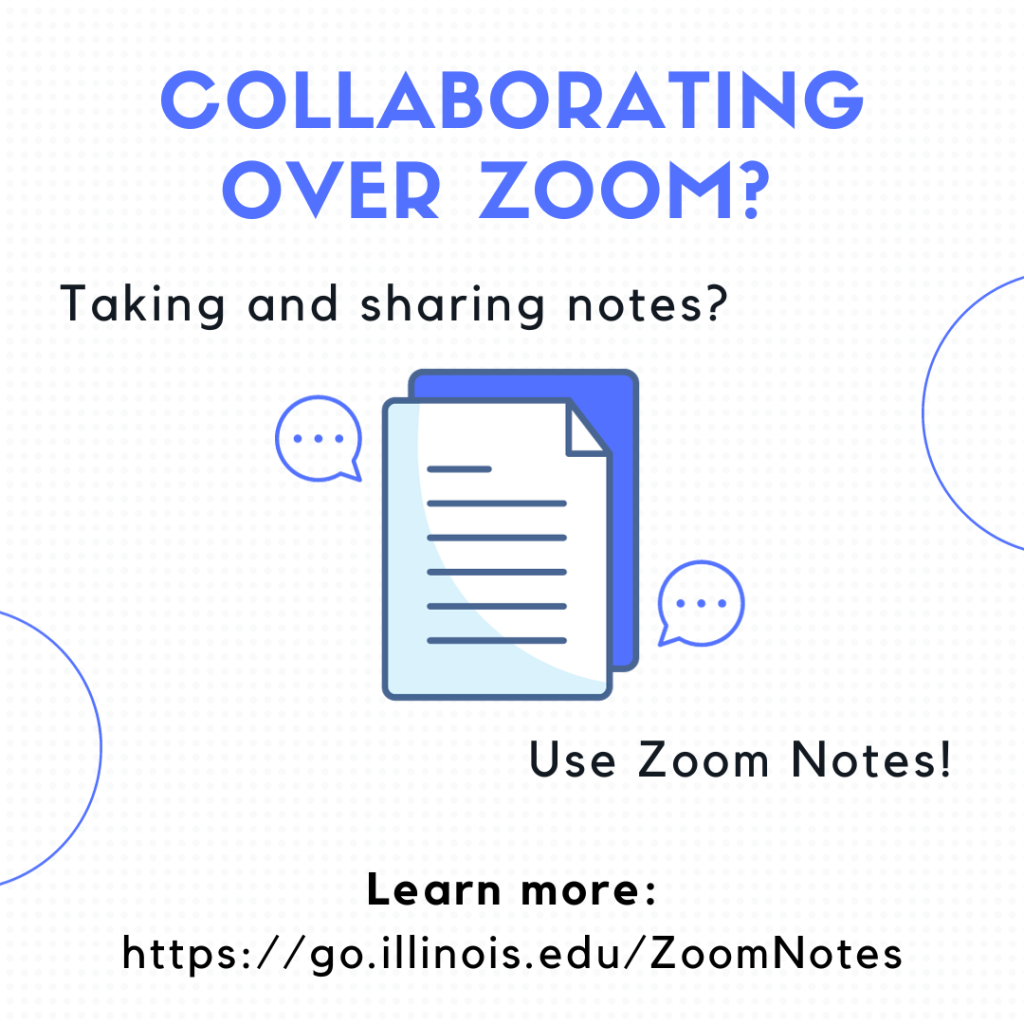
When you’re meeting over Zoom, there’s a variety of reasons you may need to use and share notes: collaborating with other students during an online class, working on a shared document for a group activity, taking notes and creating agendas during online meetings, and more. Now, Zoom has released a brand new feature allowing you to take notes before, during, and after meetings, as well as share and collaborate on them with other participants.
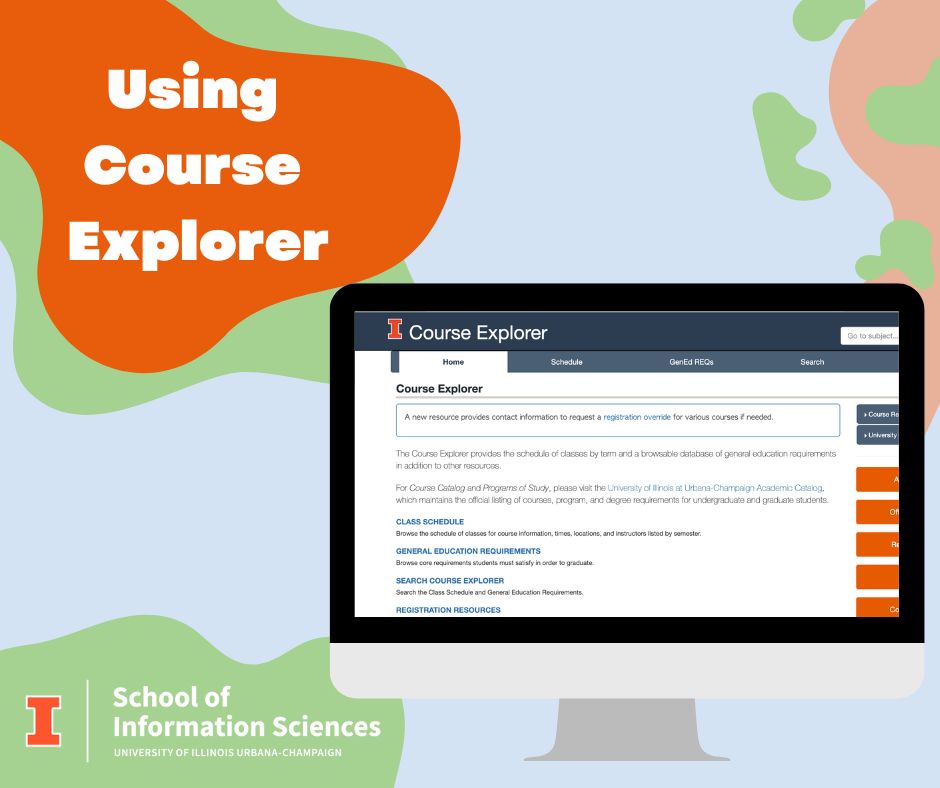
Thinking about classes for next semester but not sure where to turn? With Class Schedules now available, it’s time to get reacquainted with how to search for classes in past, present, and future semesters in the Course Explorer! Learn all about how to use Course Explorer in the iSchool Knowledge Base.
iSchool Syllabi
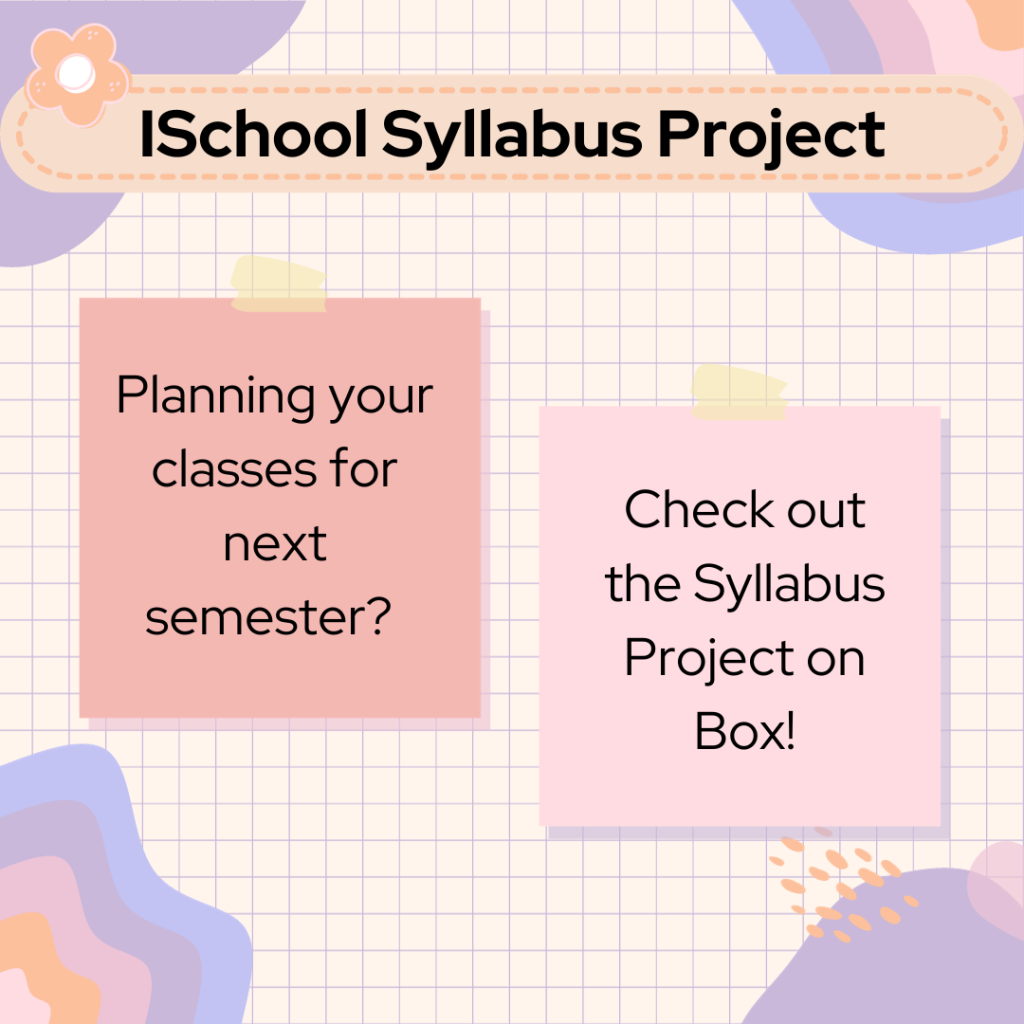
We also have old iSchool class syllabi available for you to browse as you plan. You can access them through the Syllabus Project. Folders are organized by semester. Individual files are labeled with the subject, course number, section, semester, course name, and instructor.
Because there are so many syllabi in each folder, be sure to scroll down and give the page some time to load the files.
Class registration is coming up! Are you still deciding what iSchool classes to take next semester? It can be difficult to choose, especially when there are so many classes that sound interesting. To aid in your registration decision-making, the iSchool has compiled a Box folder of syllabi from previous semesters which can be accessed by all iSchool students.
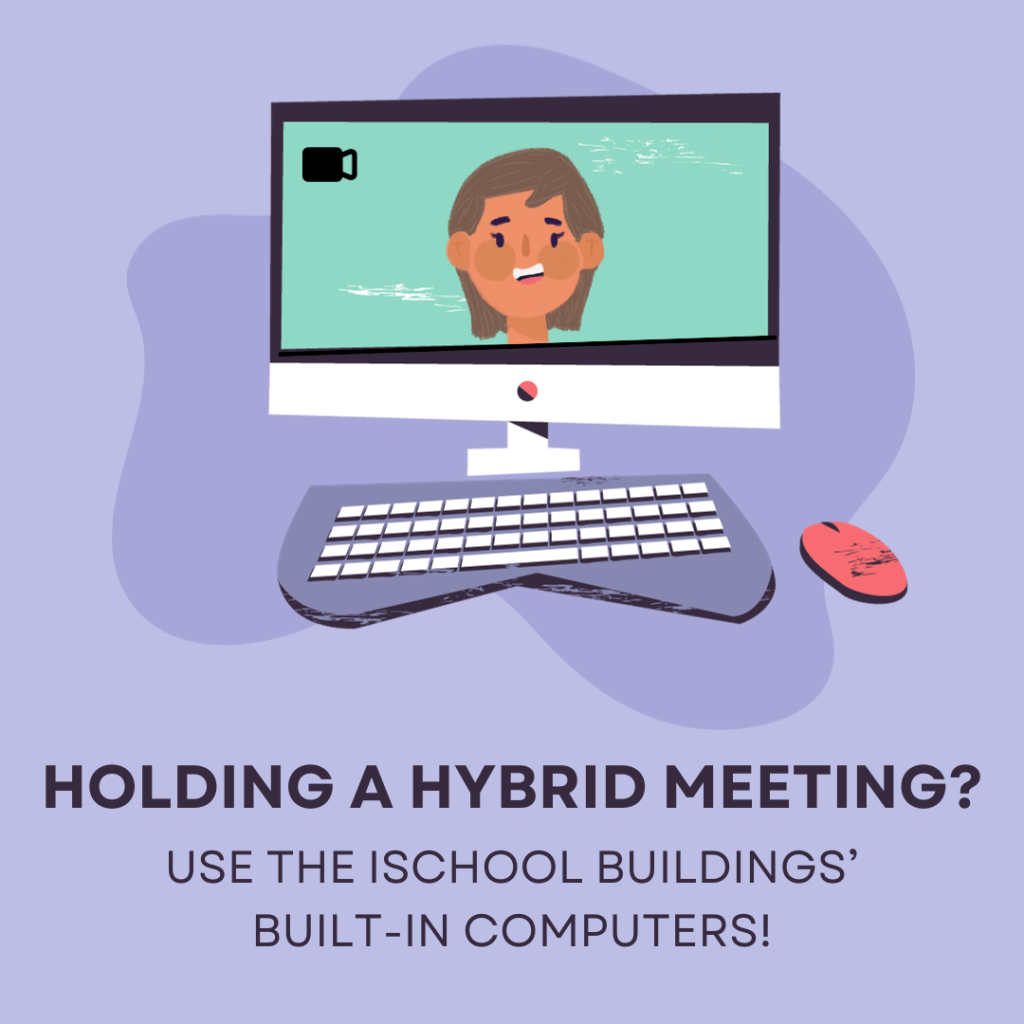
Whether you’re teaching a class or reserving a conference room for a meeting, if you’re holding a hybrid event you want it to go smoothly. Hybrid meetings are meetings with both in-person attendees as well as attendees joining over Zoom. If attendees are joining over Zoom and you would like them to speak or hear in-person attendees, you should use the room’s built-in computers.
Built-ins are computers included in iSchool conference rooms and classrooms. Some built-ins look like physical computers that can connect to projectors. Others might not be visible, but are accessible by using control panels in the room. Both kinds of built-in are designed to connect to the cameras and microphones in conference rooms and classrooms, while laptops are not. So while using your laptop to join a meeting might seem like the easier option, it can lead to audio and visual issues in the middle of a hybrid meeting.
To learn more about how to use the built-ins for specific rooms, take a look at the linked KnowledgeBase article. You can also contact the Help Desk with any questions or concerns by emailing ischool-support@illinois.edu or calling us at 217-244-4903. We can help you troubleshoot any issues using the built-ins, and can also help you set up hybrid events. Fill out the iSchool Tech Support Request Form to have Help Desk staff stop by before your event to help set up tech.
We’re back with another installment on printing! Luna might be out of order, but you can still print from the kiosk across from the Help Desk at 614 E. Daniels Street, 4th floor.
When printing at the kiosk, change the printer location to Mimas. Mimas is located down the hall in the Multipurpose Room – ask one of us at the Help Desk if you ‘re having trouble locating it.
You can also print to Mimas from Papercut, as well as to the other printers on the 4th and 5th floors and at 501 E. Daniel. To learn more about the public printers and where they live, check out this Knowledge Base page.
Last but not least, you also have the option to connect your computer to the printers to be able to print directly from your computer when you are in the building. Instructions for how to install the printers on Mac are here and PC are here! Always feel free to drop by the Help Desk if you need assistance with installing printers or have any other questions.
For more tips and guidance on printing, including troubleshooting, copying, and printing with staples, visit our page on iSchool Connect or check out the iSchool Knowledge Base.
The Help Desk has brand new equipment available to check out! From laptops and keyboards to chargers and ring lights, we have a ton of different equipment and resources available to iSchool students and staff. Stop by the Help Desk or contact us at ischool-support@illinois.edu for more information.
Have you ever needed to print something and not known where to do it? Never fear! The iSchool has some printers that you can use!
Locations
We recommend using the public printers in both iSchool buildings. To learn more about the public printers and where they live, check out this Knowledge Base page.
Old iSchool Building (501 E. Daniel St.)
Optimus: in front of the Help Desk on the 2nd floor
Chip: next to the stairwell outside Room 12A on the 1st floor
New iSchool Building (614 E. Daniel St.)
Luna: in front of the Help Desk on the 4th floor (head left when you get out of the elevator to get to the Help Desk, then Luna is around the corner on your right)
Printing Cost and Quota
iSchool Masters and CAS students have $21 in printing credit per semester, and this quota may only be used on the iSchool printers. You must be currently enrolled in an iSchool course to use this budget. School faculty, staff, and PhD students are not charged for printing, although it is tracked. Both black and white and color printing cost $0.10/page. Color printing is available on Optimus (located on the 2nd floor near the Help Desk in the 501 E. Daniel St. iSchool building) as well as Luna (located on the 4th floor near the Help Desk of the 614 E. Daniel St. iSchool building).
Please note, unused printing quotas do not carry over from semester to semester. Check your printing balance on the Illinois Papercut page. Additional printing quota can be purchased on the IlliniCash website.
Undergraduate iSchool students (BSIS or BSIS+DS as their primary major) have access to printers across campus, including the ones in the iSchool. There is a printing quota of $10 per semester for fall and spring that is available for use with iSchool printers. Black and white printing and color printing cost $0.10/page until you use up your $10 quota. After you use up that $10, printing costs $0.40/page.
Please note, unused printing quotas do not carry over from semester to semester. Check your printing balance on the Illinois Papercut page. Additional printing quota can be purchased on the IlliniCash website.
Printer Installation for Your Computer
Though we do have self-service kiosks where you can log in and print from (Chip and Optimus in 501 E. Daniel St. and Luna in 614 E. Daniel St.), you also have the option to connect your computer to the printers to be able to print directly from your computer when you are in the building. Instructions for how to install the printers on Mac are here and PC are here! Always feel free to drop by the Help Desk if you need assistance with installing printers or have any other questions!
For more tips and guidance on printing, including troubleshooting, copying, and printing with staples, visit our page on iSchool Connect or check out the iSchool Knowledge Base.
The Illinois Wiki will be partially shut down as of June 2023. Old pages will still be viewable, but users will no longer be able to create new content on the Wiki.
Check out the notice from the Wiki front page,
Welcome to the Wiki! For full access to the Illinois Wiki, campus users should authenticate by clicking the Log In link in the upper right. From there, feel free to jump in and start browsing pages, or visit our help space for detailed instructions.
As previously announced, the Illinois Wiki service will be retired by June 30, 2024. The retirement is happening in 3 phases and the first deadline is approaching next month:
No new sites can be created on the Illinois Wiki after June 30, 2023.
The following dates provide a high-level timeline of retirement plans: June 30, 2023 – No new sites can be created January 1, 2024 – Illinois Wiki set to read-only June 30, 2024 – Full Illinois Wiki retirement