Embedding a picture in a Canvas discussion post can be completed in three simple steps. First, make sure the image you want to embed is saved as a jpeg file on your computer. Second, within the discussion post reply, click the image button to add your picture file. Finally, after you add the accompanying text within your post, click the reply button. You can find additional information on using image files in a discussion post in the Canvas Student FAQs.
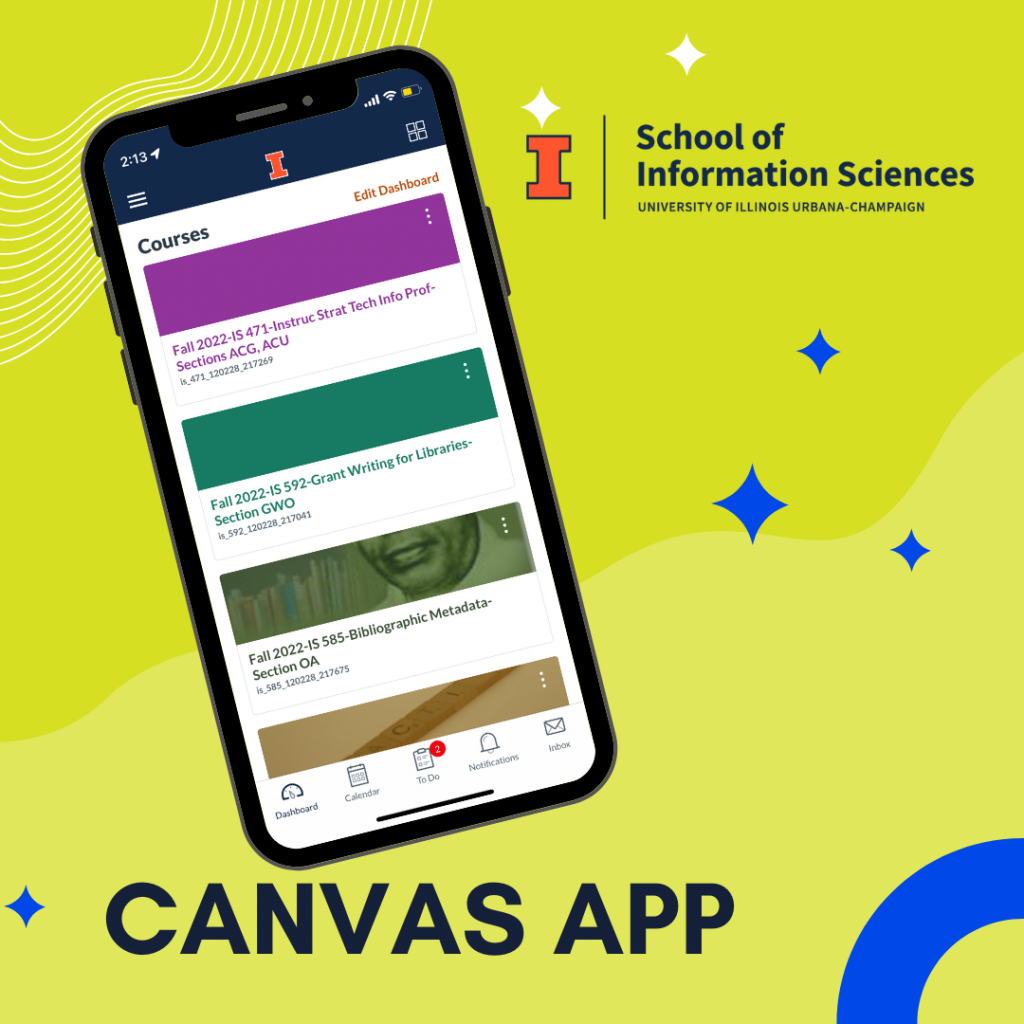
Whether you are an instructor or a student, there may be times that you need to check Canvas away from your computer. You could use a browser on your phone but you know that many functions are not mobile compatible and those that are can still be difficult to navigate. Fortunately, you can download the Canvas Student App or Canvas Teacher App instead. From participating in discussions to seeing or posting grades, the Canvas mobile apps allow users to access their courses easily while on the go.
Before the semester begins, it might useful to know more about your options for using Canvas. While the desktop version of Canvas is ideal for getting work done, the App “Canvas Student” allows you to log-in on the move and check in on announcements and notifications more conveniently.
If you need to, you may also enter your Zoom room from your Canvas Student app, presuming you also already have your Zoom app set up on your phone. (The Zoom app is simple enough to set up; download the app, login w/ SSO using “illinois”and DUO 2FA, and get going with your meetings. The settings for Zoom mobile are definitely worth setting up before trying to attend a meeting.)
You can also mess around with the settings in the Canvas Student app, though they are not as in-depth the desktop settings for Canvas. The app’s settings are more directed towards notifications and display, missing much of the organizational and workflow oriented settings.
For further information regarding Canvas’ Student App, check out these links to the official FAQ,
As the iSchool fully transitions to Canvas, you may be feeling overwhelmed with all there is to know about using the new learning management system. Fortunately for you, the Help Desk has compiled a list of the most frequently asked questions for instructors and students. Whether you’re an instructor with questions about creating assignments or a student trying to figure out how to upload an assignment, the Canvas FAQ lists can help answer all of your Canvas questions!
The end of the semester has arrived! But there is still one task left to complete before you start summer break. To ensure you have access to past course materials, make sure to download course content and submissions from Canvas. Otherwise, Canvas courses will be archived and you will lose access to past content and submissions. If you have questions about this process, contact the Help Desk.
Did you know you can extend a due date for an assignment for a particular student within your Canvas course? To extend an assignment due date for a student, follow these instructions:
Go to the assignment you would like to extend for the student.
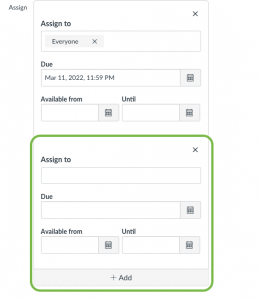
Click Edit. Scroll to the bottom of the page until you see the Assign section.
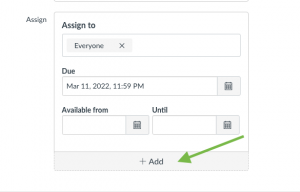
Click +Add.
In the new area that appears, type in the student’s name you wish to extend the assignment for in the Assign to box. Put in the desired due date. Enter when the assignment will be available if you wish to limit their availability to access the assignment.
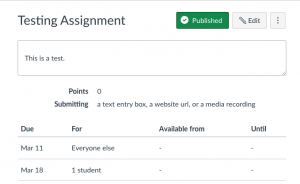
Click Save at the bottom of the page. Now when you look at the assignment, it should show the separate due dates for the class and the particular student.
Did you know you can bulk download student submissions for assignments? As an instructor, Canvas allows you download all student submissions for an assignment as a single ZIP file.
You can use bulk downloads for multiple submission types, including file uploads, text entries, website URLs, and Google Docs submissions.
Canvas isn’t always the easiest to navigate, and there may be times where you would like to address certain bugs in Canvas’s interface. The Help Desk can find workarounds where possible, and we are always happy to help answer Canvas questions you may have! While the Help Desk cannot change certain aspects of Canvas, you can still improve Canvas by providing feedback directly to Instructure and adding to already existing conversations within Instructure. Directions and details on how to provide feedback for Canvas via Instructure can be found here.
As always, the Help Desk is here for you, and Canvas related questions are always welcome!
This week’s Tech Tip is for students. Ever see an icon in your grades, and you’re not sure what it means? Our Canvas Gradebook Icons MediaSpace video will discuss icons that indicate when an assignment is graded or ungraded or when there are extra details about your grade.