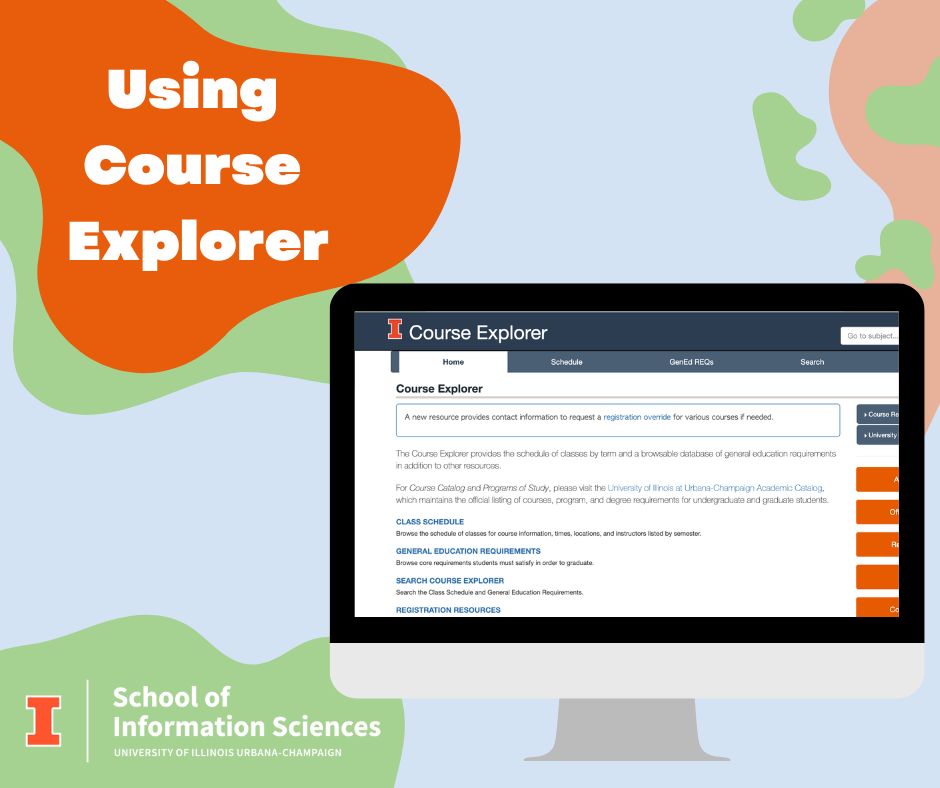
Thinking about classes for next semester but not sure where to turn? With Class Schedules being made available soon, it’s time to get reacquainted with how to search for classes in past, present, and future semesters in the Course Explorer! Learn all about how to use Course Explorer on the iSchool Wiki.
Are you interested in social media outreach? Then you might want to make sure your content is accessible to as many people as possible. We’re going to discuss a few ways you can do this.
WCAG: The Web Content Accessibility Guidelines can be found here, WCAG 2 Overview. This is the current standard we at the Help Desk use when writing up our own social media content and it’s one we recommend.
Social Media Accessibility: How do I make my social media content more accessible
Hyperlinks
If you want to link to something on Facebook, you have to past the full link, at which point a clickable image link will appear. Make sure there are no other forms of media on the post (i.e., graphics, polls, etc.), delete the actual link you pasted in, and make sure that the clickable image link at the bottom is still there (it should be). Now you’re ready to post. Unfortunately, Facebook does not support simplified hyperlinks (trust us, we’ve tried).
Twitter behaves similarly, but instead of deleting the initial link, you just leave the link there in its entirety and Twitter will automatically remove it upon posting while maintaining the blip. And just like Facebook, be sure to clear out any other non-text media attached to the post to ensure the clickable image link remains. Also, if your link is not accessible to viewers, a clickable image link will not appear. Is this the least obvious way to do it? Yes.
Alt Text and Captions
If you can, you’ll want to add alt text or captions to graphics. This can be difficult depending on the format of your social media platform.
For example, Facebook/Meta only allows for alt text and captions when using the Meta Business Planner. Instagram only allows for alt text and captions if you own a professional account.
Twitter posts are easy enough to add alt text to to a graphic just by selecting the “edit” option on a post’s image and then selecting “alt” above said image and entering the text you think best summarizes the image.
TL;DR
Check out the WCAG guidelines linked above for some handy tips and tricks to making your content more accessible. It can be difficult navigating the UI of some social media accounts, so be sure to poke around and do some research.
Inspired by a real call to the Help Desk! This week’s Tech Tip will show you how to change the settings on your Windows computer to open certain file types in set apps by default. For example, if you want to open a PDF in Adobe, but your computer is set you default open PDFs in Adobe, it may instead have been defaulted to open in web browser
Navigate to “Settings” which can always be found in the Windows Logo Start menu on the bottom left corner.
From the list of Settings pages, select “Apps” and on the Apps settings page, select “Default apps.” From here, you can change the default of the more frequently used apps, such as email application, web browsers, and media players.
On the bottom of the page, there is the “Choose default apps by file type.” On the following page, there should be a much longer version of the previous page, but organized by file type rather than web browser, email, media player, etc. Scroll to the file type you would like to open in a particular app, and change the default by selecting one of the apps on your device that appear among the options.
If you do not see the app you want to use, you may need to download that app first. (I.e., if you don’t have Adobe Acrobat, you can’t select Adobe Acrobat until the app is installed.)
You may also go back a page, and below “Choose default apps by file type” you can choose similar menus to sort through, such as “Set default by app”.
Before the semester begins, it might useful to know more about your options for using Canvas. While the desktop version of Canvas is ideal for getting work done, the App “Canvas Student” allows you to log-in on the move and check in on announcements and notifications more conveniently.
If you need to, you may also enter your Zoom room from your Canvas Student app, presuming you also already have your Zoom app set up on your phone. (The Zoom app is simple enough to set up; download the app, login w/ SSO using “illinois”and DUO 2FA, and get going with your meetings. The settings for Zoom mobile are definitely worth setting up before trying to attend a meeting.)
You can also mess around with the settings in the Canvas Student app, though they are not as in-depth the desktop settings for Canvas. The app’s settings are more directed towards notifications and display, missing much of the organizational and workflow oriented settings.
For further information regarding Canvas’ Student App, check out these links to the official FAQ,