As the iSchool fully transitions to Canvas, you may be feeling overwhelmed with all there is to know about using the new learning management system. Fortunately for you, the Help Desk has compiled a list of the most frequently asked questions for instructors and students. Whether you’re an instructor with questions about creating assignments or a student trying to figure out how to upload an assignment, the Canvas FAQ lists can help answer all of your Canvas questions!
Tag: Learning Management System
Tech Tip of the Week: Adding a Profile Picture to Canvas
In order to add a profile picture to your Canvas account you would follow these steps.
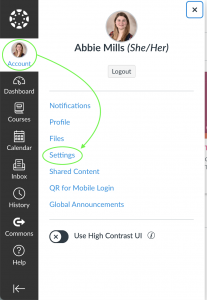
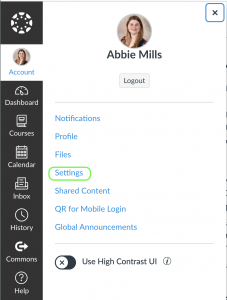
After logging into Canvas, you will see a sidebar on the left side of the screen. When you click Account it will expand the smaller menu seen below, choose Settings.
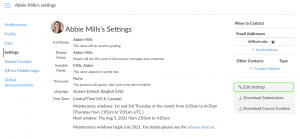
The Settings will look like this: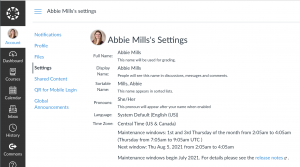
Click on the circle at the top next to your name where your photo will go.
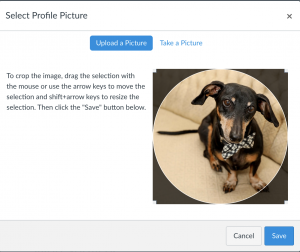
Clicking this circle will extend this menu of options where you can choose to either Upload a Picture from your computer or you can Take a Picture with your webcam.
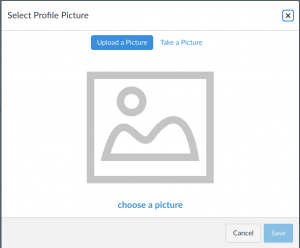
When you’ve loaded a photo into Canvas you will be able to adjust how your photo looks in the profile picture circle. Once you’ve adjusted it to your liking, remember to hit Save.
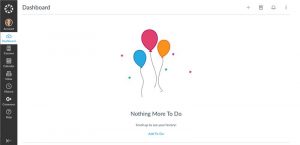
Once you’ve saved and refreshed your window, your new profile picture will appear.
Tech Tip of the Week: Adding Your Pronouns to Canvas
When you log into your Canvas account you are able to add your pronouns in your settings.
Begin by clicking Account in the sidebar on the left.
![]()
It will extend this menu where you will select Settings.
When your settings are opened, on the right you will have the option to Edit Settings.
 Once you’ve opened your settings to edits, you will have a drop down menu with options for Pronouns.
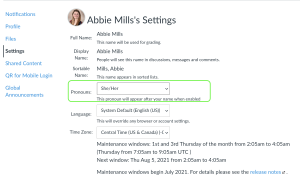 Once you’ve selected your pronouns, remember at the bottom to save any changes you’ve made to your profile by clicking Update Settings.
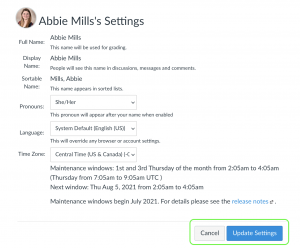
Once you’ve saved the changes you’ve made to your profile, your selected pronouns will appear by your name. 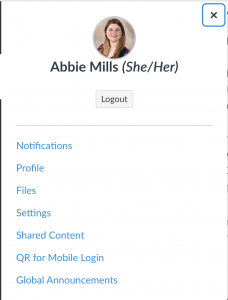
Tech Tip of the Week: Logging into Canvas
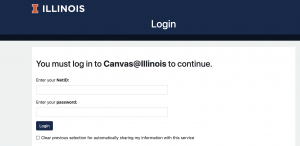
As mentioned last week, only instructors who have opted in to be early adopters of Canvas will have their course(s) on Canvas in the fall.