Zoom just updated, and the new update included a new feature: Zoom Timer! You can now set up a timer or stopwatch and use it during a Zoom meeting. Learn more about how to turn on and use the new timer feature in the linked Knowledge Base article.
Zoom just updated, and the new update included a new feature: Zoom Timer! You can now set up a timer or stopwatch and use it during a Zoom meeting. Learn more about how to turn on and use the new timer feature in the linked Knowledge Base article.
Bad news iSchoolers: our printers are, once again, on the fritz. Printing from your personal devices will be unreliable for the next few weeks. The Help Desk is here to provide some key tips to help printing go as smoothly as possible.
Over the next few weeks, we recommend either printing using Papercut or by using the computer kiosks near several printers around the iSchool.
Papercut is the printing portal used across the university. You can log into Papercut using your netID and password, then select a document to print through Papercut. It is important to note that Papercut automatically prints documents in black and white and double-sided, and you cannot change these settings in Papercut. If you need to print a document in another format, we recommend using one of the printer kiosks in the iSchool.
There are several computer kiosks available around the iSchool:
You can also access a list of all iSchool printers and their locations in our KnowledgeBase.
To access the printer kiosks, log in with your netID and password. You should upload the document you want to print to your email or to a hard drive so it is easily accessible. Once you are logged in, you should be able to access the document and print it using whatever software you prefer. Using the kiosk does allow you to print in color and single-sided.
If you are still experiencing issues printing, never fear! The Help Desk is here to handle your printing issues. You can contact us at:
Course registration has started! As you register, you may experience issues using the system or get frustrated by navigation issues. The Help Desk is here to help you resolve these issues and set you up for success in the coming semesters.
Here are several quick tips if you experience issues registering for courses:
The registrar also has resources to help guide you through the registration process. It’s a great resource for a variety of questions about the registration process, changing the amount of credits you register for, and more!
Have you ever needed to share a link to an important website or document, but the link was way too long? Or have you needed to create a QR Code, but the sites you tried online tried to get you to pay to make one? Fortunately, UIUC has access to Webtools. Webtools has a number of different features, including “Short URLs” to create better named URLs and QR codes for websites. The Help Desk has a Knowledge Base article explaining how Webtool’s “Short URLs” feature works. It’s a great tool for sharing presentations and websites in a variety of different ways.
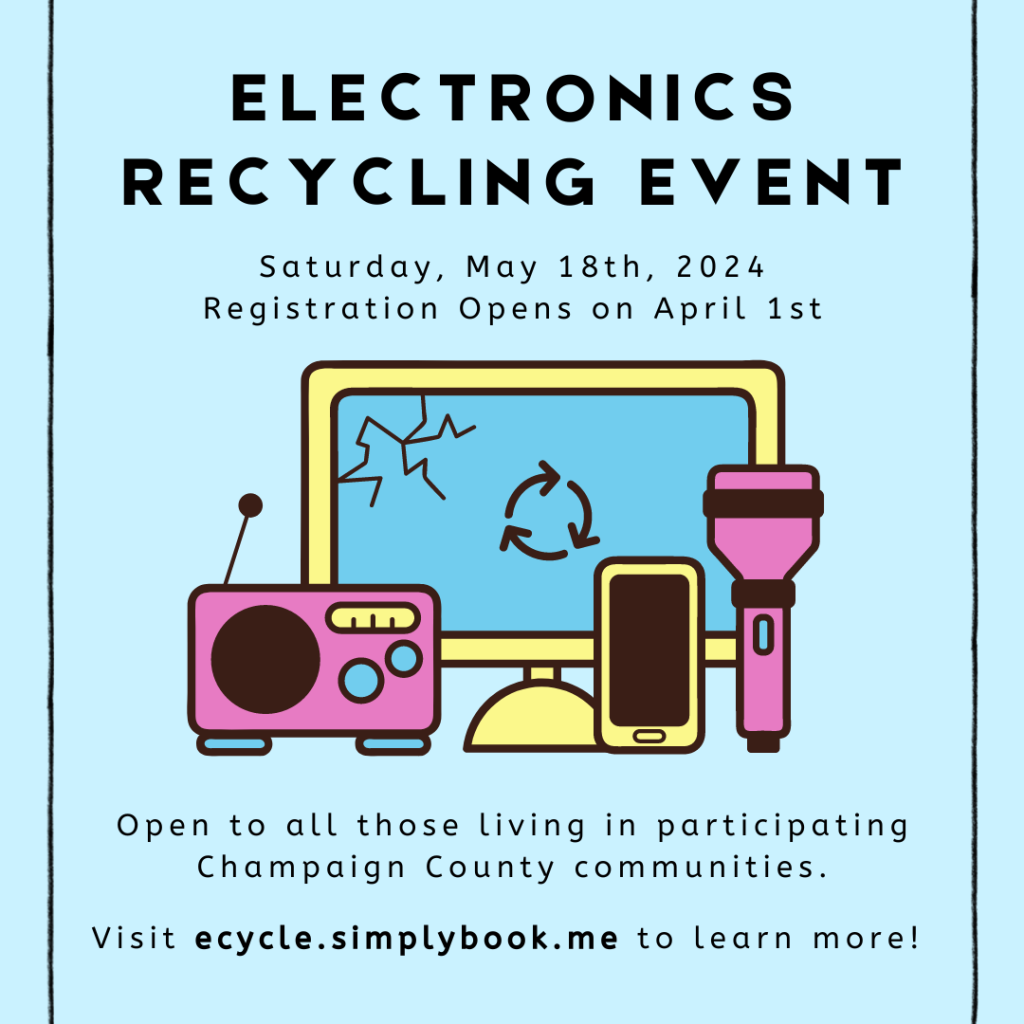
Do you have old electronics you need to get rid of? Good news! Champaign County is holding an electronics recycling event on May 18th, 2024. Registration for the event opens in just a few days on Monday, April 1st. They will accept a wide variety of electronics, including televisions, computers and laptops, phones and phone accessories, and more. More information about the event, its location, and what items they will accept is available on the booking page for the e-recycling event.
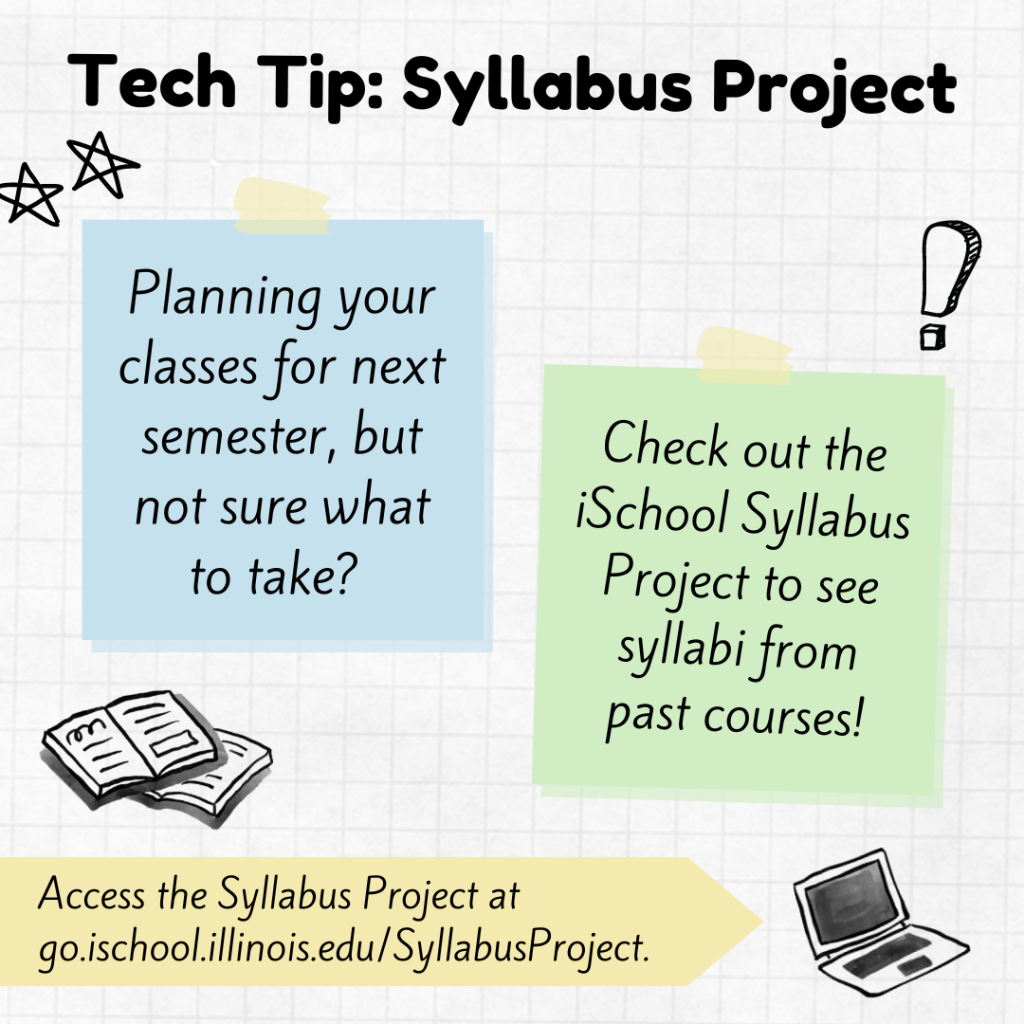
Class registration is coming up! Are you still deciding what iSchool classes to take next semester? It can be difficult to choose, especially when there are so many classes that sound interesting. To aid in your registration decision-making, the iSchool has compiled a Box folder of syllabi from previous semesters which can be accessed by all iSchool students.

Attention all iSchoolers! Tomorrow is National Oreo Day, and in celebration the Help Desk is giving out FREE OREOS in a variety of flavors – from your typical Oreo filling to Java Chip, Toffee Crunch, and Space Dunks (which apparently has pop rocks in it?). We will also have a variety of Gluten-Free Oreo options available. To get Oreos, all you need to do is:
Didn’t know your laptop had cookies? Not sure why you should clear them? Let’s go over what they are!
Laptop “cookies” are actually small files of information a website will send to your browser. Your browser will save this information to make repeat trips to the same website easier — for example, this is how your web browser remembers you are logged into a website. While cookies are very useful, over time they can build up and cause applications to run slower, experience errors and glitches, and more. Clearing your browser’s cookies–or its “cache”–periodically can help your laptop run better, glitch less, and in general make your browsing experience a little less stressful. You can also check out this Knowledge Base article about how to clear your browser’s cookies to learn more.
That’s all for today! Stop by the Help Desk tomorrow, May 6 anytime between 8am-6pm to clear your cookies and get OREOS in return.
When it comes to tech questions and related issues, the iSchool Knowledge Base is a great resource to check out. The iSchool Knowledge Base includes a variety of articles about various technology services and common issues. These include:
While the iSchool Knowledge Base doesn’t include everything, the Help Desk is constantly adding and updating new entries to keep you informed about the technology situation at the iSchool. If there’s something you believe needs an entry that isn’t currently covered in the Knowledge Base, you can let the Help Desk know by contacting us at ischool-support@illinois.edu.
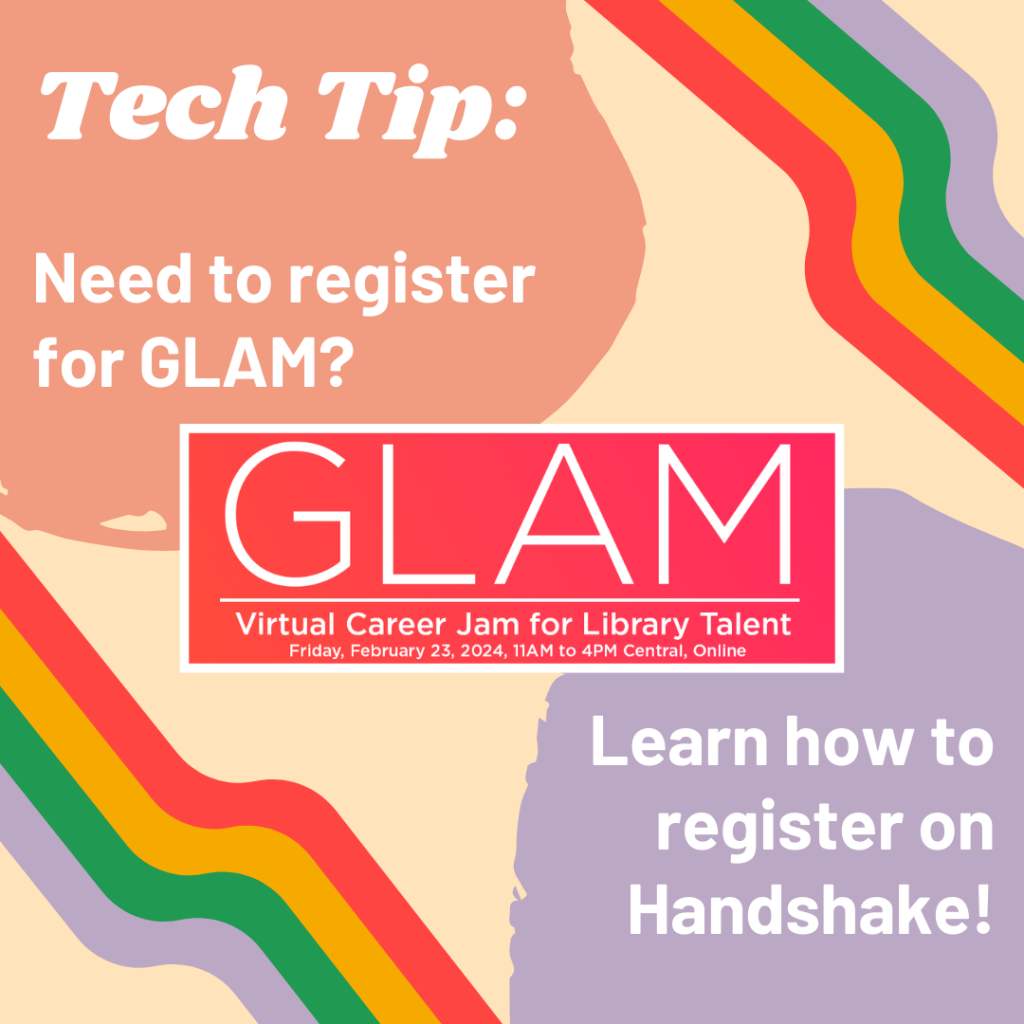
GLAM is on Friday, February 23 from 11am-4pm Central! As you get ready to attend, you should make sure you’re registered on Handshake. Handshake’s website can be a bit confusing to navigate, so let’s walk through how to register for GLAM – along with how to register for other events hosted via Handshake.
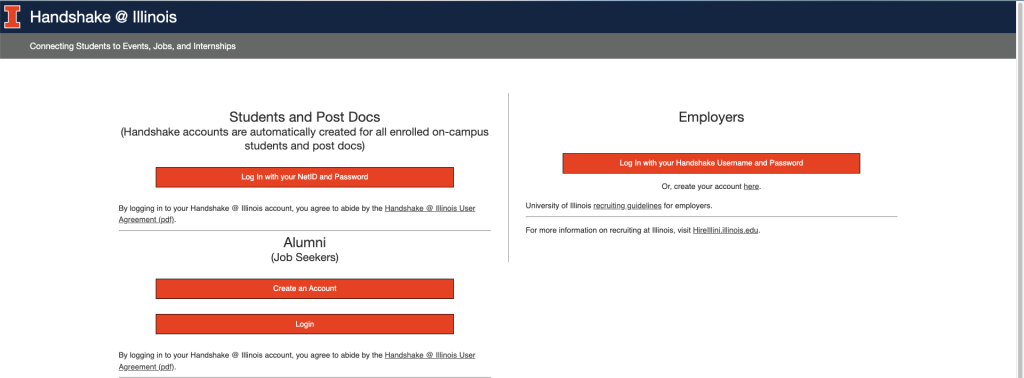
First, go to handshake.illinois.edu to log in to Handshake through the Illinois portal. Make sure to select the correct portal link for either “Students and Post Docs” or “Alumni”.
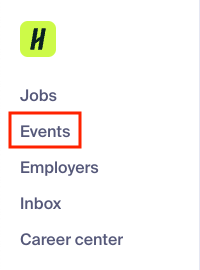
Once you have logged into Handshake, go to the column on the left-hand side of the page and select “Events”.
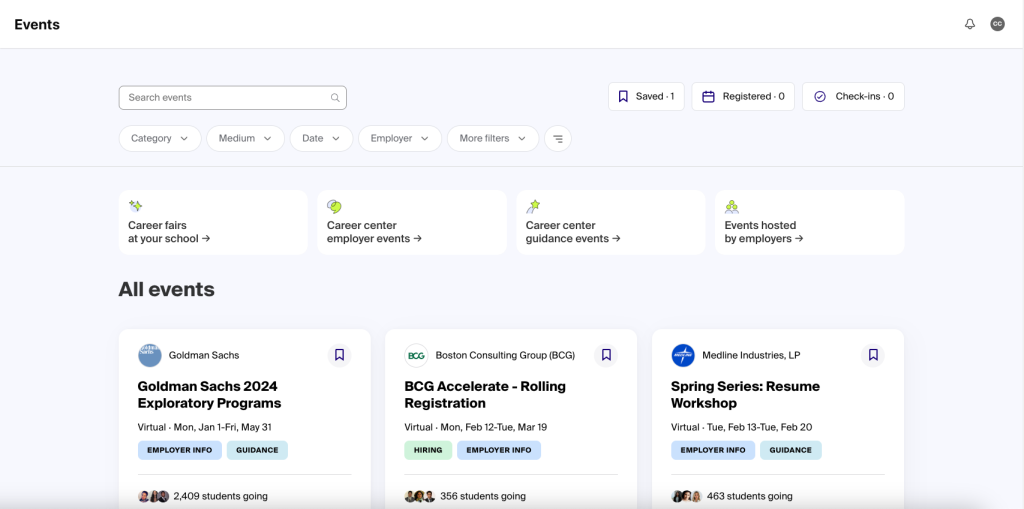
You should now be able to see a list of all career-related events you can attend through the university. This is great if you want to keep an eye on career events in general, but since we want to register for GLAM, we should search for “GLAM” in the search bar at the top of the page.
After you search for “GLAM” in the search bar, it should be the second event that pops up. Be careful and make sure you are registering for the correct date! GLAM-related events are happening right up until that Friday, February 23, so make sure you are signing up for GLAM and not one of the related events.
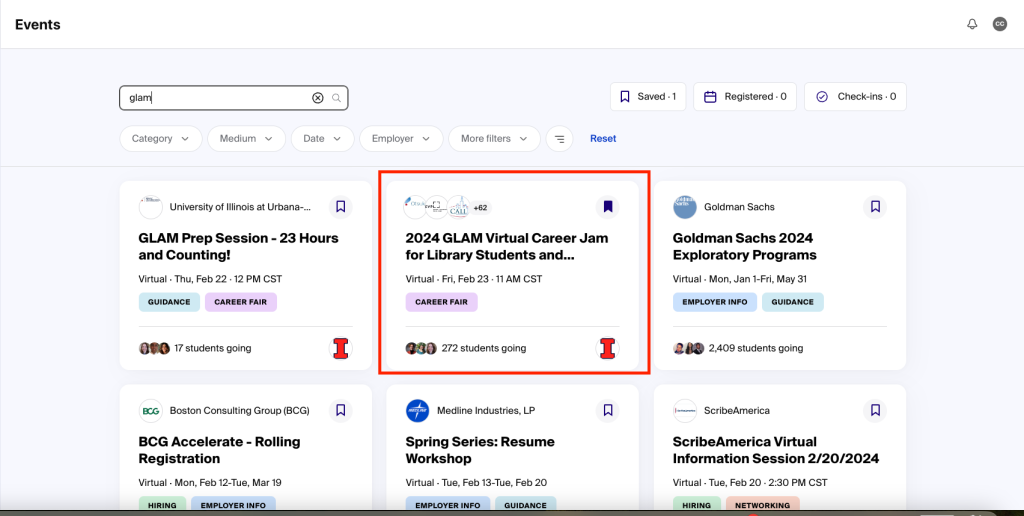
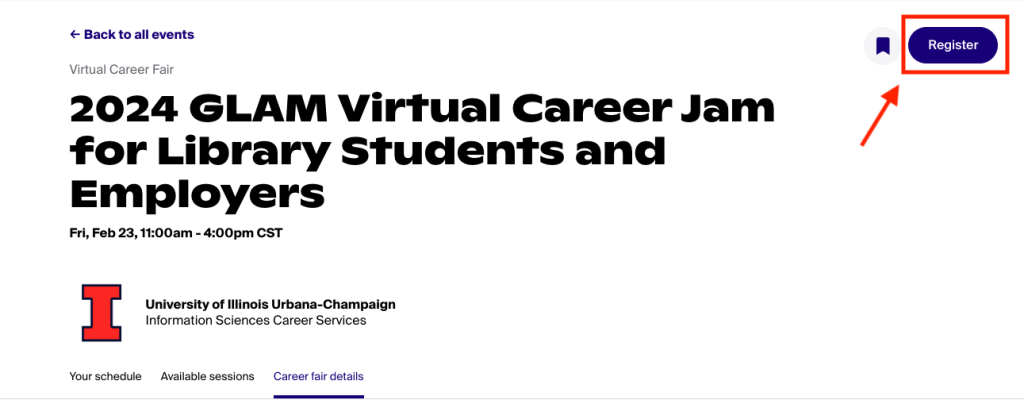
Select “2024 GLAM Virtual Career Jam”, and you should be redirected to a new page. In the top right corner of the page, you should see a button that says “Register”. Click on it to finish registering for the event.
That’s it, you’re now registered for GLAM! But let’s say something happens and you are no longer able to attend – how do you unregister for it in Handshake?
Great question! First, you need to get back to the event page you registered on. To do that, click on the “Events” tab in the left-hand column of Handshake again. At the top right hand side of the page, you should see several different tabs named “Saved”,
Registered”, and “Check-ins”. The “Registered” tab should also have a number next to it, representing the number of events you are currently registered to attend. Click on the “Registered” tab, and you should see the event you need to unregister for listed on the new page.
Click on the event you would like to unregister from. On the new page, the “Register” button in the top right corner should now read “Registered”. Click on the “Registered” button, and you should receive a pop-up asking you to confirm you would like to unregister from the event.
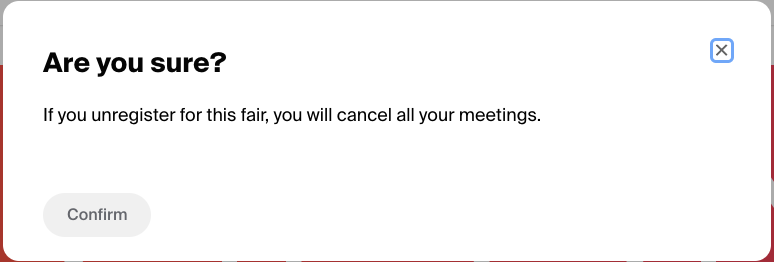
Click on the “Confirm” button in this pop-up, and you should now be unregistered from the event.
That’s all for this week! If you have additional questions about using Handshake–whether to register for events, search for job opportunities, and more–please contact the Help Desk at ischool-support@illinois.edu for more information.
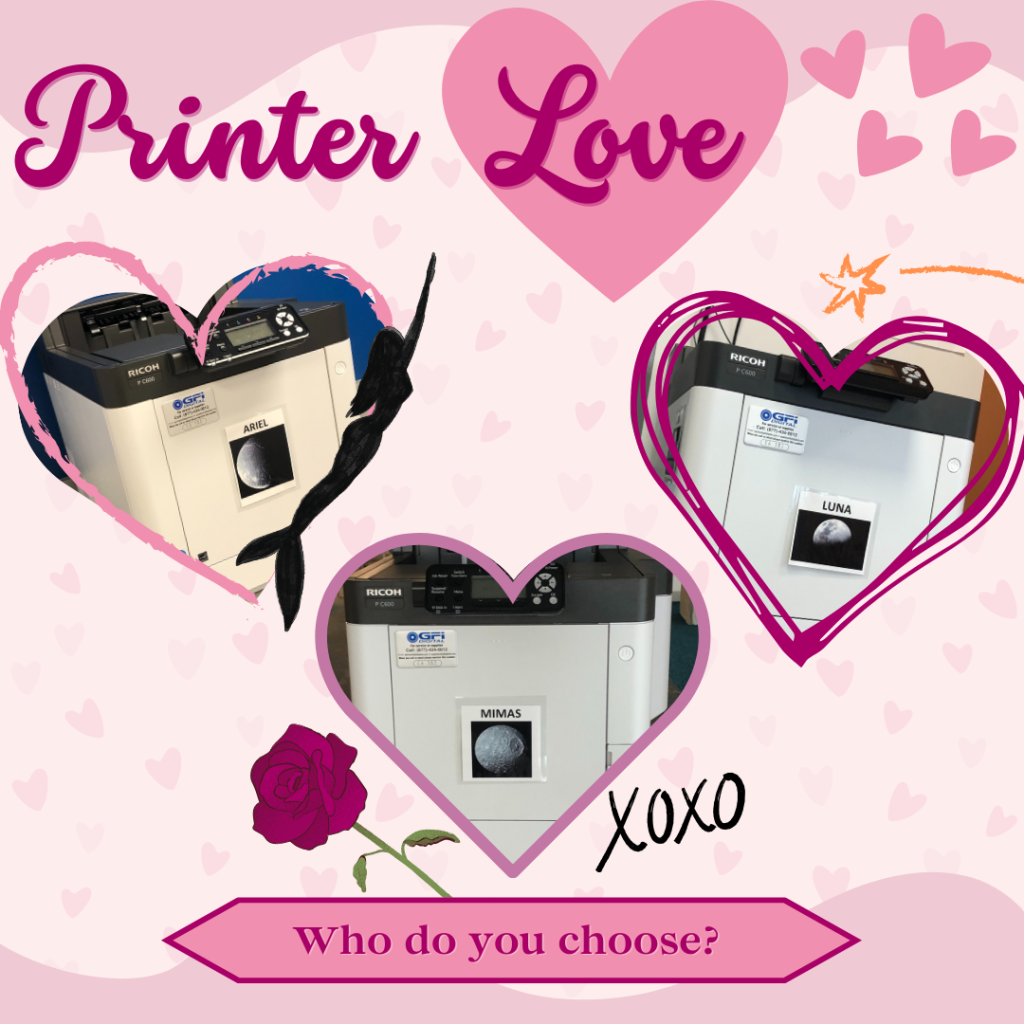
Happy Valentines’ Day! We hope you’re celebrating all the love in your life in all its different forms. Our Social Media team is going rogue this week to celebrate, and invites you to choose one of our fantastic iSchool printers as the object of your affections. Who do you choose? What printer in the iSchool is your go-to?