
Overview:
The MakerLax Team consists of three members with very diverse backgrounds. Brian is a freshman majoring in electrical engineering, Peter is a senior in advertising, and Chase is a senior in business. Having three strongly uncorrelated majors allowed us to experience a wide range of perspectives throughout the semester. While at times one of us were unfamiliar with a certain part of the making process, the others would step in and help fill the knowledge void.
Motivation:
While our initial ideas proved to be either too complex or out of the scope of this course, we ultimately decided on our final topic based on an article Vishal shared during one of our classes. The article focused on creating a “How Can We?” statement, which essentially stated that, in order for an idea to become a reality and a finished product, it must first meet three criteria. First, the idea needed to be narrow in its scope. Users should be able to understand the capabilities and capacity of the product without needing an extensive manual to guide them. Next, the idea should be local in its presence, meaning that the product should serve some type of purpose that fulfills a need in the surrounding community. By doing this, the creators will already be familiar with the problem and can devise more intuitive solutions. The final requirement for this product was that the answer needed to be realistic. Users cannot be expected to have advanced knowledge of programming, for example, in order to fully utilize it. Drawing from these three requirements, we ultimately decided to gear our making efforts towards aiding students in preparing for professional engagements, such as interviews, career fairs, or networking events.
Prototypes:
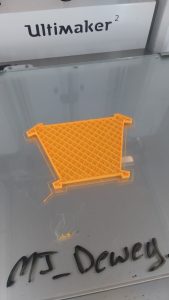
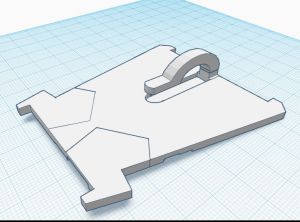
The very first crude prototypes that we created were paper models. They were quickly fashioned to act as both visuals, as well as to test different shapes for our design. After we decided on one, we recreated that form in Fusion 360. Our very first print was only meant as a test for the shape that we decided to implement. Initially, we considered making the design modular in some way. Either by adding tabs for the parts to lock into, or by creating a “puzzle piece” design. Eventually, we decided to keep the design as a single unit. Afterwards, we shifted to TinkerCAD as we believed it would better for our purposes. We then printed more models to test various clip designs. After we found a suitable one, we moved to testing. The size and shape seemed fine, but it was a bit cumbersome to wrap the tie around the sturdy print. It was this that caused us to move on to the semi-flex filament for our last design. After reprinting the last model in semi-flex and testing it, we found it satisfactory and used everything we gathered to create the final product.
Final Product:
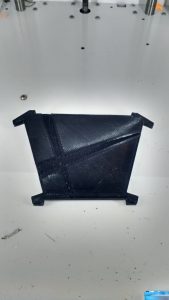
Our final product was, at first, our second to last model. After producing and testing the semi-flex model, we thought it was suitable enough to be our final design. However, somewhat last minute, we decided to improve upon it further. We decreased the dimensions, and redid the shape to make it more versatile. Physical features such as grooves and numbering were added to act as guides and “mini-instructions” to improve the ease of usage. It still is not necessarily perfect, and the print itself did not turn out that well, but it is quite an improvement on the original.
Features & Benefits:
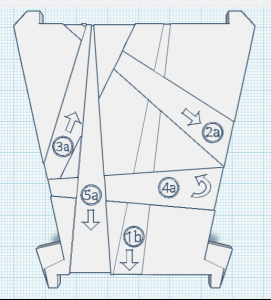
Our final design has a thin and sleek profile, making for easy storage. It can easily fit within a pocket or portfolio. The flex material makes it very malleable and not very prone to breaking. This also allows one to utilize it with ties of varying shapes and sizes, and work it with ease. The clip is barely noticeable and and the physical structure of the design allows it to hold a tie snugly while at the same time allowing for easy removal. The indentations in the front face of the model are of different depths, allowing a user to feel around for the different steps. A number and arrow system are also engraved into the face that coincide with the instruction manual. Aside from allowing one to tie a tie around oneself, it can also be used to store a premade tie, in the event that the user foresees a circumstance for it.
User Feedback:
Overall, we found user feedback to be incredibly helpful during our prototyping phase. We had both in class feedback along with feedback from students outside the classroom. During the sessions, we were able to observe how our products were used the and difficulties that occurred. One student said, “I suggest adding instructions or some kind of step-by-step process to make using the product easier.” We took their advice and created a pamphlet as part of the packaging and adjusted the clip size and indents on our original prototype.
Future Improvements
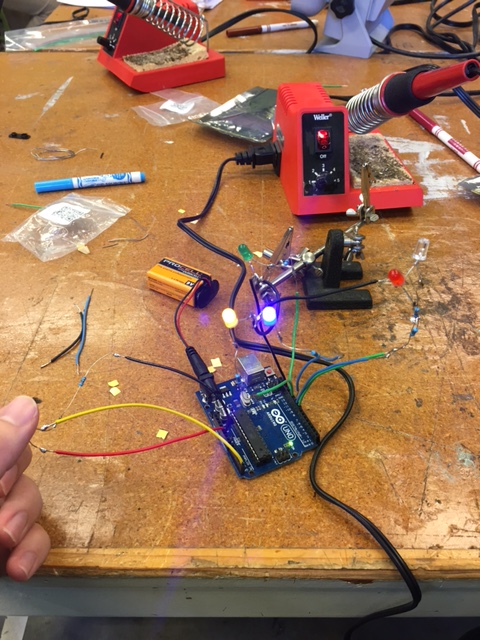
We hope to utilize more materials in future prototypes. Semi-flex filament was different to handle and took the 3D printers multiple tries to print out our prototype, so we hope to test different types of semi-flexible materials. One feature would be to have a collapsible, modular format. The benefit would is that the user can easily remove the product once they had completed tying their tie. From the user feedback, the other suggestion we were given was to incorporate electronics into our design. The product would have an LED guidance where different sections would light up green to guide the user to tie the tie. The LED guidance would require coding and implementing a small arduino and a battery into the product.
Takeaways:
After the conclusion of this project, our team came away with three main conclusions from the experience. Firstly, it was incredibly satisfying to see our weeks of efforts and labor culminate in a working and usable model. One of our team members who previously was unfamiliar with how to tie a tie was able to learn how, with the guidance of our product. After seeing it be put to use, we can say with complete certainty that our efforts proved worth it. Additionally, we learned that rapid prototyping is critical to the making process, and to creating an effective final product. We spent the majority of our initial efforts attempting to make the perfect first prototype, when in reality the majority of our progress came upon the third and fourth iterations. Similarly, our team realized the immense importance of receiving user feedback. While we had certain connotations of the direction we wanted to pursue with our product, obtaining feedback from users that were unfamiliar with the making process gave us great insight as to what the average user would actually prefer.
Slide Presentation:


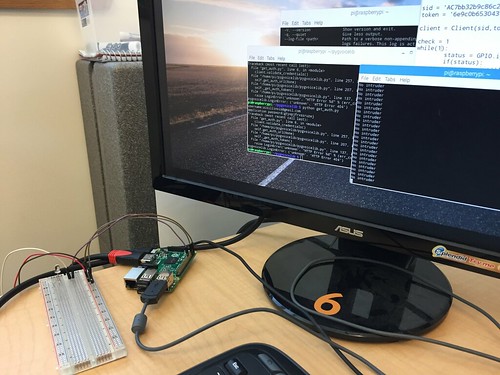


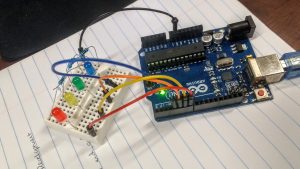
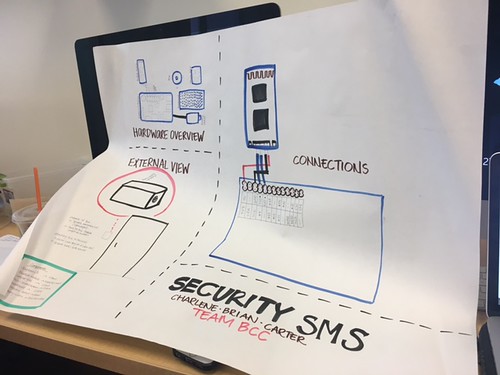
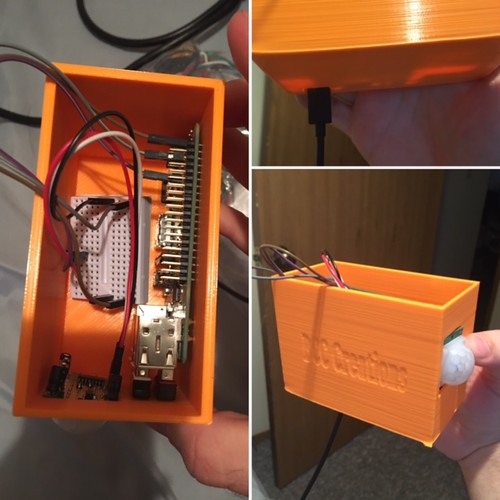
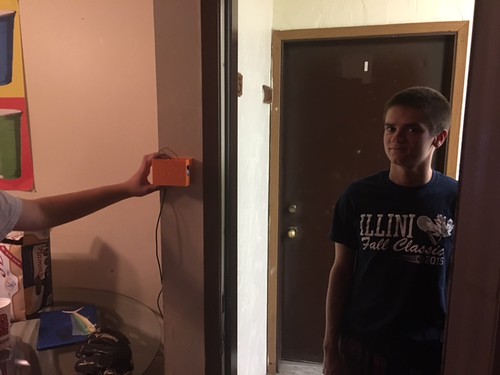
 Certainly, the BCC team learned quite a bit this semester in terms of the capabilities and process of solving a need through 3D printing, While we are satisfied with the progress we made in creating our own effective product that can help solve an everyday need, we also know that the product is far from perfect in terms of taking it to market. Do to the cost we did not pursue the potential of adding a camera to the Door Sitter. We do think finding a low budget camera to add to the exterior of the housing unit, would be useful in allowing a user to know not just that there is someone in their residence but who. Finally the actual cost of our product is a factor that we need to analyze more if we wanted our product to be on the market. The door Sitter costs roughly $50-$60 per unit with the all of the components. The feedback we received from our presentation suggested that even if we sold the Door Sitter at cost for $50-$60, that price tag still is a bit expensive for our target market of a college student. In our research we found that most in home door monitors are high tech and range from $120-$250. So while the Door Sitter would be a low cost option in comparison to what most security systems entail, we may want to pursue alternative components in collaboration with Jeff Ginger at the Fab Lab to make our product less expensive given our target market.
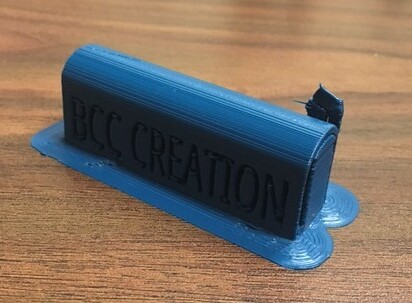
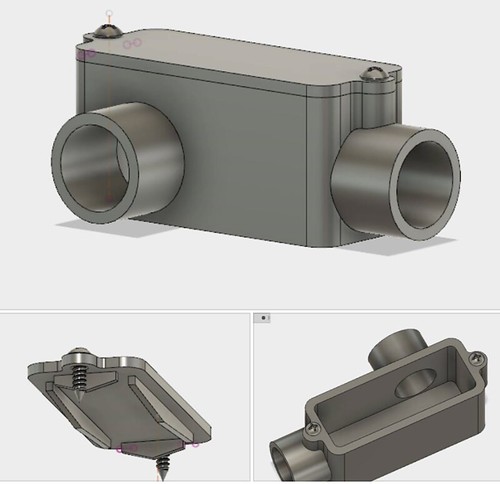


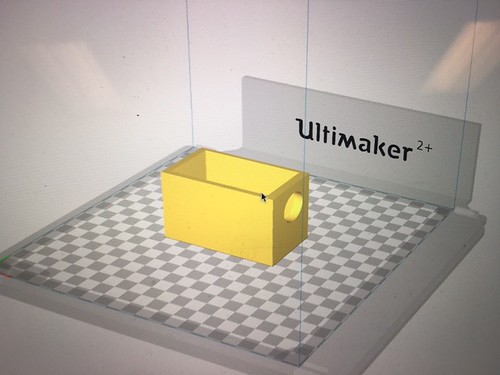

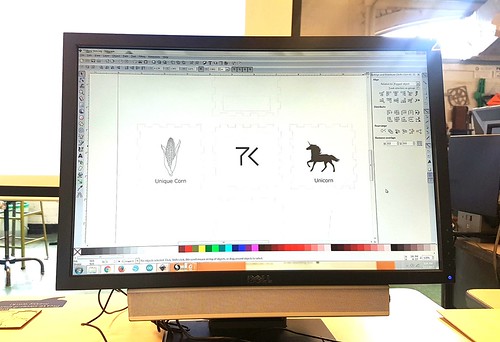
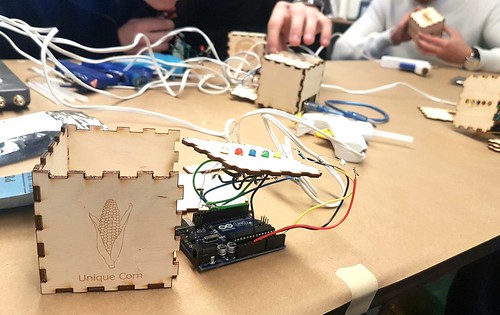
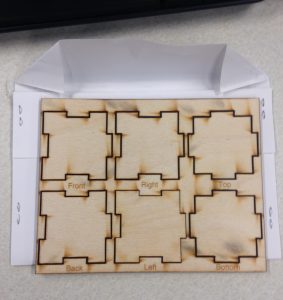 Smaller scale sample box pieces
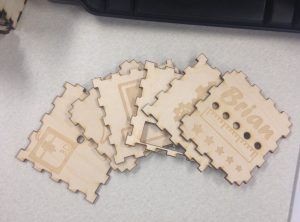 My pieces
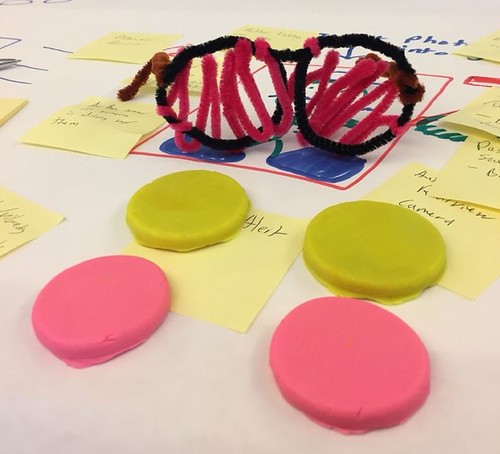
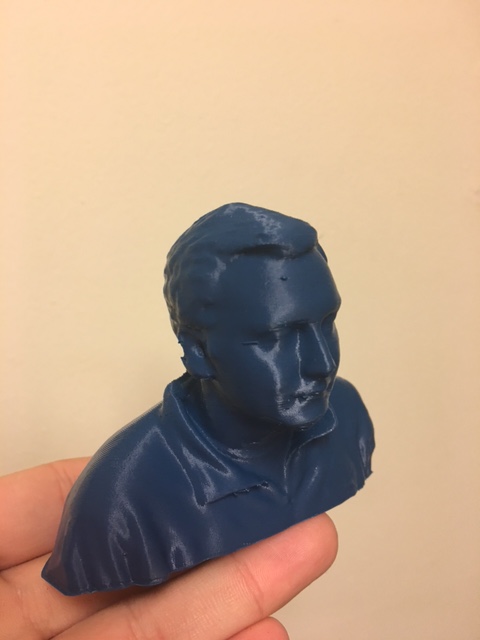
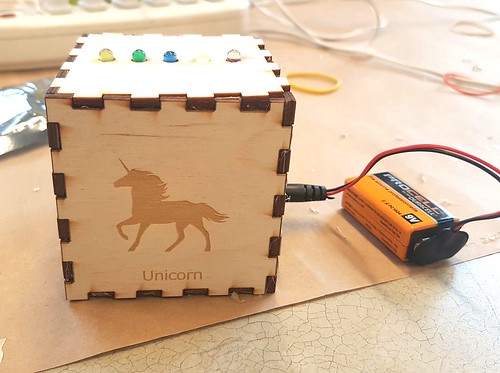
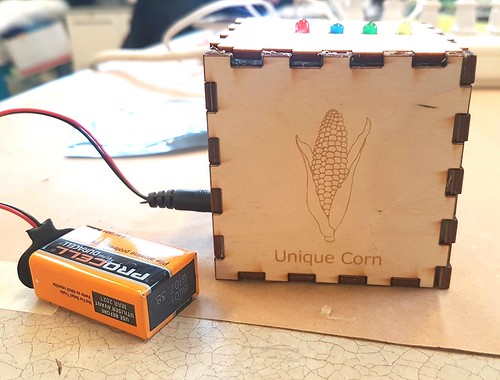
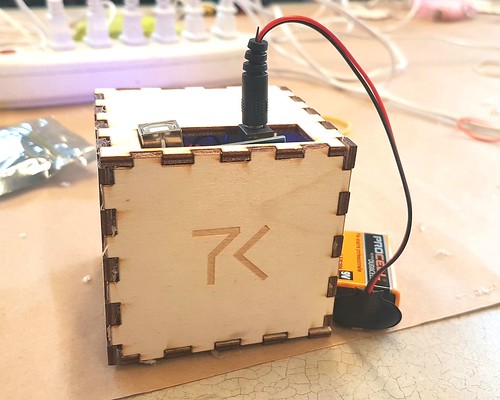
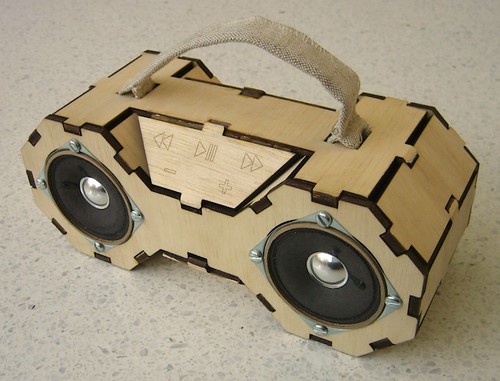
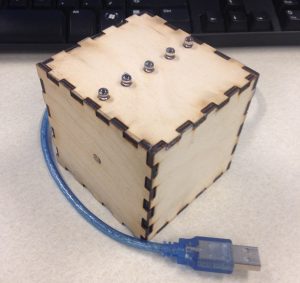 Sneak peek of the completed project