
When I enrolled in the BADM 395 Digital Making class, I was really not sure what to expect. I had learned about the class while enrolled in Professor Vishal’s BADM 350: IT for Networked Organizations class and thought it might be worthwhile to take. Prior to the first day of class, I had never been to the Maker Lab. In fact, other than seeing a quick demonstration several years ago, I had no experience with 3D Printing or really any form of digital making. My main motivations for taking the class were that 1) I wanted to learn more about the Maker Movement which I knew little about, 2) it would introduce me to many of the resources available at the University that few students take advantage of, and 3) I like the emphasis on learning, growth, and sharing rather than cramming and examination. The fact that the class counted towards my IS/IT major was certainly an added bonus.
I was hoping to learn how 3D Printers work, how to design objects for 3D printing, and different types of 3D Printing. However, I learned all of this and much, much more. I learned about the Maker Movement, different types of fabrication, design, product development, and prototyping, just to name a few topics. I have never considered myself a very “creative” person, so this course challenged me to think outside of my comfort zone. Working through the projects helped me develop some creative skills and further refine my problem solving skills. I am now more comfortable working on product development, a skill that is transferrable to many other processes such as project management. In addition to this, I was introduced to and learned about the following topics.
The first few weeks of class served as an introduction to the Maker Movement. We covered topics such as intellectual property concerns and the success of open source software and devices over paid or closed services. It is here where we learned the learning aspect of the Maker Movement and the importance of learning, sharing, modifying, and most importantly: doing.
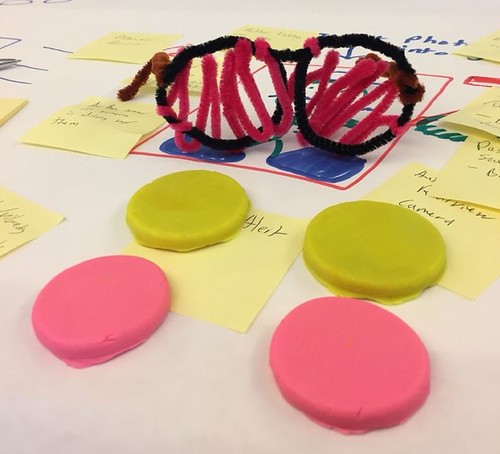
One of the most important facets of making is design. Design for America led us through a workshop to demonstrate the importance of meaningful design. Instead of creating a product and finding demand, we should find a problem and design a solution. Through our readings we learned that products must be desirable, viable, and feasible.
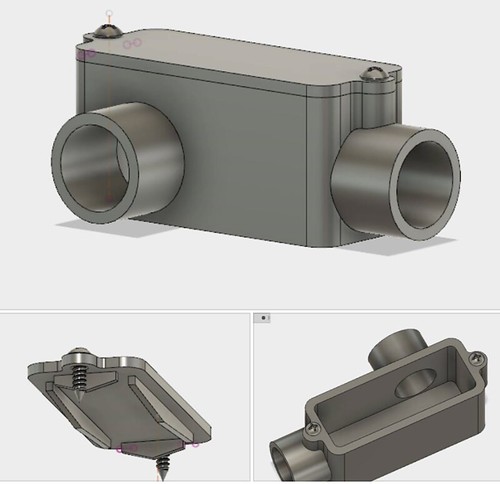
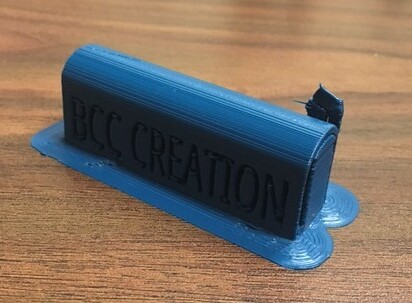
Learning Tinkercad was very easy. Vishal demonstrated the open source online software and we designed our team logos. Even though the program is pretty simple, it makes it very easy to design objects quickly. Our first experience with Fusion 360 was through tutorials before class. Following this series of videos by Lars Christensen, we are able to create a box/housing with a lid. It demonstrated how powerful Fusion 360 really is. We were lucky to have Jeff Smith from Autodesk teach us even more the features available. For my group’s final project, we ended up using Tinkercad rather than Fusion 360 because of its simplicity.
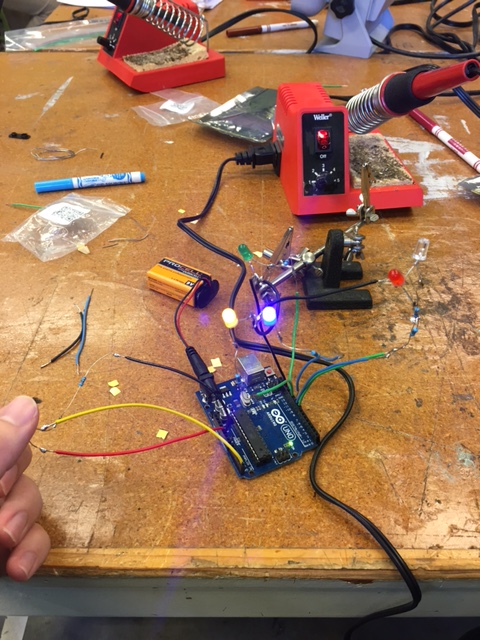
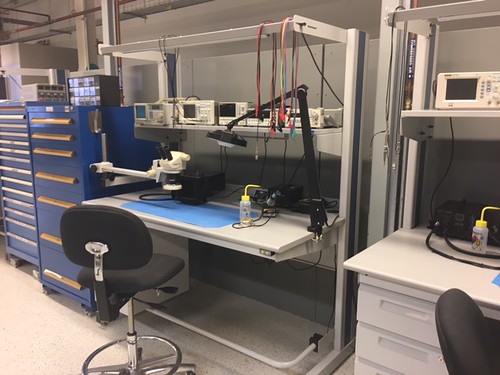
We spent three consecutive weeks in the Champaign-Urbana Fab Lab. Although I had soldered in the past, it was my first time in several years. It was a great way to practice making circuits and soldering them together. I was also able to code an Arduino for the first time, which sparked my thought process as we brainstormed ideas for our final project. Finally, I also used a laser engraver for the first time. This introduced me to Inkscape, another open source software (have you noticed a theme yet?) that allowed us to take silhouettes and have them etched into the wood and cut through to form edges.
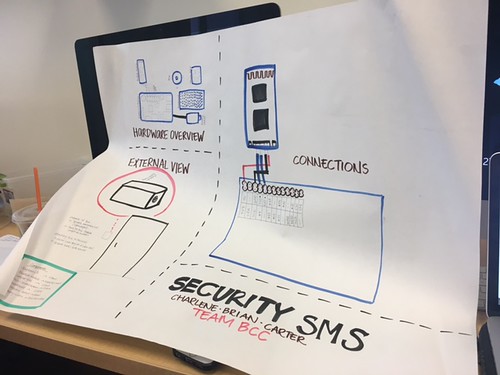
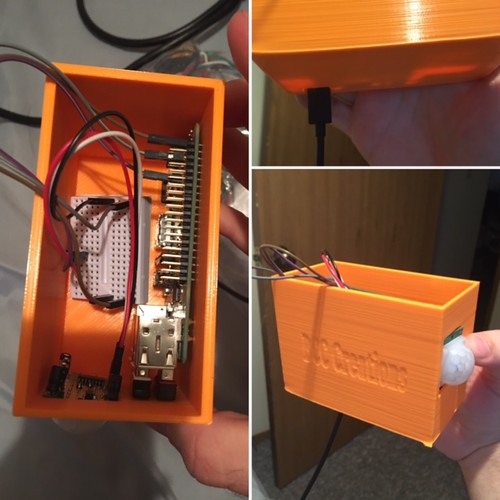
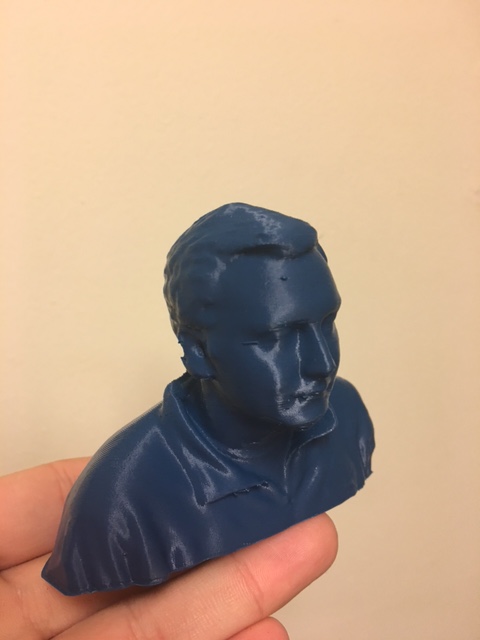
The remainder of the semester focused on prototyping. Although I have been through mock product development phases, this was the first time I have gone from identifying a problem to presenting a final, physical working product. David Kelley says “Design is an iterative process” and I found that to be very true. Our prototype went through many versions starting with a sketch on paper to the final version. Between adjusting our coding on the Raspberry Pi to changing the design of the 3D printed housing to adding and removing functionalities, we spent a lot of time refining the project to best solve the problem of a lack of security on campus while addressing the needs of users. Somewhere in the middle of things we were able to learn about 3D scanning, something we could turn into a business idea as Arielle Rausin has. I was able to scan my head and 3D print it. By the end of the semester, we had been able to design, test, refine, and produce a final security system alternative.
An added bonus of the class was being able to go up to Chicago for a day. We visited Deloitte for a presentation on Deloitte’s tech trends and a consulting workshop. We also visited the Deloitte Greenhouse, a space where clients can come in and run through workshops to problem solve and create connections across many levels of their own companies. It was a really unique space and I’m glad I was able to see it. After Deloitte, we drove over to mHUB, a collaborative space where member companies can work on developing and manufacturing products. This is the epitome of the future of making. Members can work together, building off of each others skill sets, have access to collaborative and shared workspaces, and take advantage of a significant amount of expensive, advanced equipment. It was really cool to see Making on a commercial scale.

The end of the semester is bittersweet. While I’m excited for the summer and to be interning again, I am going to miss this class. We formed such a great community together and learned a lot from Vishal, all of our guest speakers, and each other. I’m glad I was able to enjoy this class and challenge myself these past few months.