
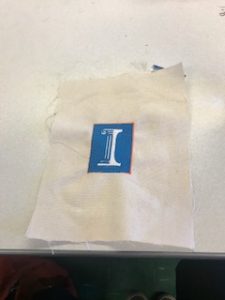
This past week was our last session at the Urbana-Champaign Fablab. It was very rewarding to assemble the wooden box design and combine it with my embroidery design. My embroidery design turned out really nicely. I was amazed at how high quality the embroidery turned out. The Illini Logo looked strikingly similar to the original image I modeled it after, and I was very happy with how it turned out!
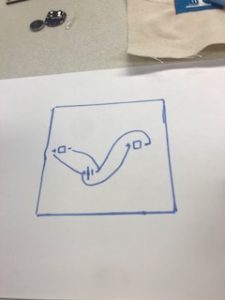
The next step this week in the FabLab was to design the layout of our circuit. It was important to draw it out before we started stitching. I learned that for the LED lights to work, the positive wires could not cross with the negative wires. In the image below, the squares represent LED light while the lines connecting them represent the magnetic wire that I used to stitch the lights and battery to the embroidery.
Key Takeaways from stitching:
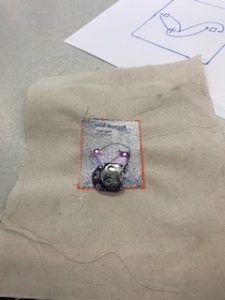
Once I understood how the battery, lights, and wires needed to be placed on the embroidery I began sewing them in by hand. As someone who has never sewed before this course, I learned how much precision and strong fine motor skills it requires.
1) Use Beeswax & Have Patience
One of the hardest parts of sewing is getting started. Threading the needle took me multiple tries and required the use of beeswax. By taking the string and rubbing it against the beeswax, I was able to “thin out” the string and successfully thread my needle.
2) Over-Under through the same stitch
My next big takeaway was to make sure that once I had stitched something onto the embroidery, I needed to take the thread and sew it back through the same stitch. This prevented the string from showing on the design side. It also allowed me to tie the knot on the right side when ending my stitch.
Overall, learning to sew was a unique experience. Unfortunately, I was not able to successfully finish my design during class. Although my I was able to connect my LED lights to the battery, I ended up sewing my lights on backwards. Regardless, it was a neat hand-on making experience these past few weeks! I have learned a ton and am excited to apply what I have learned towards our final project!
Jason,
I, too, was not able to finish my project during class time. I hope your sewing explanation is well utilized by future classes as I could’ve used the pointers before class time. Most importantly, using beeswax and having patience will ensure a quality stitch. I look forward to seeing your final project come together.
Jason
Hey Jason! Thanks for including such a detailed description of the sewing process as I was out of town when we completed our boxes. I’ve sewn since I was little, so it was interesting to hear about the things you found challenging as a first time sewer! It definitely does require fine motor skills. Your logo turned out so well! The embroidery is really clean – it looks like something you’d buy in the Union Book Store. Nice job!