Tag Archives: Tinkercad

Getting hands on with 3D Printing

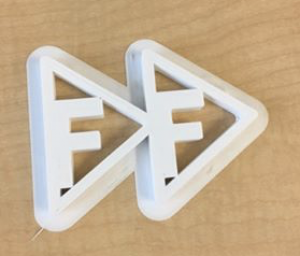
This week, we had students lead the class and had a very enthusiastic guest speaker, Jeff Ginger. Jeff shared his vision and aspirations for the FabLab that we have here on campus as well for 3D printing in general. Jeff brought 3D printers into public libraries in hopes of having the younger generations develop a maker mindset. He incorporated the popular video game, Minecraft to peak the interest of the youth and it definitely worked!

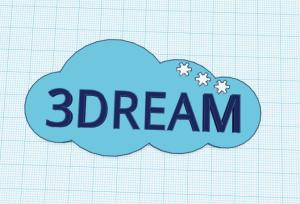
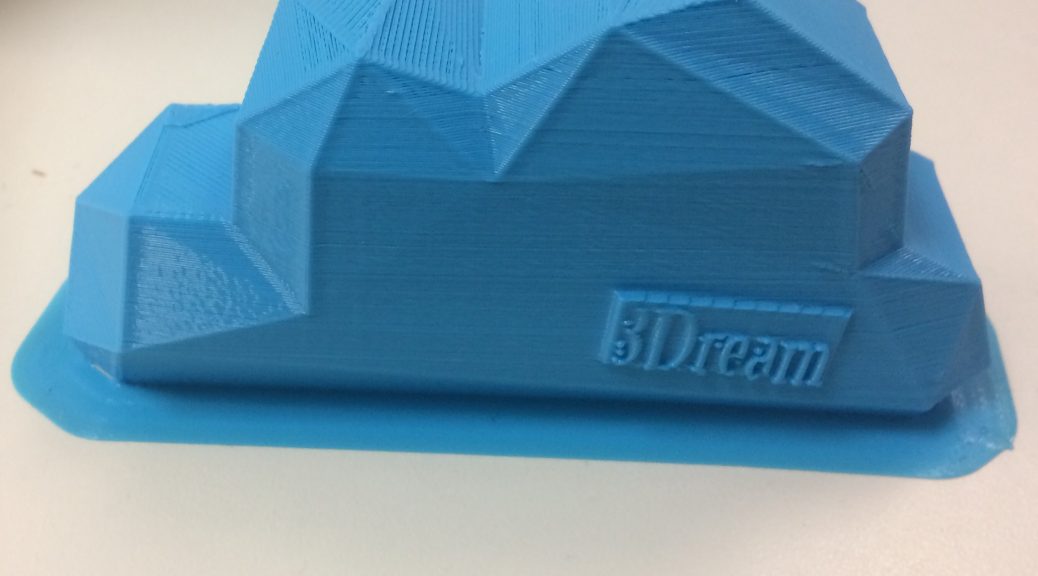
Last week, our small groups were left to develop a logo and team name. We came up with “3Dream”, because I believe that if you can dream it, you can print it. We created our first sketch to encompass a dream cloud  with our team name at the center.

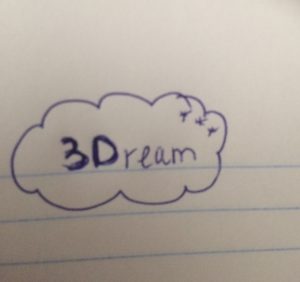
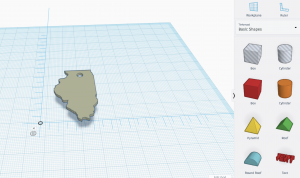
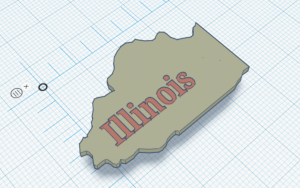
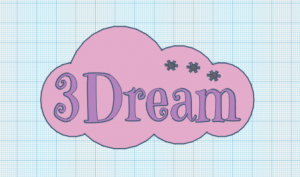
With this basic sketch, the foundation of our design was laid and brought to life with Tinkercad which turned our idea into a CAD model. Tinkercad offers only four different font options and I wondered if it was possible to import a font just like you can import a design. After some research, I learned that you could do this by using sketchpad, selecting your font and start typing, export it, save it, and then download. Afterwards, go to an online converter, on there you will change the image to an SVG, and select your SVG image to convert. Once it has been converted, the file can be imported onto Tinkercad! And just like that, our design was created.

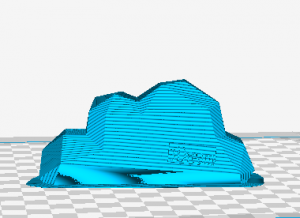
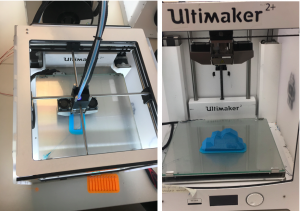
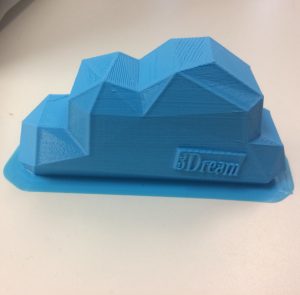
We were proud of our design but we were not satisfied, so we made some alterations. By exploring Thingiverse we came upon a  model of a low polygon cloud  that made our 2D design 3D! With this change, we were able to see the differences and difficulties by working with different dimensional designs. Once our design was completed and uploaded onto the Cura software, it took 4 hours to print and it came out great! I was surprised that it took so long to print since the inside is hallow but I assume that is was due to the certain material used.

I learned so much this week and I’m very much excited to continue to learn, practice, and create in the future classes.

First 3D Creation

FabLab Guest Lecture

This week our class focused on the extensive possibilities of 3D printing applications and various examples of products created with various machines in the FabLab on campus. We had guest speaker, Jeff Ginger, who is the director of the Champaign Urbana Community FabLab. He shared insights on the various capabilities of the FabLab and example products and projects that have been created within the lab. I was absolutely inspired hearing different stories of several entrepreneurs who launched their businesses with the help of the machinery and expertise of the FabLab. I have visited the FabLab a few times and made laptop stickers using the Silhouette machines and software however I’ve never used any other equipment. Each time I’ve gone in, I’ve always wanted to explore the other machines but was intimidated by them so I look forward to familiarizing myself with more FabLab machines this semester and expanding my “maker” mindset.

3D Printing Process

The next part of the class we got to dive in and play with the Tinkercad and Cura software while finalizing our logo designs and setting up the printers to create our team logos. Our design went through a few different iterations. We decided on the name 3Dream inside a cloud to represent the endless capabilities of 3D printing and the many dreams that can be achieved through this technology. Our first logo was a flat rendition, as shown below, although after loading it into Cura we decided it would be neat to make it into a 3D cloud shape. We found a useful model for a 3D cloud on thingiverse which we then tinkered with in tinkercad adding our logo and stars.

One of the most challenging parts for us was adjusting our logo to fit perfectly onto the 3D model of the cloud. We utilized a few different tools within tinkercad in order to rotate and adjust the logo to lay flat onto the surface since the surface was angled. Below I have included images of our design in the Cura software as well as the final product. I was very happy with the final product. It took about 4 hours to print.

3D Printing Resources

Looking further into different resources available for people new to 3D printing, I am amazed by what the internet has to offer. I have included a variety of different resources I will be using this semester.

Models Library: Cults3D: https://cults3d.com/

This platform is similar to that Thingiverse and Pinshape however more selective. There are professionals who ensure the uploaded models are of the best quality whereas Thingiverse allows anyone to upload their designs even if they have not been printed. Additionally, many of the curated models on Cults3D are created by professional designers.

3D Scanning: Trnio: http://www.trnio.com/team/
This is a free IOS App that allows you to convert photos from your phone into 3D models. I am hoping to try out this app to see how well it works.

3D News: http://3dprintingindustry.com/

This website shares news about the 3D Printing Industry such as hardware and software but also discusses related industries that are impacted by 3D Printing.

Learning 3D Printing Programs

Overview

Hi again! This past week our class had the pleasure of having Jeff Ginger join us. Jeff is the director of the Fab Lab that we have on campus. The Fab Lab is “an open and collaborative workshop space for computer-driven innovation, design and fabrication” (http://cucfablab.org/). Essentially, this establishment allows individuals of all ages to utilize making resources to bring their creative ideas to fruition. Our class will be visiting the Fab Lab sometime in the coming weeks, so I will have an entire post dedicated to the Fab Lab coming soon!

I am so grateful to have been able to learn how to use both Tinkercad and Cura this past week. Our class’s steps in 3D printing include first creating an object on Tinkercad and then bringing that file into Cura to get the proper 3D printer settings applied to the object. Diving into these programs allowed me to see what it really means to be able to design a 3D print (from either a template or the bottom-up). Creating is an activity that I genuinely find to be fun, challenging, and rewarding. So let me tell you a bit about each of these programs:


Tinkercad

Tinkercad is an online site that allows us to create our own 3D models. This program really speaks to me as a creator because it truly allows me to create any print from the ground up. The user is allowed to put different shapes together, add text to designs, and even import designs from other sources. The interface is also extremely intuitive, and it almost feels like a game when creating the different designs.

One of my favorite features of this program is that we can access our designs from any computer due to the cloud platform that it is on. This is great because I was able to get my account set-up online while at home and play around with the software before logging on when in class. When I got to class, all I had to do was log into my account and then I was able to jump right back into my work. Here is a picture of an Illinois-shaped keychain that we were able to import into Tinkercad (from a template in Thingiverse). It was fun to add different text to the keychain and customize it to our liking.


Cura

Cura can appear to very intimidating when first launching the program. However, as the user starts to look deeper into each of the settings, it becomes a much more comfortable program. This is the program that we use to get the proper file needed for the 3D printers. I will have to dive into a deeper explanation of this program in a later post because as of right now, I only know the basics. Our instructors let us know which specific settings to select when printing our objects, but I still need to understand the program better and how each selection in the settings (see image below) affects the final print.

My team, Fast Forward, was also able to create our team logo. We designed it on Tinkercad, set the proper settings in Cura, and then printed it. Below you can see the final product.


Thank You

As always, thank you so much for taking the time to read my post. I cannot wait to continue learning more advanced features on Tinkercad, Cura, and other 3D printing softwares over the coming weeks, and I look forward to updating you along the way!


-Scott Provenzano


Source:

http://cucfablab.org/