
Overview
Hi again! This week we switched stations at the Fab Lab and got to create an additional piece to our boxes. Since I created the wooden structure of my box last week, I was able to create the cloth top this week. This is not just any regular cloth top, but one in which we were able to design the embroidery/sewing on our own (and we are even going to add LED’s to it next class!). Let’s jump into it.
Recap From Last Week
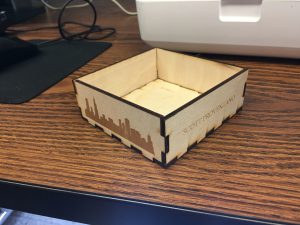
As promised, below is picture of the box that I created last week. I wanted to etch some things that I feel like describe me on the sides of the box: My name, my school, my hometown city, and my employers. I also etched the date that I made the box on the inside for nostalgic purposes.
PE Design
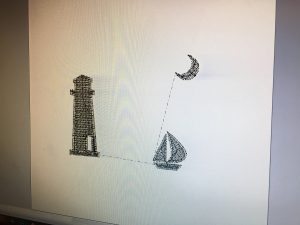
We began our embroidery/sewing work by working with the program called PE Design. Our instructor walked us through some of the basics on the program, and ultimately allowed us to take free reign with our designs. There were not enough working computers for each of the students, so Michael Rindler was kind enough to let me join him on his computer. We worked to create a design that we both found meaningful: a sailboat scene with a lighthouse. We figured that the lighthouse would be a really cool feature on our embroidery since we needed to incorporate out LED’s into the design. Having the lighthouse emit light would simply tie the entire scene together. We also decided that we wanted to add one additional element to our design that would fill some of the extra awkward space: a moon.
After we positioned each of our design elements, we learned how to command the program to convert the silhouette images into stitch designs. As seen in the image below, each of the items are created up of lines. These lines represented how the sewing machines were going to stitch the design on the cloth.
I also found this video for anyone who may have missed class and wants to learn some basics of PE Design: https://www.youtube.com/watch?v=ZLaa1TZWdY0. I hope you find it helpful!
Sewing Machines
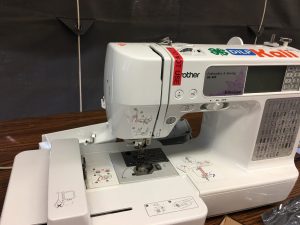
With our design files completed and saved, we then moved to the sewing machines and learned how to thread the machine. This process took a few tries to get it right, but once the needle was properly threaded, we were good to go! Below is a picture of the sewing machine we utilized, and the cloth that we loaded onto the machine.
All we had to do was send the file from our computer to the machine and then prompt it to begin the stitching!
Final Result and Looking Forward
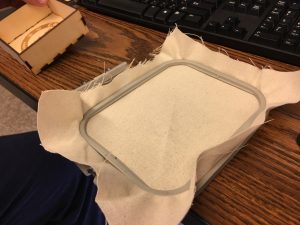
I was very satisfied with how my design turned out. Check out the picture below!
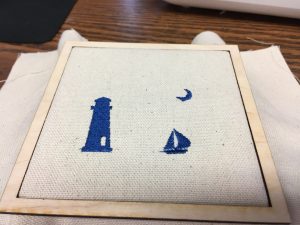
I decided to use the navy blue threading in order to compliment the nautical theme of my design. I was blown away by how accurate and precise these machines were in creating such a clean stitch print. As evident, there is a lot of excess cloth around the outside of the wooden box area. We were told that we would be removing the excess cloth next week while we also add our LED lights into our design. We are getting closer and closer to the final product, and I can’t wait to share it with you next week! Thank you for taking the time to read my post.
-Scott Provenzano
Resources
https://www.youtube.com/watch?v=ZLaa1TZWdY0