What We Did This Week
Hello! This week has been by far one of the most exciting classes because it resulted with us walking away with some complete creations. After laser cutting and sewing for the past 2 weeks, we were finally able to introduce conductive thread to our items and finalize them.
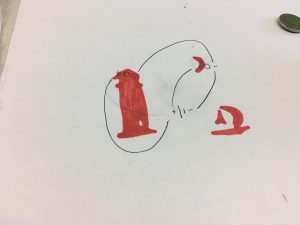
We began class by learning how currents flow in a circuit (which is how our conductive thread would be working). Our instructors let us know that electricity always travels in a circle and follows the path of least resistance. They gave us a battery, battery switch, conductive thread, and LED’s. We were then tasked with drawing out a diagram of how we would be connecting each of these parts on our fabric (it is useful to diagram because of the potential complexities from connecting the positive and negative ports). Below is my diagram:

As you can see, I ensured that each of my positives connected with other positives, and my negatives connected with other negatives. There are also not any areas where a positive wire crosses a negative wire (which would cause short circuiting).
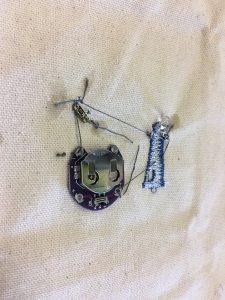
After diagramming, we were ready to get to work. We used a needle and conductive thread to stitch the LED’s and battery pack to the fabric (again, being careful to keep the positive wires only connected to other positives, and negatives only connected with other negatives). Below is a picture of the back of my fabric with all of the internal parts sewed on:

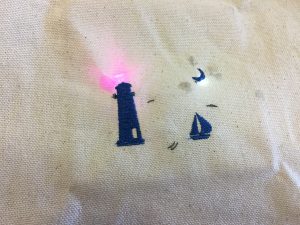
Once I got all of my parts into place, I flipped the On/Off switch and my LED’s turned on! This was nerve-wracking because if they had not turned on then I would have had to go back and potentially unthread/rethread some areas–which would definitely be difficult. Check out the lights turned on below:

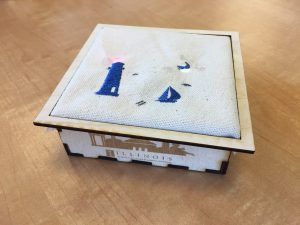
To finish up my box, I cut off the excess fabric that draped over the sides of my box. This resulted in a clean-cut box that you can check out below!

What’s to Come?
Now that we are equipped with the proper knowledge, skills, and resources, we are able to begin working on our final projects! This is extremely exciting because these projects are essentially created by our groups from the bottom up. My group (FastFoward) plans to create a Laser Person Counter (example: http://www.instructables.com/id/IR-laser-person-counter/). Essentially, this device would utilize lasers, wires, arduinos, etc. to count the number of people in a specific facility or area. This could be useful for restaurants, bars, and class buildings around our campus because it would give users the ability to understand capacity without necessarily being physically present at a location. Our goal for the next week is to gather the required components/parts and grasp a better understanding of how we can bring this idea to fruition. We are going to need to learn some coding skills in order to make this project work, so we will also be researching around in that realm!
Thank You
As always, thank you for taking the time to read my post. Stay tuned for the coming posts to follow along FastForward’s progress in developing our final project!
-Scott Provenzano
