Week 2, Monday, late-afternoon and the MakerLab is filled with the sonorous sound of the 3D printers whizzing away. Walking into the familiar classroom to not only hear the soothing buzz of creation but also to feel the ambiance of the eagerness to learn and have fun were certainly worth the climb and much-needed exercise up to the top floor of the Business Instructional Facility.
Week 1 was all about settling into the class with an introduction and overview of what “making” with alumni Arielle Rausin and John Hornick. Arielle, a local entreprenuer, talked about her glove business (mainly for wheelchair racing) and how 3D printing enabled her to become so successful in her innovations. John Hornick, the author of 3D Printing Will Rock the World dove into what 3D printing has in store for users in the future and how it changed the way people design, make and interact with the world. This week, we learned about additive manufacturing and rapid prototyping. We had the privilege of listening to the guest lecturer and Director of the Champaign-Urbana Community (CUC) Fab Lab, Jeff Ginger. We also successfully reviewed the two learning objectives: discovering different websites where other people create and share different designs of objects and learning the basics of 3D printing.
To start off the class, we split up into 7 different groups to explore different sites in which different people from all around the world shared their creations. Many of these sites such as thingiverse.com and youmagine.com are open source and let beginners and advanced makers alike share and create designs to tinker with. These sites are platforms that make such “blueprints” easily accessible and have become important in the Maker Movement.
Here are the links to the sites that we explored in this class:
http://www.thingiverse.com/
http://www.shapeways.com/
https://www.youmagine.com/
http://www.instructables.com/
http://www.myminifactory.com/
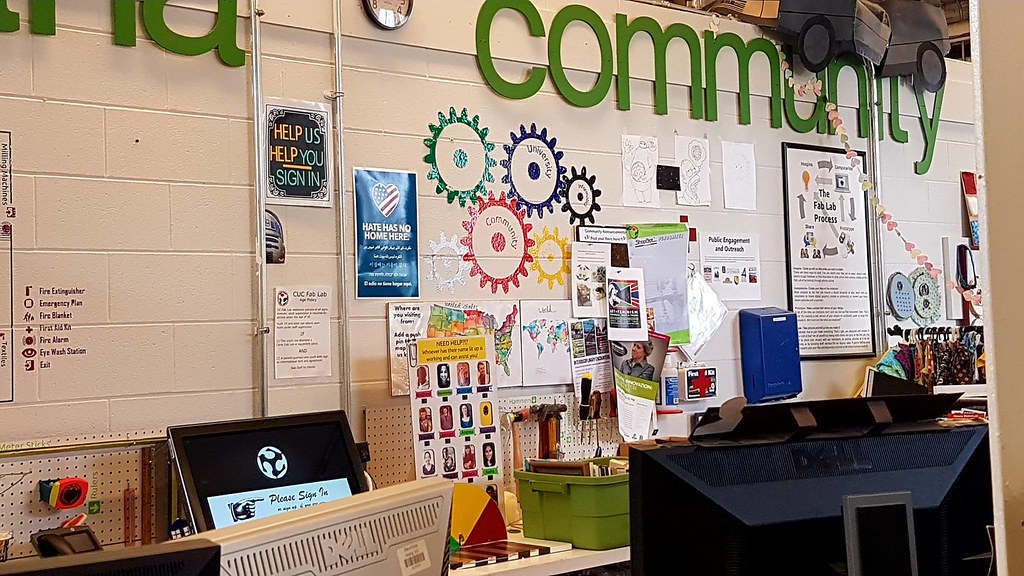
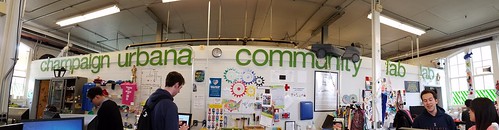
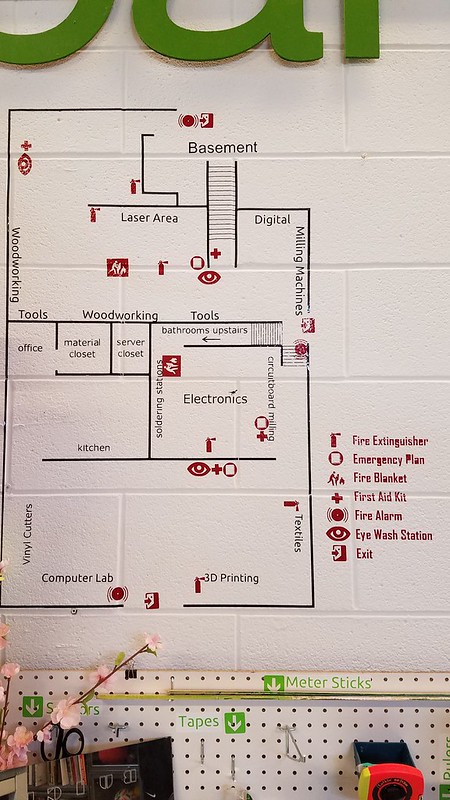
After going over these online sources, Jeff Ginger talked about the CUC Fab Lab, which is an open and collaborative workshop space for technology-driven innovation and design. The facility and other Fab Labs are central players in the Maker Movement (a social, economic, and political movement that incorporates both technology and DIY culture). Within the CUC Fab Lab, Jeff brought up the extensive equipment such as engravers, electronic cutters, sewing machines, and 3D printers, that enables local entrepreneurs and students alike to create their own products. The CUC Fab Lab also enable and encourages people of all ages and backgrounds to stop by and explore the facilities with the help of the staff and volunteers. One example Jeff showcased was Monet and the Waterlily Friends, a children’s book by Judy Lee, an artist, and entrepreneur, that started at the Fab Lab and was successfully kickstarted. The Fab Lab encourages people to become makers through exploration of the design. You can learn more about the Fab Lab by visiting http://cucfablab.org/ .
After the guest presentation, we learned more about the basics of 3D printing such as the STL file (a file format used in 3D printing). We went onto http://thingiverse.com to find simple objects such as a toothbrush holder, a grocery bag holder, and an Illinois state keychain to print. We used the computer application, Cura, to help transfer the data to the 3D printer (through an SD card).


In general, the students this week had fun and learned more in depth what 3D printing is. Many of the students before this class never saw 3D printing as something important. For a lot of the students and certainly myself included, this week was the first week we printed. Personally, I was definitely surprised and felt pride and accomplished that I was able to make my own keychain. The following are several students’ views of the course and Week 2’s activities:
“Before this course, I had never realized the importance of the Maker Movement that was being created and developed within the community.” – Charlene
“As we approach week 3 of the Digital Making class, I can say that this class has been extremely enjoyable thus far. There have been many things I’ve learned already and this is coming from someone who was going to buy a 3D printer about two years ago.” – Jorge
“Mesmerized by the 3D printer in action, buzzing away as it slowly built my model one layer at a time, I certainly felt like I was a little kid again.” – Tiffany
Before the class meetup, we were also required to read The Maker Mindset and Neil Gershenfeld’s “How to Make Almost Anything.” While Gershenfeld raised more legal and moral concerns regarding the printing and possible fabrication of designs, The Maker Mindset took a more positive approach in commending how the Maker Movement transforms education by challenging and offering limitless opportunities for students to innovate and create their own objects. Personally, this hit a chord with me and reminded me that while this course encouraged us to push for creativity, challenge our thinking, and succeed in our projects, it was also an opportunity to fail and learn from mistakes. Many courses in the business school do not allow a lot of buffer room to make mistakes, learn from them and redeem them. Yet, after just week 2 and being able to observe not only an excellent professor with over 10 years of teaching, 4 of those years as the director of the Illinois MakerLab guiding us, but also being able to have hands-on experience and first-hand accounts of the digital making process, this class has already surprised me and have definitely spiked my interest. I am sincerely and genuinely excited to see how this class will shape and mold us into the creative and innovative future generation. I hope that in Week 3 will be just as enticing when Design for America presents about Design Thinking.
If you want to learn more about Week 2 and are interested in what individual students learned, here is the link to the Week 2 reflections:
https://publish.illinois.edu/digitalmaking2017/category/week2/


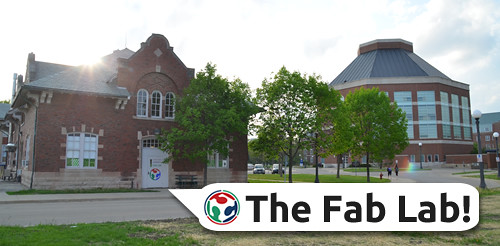
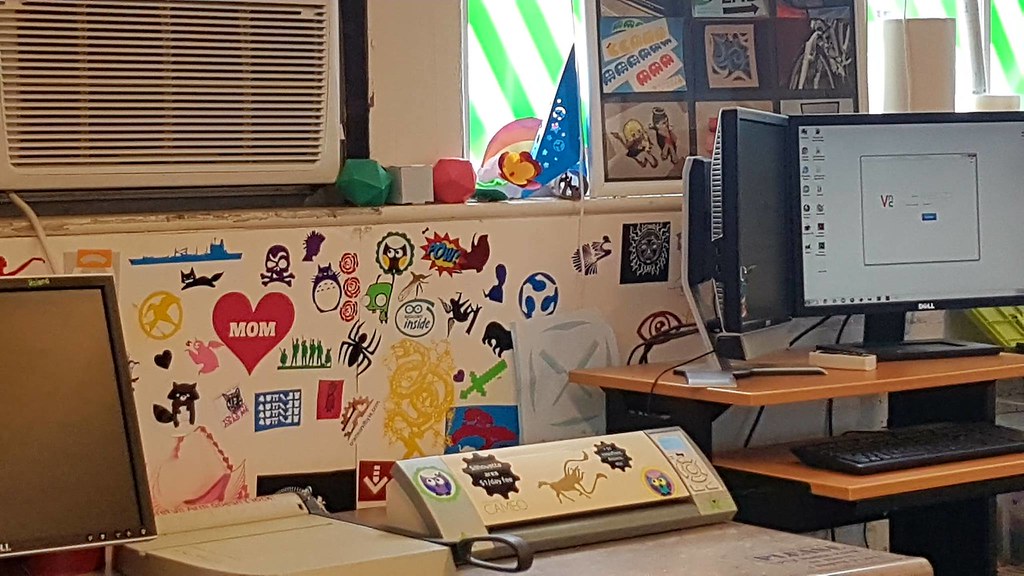
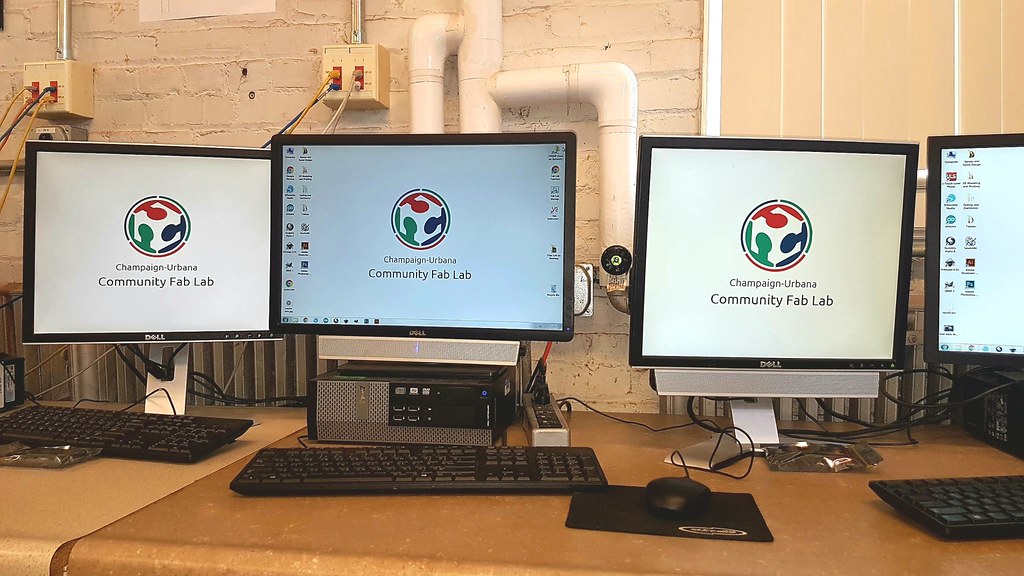
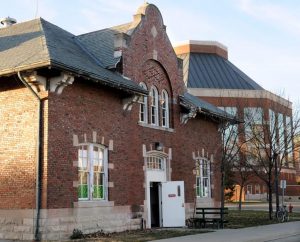 < Outside view of the Fab Lab
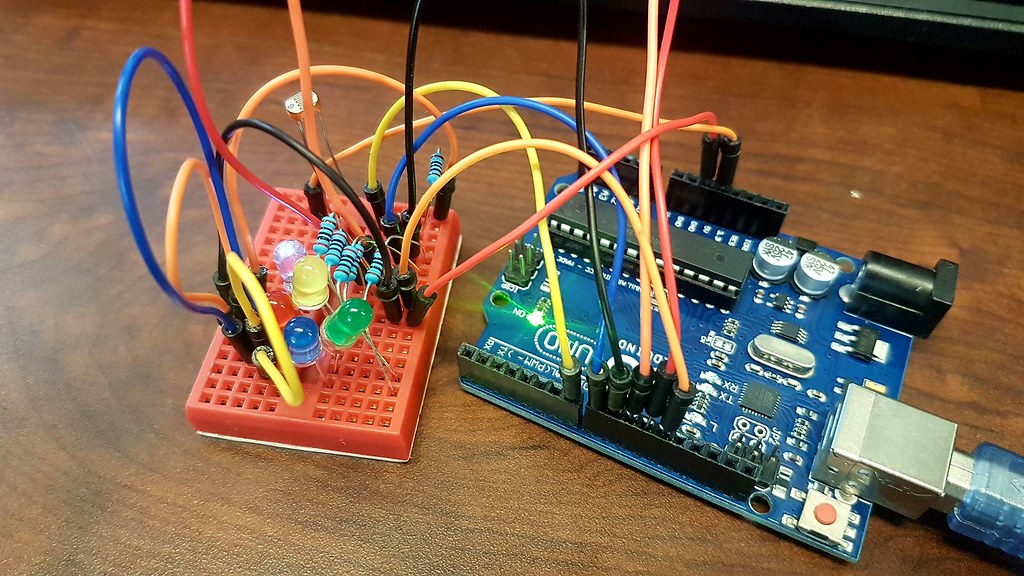
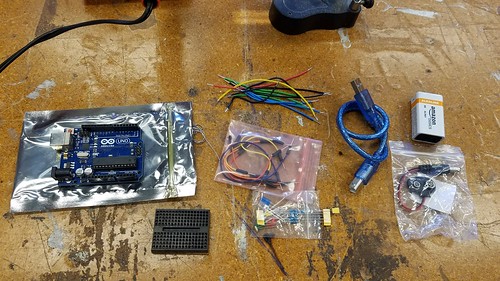
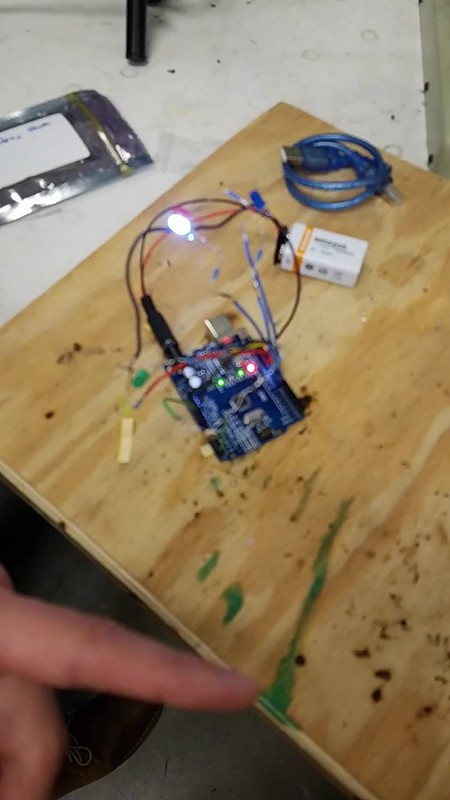
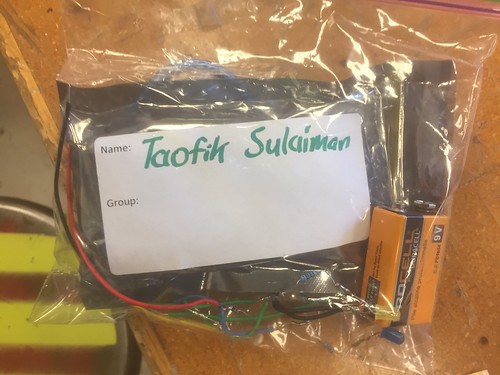
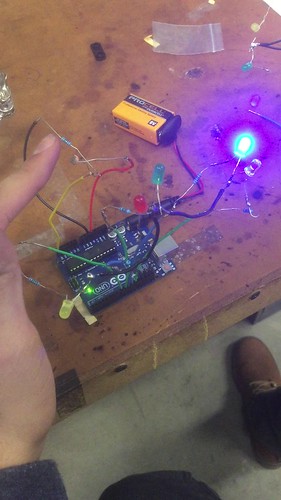
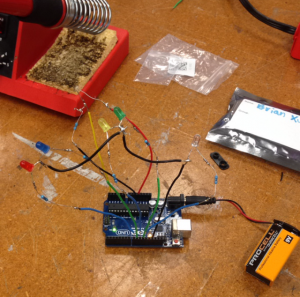 Arduino Circuit
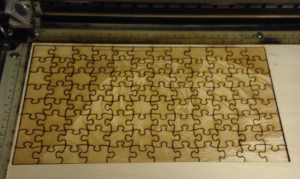 Laser Cut Tiger Puzzle