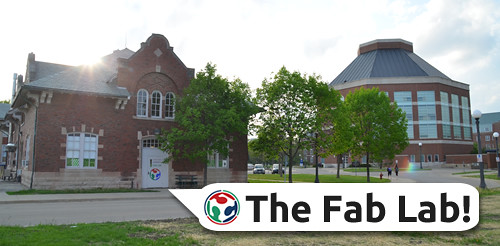
This week was definitely my favorite class session, because I am a person who loves getting work done physically and having a physical product in my hands. After hearing Jeff Ginger – the director of CUC FabLab – tell us about the lab in week 2, he gave us a great tour through the space where we got to go in as part of a series to get trained on and work with the many great tools and resources there ranging from 3D printing, to digital embroidery and every thing in between such as the biohacking space and laser cutter. It was also interesting learning how it all tied in with a Fablab movement/Network of FabLabs across the globe. Seeing the place in person was definitely more inspiring as they turned a place that could be considered run-down into an environment where ideas and creativity are not just born but brought to life. Its very astonishing how much is possible and available through the lab, they had a section for each of the above mentioned and set up classes to teach each of these concepts.
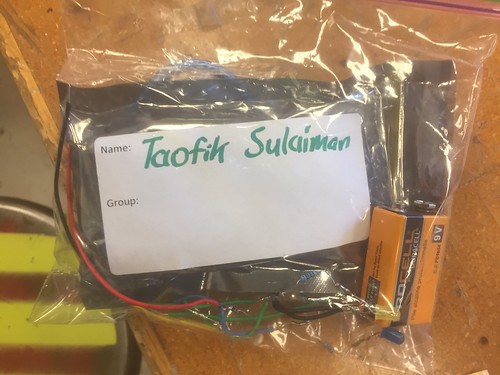
After the tour we, were split up into groups to partake in these classes to dive into one of these facets. I started with circuits and soldering using the given starter kit shown below. It consisted of an arduino uno board, batteries to power it, a photo resistor/resistor that changes its resistance according to the amount of light that hits it,
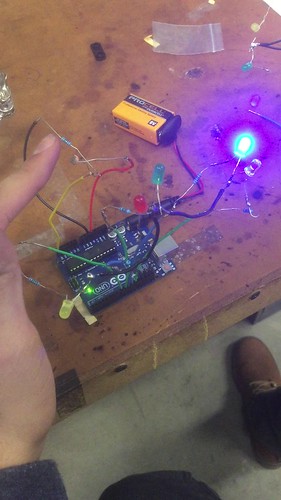
So with these resources, we will create a light sensing box that changes color the darker it gets around the sensor on the box. We were taught the basics of soldering – which means to join two wires using a hot-tip soldering iron and tin metal as a joint -then setting up the wires in the right connections with the LED lights and resistors, and finally plugging them into the arduino boards that were preset with the code needed for the final product. I enjoyed my time working on these so much that I bought some parts to work on my own personal projects and thats one of the effects that the FabLab has on people – inspiring the maker mentality to people that visit.
And now that we will have these skills and be familiar with these resources, we will be able to apply them to our own group projects due at the end of the semester. I am looking forward to the next two weeks where I will learn how to use laser cutters, write Arduino code and bring them all together. And I suggest everyone gets involved in the fablab nearest to their communities. Here’s links to learn more about Fablabs and where to find the nearest one. Link 1. Link 2.


Hello Taofik,
I enjoyed reading your blog post. The visuals your provided helped communicate the process of the workshop. I share the same enthusiasm as you had when we first were shown the interesting and intricate tools at the Fab Lab. I think the Fab Lab movement is great as it ties in with the Maker movement by providing spaces for communities to gather and share ideas. The link with showing nearby Fab Labs is useful resource and more people should know about them!