Soldering & Putting Together The Light Box

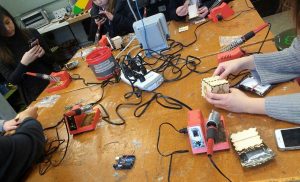
Wires are wrapped together and dangle like gruesome tentacles. A foul smoke rises in the air as the iron touches the metal. Silvery blobs form between two pieces of metal. The process of soldering is underway in the laboratory.

The third and final workshop at the Fab Lab was learning how to solder. I had no prior experience to soldering before, so I was extremely interested. The process of soldering is joining multiple pieces of metals together by melting and adding a filler metal. This results in a permanent connection between electronic components.

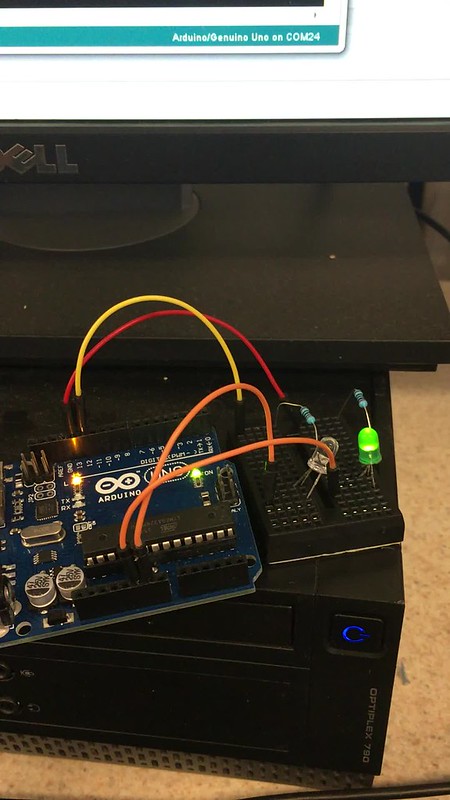
Looking back the process was fairly simply. We had to connect all our materials together using a soldering iron. A LED would be connected to a resistor, which would then be connected to a wire. The main concern was using knowing how to safely handle the soldering iron.

The three main safety procedures were to place the soldering iron back into its holder when finished and to never pass the iron to another person, the second was to not breathe in the gas being released when joining metals together, and to wash our hands afterwards since the materials contained lead.

During the workshop, I had difficulty getting the two pieces of metal to stay connected. In addition the metal wires were hard to twist together since they were small. I was one of the last to finish after carefully soldering all the wires together to create an octopus-shaped creature.

Once the soldering was finished, we tested them on our Arduino boards to see if the LEDs worked properly. Taking my time soldering had paid off as mines did not run into too many issues.

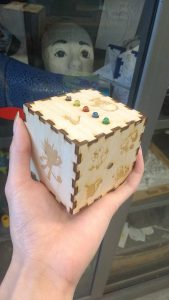
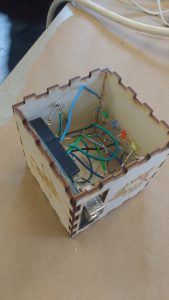
I laid out all of the components for my box on the table and began putting everything together. We had to make sure the wires were not touching one another and that the battery component was sticking out of the backside of the box. A couple drops of hot glue and a few burns later, the Arduino Light Box had been completed!

Instructables provides an easy to follow guide on soldering that can be used to apply these skills for your own project along with other projects that can help you practice your skills. Additional resources include a comic of soldering guidelines by the NASA standard.

Week 7 Summary: Building on Our Skills in the Fab Lab

In Week 7 of the Digital Making Course, our community of Makers once again ventured over to the Champaign-Urbana Community Fab Lab. Similar to week 6, our class broke into our three groups to work on the next rotation in making the Blinker Boxes. However, since we were already familiar with the layout of the building and the resources available to us at the Fab Lab, we were able to hit the ground running. Once again, our three groups were split up to working on Coding with the breadboard and Arduino, soldering the electronics, or designing the press-fit boxes for laser engraving and cutting.

Our time in the CUC Fab Lab serves many purposes. First and foremost, it provides us the opportunity to practice skills that can help us with our own making endeavors. It is especially helpful for our project groups to develop a diversified skill set that we can utilize on our semester projects. The workshops at the Fab Lab also familiarize us with the technologies and physical tools available to us. Learning from the staff also helps us get a feel for the greater Maker Community and hearing about their personal projects helped us understand their skill sets and how each of them may be able to help with our projects. Finally, spending time in our own Maker Lab, the Fab Lab, and with all the staff and volunteers gives us a better idea of the Maker Movement that is revolutionizing businesses across the nation and around the world.
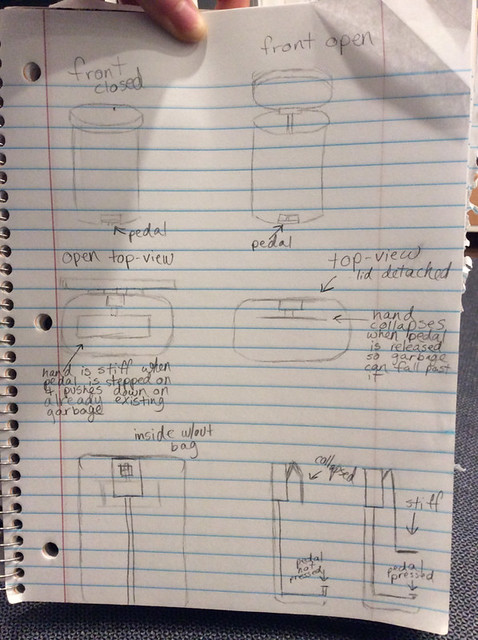
Supra

Team Supra’s Concept

As we keep going through the semester, we are rapidly approaching the design and prototyping phases of our semester projects. All of the project teams are refining their “How can we” statements while defining the actual problem they are looking to solve. Our first project idea submission was due on Wednesday of Week 7. To give you an idea on some of the concepts the class is working on, Team IJK is trying to help college students decrease stress by using indoor gardening. Team XNihilo is attempting to have busy professionals or college students drink more water. The MakerLAX is hoping to “help teenagers, young adults, and anyone else who struggles” tie a tie properly. Team Zerott is trying to improve patient satisfaction at hospitals. In Week 8, the project groups will be moving forward based on the feedback they have received. Once again we will be submitting our “How can we” statements, but this time we will include a concept details, key components of the solution, the capabilities of team members, outside resources for skills and fabrication tools, and any information resources identified.
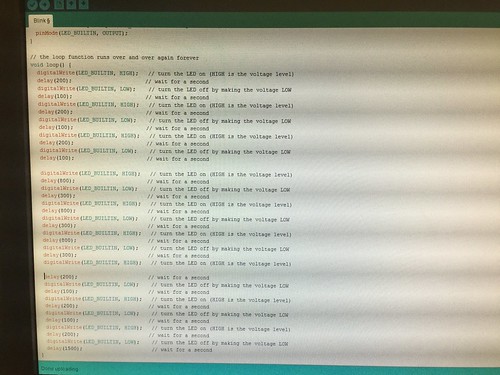
Odelia Code

Odelia spent this week in the computer section of the Fab Lab code the Arduino for the Blinker Box. Odelia said, “This was my first time actually seeing a computer board up close and I was definitely quite surprised by how it looked. Personally, I thought that it seemed quite fragile and easily breakable. However, it was quite sturdy and it could hold quite a bit of force. Along with the Arduino board, the following things were included.” After setting up the circuit and trying to adjust the code, she found working with the light sensor was the most difficult part of the lesson. I think many would agree, as the range of values corresponding to which LED flashed depended on the specific sensor and how bright the part of the lab you were sitting in was.
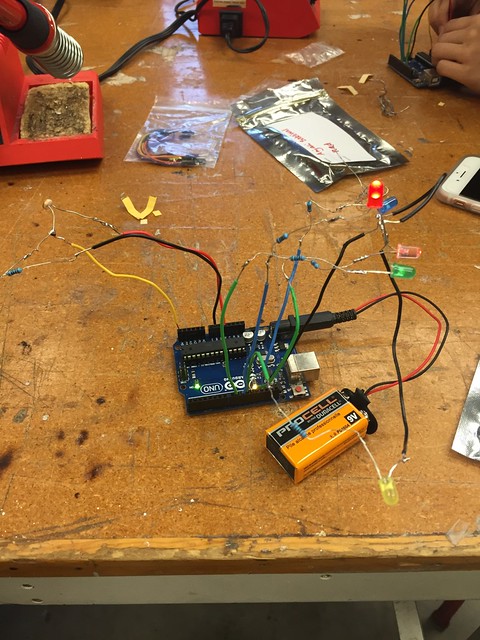
Chase Soldering

Chase spent the class time in the electronics section of the lab soldering his LED’s together. Reflecting on the class , said “the instructional course ultimately proved to be very time consuming and required incredible delicacy, there is little doubt in my mind that this is a crucial tool in any maker’s arsenal of building tools.” For many in the class, this was their first experience with soldering. However, we all were able to pick up on tips and tricks such as using the “helping hands” or tape to hold wires down while soldering multiple pieces together. By the end of class, Chase and his group mates were able to wire the LED’s and sensor into the Arduino he programmed in Week 6 and the LED’s flashed as planned! Finishing off his post, Chase, like many, said he hopes to “incorporate soldering in some capacity” into the final project.
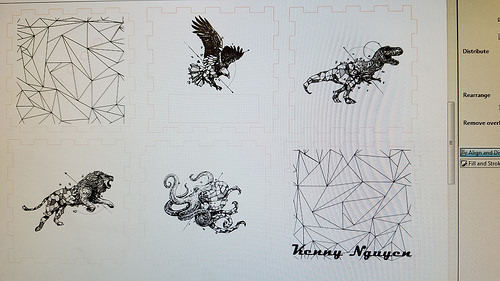
Kenny Design

The final phase of the Blinker Box is the making the press fit box. Kenny wrote about using the free Inkscape software to design his box. By taking images from the Internet and vectoring them using the Trace tool, the images became compatible with the laser. Kenny chose artwork from one of his favorite designers to put onto his box. Once it was finished, he said, “It was very rewarding to be able to see something you design on a computer come to life in a matter of minutes. There was something satisfying from watching it go back and for until your vision comes true.”
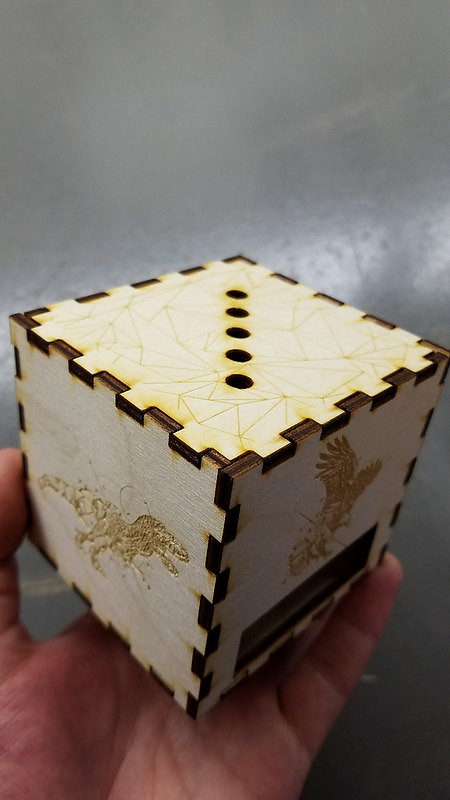
Kenny Box

All of our blinker boxes are coming together as we build on our skills at the Fab Lab. Week 8 will be the last class session in the Fab Lab but many of us will be back to work on our projects. Happy Making!


Final Week in the Fab Lab: Coding with Arduinos

This week we faced the cold and snow as we headed to the Fab Lab for our final session of our 3-week long workshop at the Fab Lab. After working in the electronics area to solder, the laser area to make the press-fit box housing, it was time to work in the coding area at the front of the Fab Lab.

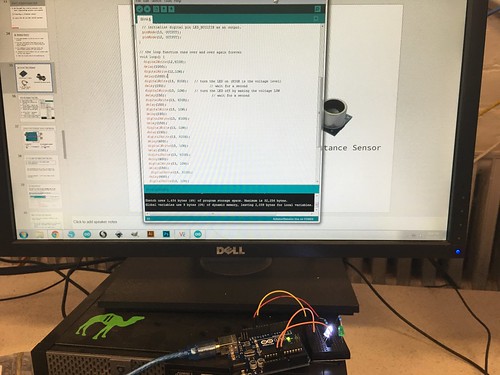
Assisting our group with the Arduino portion were Fab Lab staff members Andrea Vozar and Alexis Papak. After an introduction to the interface we would be using to practice our coding, we started taking out all the components in our kits. To familiarize ourselves with the basics, we set up a simple circuit and opened up some example code that would cause an LED to flash on and off. We were than challenged to change the code so that it signaled the SOS message Morse code. After adding a few lines and changing some values then uploading the new code to the Arduino, I was able to successfully make the LED signal SOS. Then we were challenged to add a second LED and code it so that the lights alternated flashing. After changing the existing code and adding more lines to accommodate two separate LED’s, the lights alternated flashing.

IMG_1137

Once we were comfortable with our introduction to coding, it was time to start working on the Blinker Box. We followed a schematic to assemble our soldered LEDs into the right pins, ground, and power source. Then well pulled up the coding for the light box and uploaded it to the Arduino. Now we had to test the photo resister to determine the range of light intensity that was being sensed. After a few attempts of trial and error, I was able to identify an appropriate range for the LED’s to light up at and eventually cycle through flashing. Finally it was time to assemble the box. Using the press-fit cutouts from last week, I put the LED’s and photo resister through their respective holes, and then assembled the box around the Arduino. After 3 weeks of hard work, the project was completed!

IMG_1138

Over the past three weeks, working at the Fab Lab provided a solid foundation of 3 different areas of making. Not only do we have a tangible object to show off our learning, we are also comfortable working in the fab lab and can now use what we learned on our group projects and hopefully our own personal projects. To help with personal or the group project, I found Hackster.io, an online community geared towards helping people learn about hardware. You can search difference projects by proficiency level, application type, hardware unit, or many other options. it reminds me of Thingiverse in that you can search and use product categories as well as the community platform it provides.  For the group that is considering Hydroponics product, I found this project using Arduino and Raspberry Pi, which may be helpful.  The Arduino website also has a great collection of resources for learning the various Arduino products, programming, and offers several tutorials to work through.  Happy Making!