
This week we faced the cold and snow as we headed to the Fab Lab for our final session of our 3-week long workshop at the Fab Lab. After working in the electronics area to solder, the laser area to make the press-fit box housing, it was time to work in the coding area at the front of the Fab Lab.
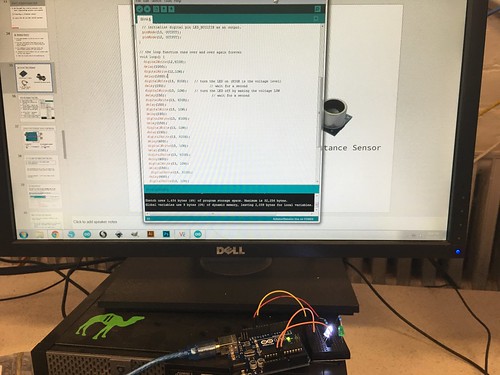
Assisting our group with the Arduino portion were Fab Lab staff members Andrea Vozar and Alexis Papak. After an introduction to the interface we would be using to practice our coding, we started taking out all the components in our kits. To familiarize ourselves with the basics, we set up a simple circuit and opened up some example code that would cause an LED to flash on and off. We were than challenged to change the code so that it signaled the SOS message Morse code. After adding a few lines and changing some values then uploading the new code to the Arduino, I was able to successfully make the LED signal SOS. Then we were challenged to add a second LED and code it so that the lights alternated flashing. After changing the existing code and adding more lines to accommodate two separate LED’s, the lights alternated flashing.
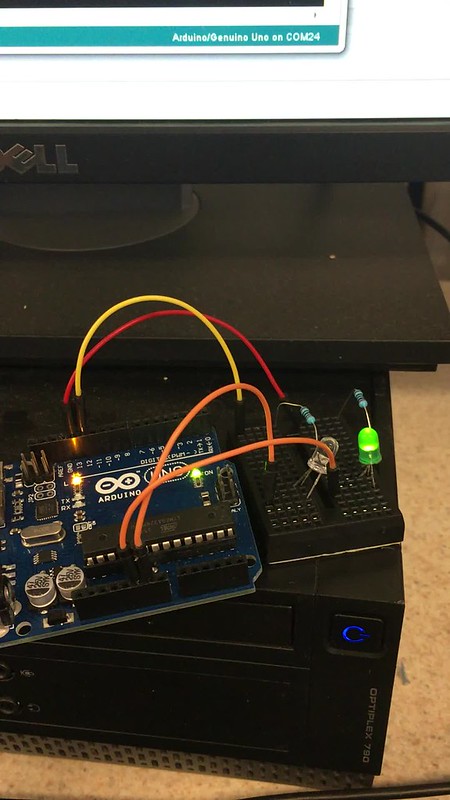
Once we were comfortable with our introduction to coding, it was time to start working on the Blinker Box. We followed a schematic to assemble our soldered LEDs into the right pins, ground, and power source. Then well pulled up the coding for the light box and uploaded it to the Arduino. Now we had to test the photo resister to determine the range of light intensity that was being sensed. After a few attempts of trial and error, I was able to identify an appropriate range for the LED’s to light up at and eventually cycle through flashing. Finally it was time to assemble the box. Using the press-fit cutouts from last week, I put the LED’s and photo resister through their respective holes, and then assembled the box around the Arduino. After 3 weeks of hard work, the project was completed!
Over the past three weeks, working at the Fab Lab provided a solid foundation of 3 different areas of making. Not only do we have a tangible object to show off our learning, we are also comfortable working in the fab lab and can now use what we learned on our group projects and hopefully our own personal projects. To help with personal or the group project, I found Hackster.io, an online community geared towards helping people learn about hardware. You can search difference projects by proficiency level, application type, hardware unit, or many other options. it reminds me of Thingiverse in that you can search and use product categories as well as the community platform it provides. For the group that is considering Hydroponics product, I found this project using Arduino and Raspberry Pi, which may be helpful. The Arduino website also has a great collection of resources for learning the various Arduino products, programming, and offers several tutorials to work through. Happy Making!
Hi Brian,
Great post! I really liked how they helped us have a better grasp on coding through hacking and then following the process of uploading the blinking code for the arduino. During my session I had not done the soldering so our hardware was not set up yet, it must’ve been quite a different experience since you had soldered and had already placed the wires into the arduino board. I agree that the three weeks at the Fab Lab really had given all of us a better understanding of making as we were able to take a hands on approach to learning.