
The second session at the FabLab this week meant that we were at a new stage for our light receptor boxes. Last week we had the pleasure of soldering the circuits together and testing it on the Arduino units. This week our group went to the laser cutter to create the box in which our project will be encapsulated in. We utilized a free software called Inkscape which is similar to Adobe Illustrator but I found it a little easier to use. We started off by learning the basics of taking an image from the internet and then vectoring it to be able to get the black lines out through the Image Trace option and that allowed us to make basic images into vectors that we can work natively on the software.
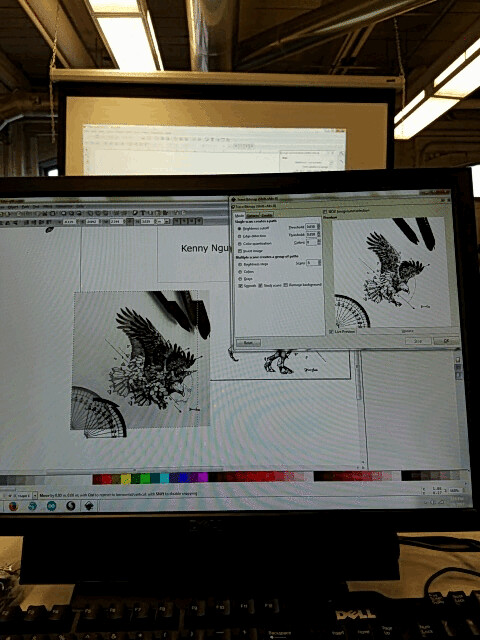
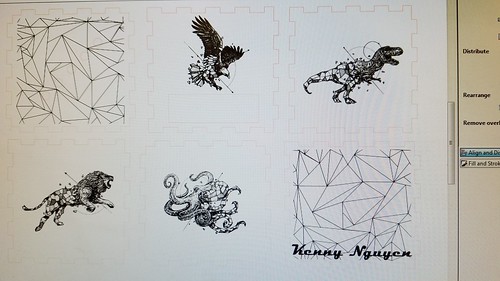
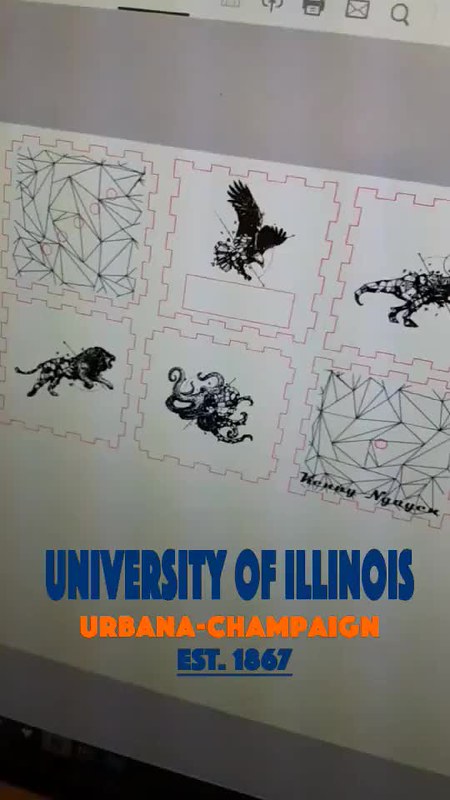
This made it very intuitive to be able to take any image with defined black and white borders and make it into a vector so we are easily able to manipulate the points and add or subtract portions of the image. We obtained the box layout from a website that the FabLab provided us and then added our own designs. This was the outcome of me scouring the internet for my favorite graphic designer from the Philippines, Kerby Rosanes.
Upon finishing the files and layout, you transferred the document as a PDF file to the printer and I was using the EpiLogue printer which is a very strong one that can cut a variety of materials as well as thicknesses. You had to make sure that the colors and sizes of the cuts were 0.001 in and that the color was in RGB mode with 255 for Red and 0 for everything else. The raster aka engraving could be black and any size. The laser cutter was very precarious and we had to make sure that the settings were 100% accurate.
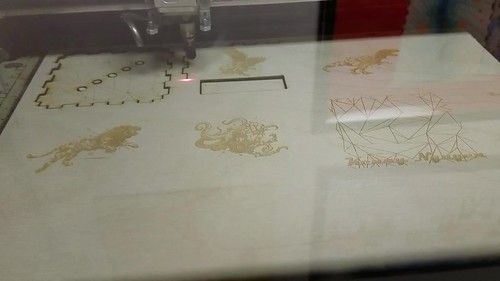
Here you can see a time lapse I had made through the rastering process.
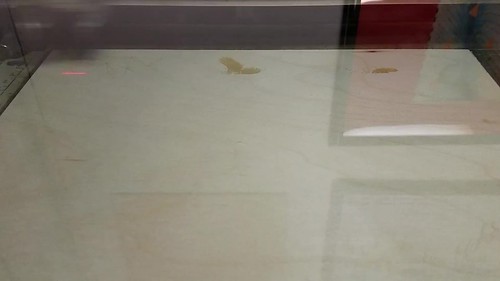
It was very rewarding to be able to see something you design on a computer come to life in a matter of minutes. There was something satisfying from watching it go back and for until your vision comes true. After the printer is able to raster everything, it begins the cutting process which I also speed up the cutting time.
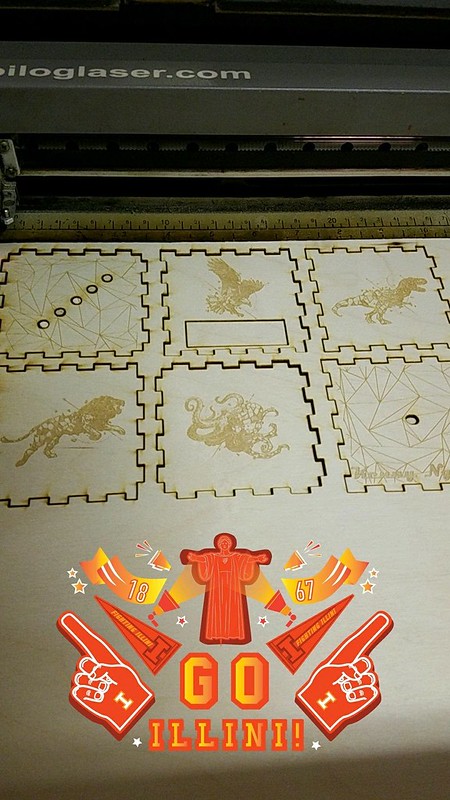
Here you can see the final cuts and it is all done for me to assemble.
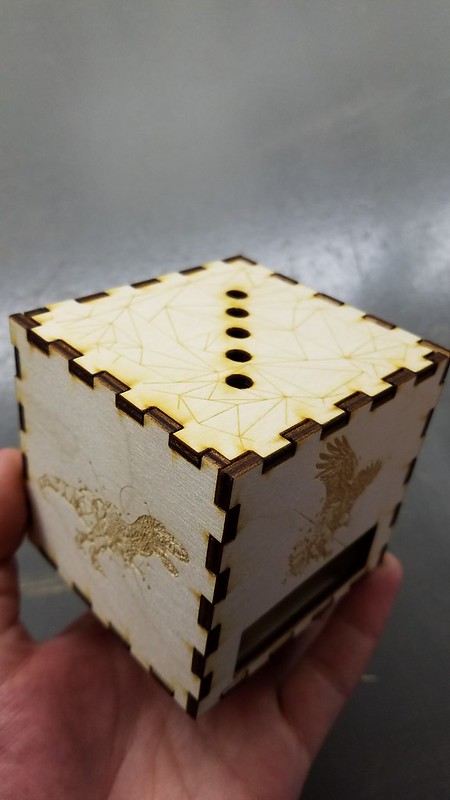
The picture below shows me assembling the box without the electronic components in it yet and so I thought it looked very cool and can not wait to combine everything together next week after we learn to code the Arduino.
A helpful article I found while using the laser printer was found on Instructables with 10 helpful tips and tricks. Going forward I am excited to be able to use the laser cutter for our final project as it is less intimating as I thought it was. I will also probably use this tool for other projects too since it is fairly easy being able to use this tool.
Hey Kenny I loved your time lapse videos – very creative way to capture the process! I also am a big fan of the designs you chose to use for your box, very cool. Hope this eye for great aesthetic design carries over into your project. As I’m sure the aesthetic design of your final project will be critical to its success as most products.
Hey Kenny, really cool post! I really enjoyed the videos and pictures you posted, I know I am scheduled to learn laser cutting next week and I can’t wait. This really interested me, and it’s really cool to see how you can take any of your favorite black and white images and make them in a way that your computer can read it and laser print it. I also can’t wait for next week when everything we’ve learned over the past three weeks finally comes together and we get to make our light sensor.