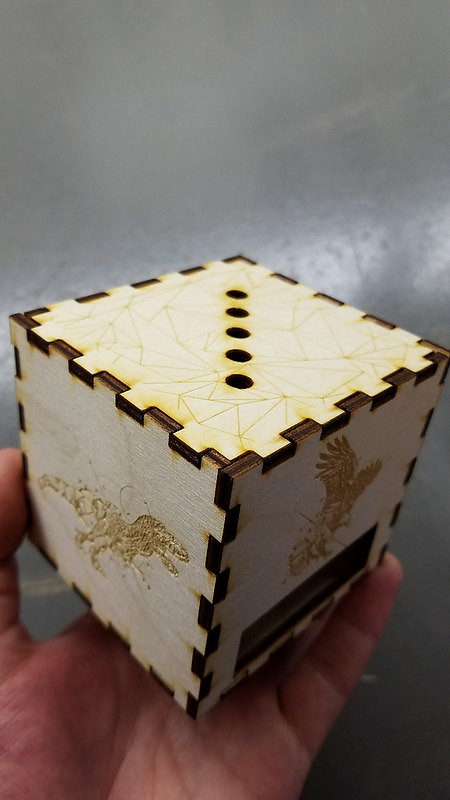
Final Touches: Laser Engraving

During our final session in the Champaign Urbana Fab Lab, I had the opportunity to create a digital design of a 3D box utilizing the software Inkscape before laser printing said design onto a sheet of wood. As I immensely enjoy graphic design and have spent a great deal of time working in Adobe Photoshop, this process was relatively familiar to me, and therefore was by far the easiest station out of our three sessions. For me, the hardest portion of the process was actually assembling the box itself, once each of the six faces had been designed and cut by the laser. My first mistake was not paying attention to which designs I placed on which faces (assuming they could be assembled in any fashion, which proved otherwise.) Therefore, my favorite face on the box ended up serving as the base, and the side I left blank to serve as the base functioned as a visible side. However, this acted as a valuable lesson for future use of such templates!

I believe that the laser printing capabilities will likely contribute most to our final project from an aesthetic perspective. While our product will likely rely more heavily on 3D printing, mechanics, and (if implemented) the soldering and programming for LED lights, laser engraving could be useful for adding small adjustments, such as a patterned design or engraved logo on the plastic. In the grand scheme of things, I find these skills very useful in a variety of purposes, both functionally and artistically – the ability to create digital designs and transmit them perfectly onto a plethora of materials is one that enables the maker to exact the appearance of their creation, and increases the flexibility and efficiency of the creation process.

I was intrigued as to what limitations exist with regard to laser imaging; I assumed that cloth would present problems due to the high temperature required to impart designs on the material. However, this fascinating article by Joe Sylvester discusses the process that allows a uniform factory to laser designs onto various fabrics at temperatures of up to 400 degrees. Furthermore, I discovered this infographic discussing the possibilities for individuals to run home businesses through use of laser engravers – this ties back to the utility of such a machine for artists or others who create in their own spaces. Finally, I happened upon a new technology known as the “Snapmaker”, a Kickstarter invention that combines the technologies of 3D printing, laser engraving, and CNC carving. This machine, offered for a mere $299, could revolutionize the 3D making process in combining three highly utilized technologies at such a low price. This aids the mission to make 3D making accessible to the public in a way it previously has not been, and to encourage individual creativity in many forms. Overall, I have loved my time in the CU Fab Lab, and look forward to returning as we finalize our project.

Week 7 Summary: Building on Our Skills in the Fab Lab

In Week 7 of the Digital Making Course, our community of Makers once again ventured over to the Champaign-Urbana Community Fab Lab. Similar to week 6, our class broke into our three groups to work on the next rotation in making the Blinker Boxes. However, since we were already familiar with the layout of the building and the resources available to us at the Fab Lab, we were able to hit the ground running. Once again, our three groups were split up to working on Coding with the breadboard and Arduino, soldering the electronics, or designing the press-fit boxes for laser engraving and cutting.

Our time in the CUC Fab Lab serves many purposes. First and foremost, it provides us the opportunity to practice skills that can help us with our own making endeavors. It is especially helpful for our project groups to develop a diversified skill set that we can utilize on our semester projects. The workshops at the Fab Lab also familiarize us with the technologies and physical tools available to us. Learning from the staff also helps us get a feel for the greater Maker Community and hearing about their personal projects helped us understand their skill sets and how each of them may be able to help with our projects. Finally, spending time in our own Maker Lab, the Fab Lab, and with all the staff and volunteers gives us a better idea of the Maker Movement that is revolutionizing businesses across the nation and around the world.

Supra

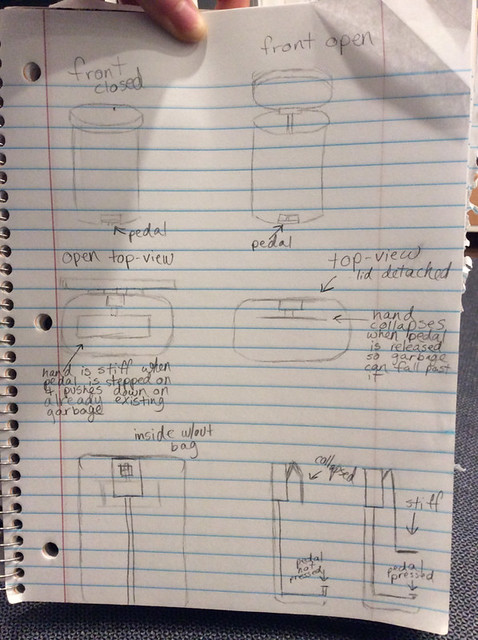
Team Supra’s Concept

As we keep going through the semester, we are rapidly approaching the design and prototyping phases of our semester projects. All of the project teams are refining their “How can we” statements while defining the actual problem they are looking to solve. Our first project idea submission was due on Wednesday of Week 7. To give you an idea on some of the concepts the class is working on, Team IJK is trying to help college students decrease stress by using indoor gardening. Team XNihilo is attempting to have busy professionals or college students drink more water. The MakerLAX is hoping to “help teenagers, young adults, and anyone else who struggles” tie a tie properly. Team Zerott is trying to improve patient satisfaction at hospitals. In Week 8, the project groups will be moving forward based on the feedback they have received. Once again we will be submitting our “How can we” statements, but this time we will include a concept details, key components of the solution, the capabilities of team members, outside resources for skills and fabrication tools, and any information resources identified.

Odelia Code

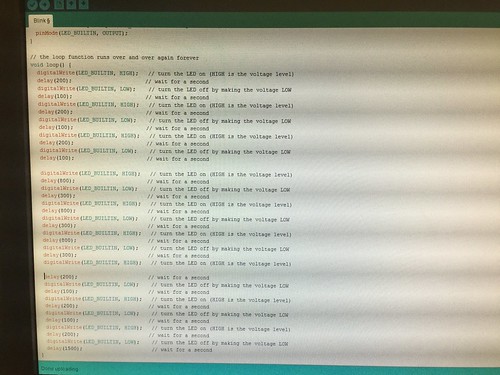
Odelia spent this week in the computer section of the Fab Lab code the Arduino for the Blinker Box. Odelia said, “This was my first time actually seeing a computer board up close and I was definitely quite surprised by how it looked. Personally, I thought that it seemed quite fragile and easily breakable. However, it was quite sturdy and it could hold quite a bit of force. Along with the Arduino board, the following things were included.” After setting up the circuit and trying to adjust the code, she found working with the light sensor was the most difficult part of the lesson. I think many would agree, as the range of values corresponding to which LED flashed depended on the specific sensor and how bright the part of the lab you were sitting in was.

Chase Soldering

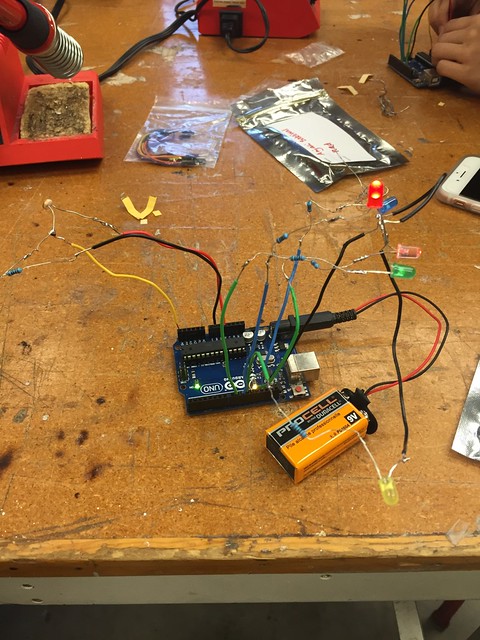
Chase spent the class time in the electronics section of the lab soldering his LED’s together. Reflecting on the class , said “the instructional course ultimately proved to be very time consuming and required incredible delicacy, there is little doubt in my mind that this is a crucial tool in any maker’s arsenal of building tools.” For many in the class, this was their first experience with soldering. However, we all were able to pick up on tips and tricks such as using the “helping hands” or tape to hold wires down while soldering multiple pieces together. By the end of class, Chase and his group mates were able to wire the LED’s and sensor into the Arduino he programmed in Week 6 and the LED’s flashed as planned! Finishing off his post, Chase, like many, said he hopes to “incorporate soldering in some capacity” into the final project.

Kenny Design

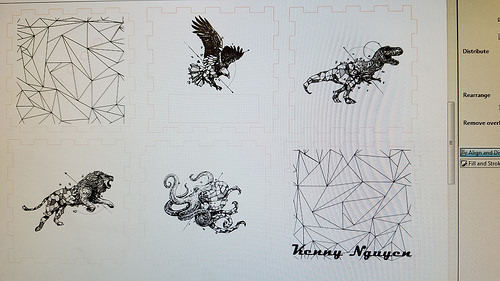
The final phase of the Blinker Box is the making the press fit box. Kenny wrote about using the free Inkscape software to design his box. By taking images from the Internet and vectoring them using the Trace tool, the images became compatible with the laser. Kenny chose artwork from one of his favorite designers to put onto his box. Once it was finished, he said, “It was very rewarding to be able to see something you design on a computer come to life in a matter of minutes. There was something satisfying from watching it go back and for until your vision comes true.”

Kenny Box

All of our blinker boxes are coming together as we build on our skills at the Fab Lab. Week 8 will be the last class session in the Fab Lab but many of us will be back to work on our projects. Happy Making!