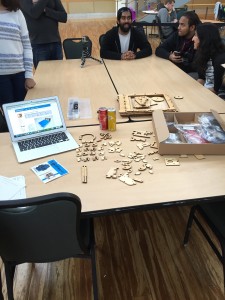
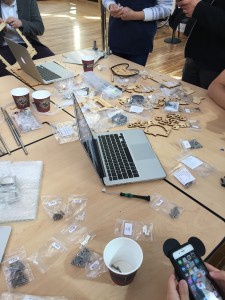
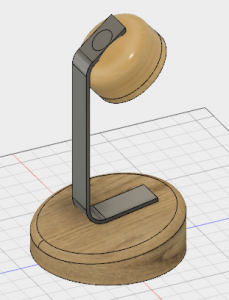
Within the last two weeks, we were basically getting familiar with Autodesk Fusion 360 platform to sketch different creative ideas and transfer products into 3D models. It was very exciting to get first hand experiene on deign interface with Autodesk expert Lucas Ewing. The first half of class was spent on navigating the general layout of Fusion 360. In the second half of class, we moved to design stage which was learning how to create a pen tip, inspired by a Bic ballpoint pen, guided by our expert. For our next class, Professor Vishal brought in campus Autodesk experts Gina Taylor and Nicole Chimienti to help the class to create a lamp in the use of Fusion 360. The following are several selected design examples posted on course website.
 by Reid Dahlstrom
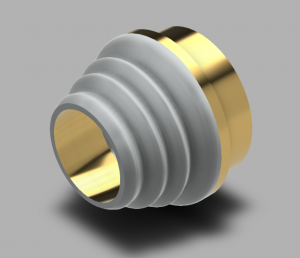 by Steve Koziel
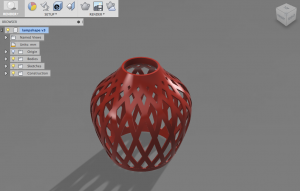
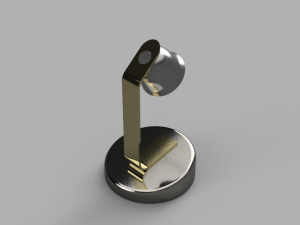 By Elaine
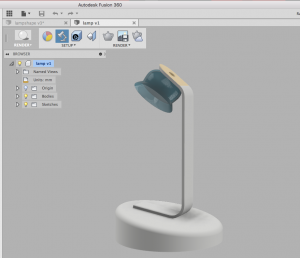
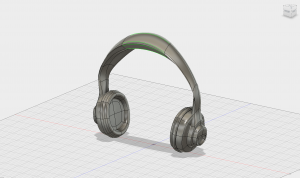 By Toheeb Okenla
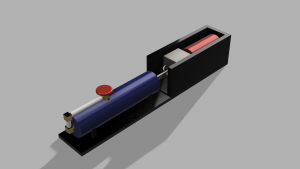
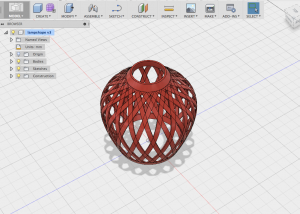 By Ran Jin
We all enjoy playing different funcitons on Fusion 360 to create incrediable samples and display innovative ideas. Lots of classmates share the interesting using experience on their blogs.
For example, ” I always thought that 3D modelling was a black art of sorts, but in reality it’s extremely intuitive. It’s a lot like programming, something I’m very familiar with, but for physical objects. Programming is all about breaking a complicated process down to its individual steps, and modelling is about breaking down an object into its individual components. Now that I’ve seen how it works, I can’t wait to try more.” said by Prithvi.
Qu Andrew comments, “It was a great learning experience and led to new insights about how objects are designed as well as how those designs tie in with construction. I’ve very much enjoyed these hand on experiences and am looking forward future classes at the FabLab. Every learning experience so far has broadened my horizons regarding making and creating, whether it be the introduction of new ideas and knowledge, or reaffirmation of previously gained concepts. Thinking in the terms of maker requires a large mindset change, but I feel that I am making good progress towards that end.”
“I have a very strong background in a few Autodesk product like AutoCAD, Revit, and Rhinoceros therefore a lot of what we learned in class felt like a review. Other things we went over though really amazed me. The simplicity of Fusion 360 and user friendly platform really won me over. Fusion is much simpler than many of the other software’s I use but still enhance enough to where we can design and create crazy awesome products.” shared by Harina Jayswal.
In sum, the workshops are good practicing time for us to be familiar with the software. While we have limited time to get more advanced trainings on Fusion, Youtube tutorials and other resources from professor or classmates are good tools to learn different functions and models. Some people are going to use this user-friendly software on their semester project ideas since Fusion 360 is a very flexible, easy-learning and comprehensive tool to help designers/engineers to transfer initial thoughts into practice. Furthermore, a few classmates think learning process is interesting and useful for their career development because they just knew a new skill from this class to enrich the technical background.

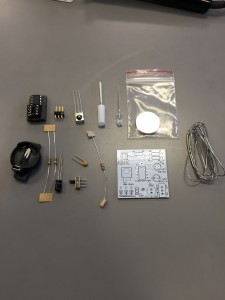
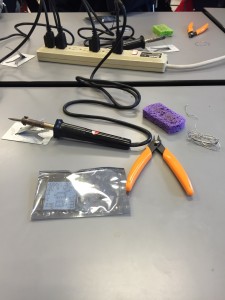
![IMG_1640[1]](http://publish.illinois.edu/digitalmaking2016/files/2016/04/IMG_16401-225x300.jpg)

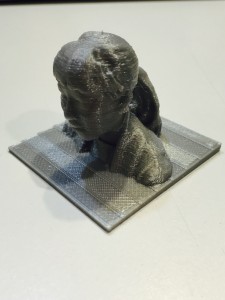
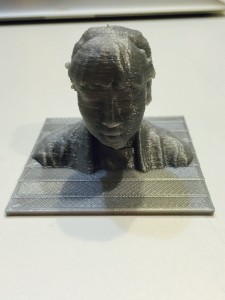
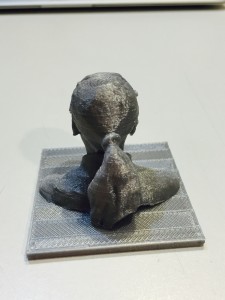
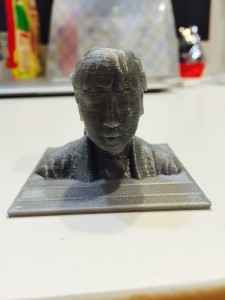
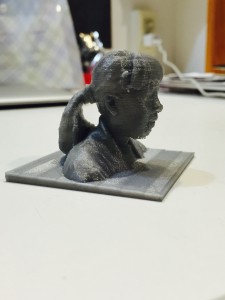
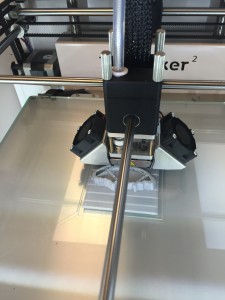
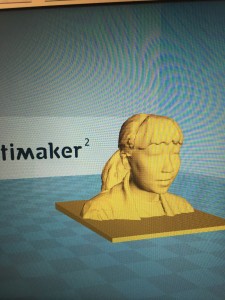
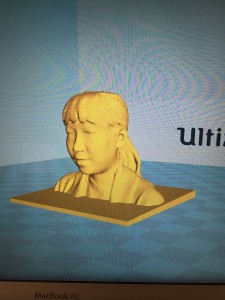
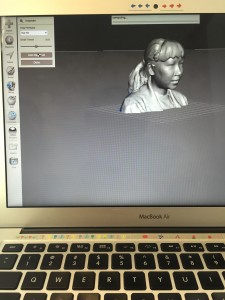
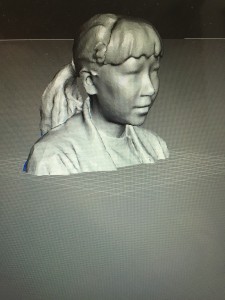
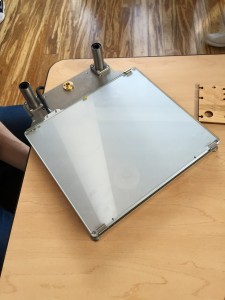
 Figure One
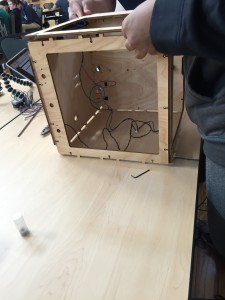
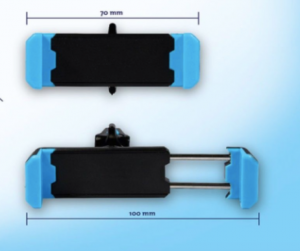 Figure Two