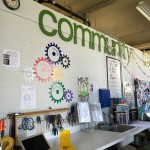
Recently our class has spent much time in the fabled Champaign-Urbana Community Fabrication Laboratory (Fab Lab). It was an exciting experience for many of the students as this was our first time stepping in a Makerspace outside of the MakerLab in BIF. Stepping into the Fab Lab, many students were awed (or taken aback) by the elements of controlled chaos that are so typical of entrepreneurial establishments. Here are a few images to give you an idea:
 Images by Annie Guo
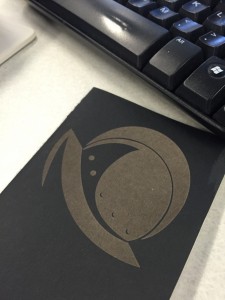
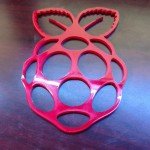
After a short introduction by Jeff Ginger, our broke off into three sections to learn about laser cutting, arduinos, and digital embroidery, respectively. Duncan led the session on laser cutting and introduced the group to an open-source software known as Inkscape. It’s a vector manipulation software similar to GIMP or Illustrator and super easy to pickup. After some image manipulation in Inkscape, and a safety briefing on proper procedure in using a laser cutter, we were rastering and cutting on various materials. Students were surprised to see the accuracy and speed with which a laser cutter can take an intangible design and produce a custom physical object!
 by Pri Garimalla
 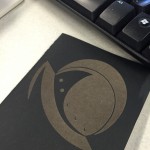 by Andrew Qu
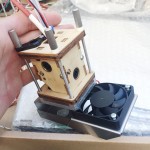
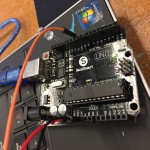
A second group was working with arduinos that day as well. Colton was very patient and thorough in guiding the students through some of the technical aspects of the technology, and there was great discussion about future implications or potential uses. In class, there were some basic activities with LEDs and motors that got everyone up to speed, and then some free-time to let students explore additional possibilities. Enterprising students would start using materials around them to create simple contraptions like a crude force sensors or wireless circuits.
 Images by Elaine Li
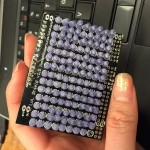
The final group of students spent the day with digital embroidery. At this station, there is the potential for smart fabrics and electronically enabled wearables. During class time, students created embroidered patches that could be ironed onto other fabrics from individually-sourced designs. Similar to the laser-cutting session, students found great delight in transferring an image from a virtual realm to the physical.
![IMG_0844[2]](http://publish.illinois.edu/digitalmaking2016/files/2016/03/IMG_08442-150x150.jpg) Image by Claire Chen
Image by Claire Chen
Overall, everyone enjoyed their first experience in the Fab Lab. It was great to see how quickly anyone could pick up the technology in the facility and create cost-effective mock ups and prototypes. Most of us have never had exposure to the types of machinery we worked with, but by the end of the class session we had learned so much and were more than ready to come back to be exposed to even more making!