
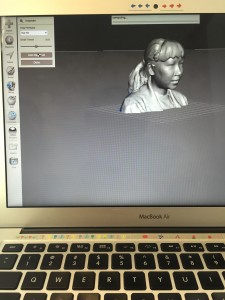
The topic of this week is 3D scanning in the use of Meshmixer developed by Autodesk (http://www.meshmixer.com). I saw some of my classmates use the scanner on the 3D printing expo last week, so I am very exciting to create my own model. There were three major steps from scanning to printing. 1. scanning 2. modifying 3. printing.
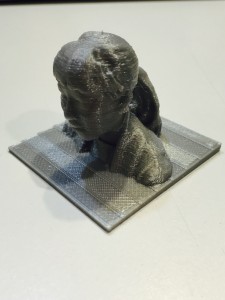
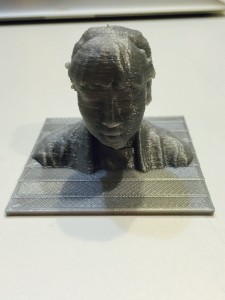
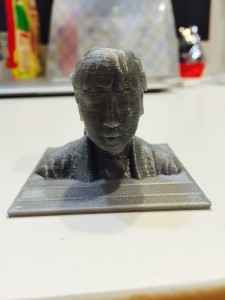
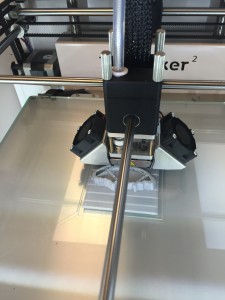
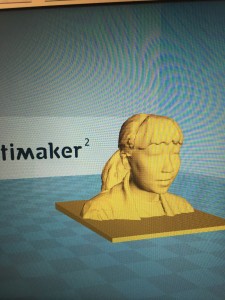
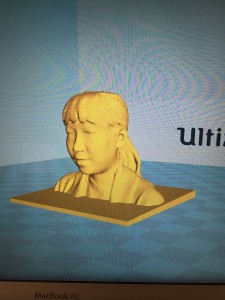
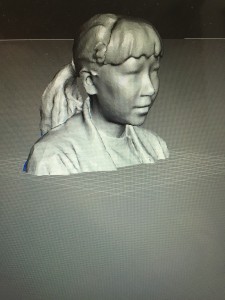
The professor provided us two different types of scanners for capturing human faces and part of the bodies. One of the scanners is very user-friendly, attached to an Ipad. Another one seemed more completed and time-consuming. During the class, the first step we did was collaborating with a classmate to finish the head scanning. Jiaqian and I were assigned to the Ipad scanner. Basically, one people just held the head and tried to keep it still. The partner rotated steadily on an axis in order to capture all details until the processing percentage reached to 100%. Since we were the second team to use the Ipad scanner, we got lots of suggestions from the first team. It helped us to save time and avoid failures. Then, after completing the scanning, we had to email the files to ourselves for further modification. “Meshmixer is state-of-the-art software for working with triangle meshes.” It is free software that is able to work on windows and mac. Meshmixer provides a large variety of tools which allow the user to do different types of modification, such as 3D Sculpting and Surface Stamping, Automatic Print Bed Orientation Optimization, Layout & Packing, etc. Some tools on the menu bar were confused me in the first place, but with the help from classmates, I quickly overcame the issues. The most difficult part for me is attaching the bust to a base because it involved multiple adjustments to make it perfect and avoid the hollows between two parts. The final step was exactly like general 3D printing, which it was transferring the file to the Ultimaker 2. The overall printing took approximately 1 hour and 15 minutes.
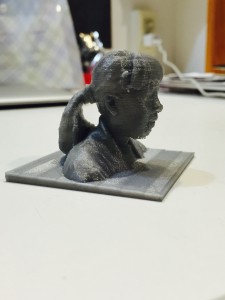
The lesson about the scanning was a very interesting experience. We not only had the chance to learn benefits and current implementations of 3D scanning but also got a hand on experience to actually design and print out my bust. I believe 3D scanning will be extremely useful for the future model design because of the convenience and very few restrictions. Any completed shapes of the objects can be easily scanned and modified through certain software. The creations are able to make huge changes on the current models. It also saved designer time on sketching the outlines. The only limitation 3D scanning should be improved is the accuracy. There are some differences between the design model and the real case.
Your scans came out great! congratulations.
Your print looks awesome! While we were designing some of these scans during the Build a printer event three weeks ago, we did not know how to modify them in MeshMixer. However, now that we have acquired this skill, the prints (like yours) come out much more smoothly and look a lot better!
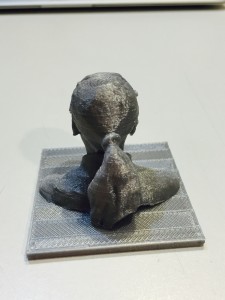
Hi Jin Ran, very detailed description of the process, well done! When I was using the ipad to capture the image of your head, I kind of see that it misses some triangles around the ear area, so if the scanner can capture more detailed figures it would definitely be better!