
I was so surprised that we actually were allowed to build a real 3D printer/upgrade Ultimaker 2 to become an Ultimaker 2+ in the first class of the spring break. I was excited when I saw the announcement on the Facebook page. It would be a good time to know the technical details behind a 3D printer. While knowing how to use the 3D printer is the primary goal for 3D printer beginners, understanding how the printers work is interesting and beneficial to us as well because we are able to make improvements during the process of assembling. We started to organize the event around 2 pm in the BIF atrium. The representative from Ultimaker provided us several small packages of kit for building 3D printer and a Ultimaker 2 printer that was ready for upgrading. He encouraged the people who were willing to assemble a 3D printer separate into two groups (Frame & Extrusion head to start the task at the time. He also mentioned that the process was just like equipping Ikea furniture. As the matter of fact, assembling a 3D printer were much frustrated than building furniture even if people have previous experience on assembling.
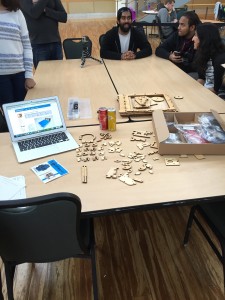
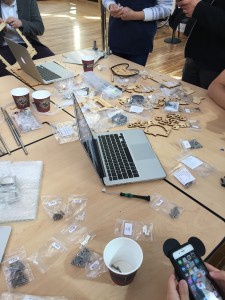
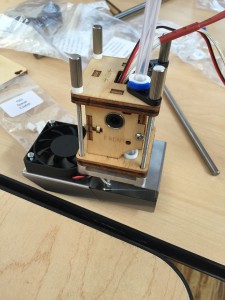
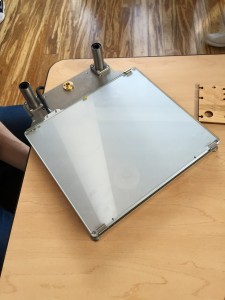
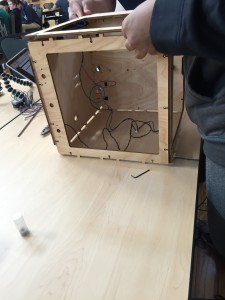
I chose to work at the Extrusion station with other five classmates. We firstly opened the Ultimaker assembly manual to check every piece of materials required to build the extrusion head housing. The manual was outdated so that everyone felt confused to find the correct kit since the numbers on the packages did not match with the numbers on the instruction. The process was slow and inefficient at the beginning. Discovering the issue, we found the last version on the website and decided to move forward as well as follow the steps on the new guide. The collaboration accelerated the speed of assembling the extrusion head housing. Each two people worked on a small part of the current stage, then we combined the pieces together. The most difficult thing among the whole process was getting all of the screws in because different piece required certain lengths/types of screws. We had to measure those screws carefully before putting staffs together. The time to complete extrusion head housing should be 60-90 minutes on the manual; however, the actual time we used on this stage was almost 3 hours with the help of professionals. This would be the most challenging task in this class so far. In addition, I worked with two people on completing Z-stage (print platform) in the second half of the class. Again, there was lots of screw work, but the tools provided by the Utimaker were not helpful.
In sum, I enjoyed the whole process of assembling the 3D printer. It seemed like a mission impossible for us due of lack of experience on assembling, but we never lacked teamwork between each stage. This practical experience was kind of memorable and valuable for myself since I spent most of the time on learning management, marketing, business strategy, etc. Participating the assembling work allowed me to understand the completed functions of the 3D printer and how those small pieces actually worked together on the machine. I highly recommend people to participate this interesting activity!
I agree that building the 3D printer was definitely different from what we’re used to (working with the software, actually printing, etc.) but I like to believe that it’s all a part of the maker movement. You had mentioned having difficulty with the screws, and I remember thinking that was so strange that the screws were all labeled somehow but didn’t say their lengths. Which is how the instructions defined the screws. Odd, but I’m glad you all were able to overcome the labeling problem!