A reiterative process of trial and error

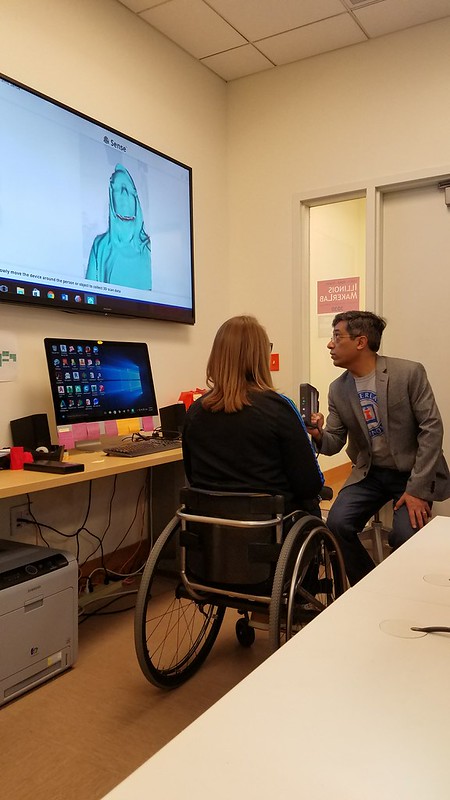
The progression of our ideas came to fruition this week as we heavily began idealizing and seeing how all of the parts of our design come together. The first half of this week’s class was allotted to learning 3D scanning from Ariel utilizing a handheld model. We then proceeded to scan our heads as well however, we learned that the scanner does not like dark surfaces and so we had to scan black hair with a phone light.

20170403_144847

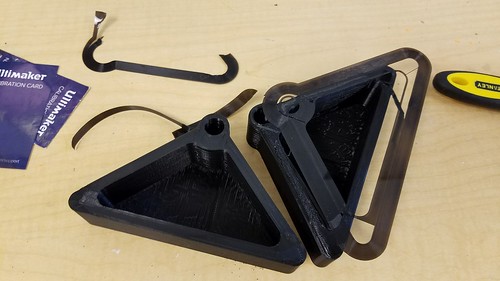
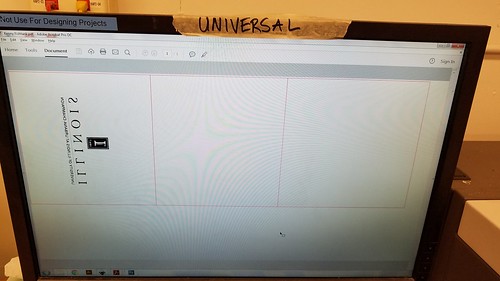
The next half of class we were heavily involved in redefining our project’s components with an initial rough print. This taught us that we need to prototype fast and quickly due to the nature of how 3D printing is not perfect and it is a reiterative process in order to perfect a design. We continuously developed our design and got an idea of how to make these modules separate in the case if we want to add more or less at any given time. The Fusion 360 model below shows how we visualized our final product.

IMG1740895582

However, once we started printing, the holes did not line up correctly and sometimes the printer was having trouble with misalignment or if the filament ran out mid print as that happened to our initial prints.

20170405_150355

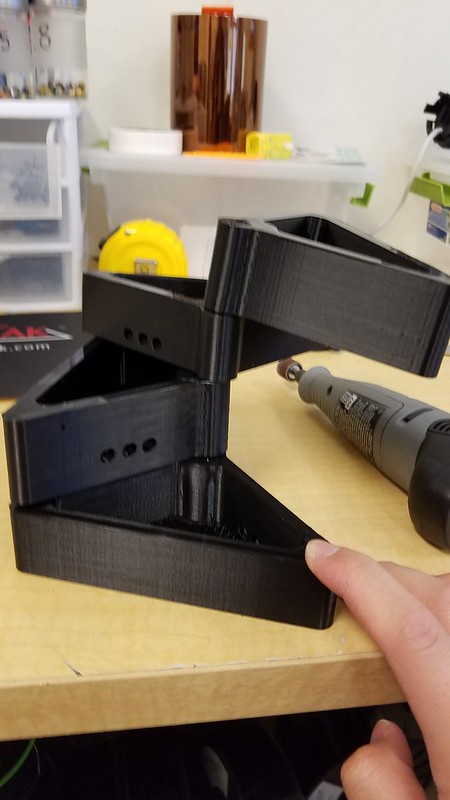
Then after another run through the printer we were able to narrow down the problems, address it and throw in another print. This one proved to be a much more successful model but it still did not stand up on its own which was cause for concern for us since we need it to be able to not only support its own weight but it needs to support, clay rocks, plants and moving water.

20170405_154052

Upon doing further research we found a great resource named “The Aquaponics Source” and it helped narrow down what type of plants, planting media as well as the conditions that are needed to keep our plants happy and healthy.

The next stages that I determined to be instrumental for the project is constructing the actual tank from 1/4″ acrylic sheets from the FabLab but they only had 1 clear one left and that was not enough since they were only 12″ x 24″ and so they are in the process of ordering more and it will come in about 10 days, which will hopefully give us time to cure and test our product. But I was able to use that one sheet and start dimensioning and designing the tank.

20170405_171649

20170405_173155

Our next step is to wait for all of the components we ordered to get here on time, which is the fish pump, tubing, finish printing the modules, as well as waiting for the acrylic to arrive and slowly put it together.
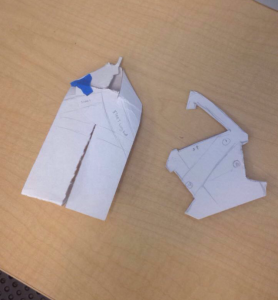
 

Final Projects in the Making

For this week, we delved into the last stretch of the course: our Final Project. Each group some sort of solution to a problem of their choosing; big or small. The issue or solution does not necessarily have to be 3D printing-related, but simply portray the aspects of design and making that we have learned over the course of the semester. Although, most of the final projects do include 3D printed models to some degree. This week, we began the first stage(s) of our projects.

My team and I, the MakerLAX, decided aimed to resolve an issue that was felt by many college students and other young adults: tying ties. As one gets older, they will have to attend more and more formal events and gatherings, and as such will require more formal dress. The tie is an integral part of formal attire, but is notoriously difficult to prepare for the first time, as well as long after. It may seem like relatively simple task, but getting accustomed to tying a tie as well as all the different knots that once can choose from takes time. This combined with the fact that most young adults only really have to wear ties from time-to-time and not on a daily basis, makes learning the ins and outs of tying one somewhat difficult. I personally require assistance from someone who already has gone through the whole process of learning how to tie a tie, or watching an online tutorial whenever I find myself needing a tie. While this may not be an inherently big problem, it can certainly be helped.

The premise behind our solution is to create a sort of “tie-helper”, as in, an object about the size of a small paperweight that can act as a guide for a person to use to tie their tie. We have found remnants of what appear to be previous attempts at creating such a product, but they were either flawed or never really reached production. https://www.youtube.com/watch?v=D3tkWcp3wK4 Our group is aiming to create a design that can be mass-produced or even printed at home. The idea as it stands so far is to print a model that is inscribed with numbers and/or pictures of instructions on how to tie a specific knot that has yet to be chosen. After finishing the knot, the object can be easily separated from the tie and the tie will already be tied around the neck. In class, we presented our idea to the rest of the groups and were given feedback. We also created some crude models of possible designs, which could be considered our initial prototypes. From here, we will be creating and testing new models to perfect for our final iteration. We’ve all learned a lot these past few months in Digital Making; I am really looking forward to putting it to good use, as well as seeing what everyone else comes up with.

Paper Prototypes