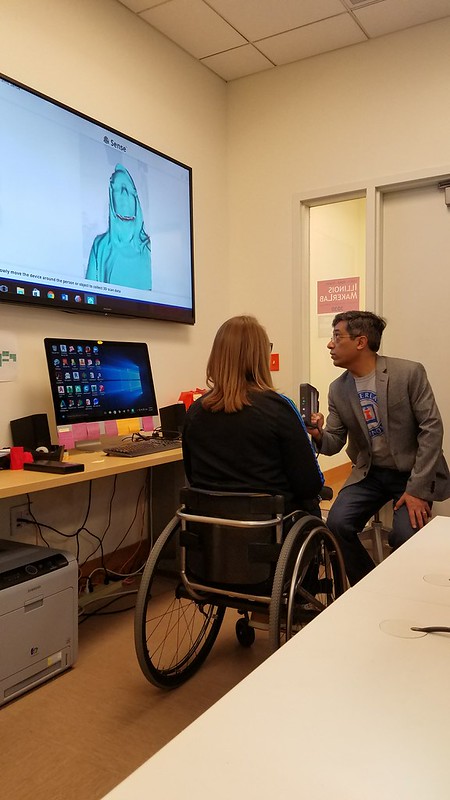
The progression of our ideas came to fruition this week as we heavily began idealizing and seeing how all of the parts of our design come together. The first half of this week’s class was allotted to learning 3D scanning from Ariel utilizing a handheld model. We then proceeded to scan our heads as well however, we learned that the scanner does not like dark surfaces and so we had to scan black hair with a phone light.
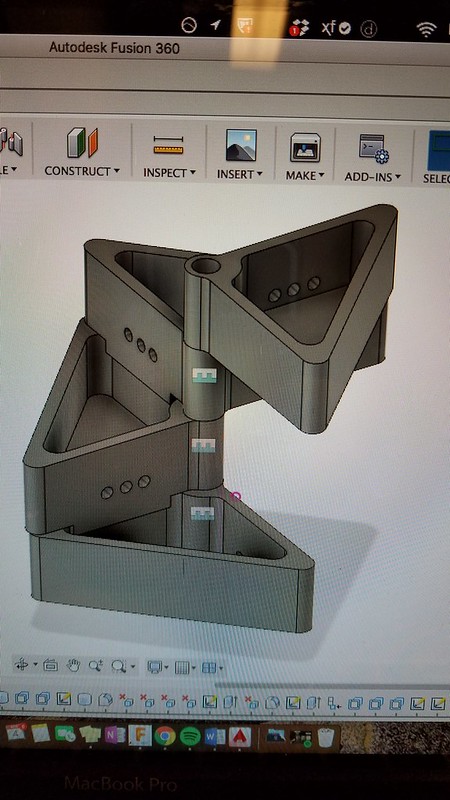
The next half of class we were heavily involved in redefining our project’s components with an initial rough print. This taught us that we need to prototype fast and quickly due to the nature of how 3D printing is not perfect and it is a reiterative process in order to perfect a design. We continuously developed our design and got an idea of how to make these modules separate in the case if we want to add more or less at any given time. The Fusion 360 model below shows how we visualized our final product.
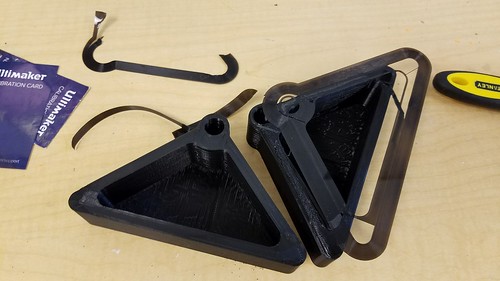
However, once we started printing, the holes did not line up correctly and sometimes the printer was having trouble with misalignment or if the filament ran out mid print as that happened to our initial prints.
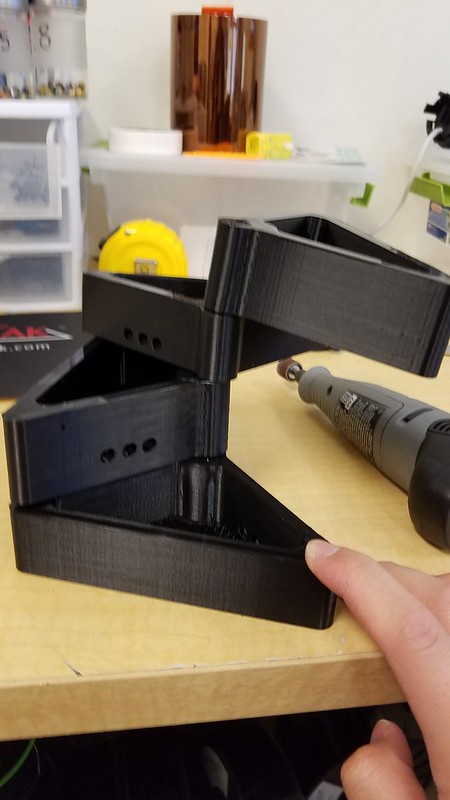
Then after another run through the printer we were able to narrow down the problems, address it and throw in another print. This one proved to be a much more successful model but it still did not stand up on its own which was cause for concern for us since we need it to be able to not only support its own weight but it needs to support, clay rocks, plants and moving water.
Upon doing further research we found a great resource named “The Aquaponics Source” and it helped narrow down what type of plants, planting media as well as the conditions that are needed to keep our plants happy and healthy.
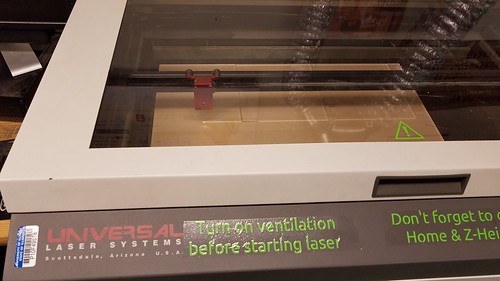
The next stages that I determined to be instrumental for the project is constructing the actual tank from 1/4″ acrylic sheets from the FabLab but they only had 1 clear one left and that was not enough since they were only 12″ x 24″ and so they are in the process of ordering more and it will come in about 10 days, which will hopefully give us time to cure and test our product. But I was able to use that one sheet and start dimensioning and designing the tank.
Our next step is to wait for all of the components we ordered to get here on time, which is the fish pump, tubing, finish printing the modules, as well as waiting for the acrylic to arrive and slowly put it together.


Hi Kenny,
I think you have written an excellent post here! It’s very encouraging to see the progress that you guys are achieving through the hard work that you guys consistently put in. As one of the problems that your team faced was finding a way in which your prototype could support the necessary weight at each of the four levels while keeping the structure strong, straight standing and fully erect. My team has begun drawing our prototype in tinkercad and I am anticipating it will take us a few reiterations as well to be able to create a material that can truly endure the full impact and force of a slamming door. Keep up the great work and hopefully our iterative prototypes will see great progress just like yours.
PS. I really enjoyed the utilization of the word “fruition” in the first line of your post.
Hey Kenny, it’s really cool seeing your project come together! Great work using Fusion too. It must have been frustrating when your prints weren’t turning out, but it’s good that you started early and were able to make design adjustments quickly. That’s definitely a benefit of this rapid prototyping and availability of 3D Printing. I’m looking forward to seeing it all put together.
Hi Kenny,
Really enjoyed all the images in your post! It seems like your group is starting to have an understanding of the issues and really being able to narrow them down. 3D printing definitely isn’t a one time thing and has to perfected over time, but I am sure that you guys will be able to have a successful product!