My Semester of Digital Making

I have learned so much about digital making this semester! I’m going to break down some of the main things I learned, then talk about what this experience means to me as well as what I plan to use this knowledge for in the future.

What I Learned:

3D Printing and Scanning
2015-02-10 17.27.40

One of the first things I learned this semester was 3D printing and scanning, which makes sense since our class was held in the Maker Lab. We were introduced to the many sources to find 3D printable files, the software to edit files, and then how to print the files.

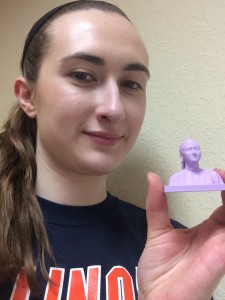
The first thing I edited and printed myself…was myself! We learned how to use a scanner that was very easy to use, then got to edit it however we liked. I went with a simple stand to create a bust of myself.

I later printed many objects including detailed jewelry, a candle holder, and a brain.

Fusion 360
Screen Shot 2015-02-17 at 4.52.55 PM

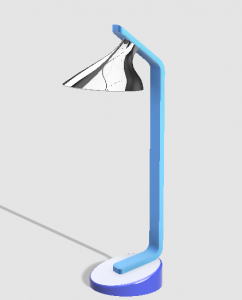
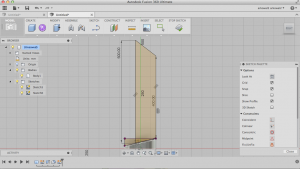
The next thing I learned about in class was how to create 3D objects in a software called Fusion 360. It is a way to make 3D designs into almost anything imaginable. It is quite complicated to learn, but once you understand some of the basic functions the possibilities are endless.

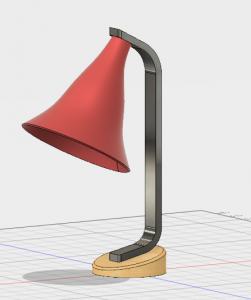
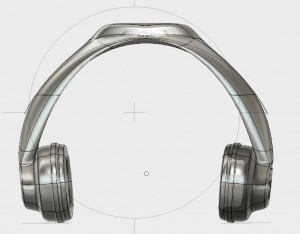
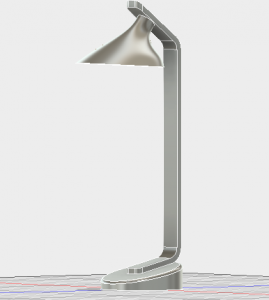
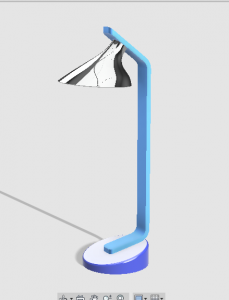
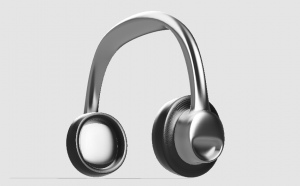
I followed the in-class tutorial to create a lamp and also tried to make some other objects outside of class including headphones. I’m not sure I will be using Fusion 360 beyond this semester, but I know it is available to me if I have a use for it.

InkScape (for laser engraving and vinyl cutting)
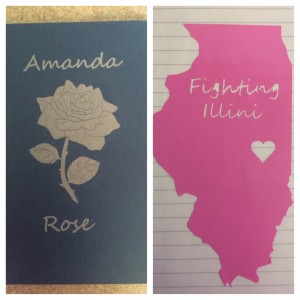
2015-03-31 17.45.49The first week in the Fab Lab I was introduced to InkScape and learned how to edit images in order to create amazing things. I first used a laser cutter to engrave a journal. I also used an electronic cutter to cut out a vinyl sticker.

I had a lot of fun making both of these items. I was able to use InkScape in other projects as well this semester including the digital embroidery patch below.

Arduino
2015-04-07 15.16.09

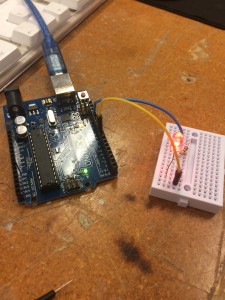
The second week in the Fab Lab I got to learn about Arduinos. I used the Arduino Uno and we were given basic items to get started on our learning. I followed online tutorials to run programs like the basic blink and fade, then added in an LED.

I also got to learn about different types of sensors that can be used with Arduinos. I was able to use this in the CU Make-a-thon in my group project for the semester to create a pillbox for the elderly that senses when you take a pill out of the container.

Digital Embroidery

2015-04-21 17.16.24

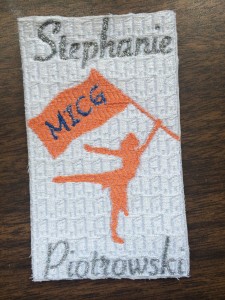
The last week in the Fab Lab I learned about digital embroidery. I had created a design in InkScape in preparation for class because I wanted to make a gift for my roommate’s birthday, so I got to focus on learning how the process works rather than designing.

I chose different patterns for each part of the design then threaded the sewing machine and watched the magic happen. I was amazed by how accurate the stitches were.

This project, as well as all of the others mentioned above, can be found with more details on my previous blog posts: http://publish.illinois.edu/digitalmaking/author/arkowal2illinois-edu/

Take Aways:

This class taught me so much about the world of digital making. I am very grateful for the experience and I wish I could take this class again next semester.

I started in the class having no idea what I was getting myself into. I didn’t know anything about 3D printing or other digital making technologies. Also, I didn’t know about the other digital making spaces that are around campus. I was amazed from all of the information I learned in the first few class sessions. The scope of the technology that exists is so far beyond what I initially imagined.

Now that I have completed the course I can say that I am much more aware of what is available to me and have a better insight into the digital making world. And I have loved sharing my learning with my friends and family.

I plan to return to the Maker Lab and the Fab Lab next semester to teach my sister (an incoming Freshman) all about what I have learned this semester. Hopefully we can learn even more together. I look forward to exploring deeper into the technologies I learned about and beyond. I can’t wait to see all the projects that can come out of it!

I encourage everyone to try out digital making in any or all of its forms because the technology is useful to anyone no matter the age, gender, ethnicity, or interests. The digital making world welcomes all makers, no experience necessary!

Any questions about my projects or experiences in this class can be directed to my email arkowal2@illinois.edu or message me on twitter @ARoseK10.

Infusion of Knowledge

With the start of any new software, it takes lots of time and effort to get familiarized with all of the little details. So far, it’s been 2 weeks and I’m still in awe of how many features it has to offer. Last week we went through a workshop on how to construct a lamp in Fusion 360. Lots of questions were asked and I had some trouble on the final step of constructing the shade, as you can see below.

lamp

The lamp tutorial captured the overall gist of Fusion 360 very well, but there was still more that I needed to learn. I had no trouble designing the screw with thread so I decided to try something that was more complex.

The headphones were more challenging and incorporated more aspects of Fusion 360 than the screw, which helped get myself comfortable with the program. I experienced some problems bridging the headphones together which may be due to an error made in extruding the initial stem so it wasn’t able to print. Unfortunately, there wasn’t enough time left for me to redo it, so here’s the final product:

headphones

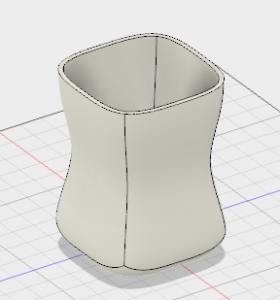
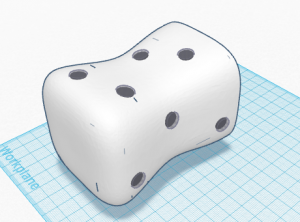
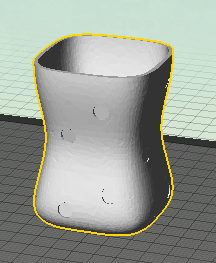
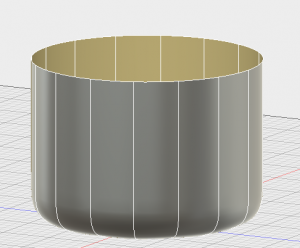
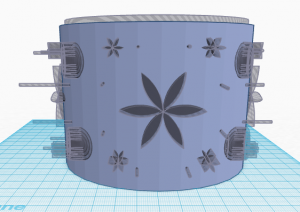
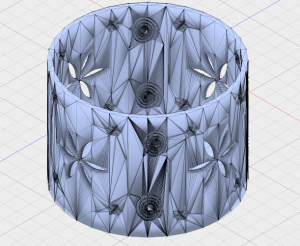
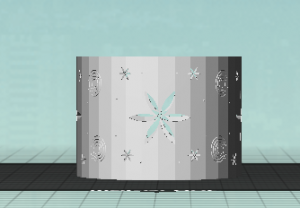
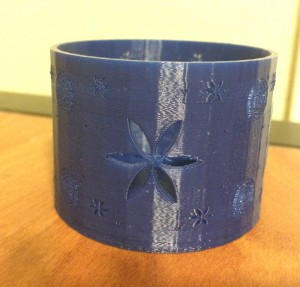
Instead of printing the headphones, I made a simple form in Fusion 360 and imported it into Tinkercad to add decorative holes on the surface. I made it with the intent to be used as a pencil holder or a mini flower pot. When printed it may be sized down, but it could still be useful as a coin holder.

fp  fp1 fp2

Fusion 360 has helped my designing capabilities and I still have a lot more to learn from it. It’s very quick and easy-to-use once acquainted with and I’m excited to get to that point after some more experimentation.

Week 5 & 6: Fusion 360

I’ve learned so much in the past two weeks. Week 5 was an introduction to Fusion 360, a super cool software that can be quite complex even with step-by-step instructions.

The workshop I participated in to learn Fusion 360 was great. Our main task was to create a model of a lamp.

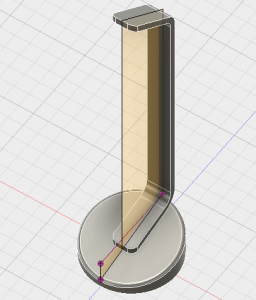
Here’s a progression of that process:

Screen Shot 2015-02-17 at 3.45.48 PM Screen Shot 2015-02-17 at 4.24.11 PM Screen Shot 2015-02-17 at 4.44.22 PM Screen Shot 2015-02-17 at 4.52.55 PM


My lamp turned out pretty well in the end. It took some time for me to figure out a lot of the steps, but after a lot of trial and error I managed to get to the final product. I definitely struggled through it and got frustrated a few times, but I never gave up.

After that workshop, we were assigned to try to create a new design on our own by following a tutorial on youtube. I chose to try out some headphones.

Here’s the headphones I ended up creating:

Screen Shot 2015-02-21 at 6.28.54 PM

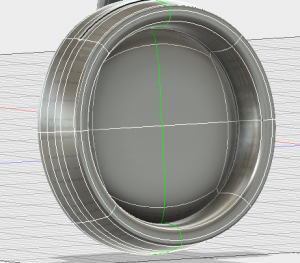
I ran into some major problems with this design even though I was following a pretty straight forward tutorial. I messed up one little step without realizing it would cause problems later, and I didn’t know how to fix it without undoing all the progress I had made after that step.

Basically, the best way to explain the mistake was that there were two faces merging together and they were somewhat overlapped, which is not good. Here’s what it looked like after I “fixed” it:

Screen Shot 2015-02-21 at 6.26.39 PM

Yeah, there’s a lot of extra faces there. I had to mess around with that for a long time until they weren’t overlapping anymore. I did try to use some functions like smoothing and merging faces, but I couldn’t get it quite right so I mostly stuck with the simpler steps until it looked decent and wasn’t overlapping.

After going through that mess I was very frustrated with Fusion 360 and just wanted to move on. But then week 6 came and we were supposed to 3D print our design. I did not want to print my headphones, so I decided to try to make a custom design with no tutorial.

I chose to try to make a candle holder since I had recently purchased a couple candles. Well, Fusion 360 didn’t get any easier for me. This is how far I got after a long hour of attempts:

Screen Shot 2015-02-24 at 4.11.28 PM


I hated it. And I really wanted to print something, so I moved over to the simpler modeling option, tinkercad. I made this in about 30 minutes with no issues at all:

Screen Shot 2015-02-24 at 4.09.49 PM

But then I thought why not try to use a function in Fusion 360 where I import what I made in tinkercad and edit it more in Fusion 360.

This is what happened as soon as I uploaded it:

Screen Shot 2015-02-24 at 4.10.13 PM

Yeah…there was way too much going on and I just wanted a simple candle holder. So I took the original tinkercad version and printed the design just like in week 4 with the bust I made of myself.

Screen Shot 2015-02-24 at 4.09.30 PMAnd here’s the final product:

2015-02-24 18.58.19


My lesson over the past two weeks was a big one. I learned that I am not good at Fusion 360. I need a lot more practice! It is so fulfilling when something I designed is printed, so taking it to the next level by printing something designed in Fusion 360 would be incredible.


Fly Fusion360-bird!

As an IT nerd, I know how to use tons of different applications. But when using a new software I really have to motivate myself every time. So here we are again. I should use Fuison 360. I installed the software, opened it. And then. CMD+Q, which closes an application on a Mac. I need some help!

Industrial Designer Jeff Smith came to our class to help us with our first Fusion 360 experience. Jeff seems to know quite a lot about designing things. He has made lots of amazing products. So we started building a lamp. It took us almost 4 hours to build it including sculp mode, faces, sketches and lots of “modifys”. Now I have no doubt any more that you can build everything in Fusion 360!

Bildschirmfoto 2015-02-24 um 14.09.54

A few days later I started to build my own, wooden, headphones. I followed the Autodesk Fusion Tutorial. Now it took about half an hour to build. I start to enjoy designing in Fusion 360!

But I wanted to design and print something that is useful. I decided to design a bird, that you can nail on the wall to use it as a hook. Designing that bird was everything else than difficult. All i needed was the Sculpt mode, a Box, Symmetry and some modifications. Of course some small details need some time, but it never got boring, as I knew, afterwards I will send it to a Makerbot and start the 3d print! 🙂

Lr_5299