Maker log 9

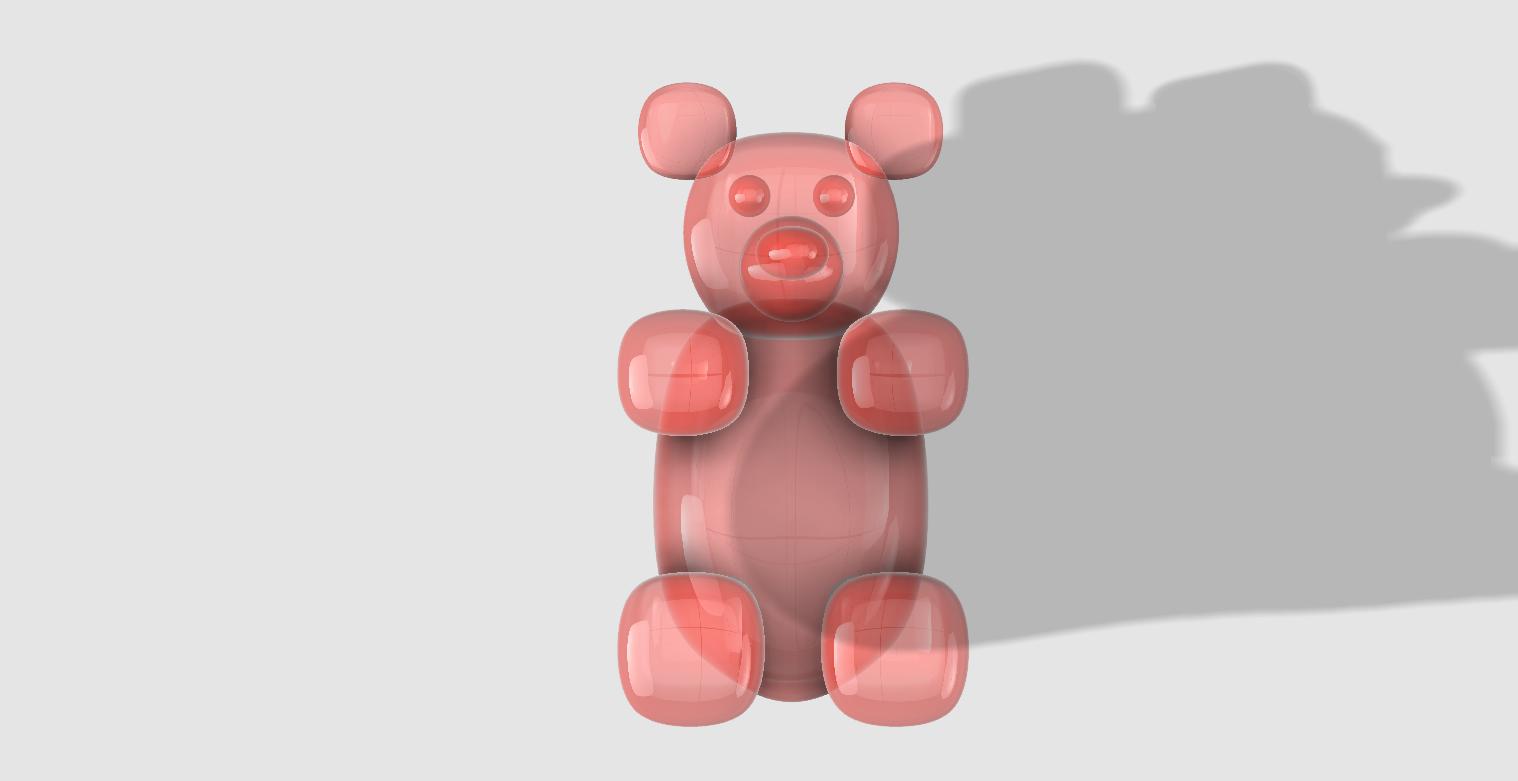
Last time our class held a session, it was pretty much a free for all. Some people printed their projects, and others worked on arduino technology (making circuits). I opted to do my own thing and spent the class period applying holes to the base of my spaceship model, and printing the ship in pieces. It came together quite nicely:unnamed
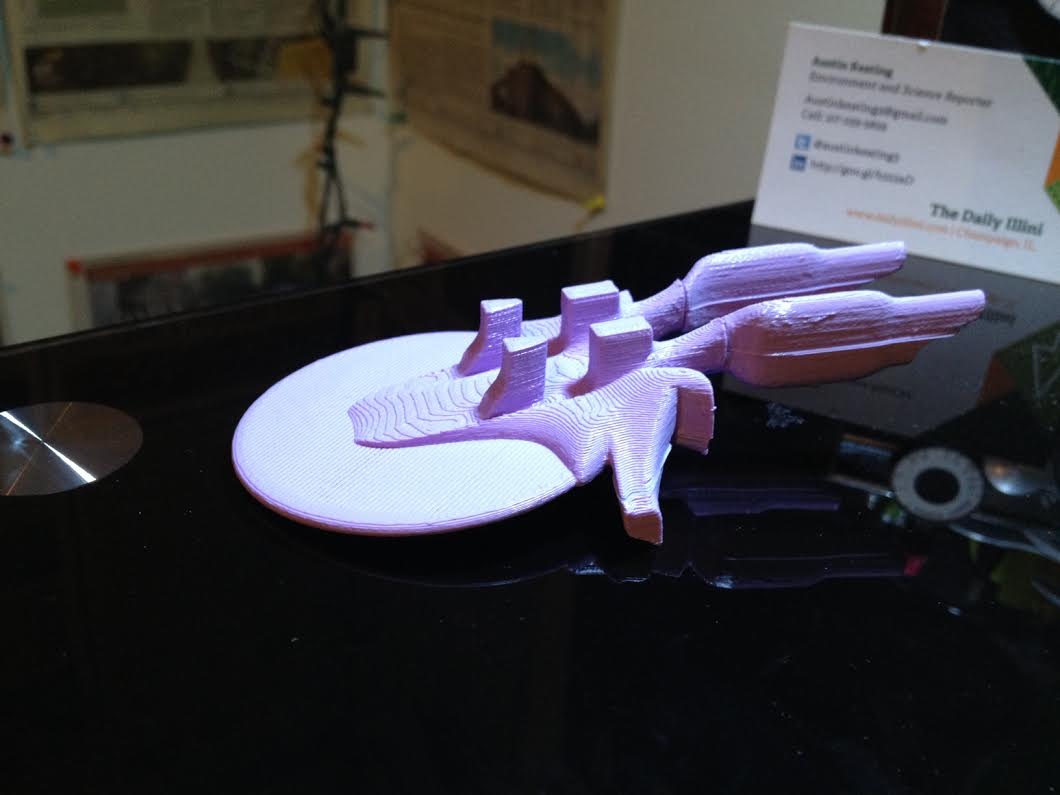
The edges where the superglue is applied are still very visible after gluing, so hopefully some paint will fix that. The rest of the ship is pretty well done and will be added on this week I’m hoping. Check out a screenshot of it so far:

Untitled
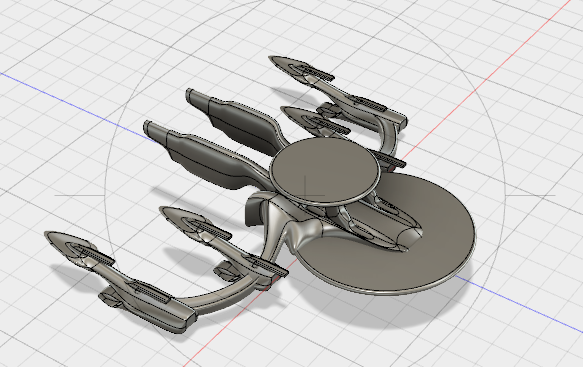
Each of the four alcoves I’ve built will hold a frigate, held in place by a peg built with the hole function.

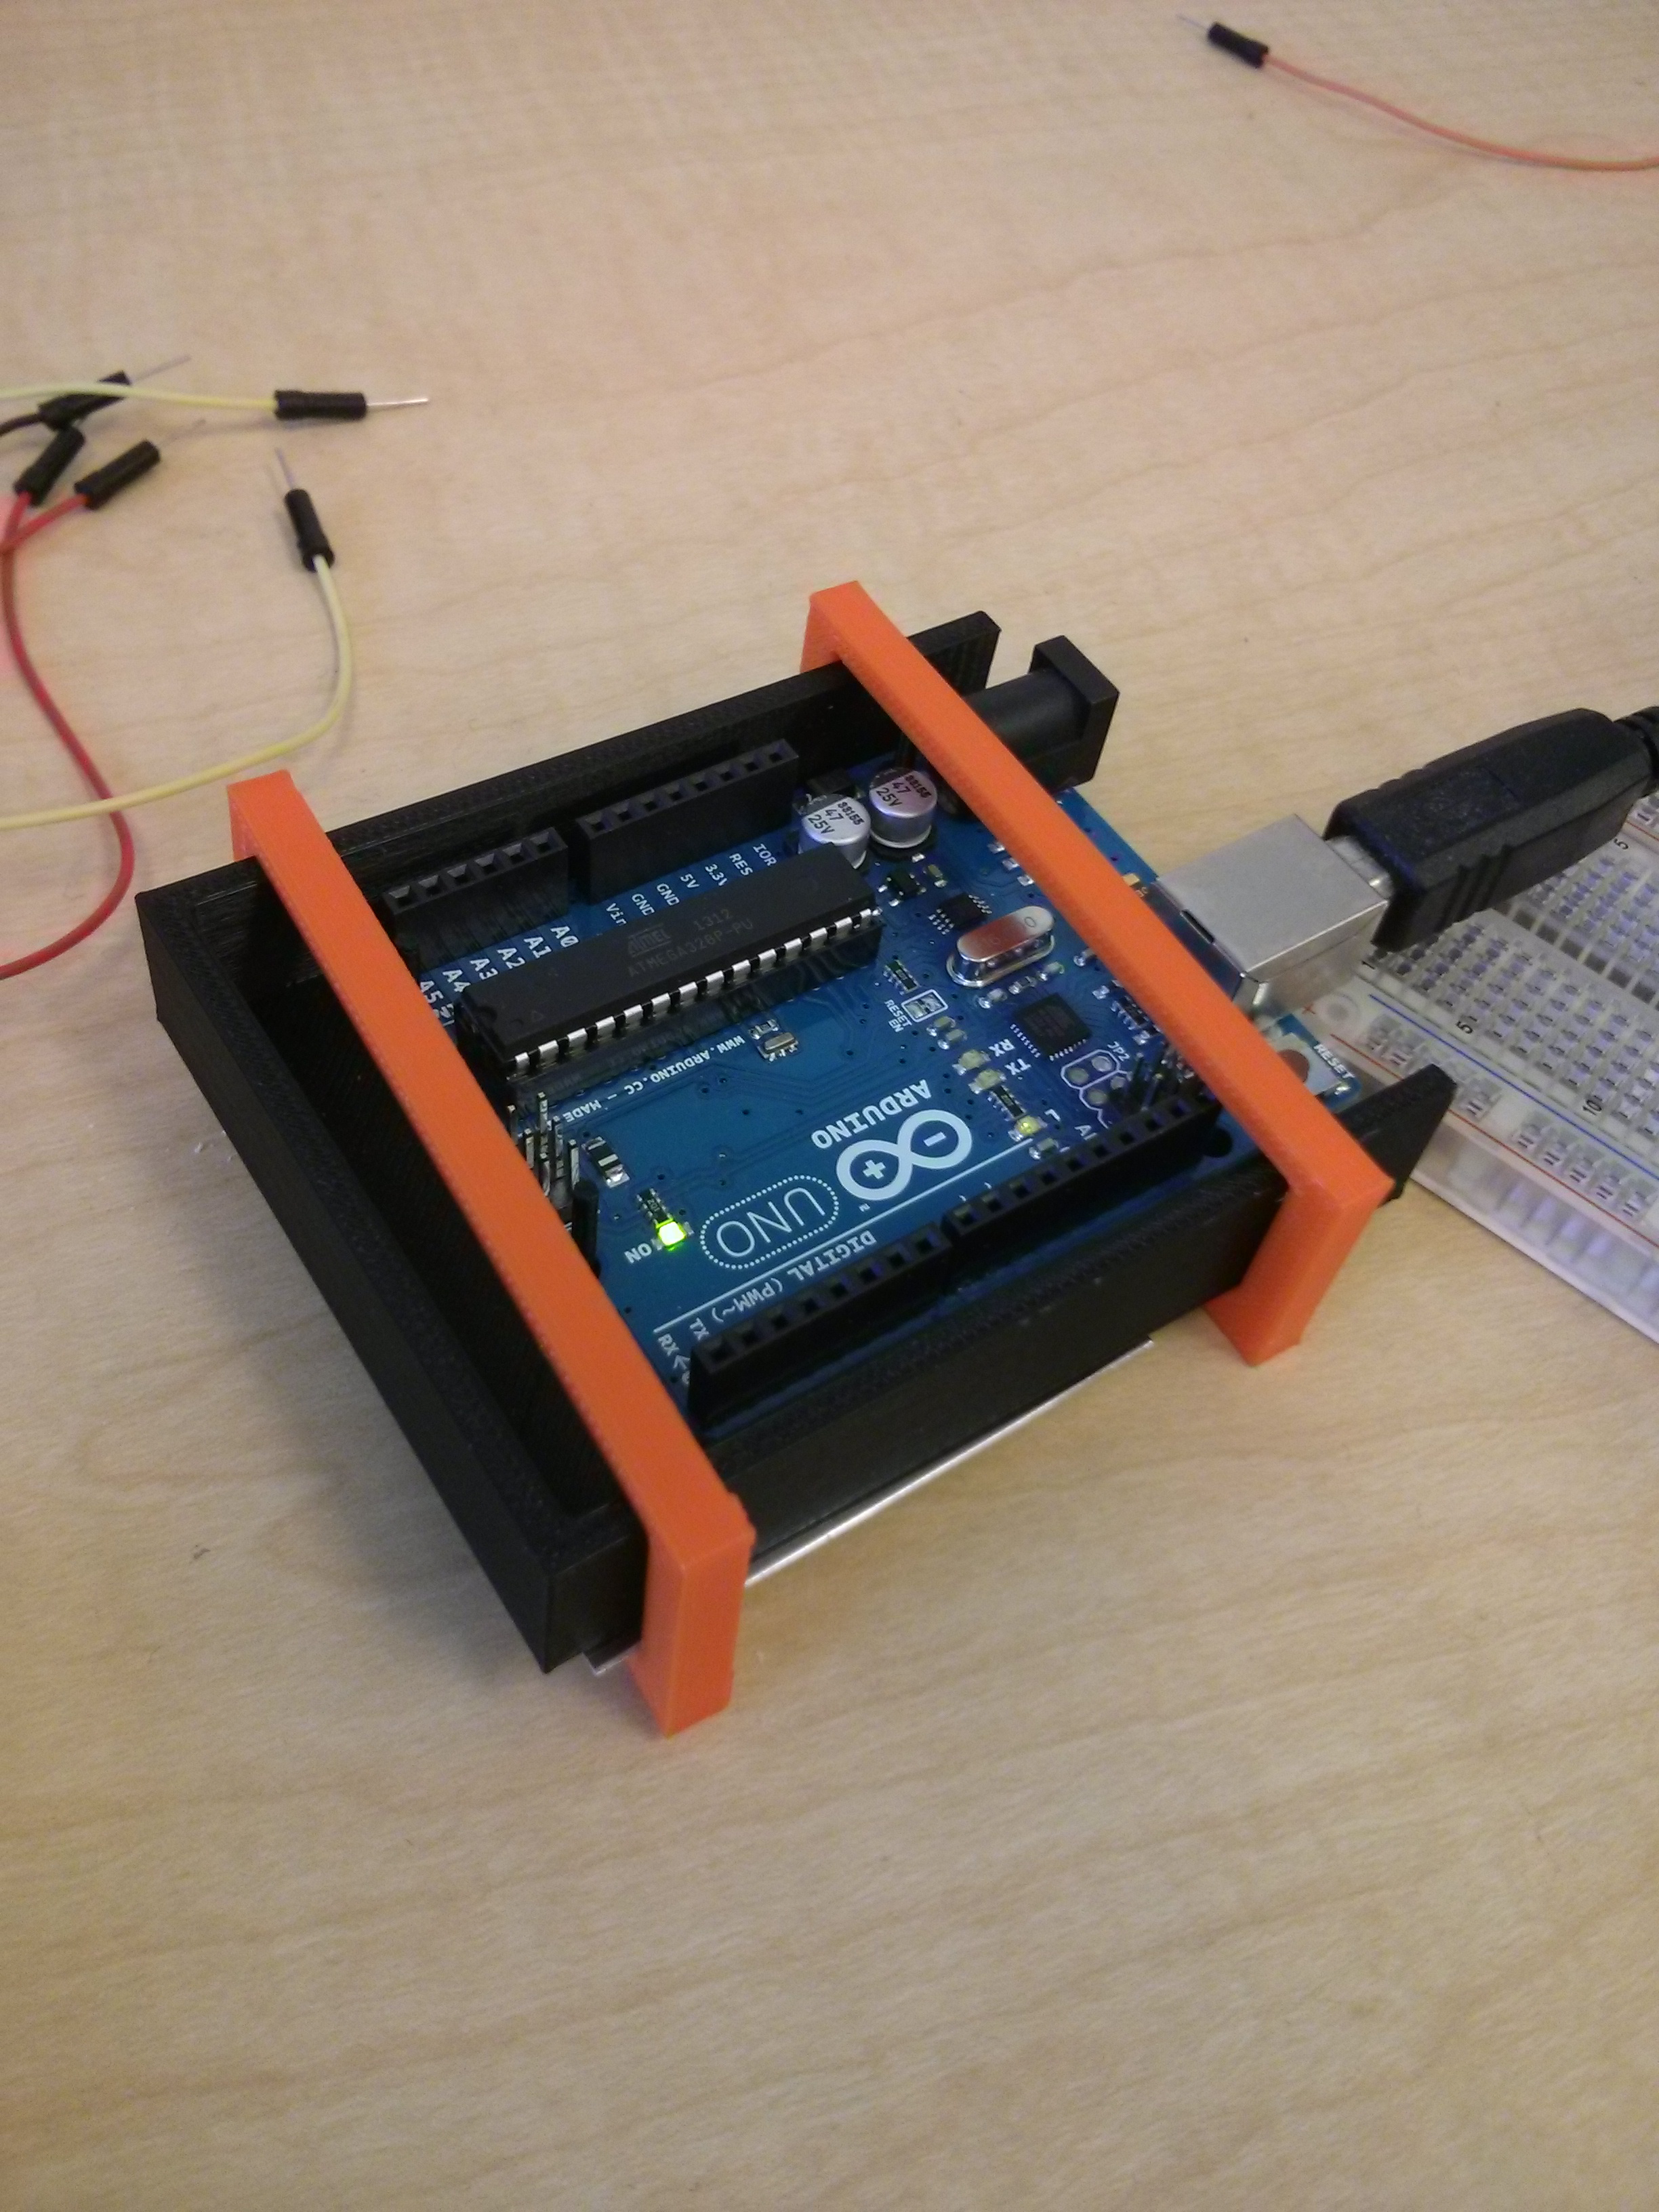
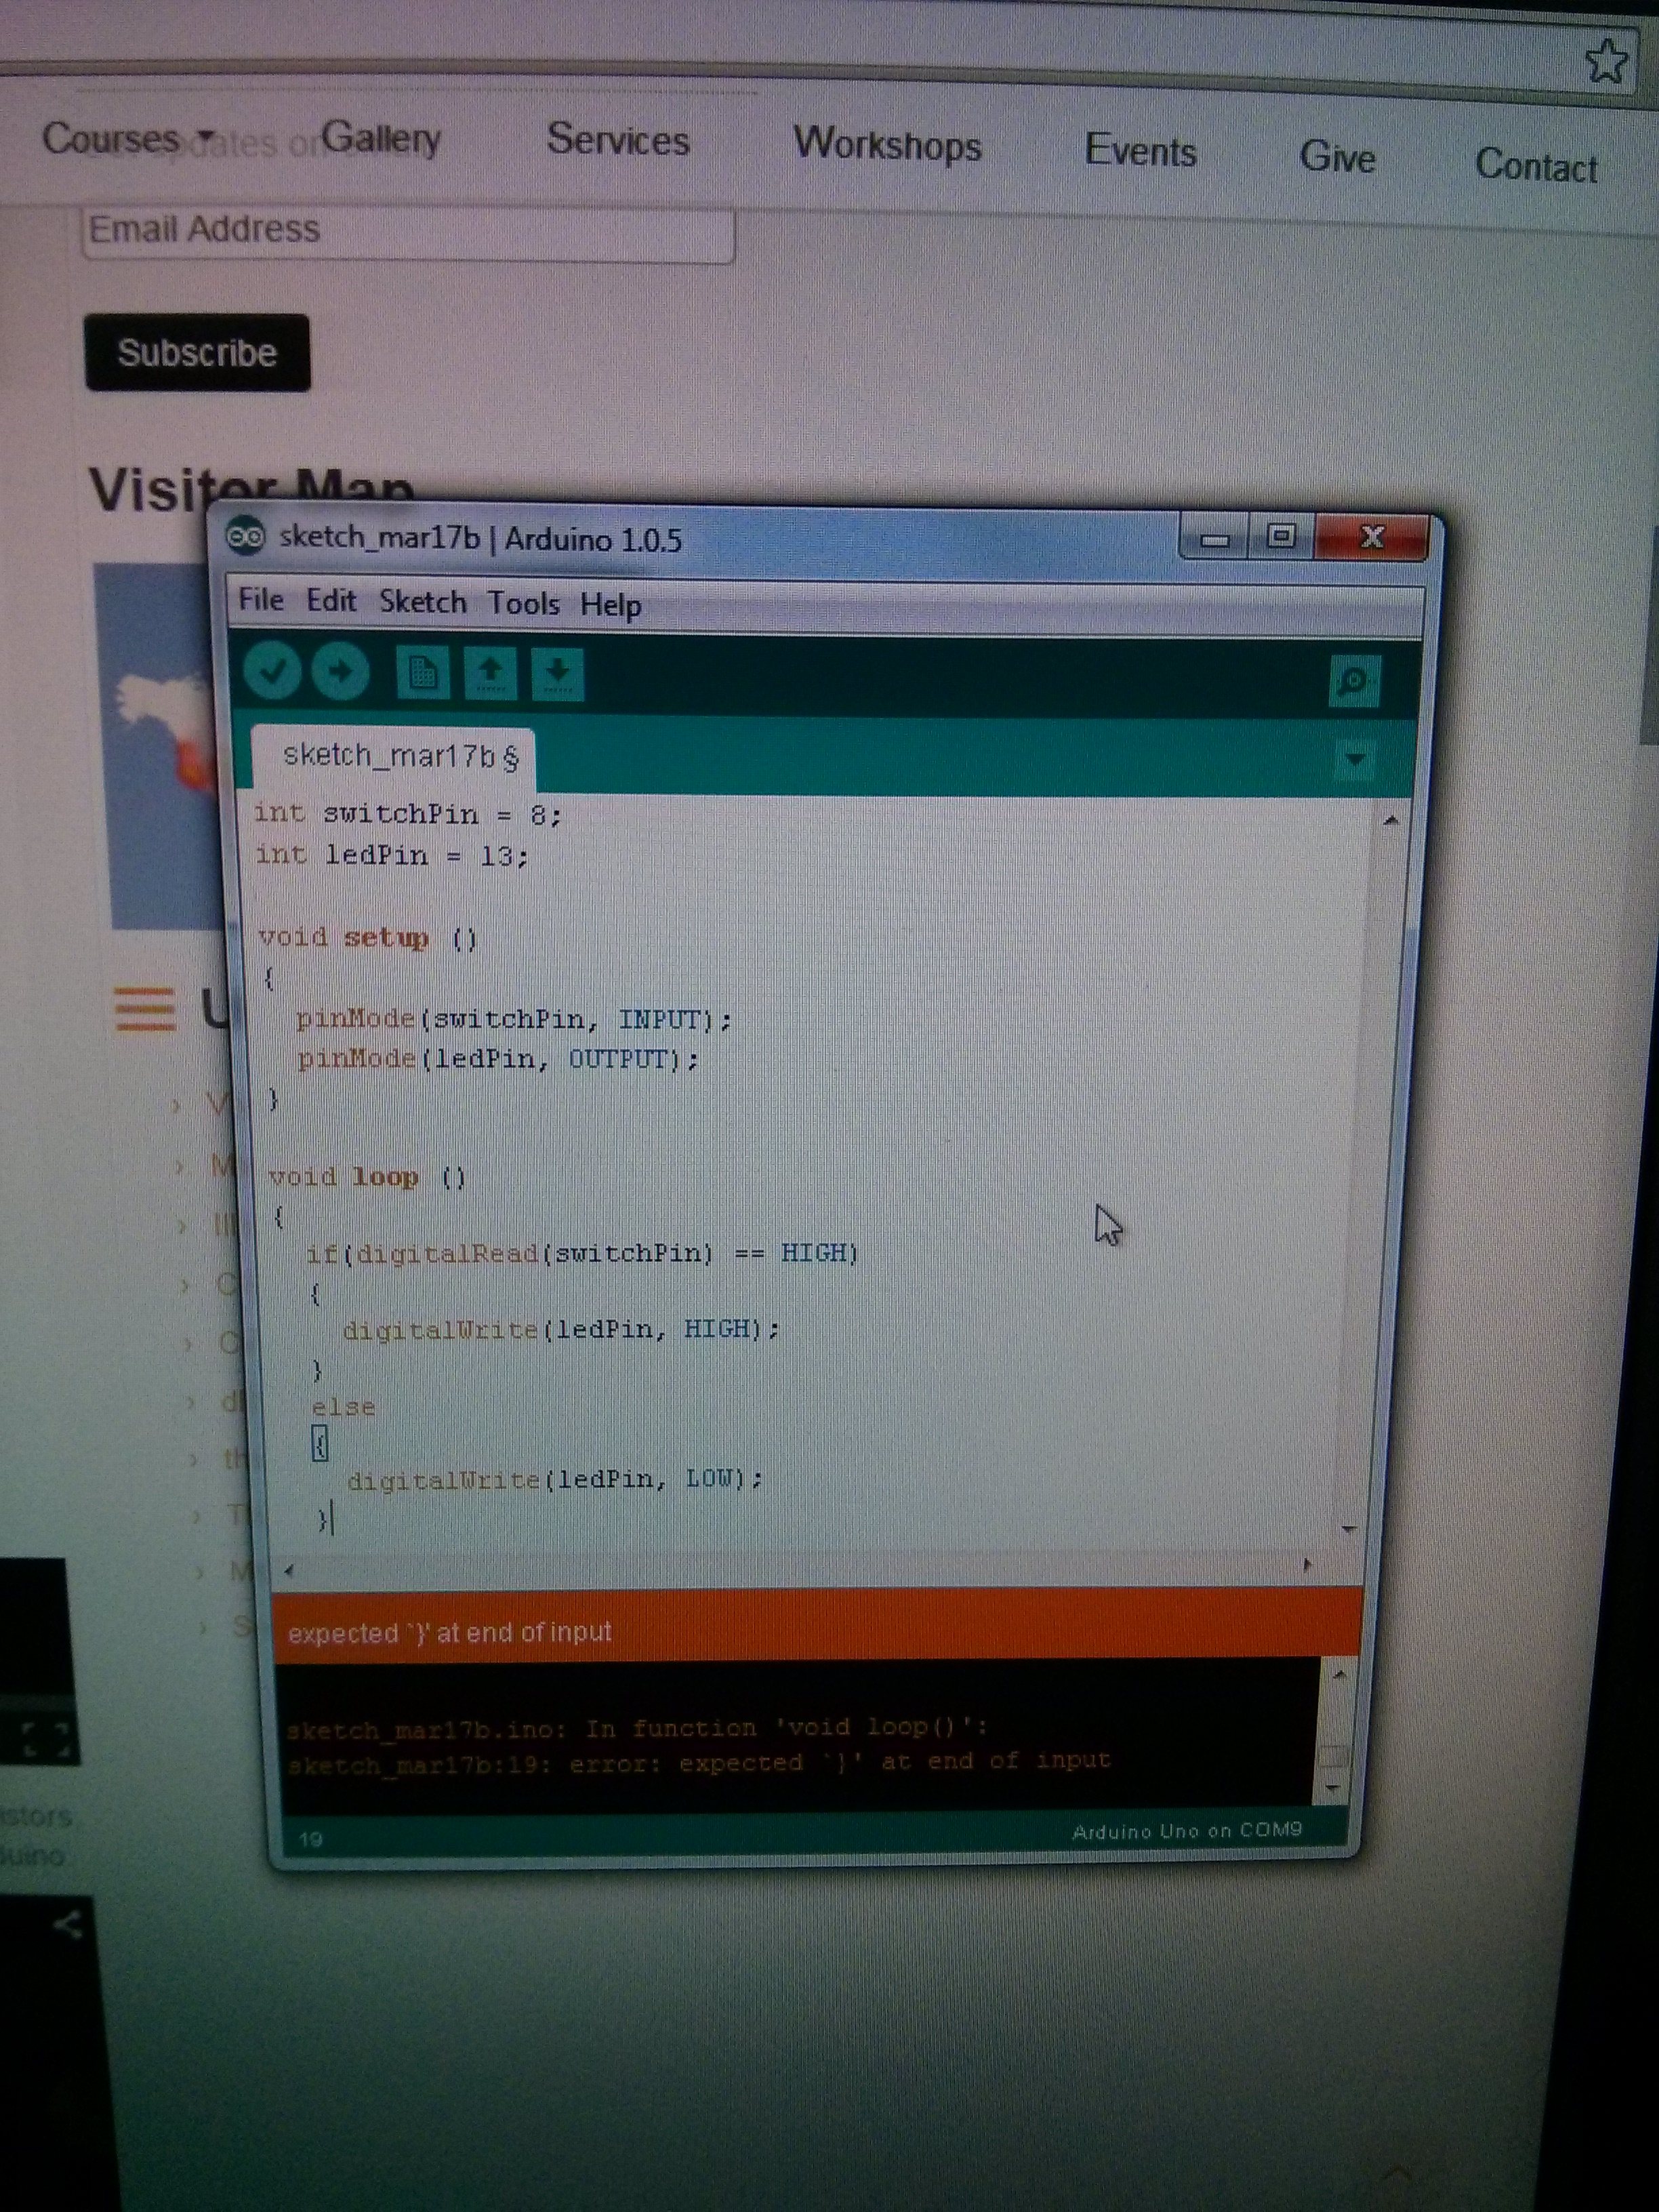
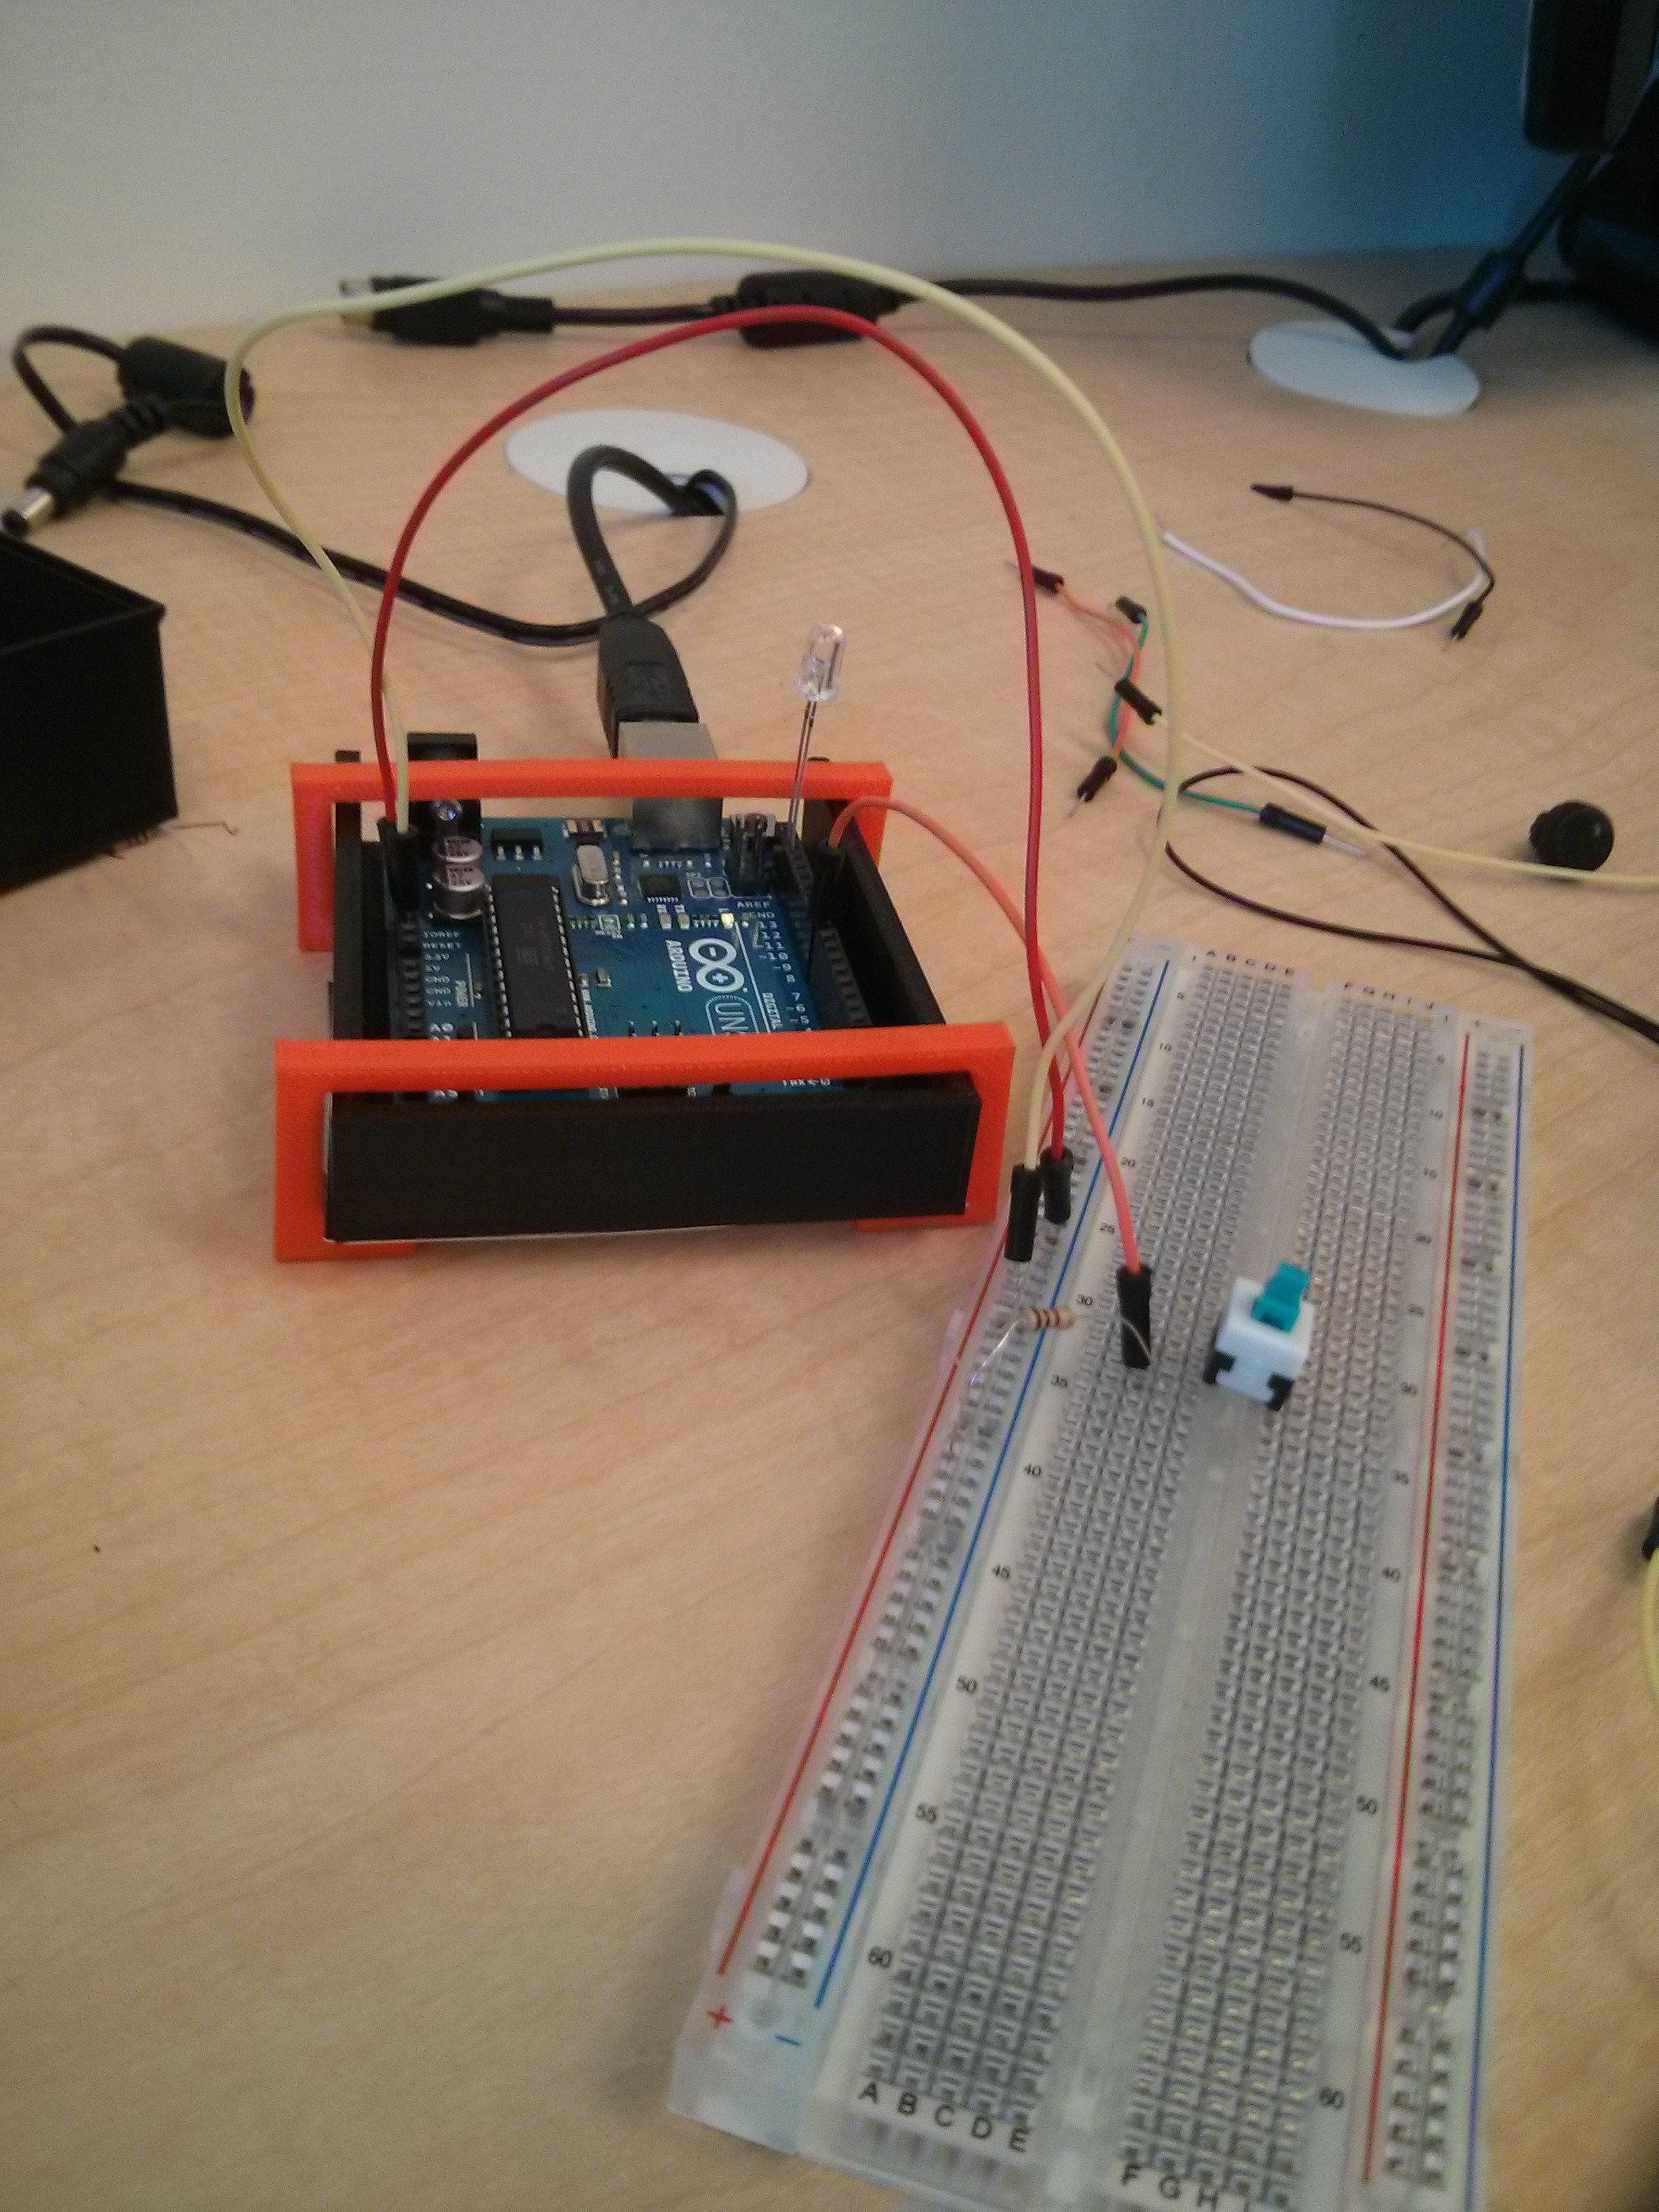
Outside of working on my ship, I haven’t done much else in these past few weeks in the maker world. I’ve been following some arduino tutorials and am excited to delve into the technology over the next four weeks!

Week 9: Assembling the Raptor Reloaded

raptor hand

Raptor Reloaded (and a broken pin piece) from our first attempt at assembly


Week 9 was a very open to anything style class, where each of our groups was supposed to be working on moving forward with our semester project. Since all the pieces for the Raptor hand were finally printed out and we had the hand making kit in the lab, me and Sam worked on putting together our very first Raptor hand.   This turned out to be quite a bit more difficult than I had expected. First off, getting the pieces (especially the fingers) to fit together was not super easy. Some of the joints had to be filed down a bit to fit into each other and it ended up taking almost the whole class period for us to finally get the hand together. Then we had to add on elastic and fishing wire to allow the hand to open and close. These took a while to get through the holes (using a safety pin ended up helping a lot) and then getting the tension correct so the had would open and close when the user bent their wrist up and down also took some effort. All in all the final assembly of the hand took a few hours, but seeing the hand complete was well worth it!

Week 9 Reflection

Our class had workshop during the week 9 lecture, we were able to work freely on any projects that needed to be done by the end of the semester. While most of the class were getting start on the once a semester project, the professor gave me a Makey Makey cirvcuit board to play. It is like a magic board, which allows me to build many different program into it. For the second half of the class, we listened to a guest speaker from Fab Lab to present 3D printing  projects made in the lab. Unfortunately, I wasn’t able to upload photos of some of the introduced items made in the lab. I’ll try to share them later if applicable. Looking forward to coming back to the class after spring break. Thanks for the pizza again.

Week 9: Astounded by Arduinos

Arduino Technology: WOW!

This past week, our class had the privilege of learning how to use Arduino technology and how to program an Arduino for a variety of different purposes. As a student currently learning about digital making, I was very impressed by the ease and incredible capabilities that the Arduino has to create in digital ways. We programmed in an interface that directly loads programs we coded into the computing board. Having coded in Java and Python a little bit before, I found the process of writing the program fairly natural. I’m definitely not a developer, but creating the framework and instructions for the digital creation was not incredibly difficult. The challenge came when we had to create the circuits that would enable the program to carry out its various functions and operations. With other forms of digital making, we typically do not have the ability to interact with computer hardware. However, this past week we had the responsibility to enable the hardware to work in order to ensure the work we were doing in software performed the way we intended. My friend and I were able to write a program that made a light flicker on and off at various intervals. While this program may be fairly rudimentary and not necessarily something ground-breaking, it was my first Arduino program!

Arduino Uno

Arduino Uno

Moving Forward Using Arduino Technology

In addition to learning about Arduinos, we also had the Champaign Fab Lab give us a brief presentation about the different projects they have. As we move forward learning more about the various forms of digital making that are available, I believe that we will be able to see the many ways that Arduinos and smaller computers are being used to create inventions that can become a useful product or platform for learning. For our class, I believe that Arduinos and similar pieces of technology will be an excellent way for us to learn about how computers running programs that manifest themselves on delivery platforms other than typical computers. Whether it’s an e-textile or using an Arduino to help turn an every day purse into a solar powered bag that can charge personal electronic devices, the applications of Arduino technology are infinite. I’m excited to learn more about how to program these unique platforms and discover ways that organizations like the Fab Lab can help me find beneficial uses of the technology to create new products or excellent learning opportunities for ourselves and other students.

Creative Schlump is Over!

I had totally been in a dead zone when it came to inspiration for what to print and work on. My print of my head didn’t work out and I was struggling with that, and other than the Make-a-thon I had no idea what I was doing.

I got started on my final project, a workshop on the basics of Fusion 360 and found I was even having trouble there. I had to come up with something that was simple enough to show the controls, but create something that people could put their own spin on. I had done the tutorial on making headphones but I got frustrated with it because the final product had little room for making it “your own”. I got to working, and eventually created a basic version of a gummy bear! It didn’t take a ton of crazy controls, but it showed the basics of using the controls, as well as toggling the view and what not. For the first draft of the gummy bear I had a ton of fun trying to create and make my own. Gummy Bear


Gummy Bear 2

Jeff coming in was super interesting. I loved seeing everything they do over at the fab lab and I’m SUPER interested in working with the projects revolving around Minecraft. Jeff spoke to me even about working there over the summer to teach kids how to play the game which is a dream come true. I found it super interesting how you can scan the worlds the player creates and then print it! I’m eager to go to the lab next week and play around!

Lastly, Arielle found a really cool business card someone printed out for a bike touring company that popped out to turn into a little mini bicycle. The user could assemble the print. Arielle and I decided we wanted to make one of those for a wheelchair racer for the team! I’m eager to design that and then put it into cad. I’m mostly just excited to get out of that creative ditch.

Week 9: Arduino & Fab Lab

On March 17th the class was full of interesting and new things. First of all I learned what is Arduino and got to play with it. “Arduino is an open-source electronics platform based on easy-to-use hardware and software.” As its definition tells you Arduino is a piece of electronic platform that can be programmed to do certain functions. IMG_20150317_141537

So, I started by watching couple Arduino tutorials from the MakerLab’s website. Here is the link to the tutorials http://makerlab.illinois.edu/2014/02/24/getting-started-with-arduinos/. Then, after I watched first two of them, I started writing code. Here is how it looked like:

IMG_20150317_154525


After the code was written I tried to test whether my system would work or not. Essentially my goal was to turn the light on. Unfortunately, I wasn’t able to do that because of some hardware connectivity problems. I believe I was missing some part, or probably connected it incorrectly. But here is how it looked like:

IMG_20150317_154532

For the rest of the class we had a guest speaker from a Fab Lab. Fab Lab is a community based maker lab located on campus close to Agriculture Library. He showed us different cool things that were made at Fab Lab and explained what they do there overall. I, personally, think that it’s a great place that should exist in every community. Especially it is very beneficial for children because it helps them develop and understand design as well as think more creatively. Looking forward for our sessions there after the break!

IMG-20150317-WA0023 IMG-20150317-WA0019IMG-20150317-WA0006

Fab(ulous) Introduction

IMG_0202

THIS WEEK ON #DIGITALMAKING SEMINAR (TV drama intro voice) we had a rep from the Champaign-Urbana Community FabLab come in to talk about the magical things they do over there.

We learned that the FabLab functions as a workshop for the community to do computer-focused innovation, design and fabrication. I had only a week or two ago learned that there were FabLabs across the country and the world that all did similar work. They aren’t everywhere obviously. Only places that are hubs of creativity and technology. So UIUC is probably a prime location. The idea behind the FabLab is to get people excited about DIY and fabrication. Their labs have 3D printers, scanners, engraving tools, a woodshop, small robotics and more. It was awesome to get a hands on feel for the all the objects made in the FabLab. The above picture shows a “broccoli sheep” that was 3D printed from a digital animal created in the game Spore. The creators of a lot of these items are young K-12 students from community. This is HUGE for getting kids excited about STEAM (the A is for art).

Best part of all? It’s not just for kids! College kids are allowed too (we’re just large children anyways). Though our introduction to the FabLab was done via powerpoint in the MakerLab at the BIF, I feel like I have a pretty good concept of what I’ll be seeing once we get to the workshop. I am particularly interested in working with engraving tools and Minecraft. From what I understand, I can build on Mindcraft and actually 3D print my creations. An example of that was passed around the class and I was in awe of how detailed the architecture was able to be for something made by blocks on Minecraft. Knowing myself though, I’ll likely find something else that catches my eye that I’ll want to try. This whole thing reminds me of going to the field museum as a kid.