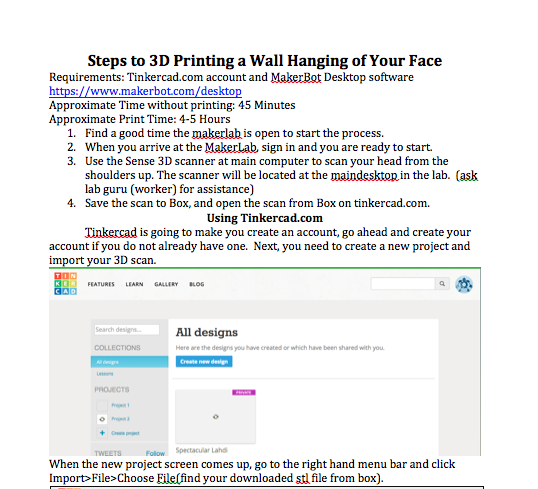
Our semester project revolved around creating Learning Pathways in Digital Making. While most projects focused on the “Make” aspect of the MakerLab credo, we decided to focus on the other aspects of learning and sharing.
Our project objective was to create a variety of learning pathways consisting of content segmented by interests & needs. These modules would in turn be available to a wide range of audiences via an online platform, currently Instructure. We hope that our project will be used in the future to enable the MakerLab to be not just a printing resource for Illinois Students, but to become an education leader in the digital making space.
SUBJECT PATHWAYS
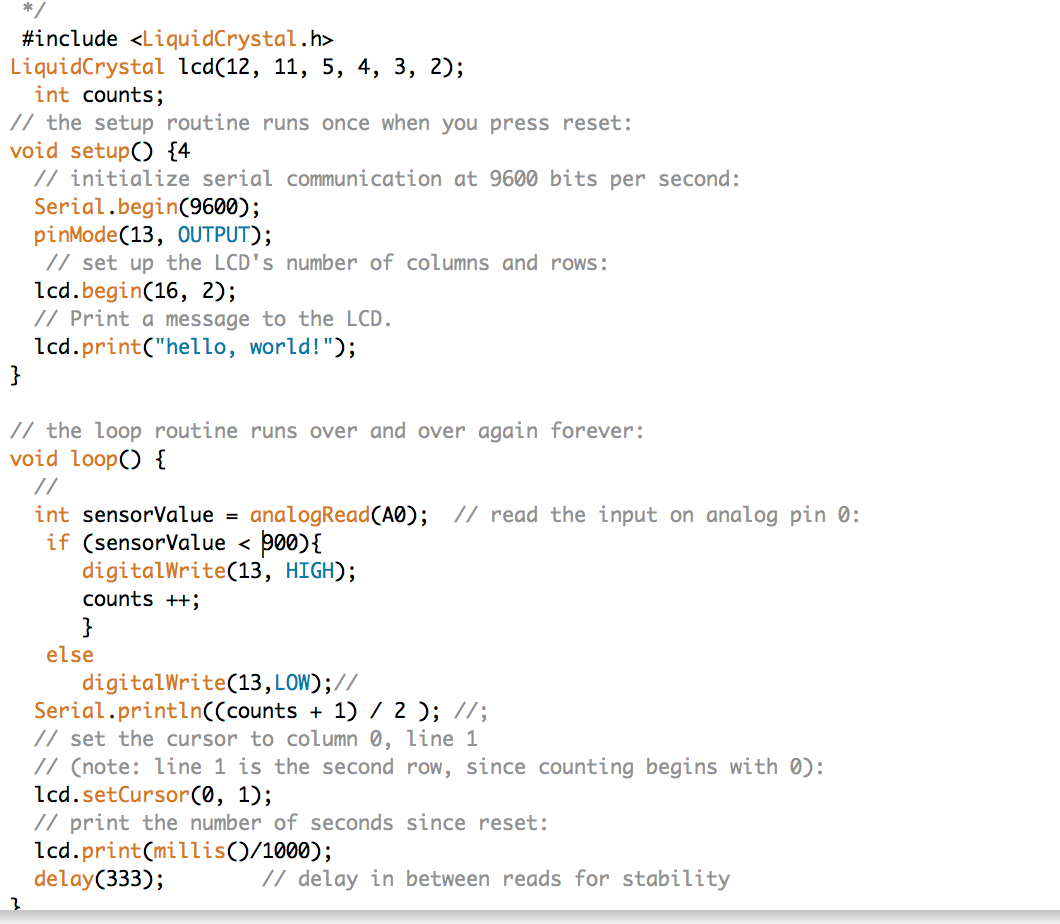
3D Printing
The 3D printing subject pathway will introduce the fundamental concepts of 3D printing. This module will focus on helping others understand the process of 3D printing, the various materials that are available to print with, as well as the different printers being used around the world. Additionally, this module will uniquely contain content dedicated to exploring how 3D printing is changing the business environment. Rather than keeping this business environment content as a separate module, this content will be beneficial to a wide range of individuals who may work in different industries.
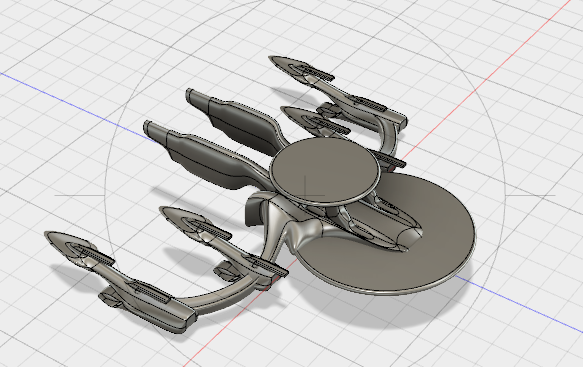
3D Scanning
3D Scanning will expose readers to the idea of turning physical objects into the digital space and back again into the physical space. This module will focus on describing various commercial scanners and uses as well as delve into ways that the average person can dip their toes into the 3D scanning space through free apps and fun projects.
3D Design
The 3D Design module will explore all of the different aspects of digitally creating objects and modeling techniques. The content within this area will pertain to the different making softwares available, the range of technologies available for users of varying skill levels, and the resources that are available for individuals interested in sharpening their skills in 3D design.
DISCIPLINE PATHWAYS
After a basic understanding of the different making technologies: 3D printing, scanning and design, we found it appropriate to look at what 3D printing and these related technologies look like in the many different industries and communities around the world. We’ve broken this down by exploring different types of 3D printing used in industry, applications of the technology, and career opportunities that exist and that may be relevant to technologically and artistically inclined students.
By diving into the different forms of additive manufacturing and how the different processes have their own advantages and disadvantages in use, readers will receive a strong background with the jargon and technological understanding professionals use when dealing with these tools.
Next, exploring industry applications will show the massive scope that digital making technologies have in terms of where they are being used. We dive into medical technology, aerospace & defense and automotive technology and describe how these industries have been revolutionized (and continue to evolve) by additive manufacturing.
Finishing off with the business side of things, we explore the implications that additive manufacturing and digital making will have on the career paths of those who are technologically and artistically inclined (AKA those taking courses through the MakerLab)!
TYPES OF DISCIPLINE PATHWAYS
Entrepreneurship: Individuals looking to start their own businesses or leverage technology like 3D printing to innovate on existing products will be able to access links, individuals, and learning resources to use a place like the MakerLab to explore new ideas. This area will also explore the concept of rapid prototyping that will aid the new product development process.
Product Development: While a subset of entrepreneurship, will focus on taking a product from ideation to prototyping. 3D printing vastly changes the prototyping process, and this module will provide guidance into this process as well as designing products for additive manufacturing.
Education: Individuals seeking to learn more about how the maker movement is transforming education at various levels and wanting to acquire resources to help introduce themselves and others will find this learning path very beneficial. We hope to craft some great connections to communities around the United States that are talking about ways to integrate the ‘making’ process into our school curricula. This module will also discuss the Maker Movement and how this movement is radically transforming the education landscape.
Architecture: The architecture pathway will provide learners with a solid understanding of how 3D printing is having a great impact on the architecture industry. From revolutionizing the ways that architects present their proposals to clients to enabling architects to rapidly prototype models in ways never seen before, 3D printing is profoundly changing the ways that architects design buildings and structures. The resources in this area will focus on providing community pages, links to architecture groups, and tips on designing for individuals wanting to learn more about how to integrate 3D printing technology into their workflows for architecture.

Business Management: This path of resources will help individuals in management or other business process-related roles learn how to leverage areas like 3D printing, scanning, and design to improve their supply chains, enhance product development, or help their employees become literate in emerging technologies. We feel that this resource will also be very useful to students interested in business that want to learn more about how 3D printing is changing the business landscape and how additive manufacturing processes are impacting the value chain of a business.
PATHWAY CONSTRUCTION
While our discipline pathways will be more free flowing following the nature of each module, all the subject pathways follow the same basic format. Each module starts off with a high – level overview of each subject to provide the reader with enough background to understand the technologies at work as well as some of the ways they are applied. Then, the module is split into industry applications, discussing how businesses today currently use the technology, and end-user applications, providing insight into how a casual home user would use these technologies. Each module also contains a “For Kids” section, showing how kids or parents of kids, could use this technology to both play and learn. Finally, the reader is invited to try this technology out for themselves, and we provide low cost ways that people could get involved with each technology.
CONCLUSION
This project has given us all a great perspective into what it looks like to be on the forefront of a large technological movement. By creating content for our modules and thinking of how we could facilitate learning in the digital making space by leveraging an online platform, we’ve seen firsthand the great significance that 3D printing and digital making is having on the world around us. The breadth of all the different things we wanted to include within these modules speaks to the growing need for educational resources for this kind of content. We’ve learned that while it can be difficult moving from the student point of view to the educator’s, it is very exciting to be so young, but still be able to not only learn about concepts like digital making, but share our knowledge to help others across the globe learn as well.
Post written by Gian Luis Delgado, Anthony Matar, and Noah Baird.


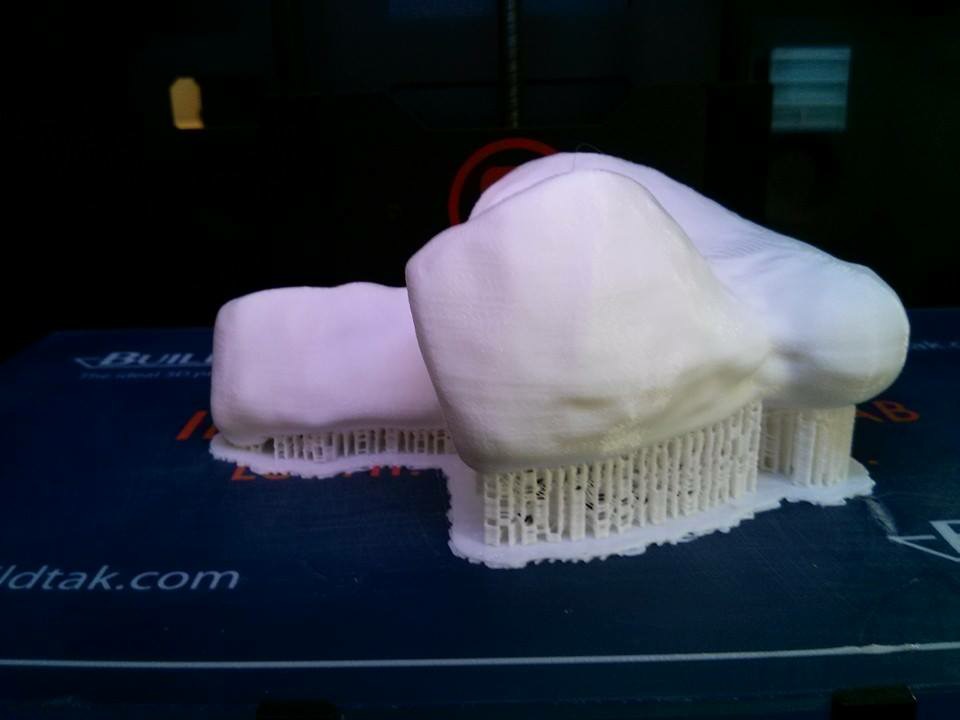
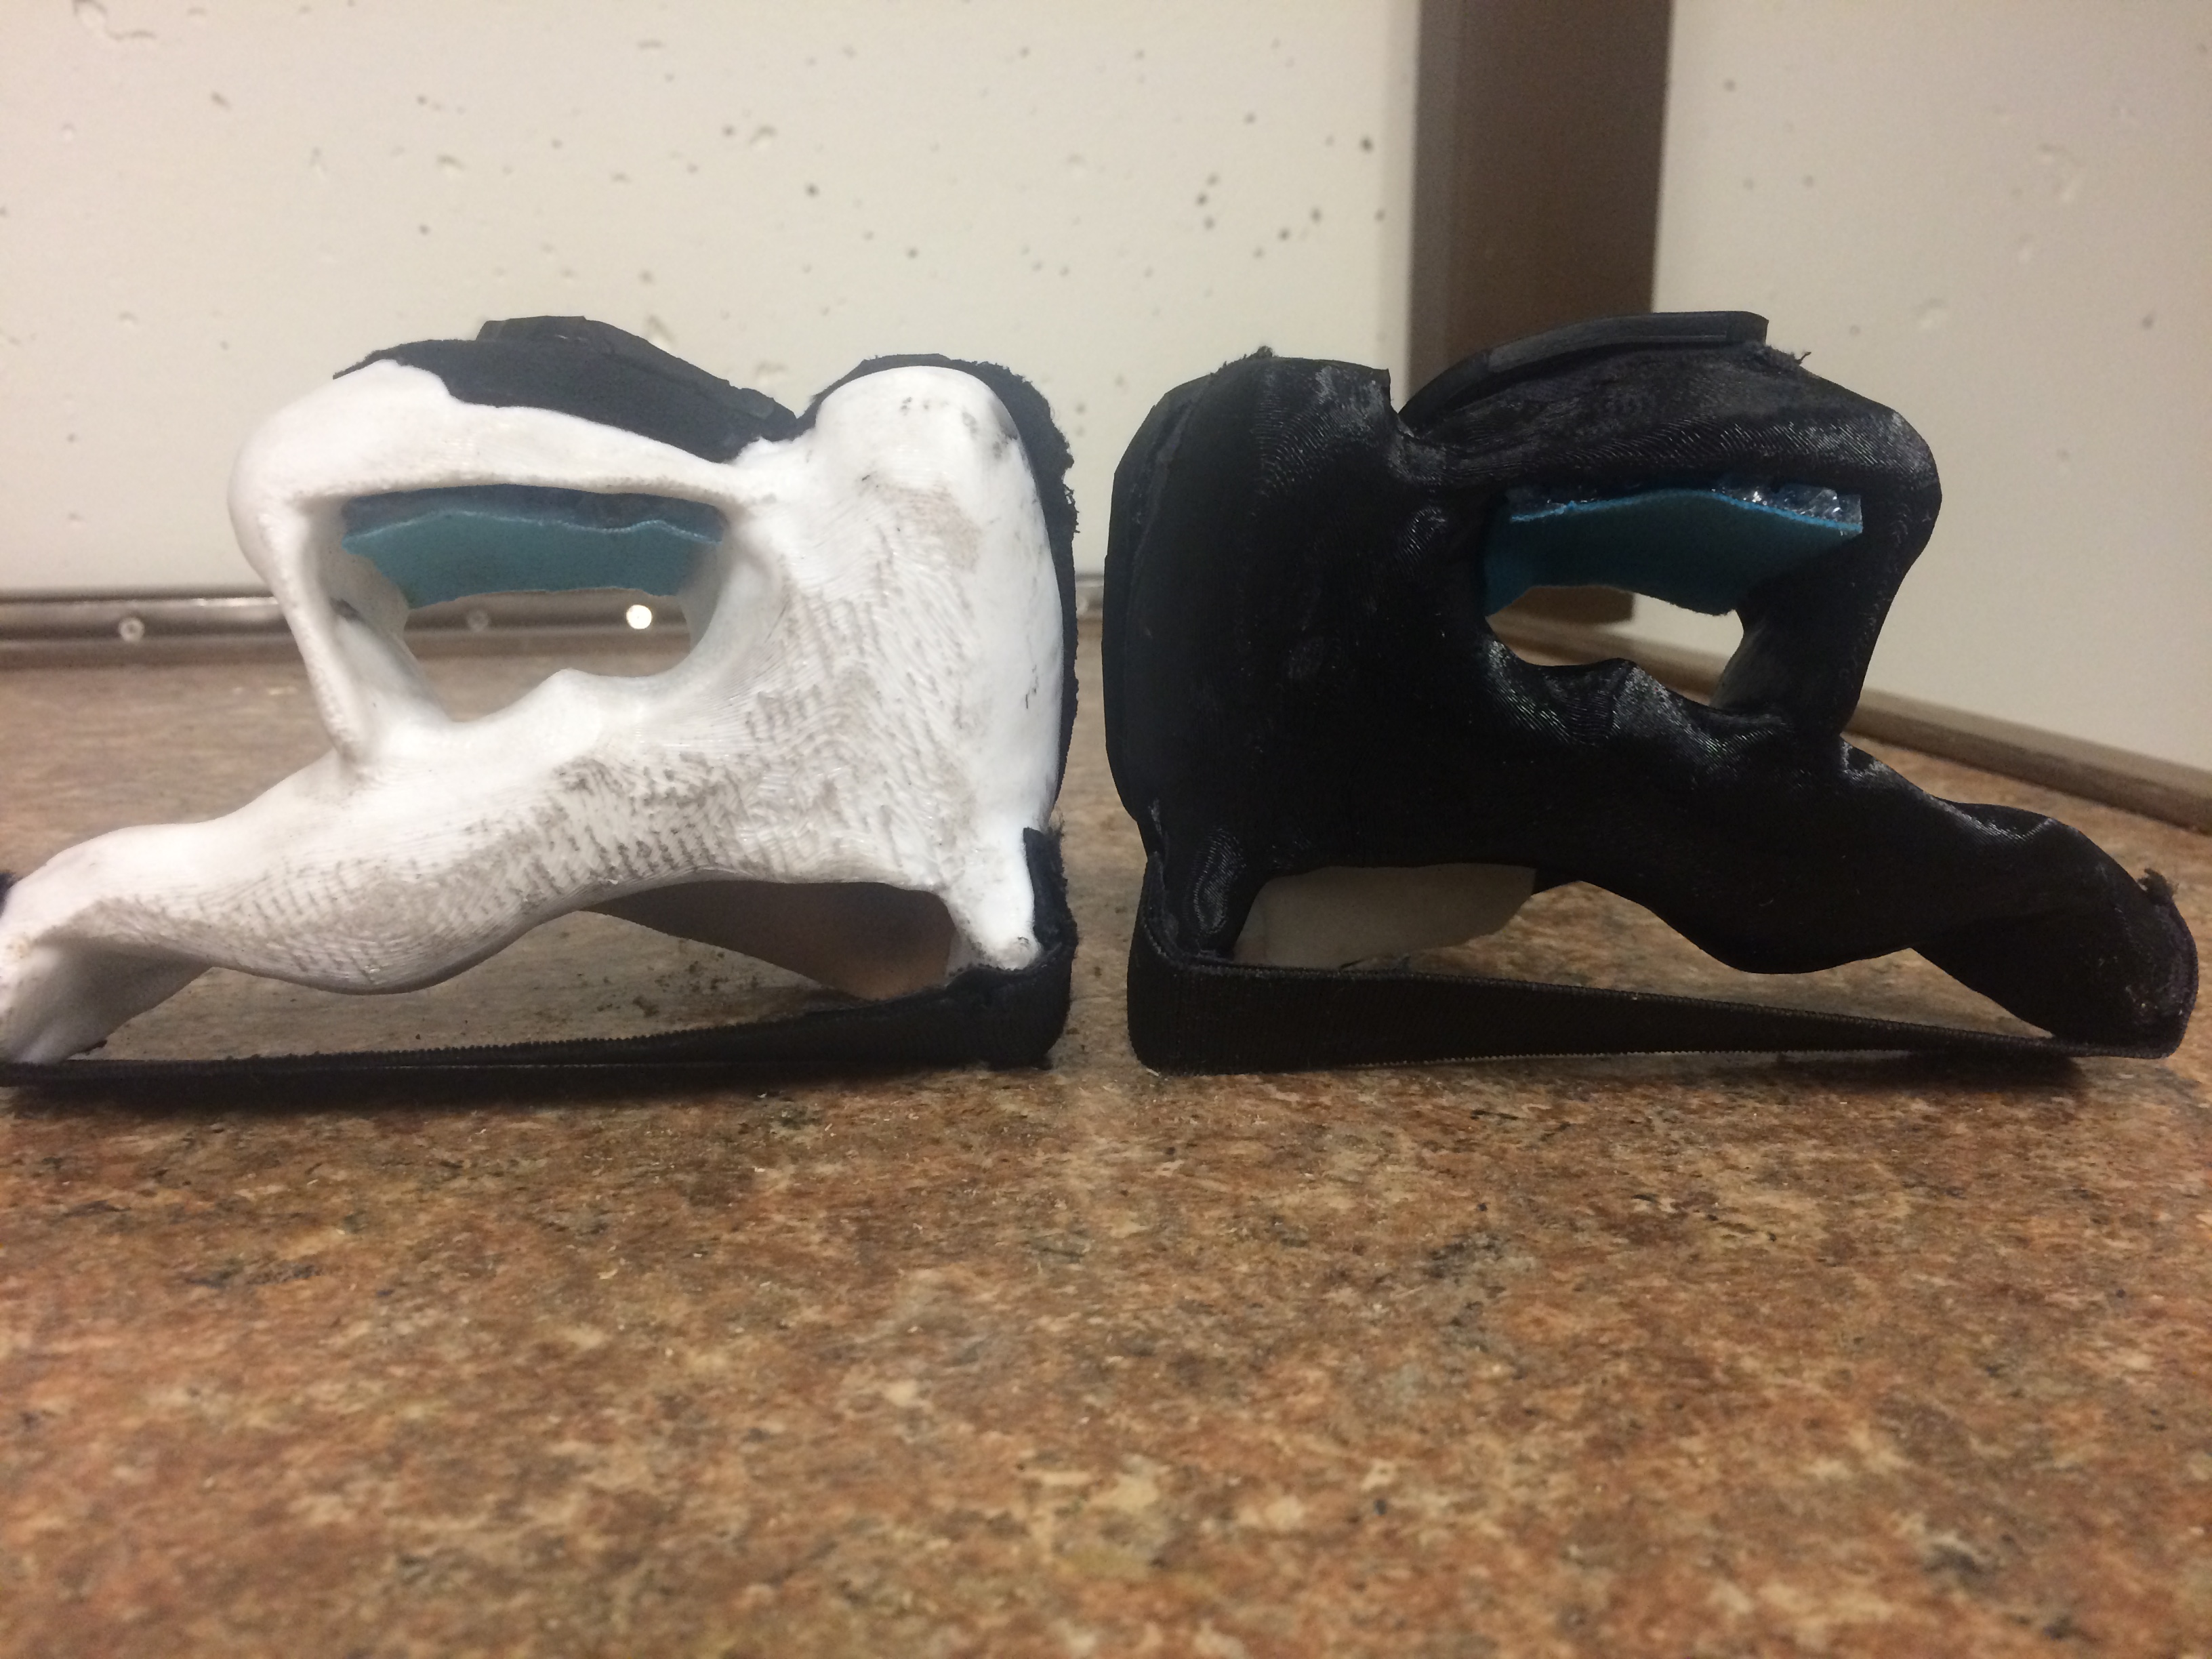
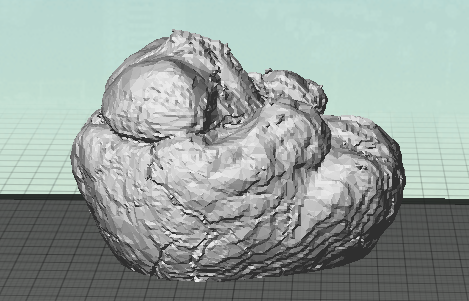
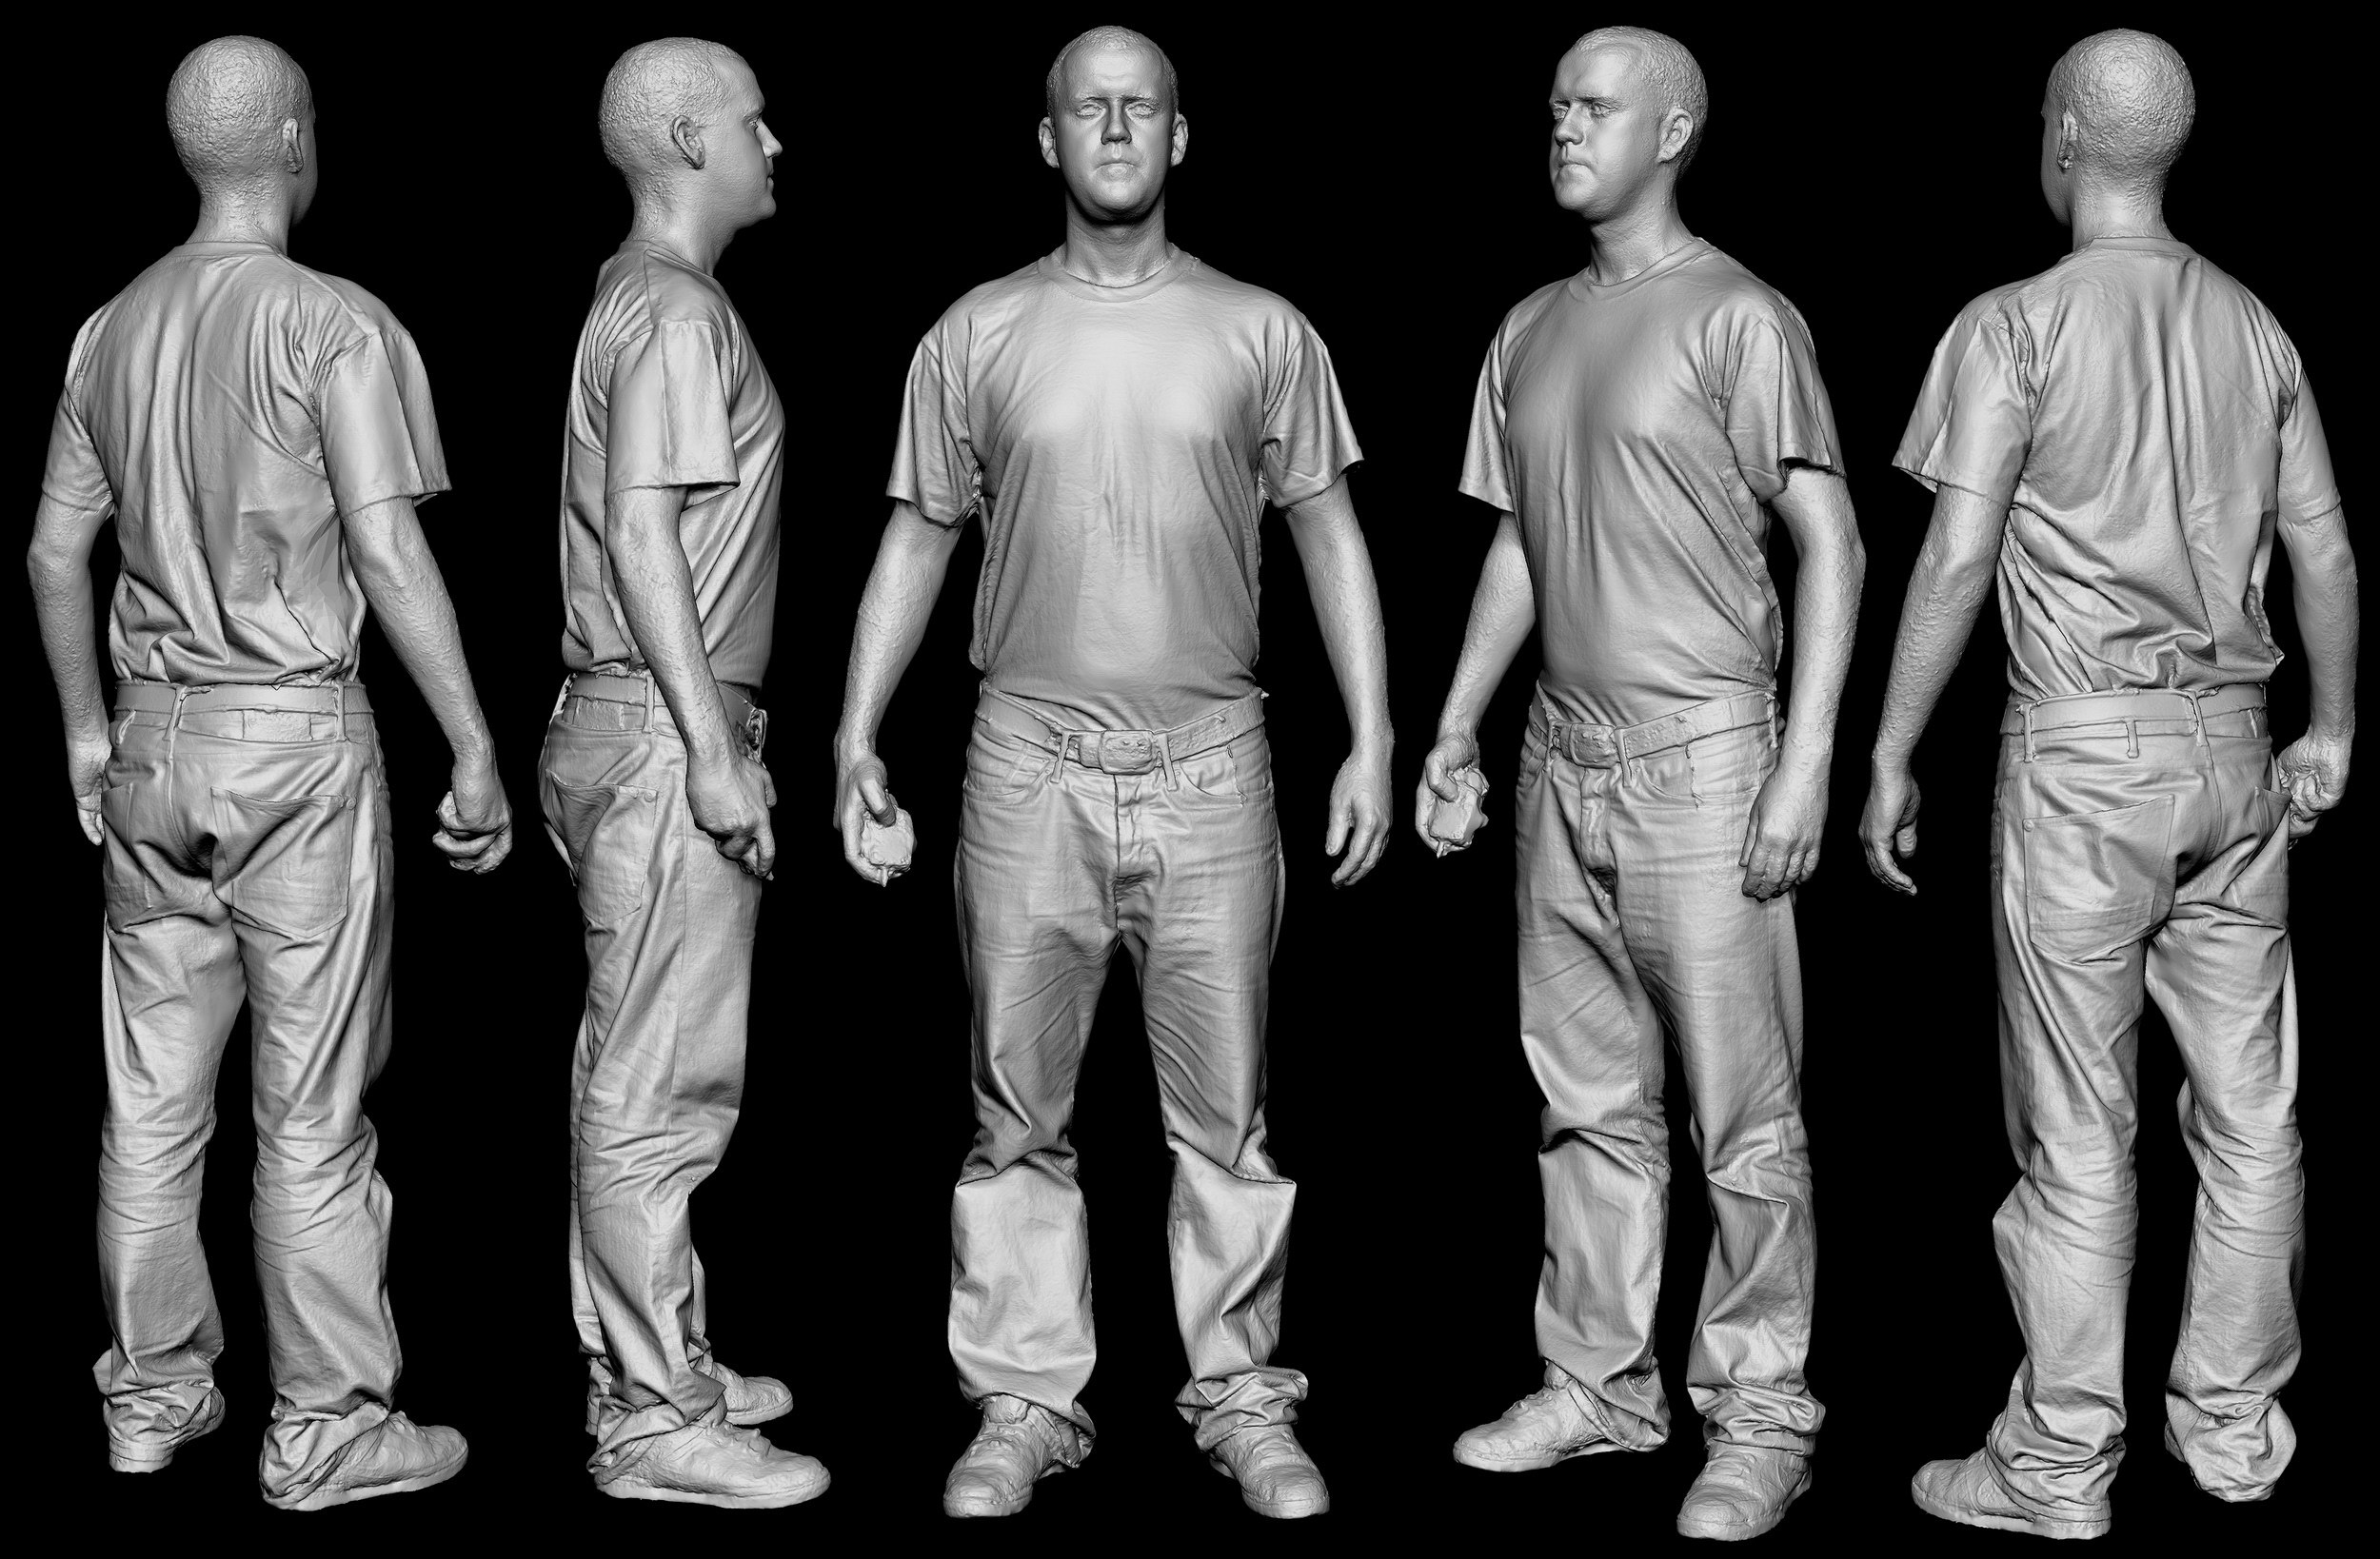
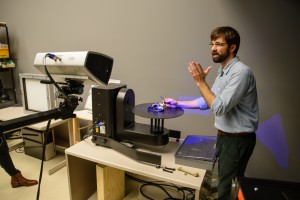 Then later, at track practice, my coach suggested trying to scan one of the handmade gloves we use to race. Usually the gloves take hours and hours to make- custom fit for each racer, not to mention their 350.00 dollar price tag. One pair will last a long time, but since they are so unique they can never be exactly duplicated. This sounded like the perfect kind of item to try and scan, because having a 3D model that you could print over and over again would open up many possibilities.
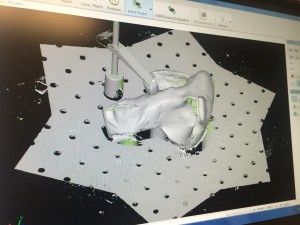 After Travis (from the Vis Lab over at Beckman) completed the scan and cleaned up the glove file, we were off to work! We were incredibly lucky and barely had to manipulate the design at all in Geomagic because the scanner was so precise. Surprisingly, the very first time we tried to print our glove, it worked! Afterwards, when trying to make duplicates, we had a lot of trouble positioning it correctly on the raft so print would not fail, but eventually we figured out the best angle and direction to place the glove in order for the prints to continuously be successful.