What I learned from Digital Making

I took this class originally to learn how to model, not knowing that I would actually only spend a portion of the semester with modeling softwares. Eventually we toured most of the major making topics: programming, sewing, ideating, scanning and carving. We bounced from additive manufacturing to subtractive, and I learned more about this broad topic of making than I ever would have if this course looked at it strictly from a modeling perspective. Below, I catalog what I’ve learned:

IMG_0070

Modeling: What I learned

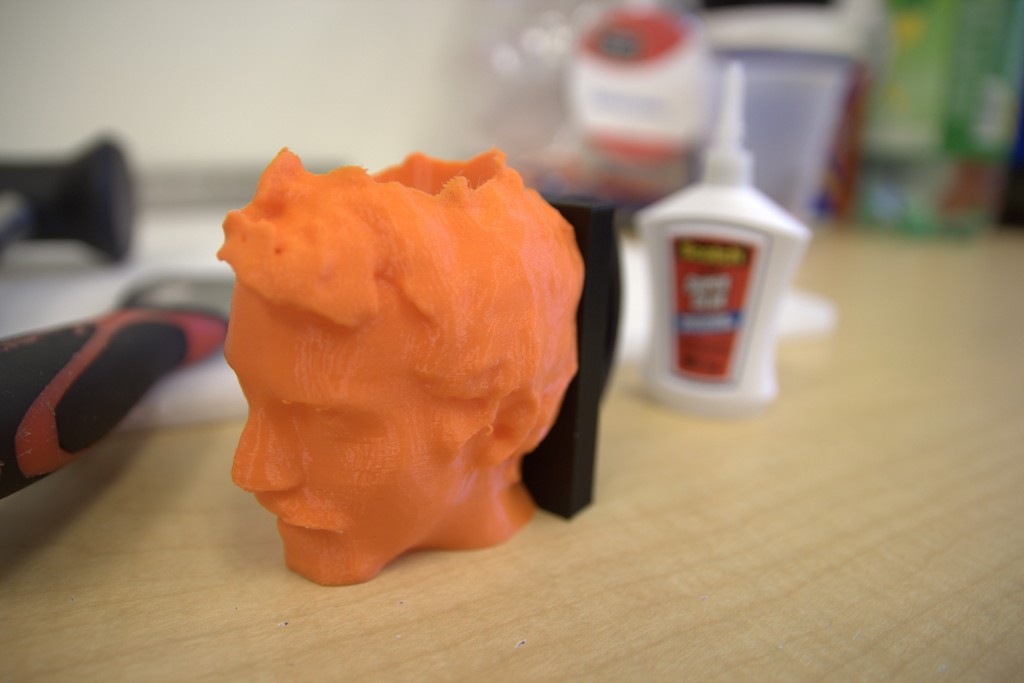
We started out the semester learning how to model on the simple to use, browser based program tinkercad. With this program, we were able to print out basic shapes, to heights and thicknesses we dictated. We even imported scans of our faces and made busts of ourselves. Me, I made a short mug.

From there, we learned how to use a more advanced software called Autodesk Fusion 360. We were given a workshop by a pair of instructors from the company, and we made lamps.

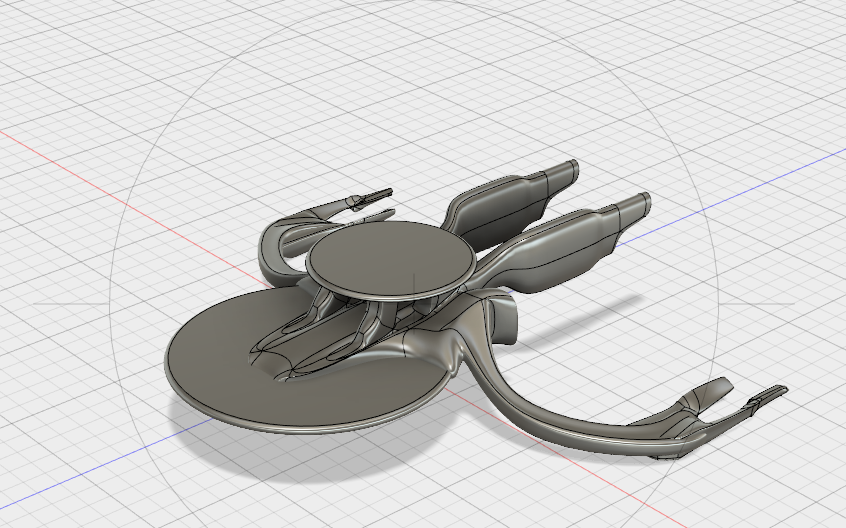
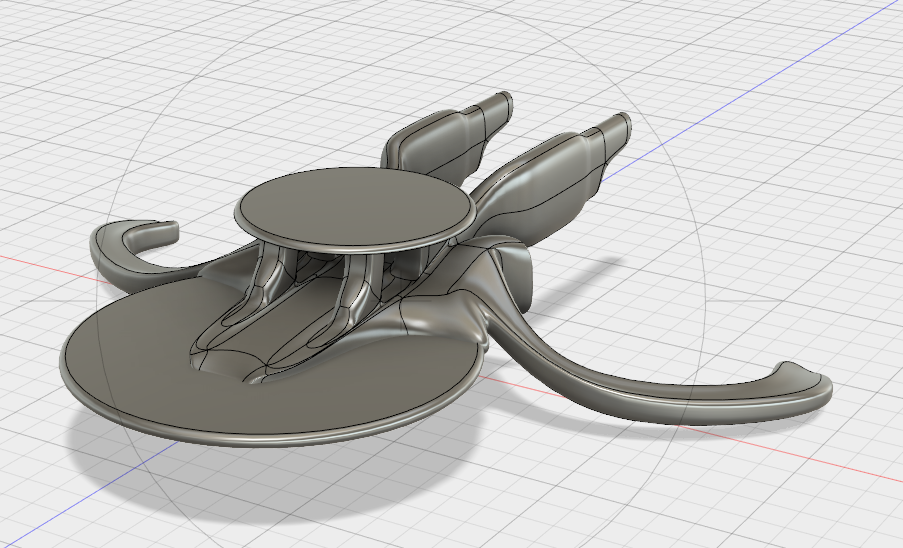
I didn’t really grasp the program at the time, I’m a journalism major after all, but I chose to apply what I gained at the workshop and watched learning videos with their helpful website. From there, I was able to work on a semester long project and made an advanced model of a spaceship.

Programming: What I learned

During a 3-week stint at a local making lab, I had the opportunity to play with a breadboard, some wiring, sensors, LEDs and “arduinos.” Through the arduino software installed on the lab’s computers, I was able to tell the LEDs when to turn on. I essentially made a night light.

Sewing: What I learned

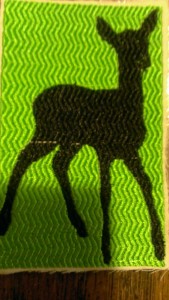
Also while I was at this lab, I learned how to upload a silhouette onto a sewing machine, apply patterns, and automatically sew a patch. The next week I did something similar with applying a few silhouettes to a plank of wood in a wood cutter. WP_20150405_001
Ideating: What I learned

Lastly, we had a design thinking workshop during one of our classes, where I learned how to use a good process to get to a final design. From thinking of a problem, to thinking of and enhancing a solution, I learned just how designers do what they do.

So what exactly does all this mean?

As I said earlier, I came to this class with a journalism background, but that didn’t really inhibit me. Through this class, I was able to apply myself in ways I haven’t in a long time.

This class has opened up a whole world of things that I can make and do – from doorstops to birthday presents. All I have to do is take a few hours and learn how to do it.

What I made in Digital Making

Through the Digital Making course at the University of Illinois, I’ve been able to pursue something I’ve always wanted to get into: spaceship modeling.

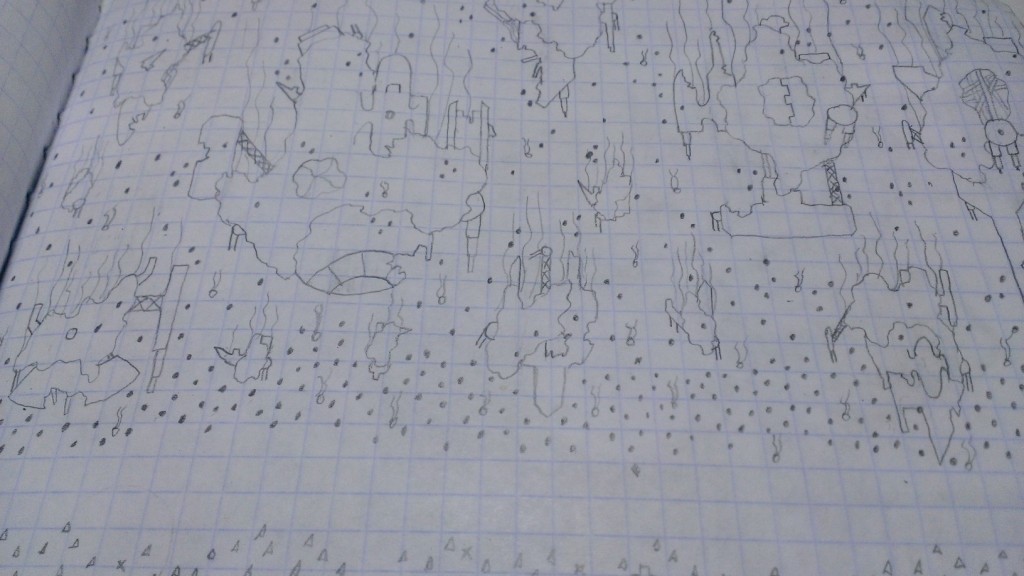
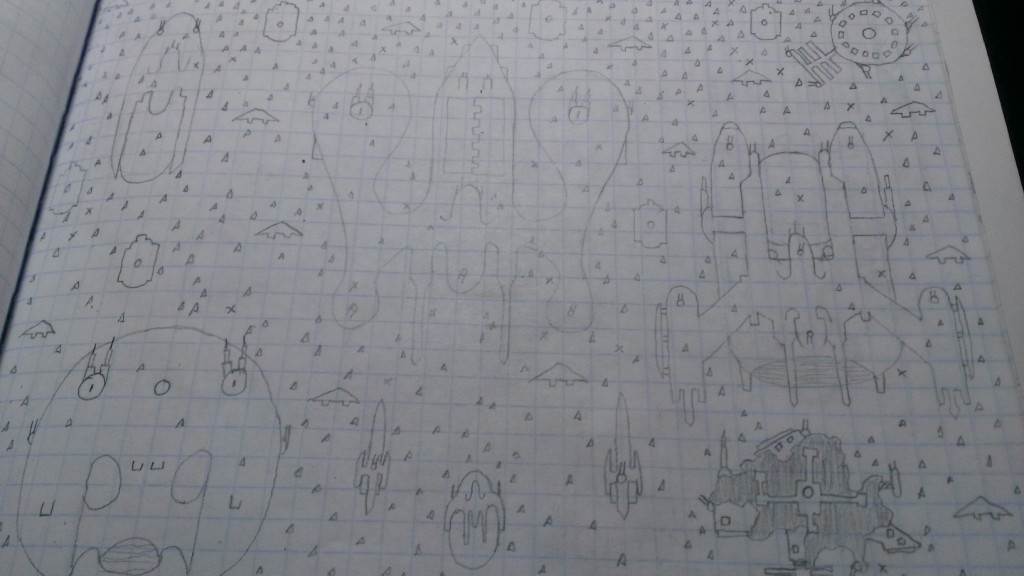
I grew up playing-out space battles with model ships from Star Trek, and little Bionicle and Lego contraptions I thought up. I used bottlecaps and Wint-o-Green mints too. As I played, I imagined an entire universe outside of myself – a universe of aliens and knights, of spaceships and complex alliances.

I’ve taken that imagined universe and written it down, in dozens of pages of notebooks and word docs. My goal is to make it an online book one day, but always another goal of mine was to actually make the ships I thought up in my head, and not just imagine it as a bottlecap. I accomplished that this semester, and made the most important ship in my universe. Give it a gander:

hm_preview_featured

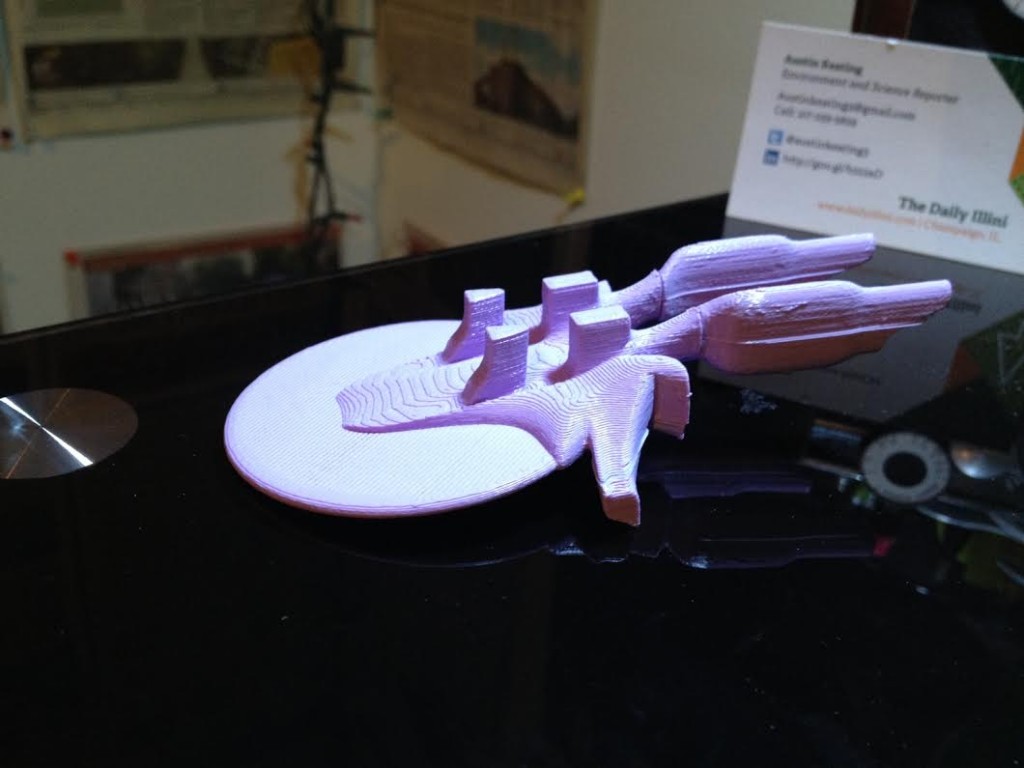
I made the SS Valhalla with Fusion 360, and its took several incarnations to get me to where I am today. It’s finally finished, and as I’m writing this, it’s being printed. You can print it for yourself here.

As I move forward with my universe and eventually publish my stories, I intend to make this ship, and the others that will follow it, integral to the reading experience. I want my readers to read the words and click on them, landing them onto a thingiverse page where they can print it for themselves.

I want my readers to make their own ships and contribute them to the lore.

I want to change and innovate science fiction, making it more than just words on a page. I want to make my universe a digital gateway to imagination in a way that wasn’t possible 10 years ago.

Email me at austinkeating3@gmail.com if you want an email sometime when I’m ready to unveil the project, hopefully over the next year or so.

Digital Making Log 10

I never really thought of sewing as something that was ever really “for me.” It always seemed so imprecise, you just had to push along and hope your end product had some level of symmetry. Mine never did..

I went to Fablab in Urbana with my Digital Making class last Tuesday, and while there, I changed my mind on sewing. It’s our first in a 3 part lab session in the building. While there, I was sent to the far back room with laptops and automated sewing machines strewn across a few tables.

I immediately sat down, found a shape (a deer), added some colors and sewing patterns and bam, I had the equivalent of an stl for sewing. All I had to do was thread the string, load the file, and make sure nothing bad happened. All and all, I’d say it turned out pretty well.

WP_20150405_001Next step is to learn how to use circuits, which in the context of this, could lead to some glowing eyes for my dear.

Also, if anyone is interested, I’ve found a way to let people view my spaceship in a 3D way. Check it out below:

My project

With this project, I’m working towards a long term goal of mine: to publish a science fiction book and create a universe around it that can be influenced by fans. The book focuses on one vessel, which I’m in the process of building, and its search for other human life in the far-off future. Colonies lost touch with Earth (for reasons I won’t go into), but there are an untold number of colonies, and you know, a couple alien species too.
Untitled

Anyway, even though the book only focuses on one human civilization and one particular style of ship, the lore behind this universe is really huge. That’s where the readers come in. In my head, users can post ship designs on a forum on the book’s website (linked to thingiverse). If the designs get popular enough, and enough users vote for it in a weekly poll, it gets assigned a civilization with a back story voted for by fans.

This project is going to be me developing the ships for the civilization my book focuses on and printing them. I will also be developing shapes that can be loaded into tinkercad (regarded as the easiest CAD software). These shapes and partial ships can be tinkered with, and people who don’t have the wherewithal to design with Fusion can design variant ship designs, which can also be absorbed into the lore. My goal is to make at least two ships, and design fighters/bombers/interceptors/ and a few frigates that attach to it. From there, I will retrace my footsteps and put the partial versions of my ship in a folder. Another folder will hold presets like turrets, engines, and support ships.

Maker log 9

Last time our class held a session, it was pretty much a free for all. Some people printed their projects, and others worked on arduino technology (making circuits). I opted to do my own thing and spent the class period applying holes to the base of my spaceship model, and printing the ship in pieces. It came together quite nicely:unnamedThe edges where the superglue is applied are still very visible after gluing, so hopefully some paint will fix that. The rest of the ship is pretty well done and will be added on this week I’m hoping. Check out a screenshot of it so far:

UntitledEach of the four alcoves I’ve built will hold a frigate, held in place by a peg built with the hole function.

Outside of working on my ship, I haven’t done much else in these past few weeks in the maker world. I’ve been following some arduino tutorials and am excited to delve into the technology over the next four weeks!

Maker log weeks 7 and 8

I was sitting in the basement of the Beckman institute last week watching a lab technician hold a clay model. It was a cylinder or something. I looked at it, and I looked at my doodle book, and I looked at it again.

I realized there that I don’t need to be modeling my spaceships in Fusion 360. Which is a relief. Not because Fusion isn’t working for me. On the contrary, I’m having a blast designing my first spaceship. (See below)

hm

But not all of my spaceships are going to be this “mechanical.” As I work on creating spaceships for my science fiction book, I want to not just build my human spaceships, but also the so-far unnamed antagonists spaceships.

Their ships are blobby and gross, not mechanical. And you can’t really make something blobby and gross in Fusion, but you can with clay – just ask my 1st grade art teacher!

These antagonists essentially cannibalize other spaceships. Combine them – pervert them – and use their weapons systems to fight the protagonists. The reason I haven’t named them yet is because all the good names are taken – scourge, horde, flood, you name it, it’s probably out there somewhere in some other science fiction work. If you have an idea, feel free to suggest it in the comment area.

Here’s a photo of their ships to get some ideas rolling.WP_20150312_003They’re very organic shapes, but with cannibalized mechanical parts. For comparison, here’s some of my drawn human designs:

WP_20150312_006After these two weeks, learning how to scan stuff, and also sort of learning how to touch up those scans, I’ve figured out how I’m going to make those antagonist ships. I’ll scan clay models, I’ll save the scan as an stl file, and then I’ll bring it into fusion and just merge new shapes into it.

Reflection week 5 & 6

Learning Fusion 360 was a challenge and a half.

My class sat through a lesson last week where an Autodesk representative helped us with putting together a lamp, and while I did learn quite a lot at this, I got lost and ended up feeling a little discouraged. I went back through the lamp module online and cleared up what was confusing me at home that night, and from then on,  I feel great about Fusion.

I’ve learned to love the ‘edit form’ function, bending shapes in all sorts of different directions until some combination looks good. I’ve used this as I’ve started my semester long project: to make a fleet of spaceships, and a folder of spaceship parts (engines, canons, bridges, etc.). My goal is to create an interactive component for a science fiction series I’m working on through 3D printing.

hmThis ship isn’t quite done yet. The arms extending from either side could use some sort of structure on them. Additionally, I need to include a ‘spinning structure’ between the two main engines in the back. The saucers also need some details,

It’s important to me that my designs, and the tone behind my whole book for that matter, needs to be realistic. The spinning circle I intend to put back there will create a gravitational field for the area within it. It will allow people to walk with Earth-like conditions on the inner walls (a little disorienting to imagine, but check out the image below. It’s an artist rendering of a similar concept inside used on the show Babylon 5).

garden-nightIf I was a real engineer, I could design some gadgetry that would automatically turn the object, but for now I’ll settle for an axis of rotation I can build-in with the hole feature on tinkercad. From here on, I’m going to keep on designing ships that keep some of the same design features, and aggregating those consistent features into shapes that can be imported into tinkercad.

Digital making log: Week 4

This week we utilized scanning equipment to scan our heads for 3D printing. We had classmates scan our faces onto a cloud, and then we took those scans and scaled them in our modeling software.

From there we could do anything to our 3D mugs. We could put hats on, type our names into our foreheads – anything. I wanted to go the practical route and inserted a hole into my head, making it a fine mug.

From there, I flattened the back-side of my head and printed two additional components: a plank and a handle. When all three components were printed, I simply glued it together. Check it out:

IMG_0070


Of course, it probably isn’t safe to drink out of this, so I think I’ll just use it as a coin cup for now.

What I’ve learned

This new print has propelled me farther than I was before Not only can I print something, but I now also can print multiple things separately as long as they’re scaled to fit together just right.

I also know how to use scanning equipment, so if I ever want to, I can get an app and accessory for my roommates iPad and start doing these scans myself!

With this knowledge in my backpocket, I’m thinking I can continue to grow, most importantly, in learning how to model well.

I may never be able to produce something as complex as a face without the assistance of a scanner, but maybe I can get close enough.