Semester of Making and Learning

This past semester has been a truly engaging and rewarding experience all due to the Digital Making course. I first enrolled in the class because I had an interest in 3D printing; little did I know that the class was so much more than that. Throughout the course we were able to work with 3D printing and scanning, Fusion 360, digital embroidery, and Arduinos. We also went on a few field trips to the Beckman Institute and the Fab Lab. Some of the students also took the opportunity to go to Deloitte in Chicago. It’s been such an exciting time being in this class and it’s opened my eyes to the maker world.

IMG_1117

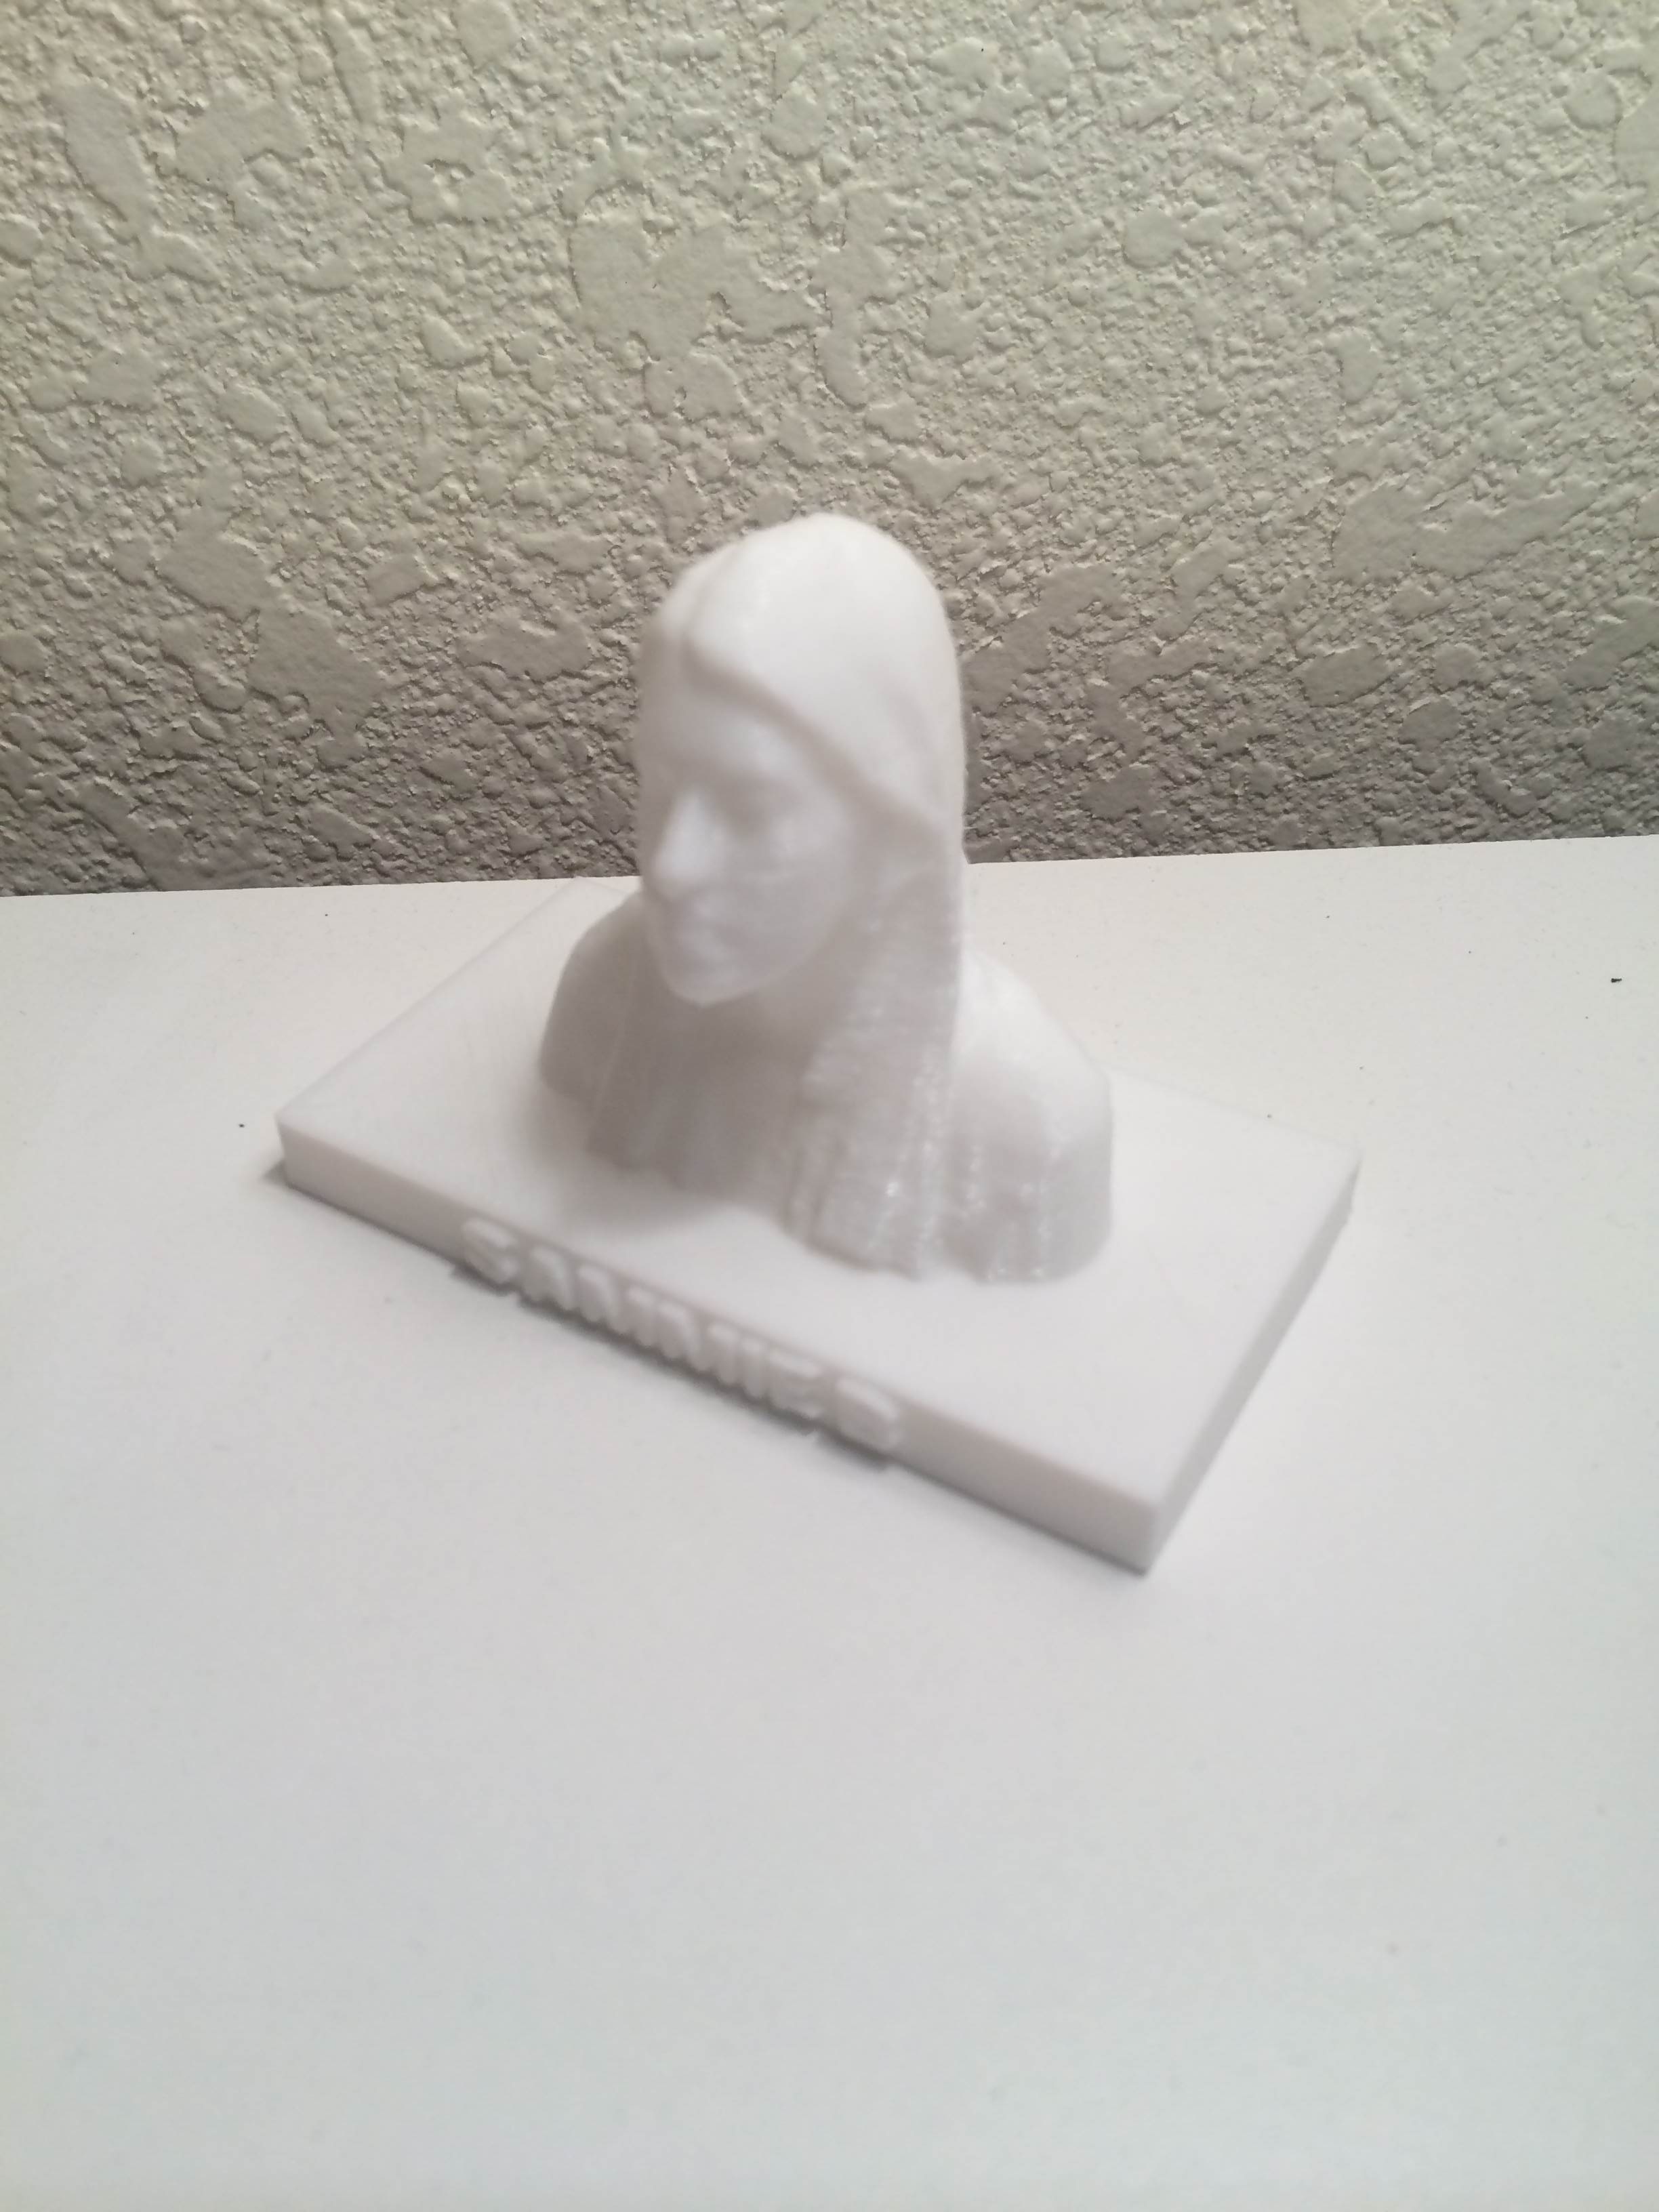
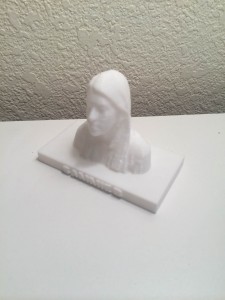
3D printed model of myself

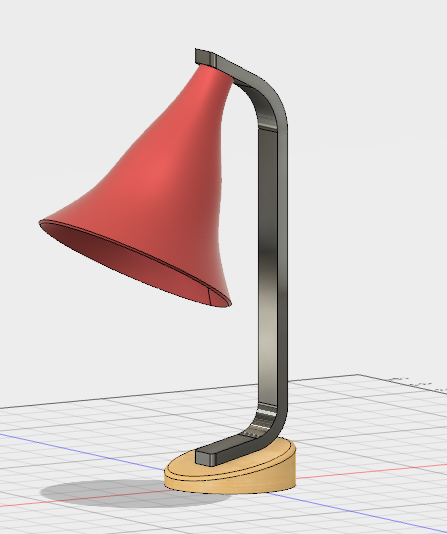
As mentioned, over the semester, we worked on a variety of projects including making a print of ourselves! The entire process was completely new to me. We used a portable scanner that took a rough scan of our heads and uploaded it where we could make any additions or changes to the model. I chose to personalize it with my name and soon we had our own 3D print! Diving deeper into the 3D printing and modeling realm, we started learning about Autodesk Fusion 360 which is a software that enables users to start from a 3D box and from there model anything imaginable. One of my classmates, Austin, designed an entire spaceship, very cool. Fusion 360 taught me that it takes time and lots of practice to get used to such advanced software, but if you put in the effort then it really does pay off.

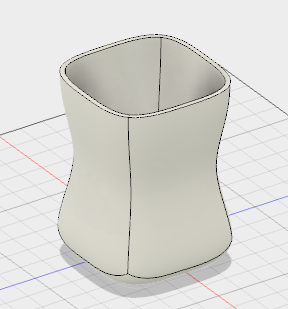
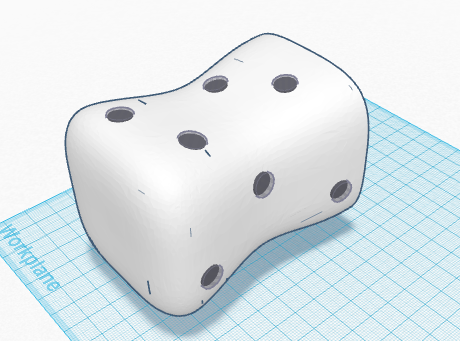
Working with Fusion 360

headphones

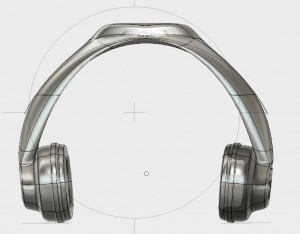
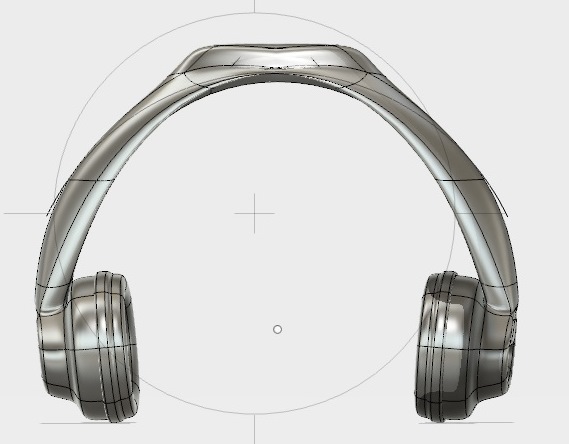
Making headphones in Fusion 360


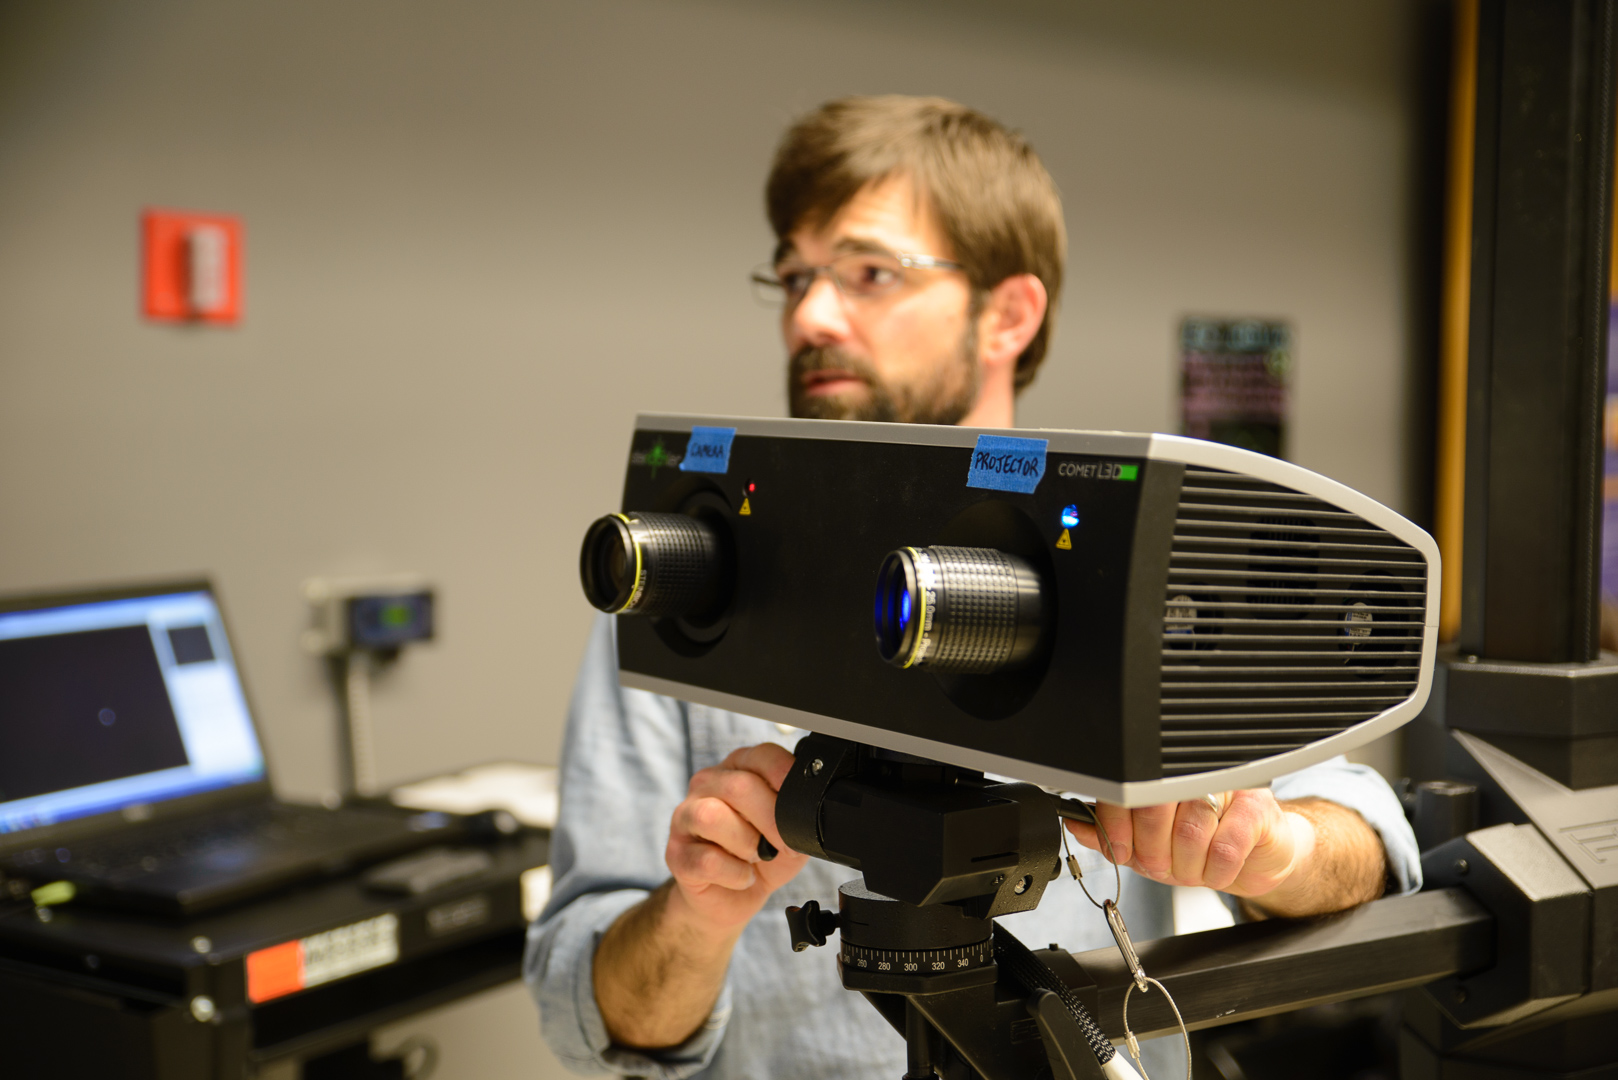
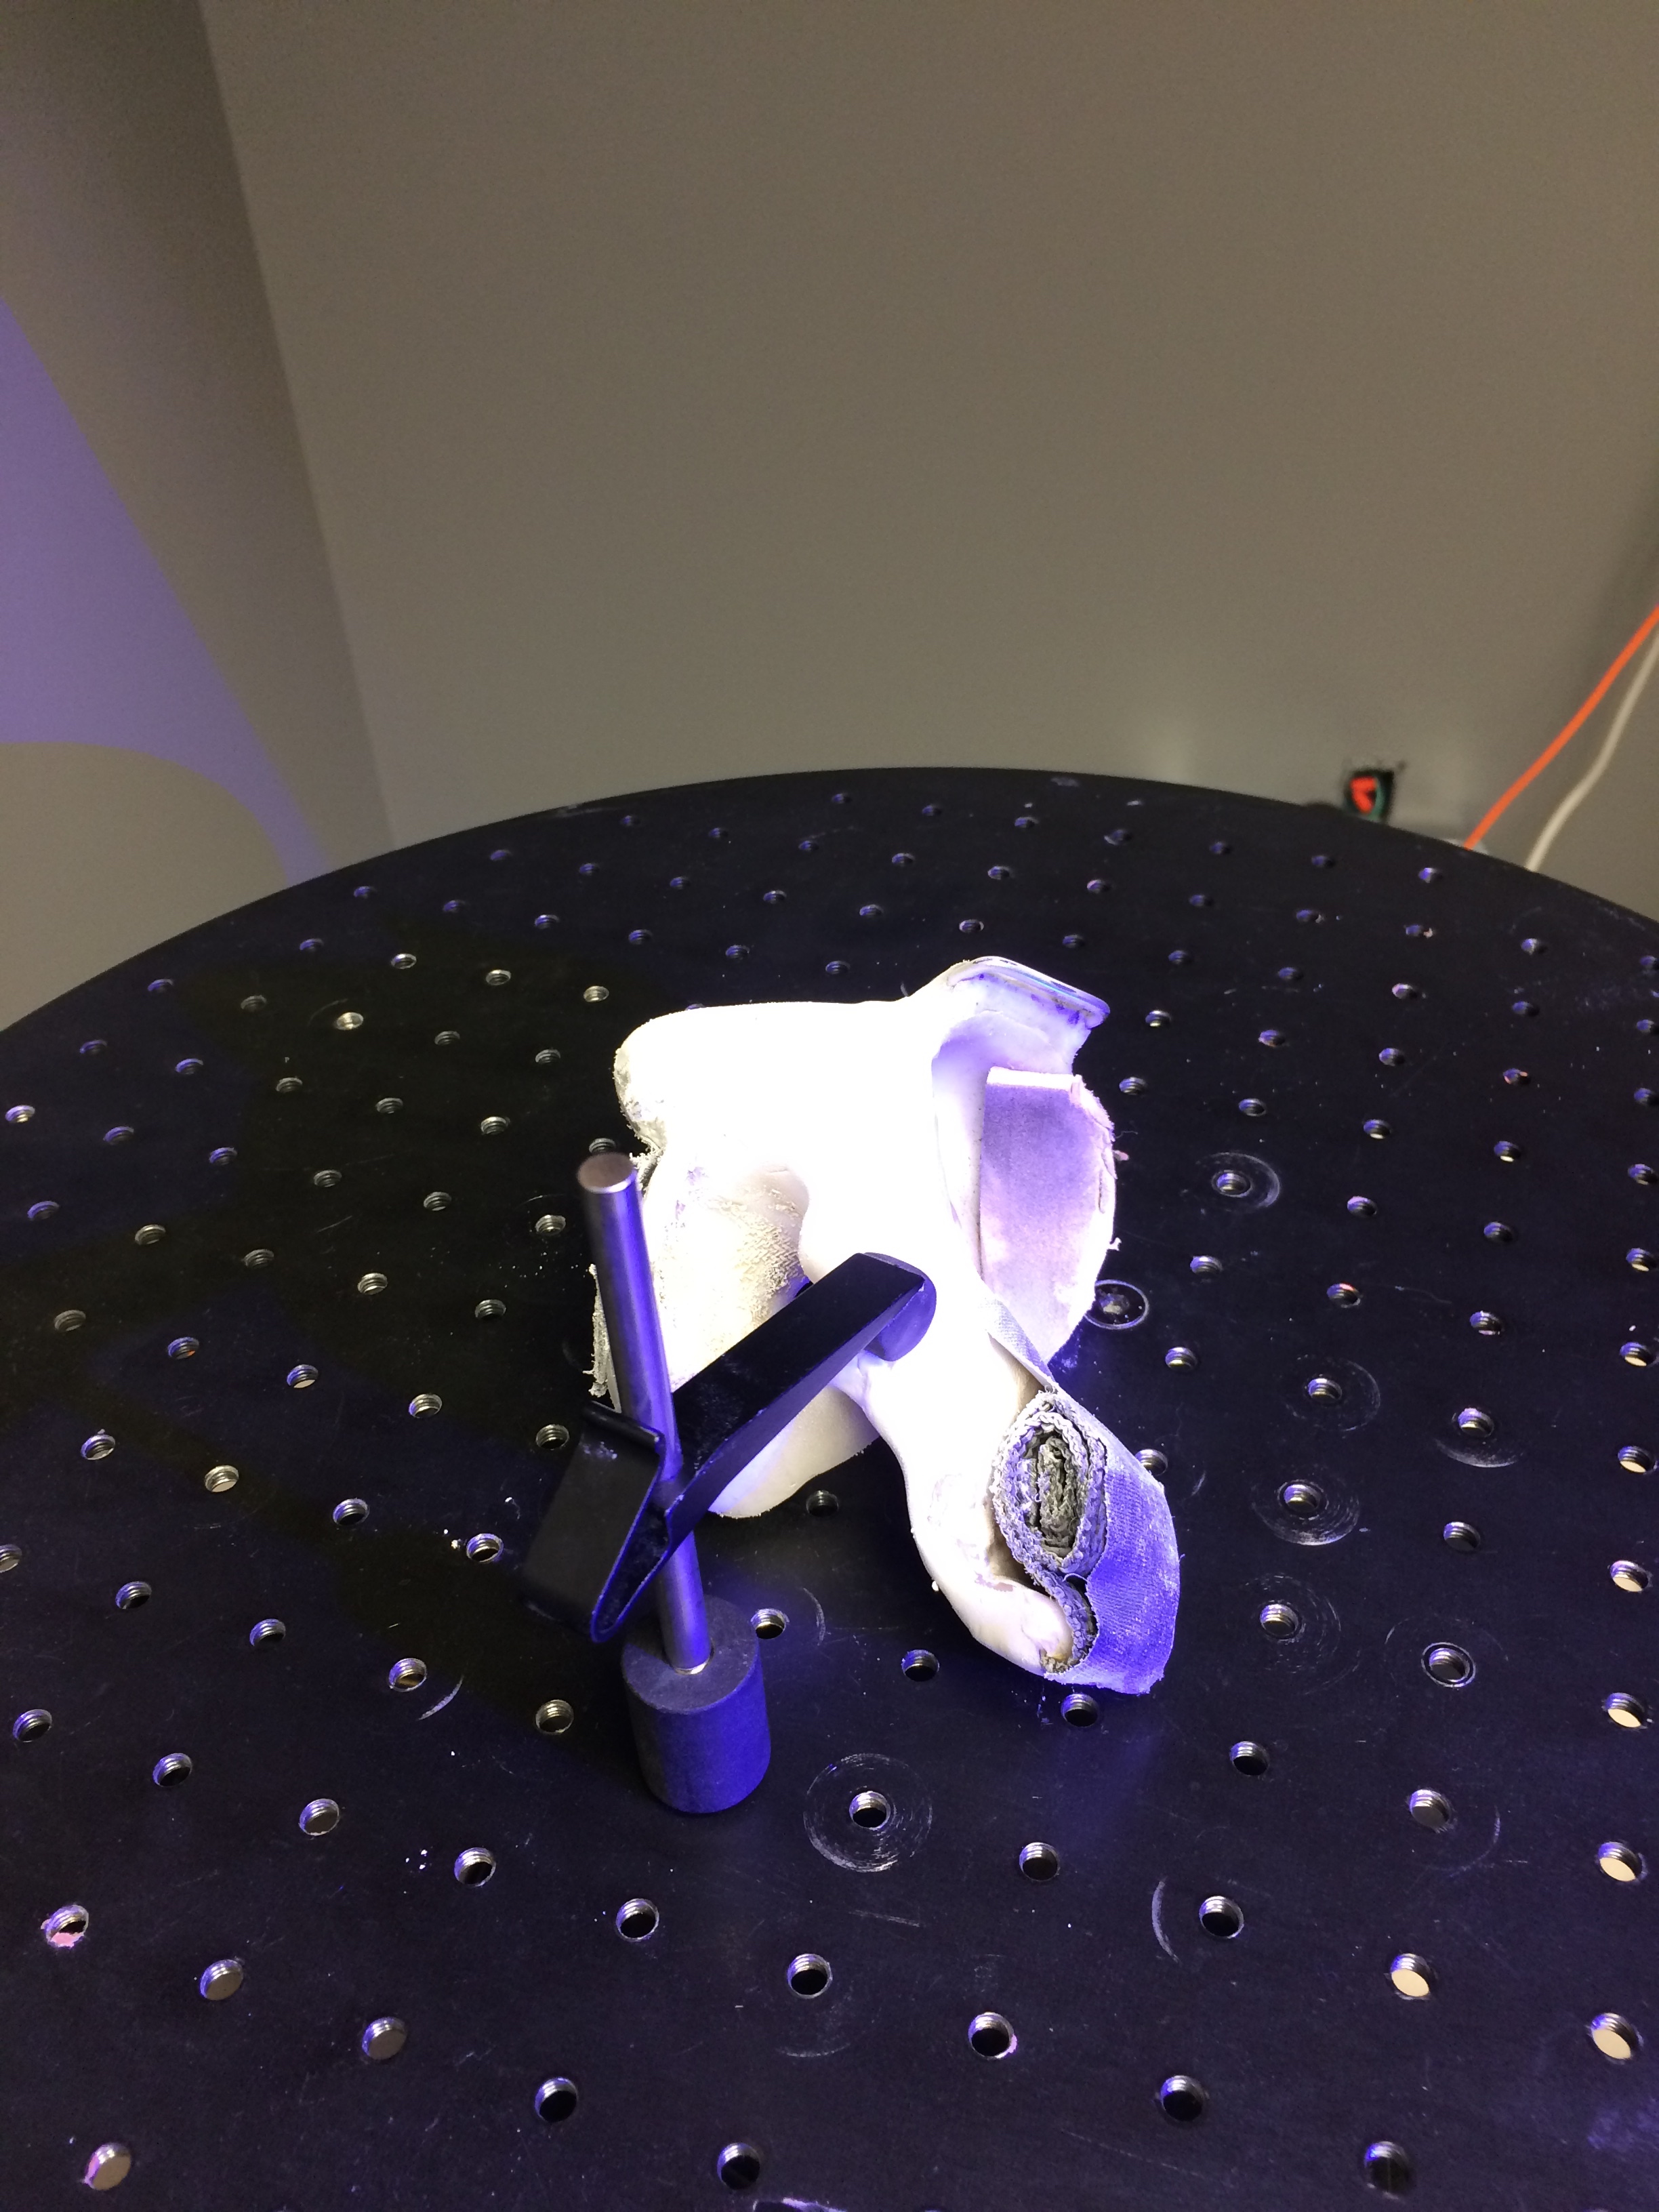
The trip to Beckman was interesting as well. While there we saw Travis work on scanning Arielle’s racing glove with the very high-tech and expensive scanner. I learned that there is a lot of editing and cleaning up that has to be done when scanning so it’s very tedious work. What was also interesting was that the scanner couldn’t pick up certain types of material or surfaces. In this case, talcum powder is best used to help the scanner pick up the object. I would have loved to spend more time watching Travis at work and possibly to some more proactive activities at Beckman.

IMG_0128

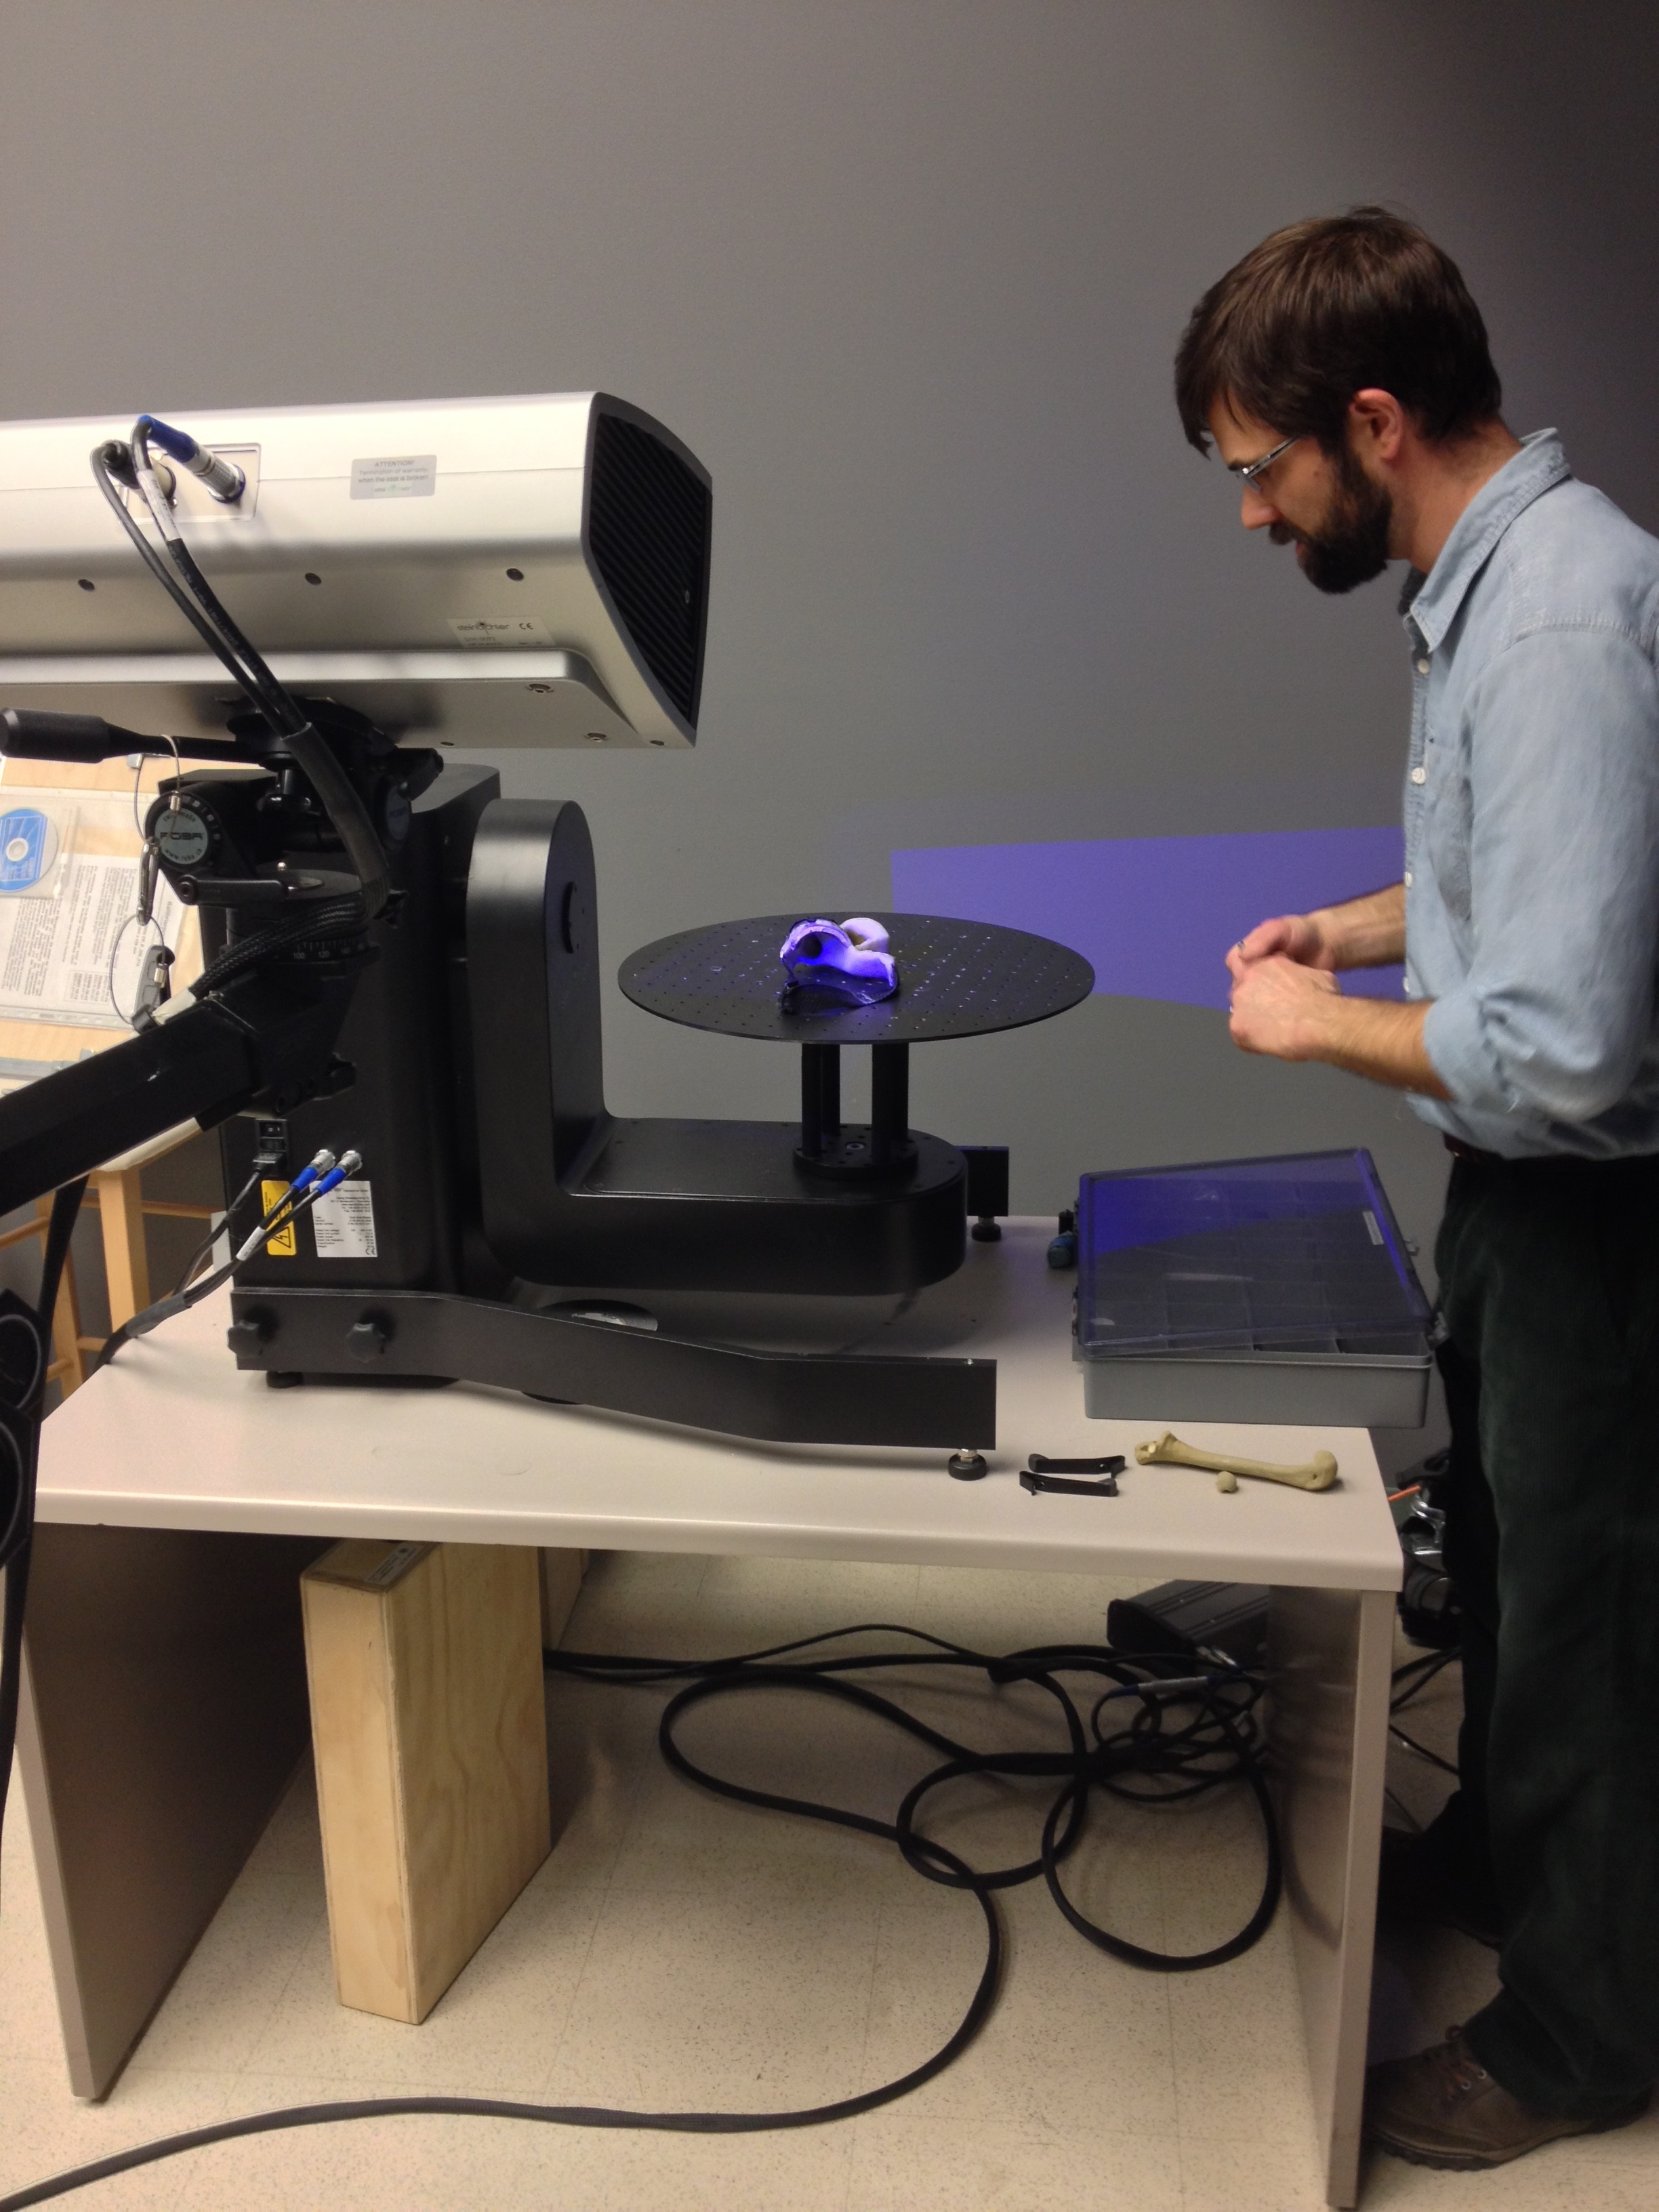
Travis with the Beckman scanner

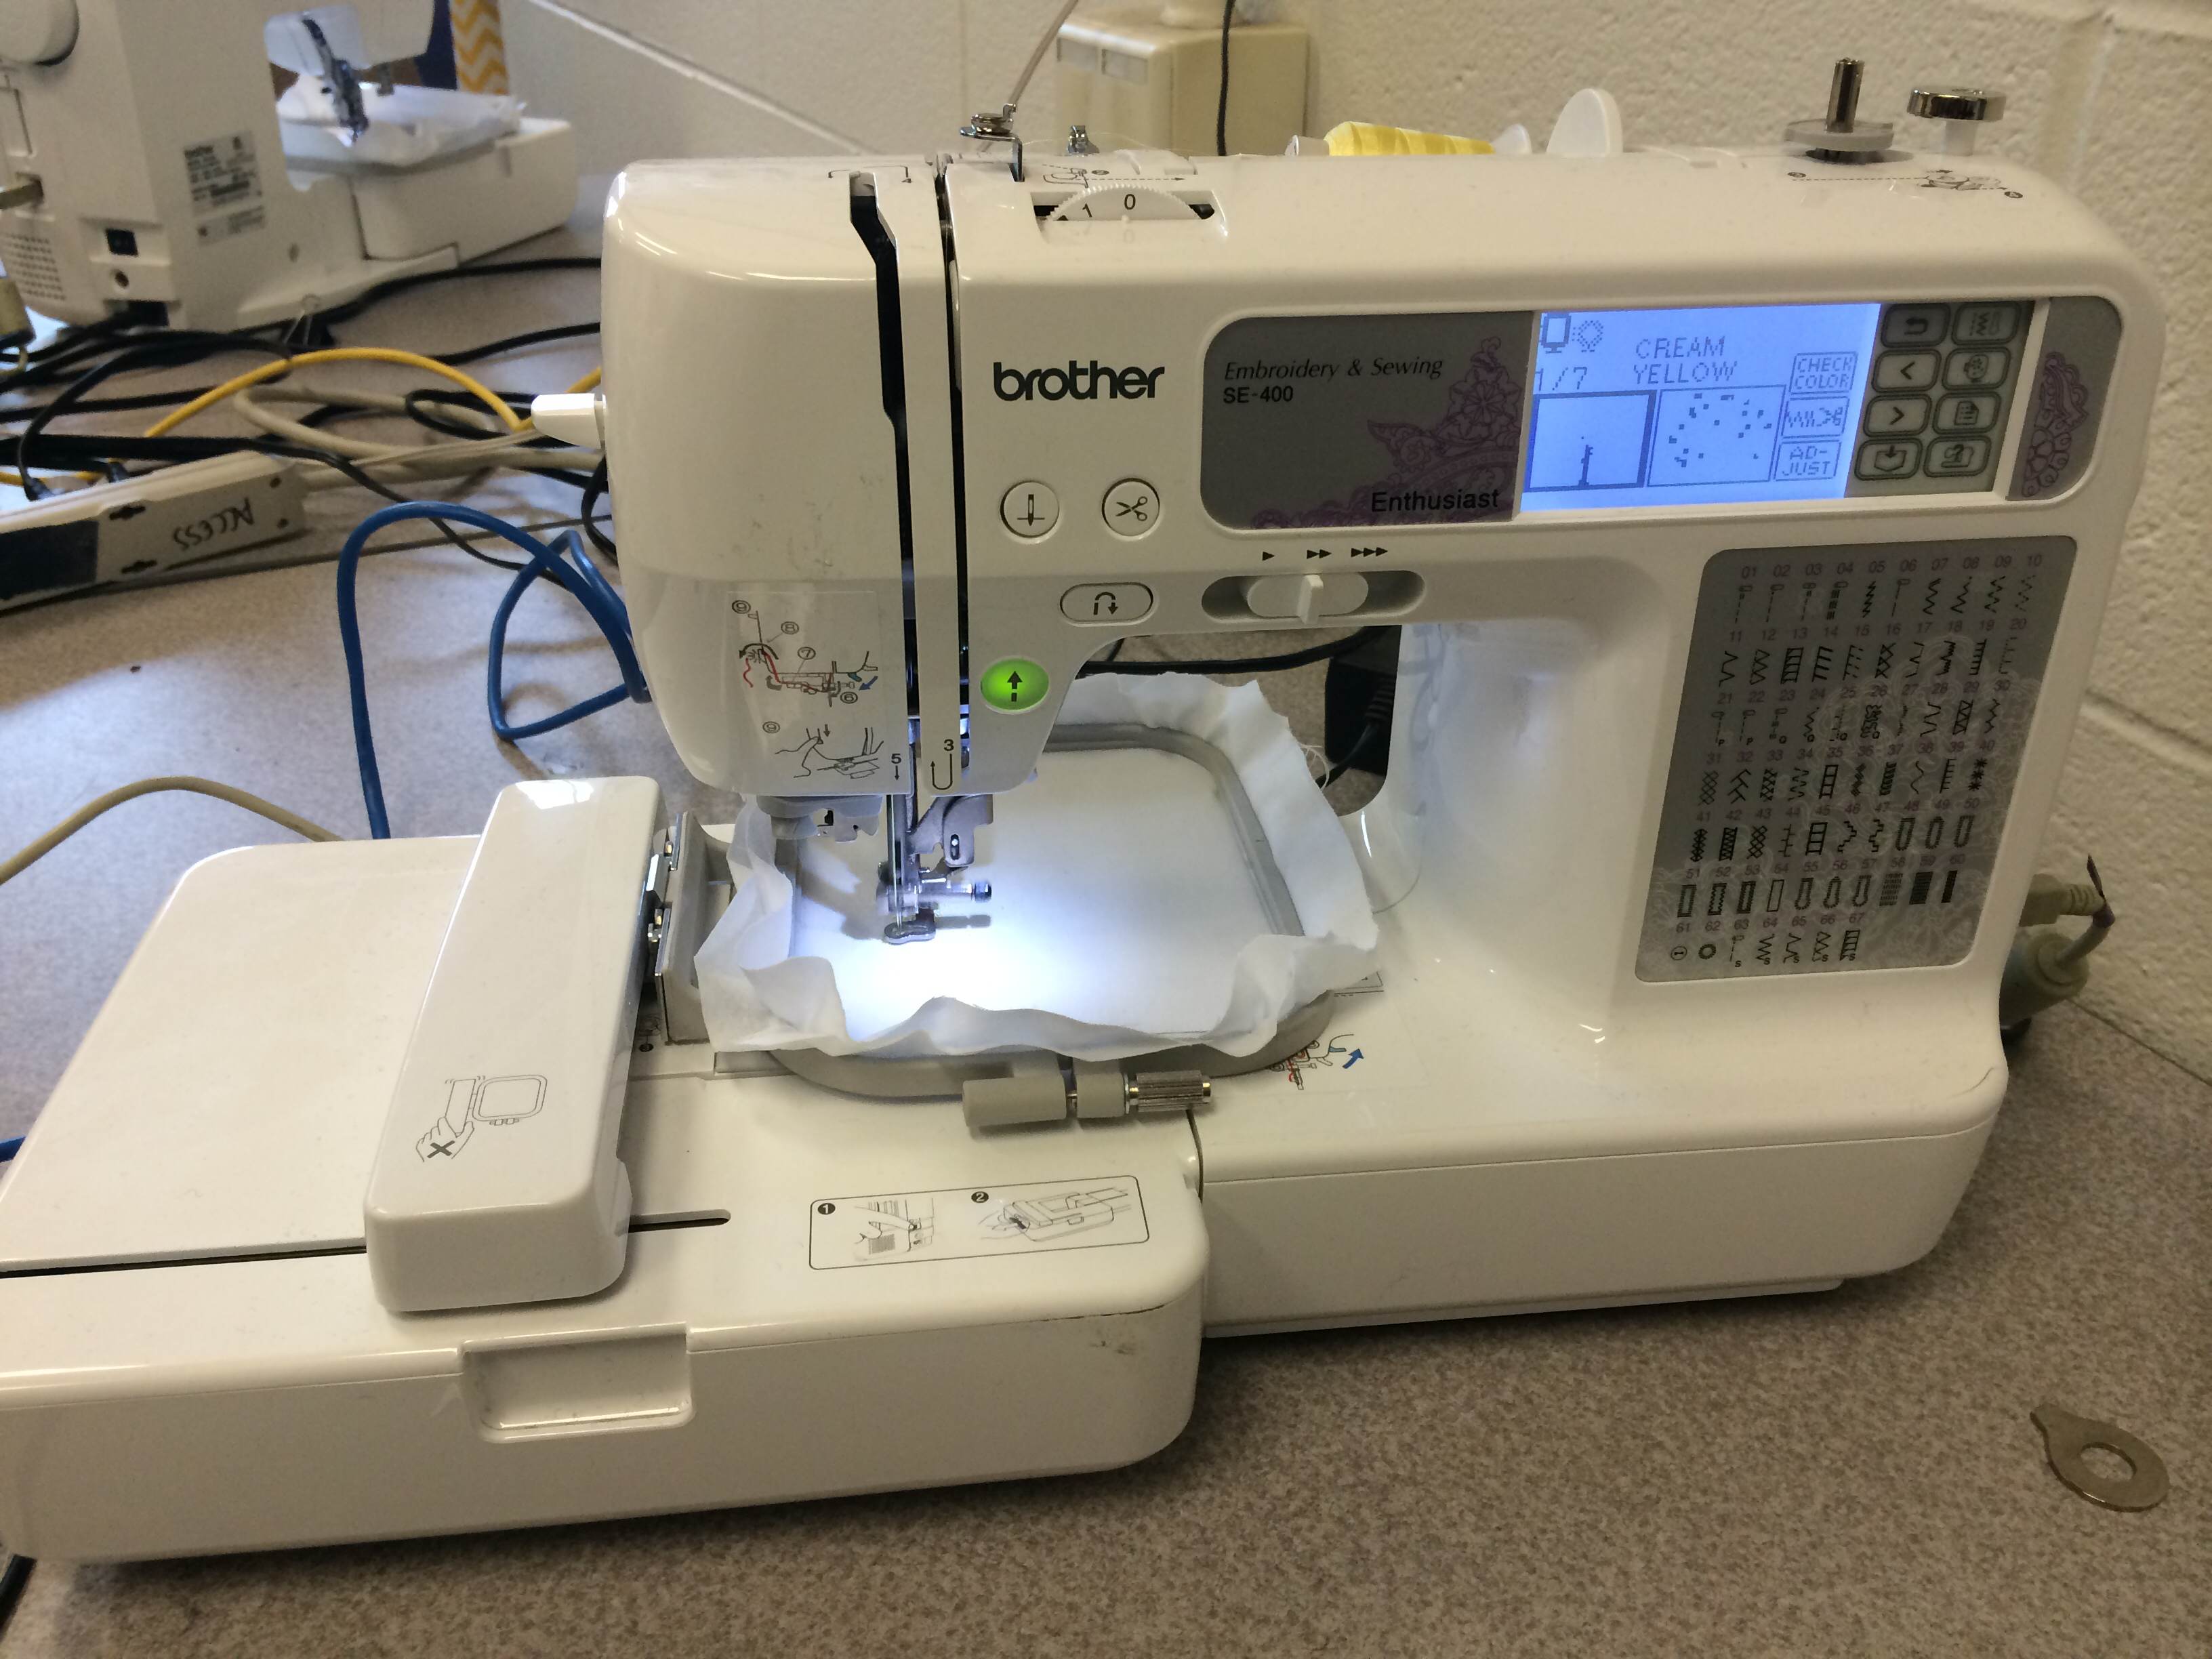
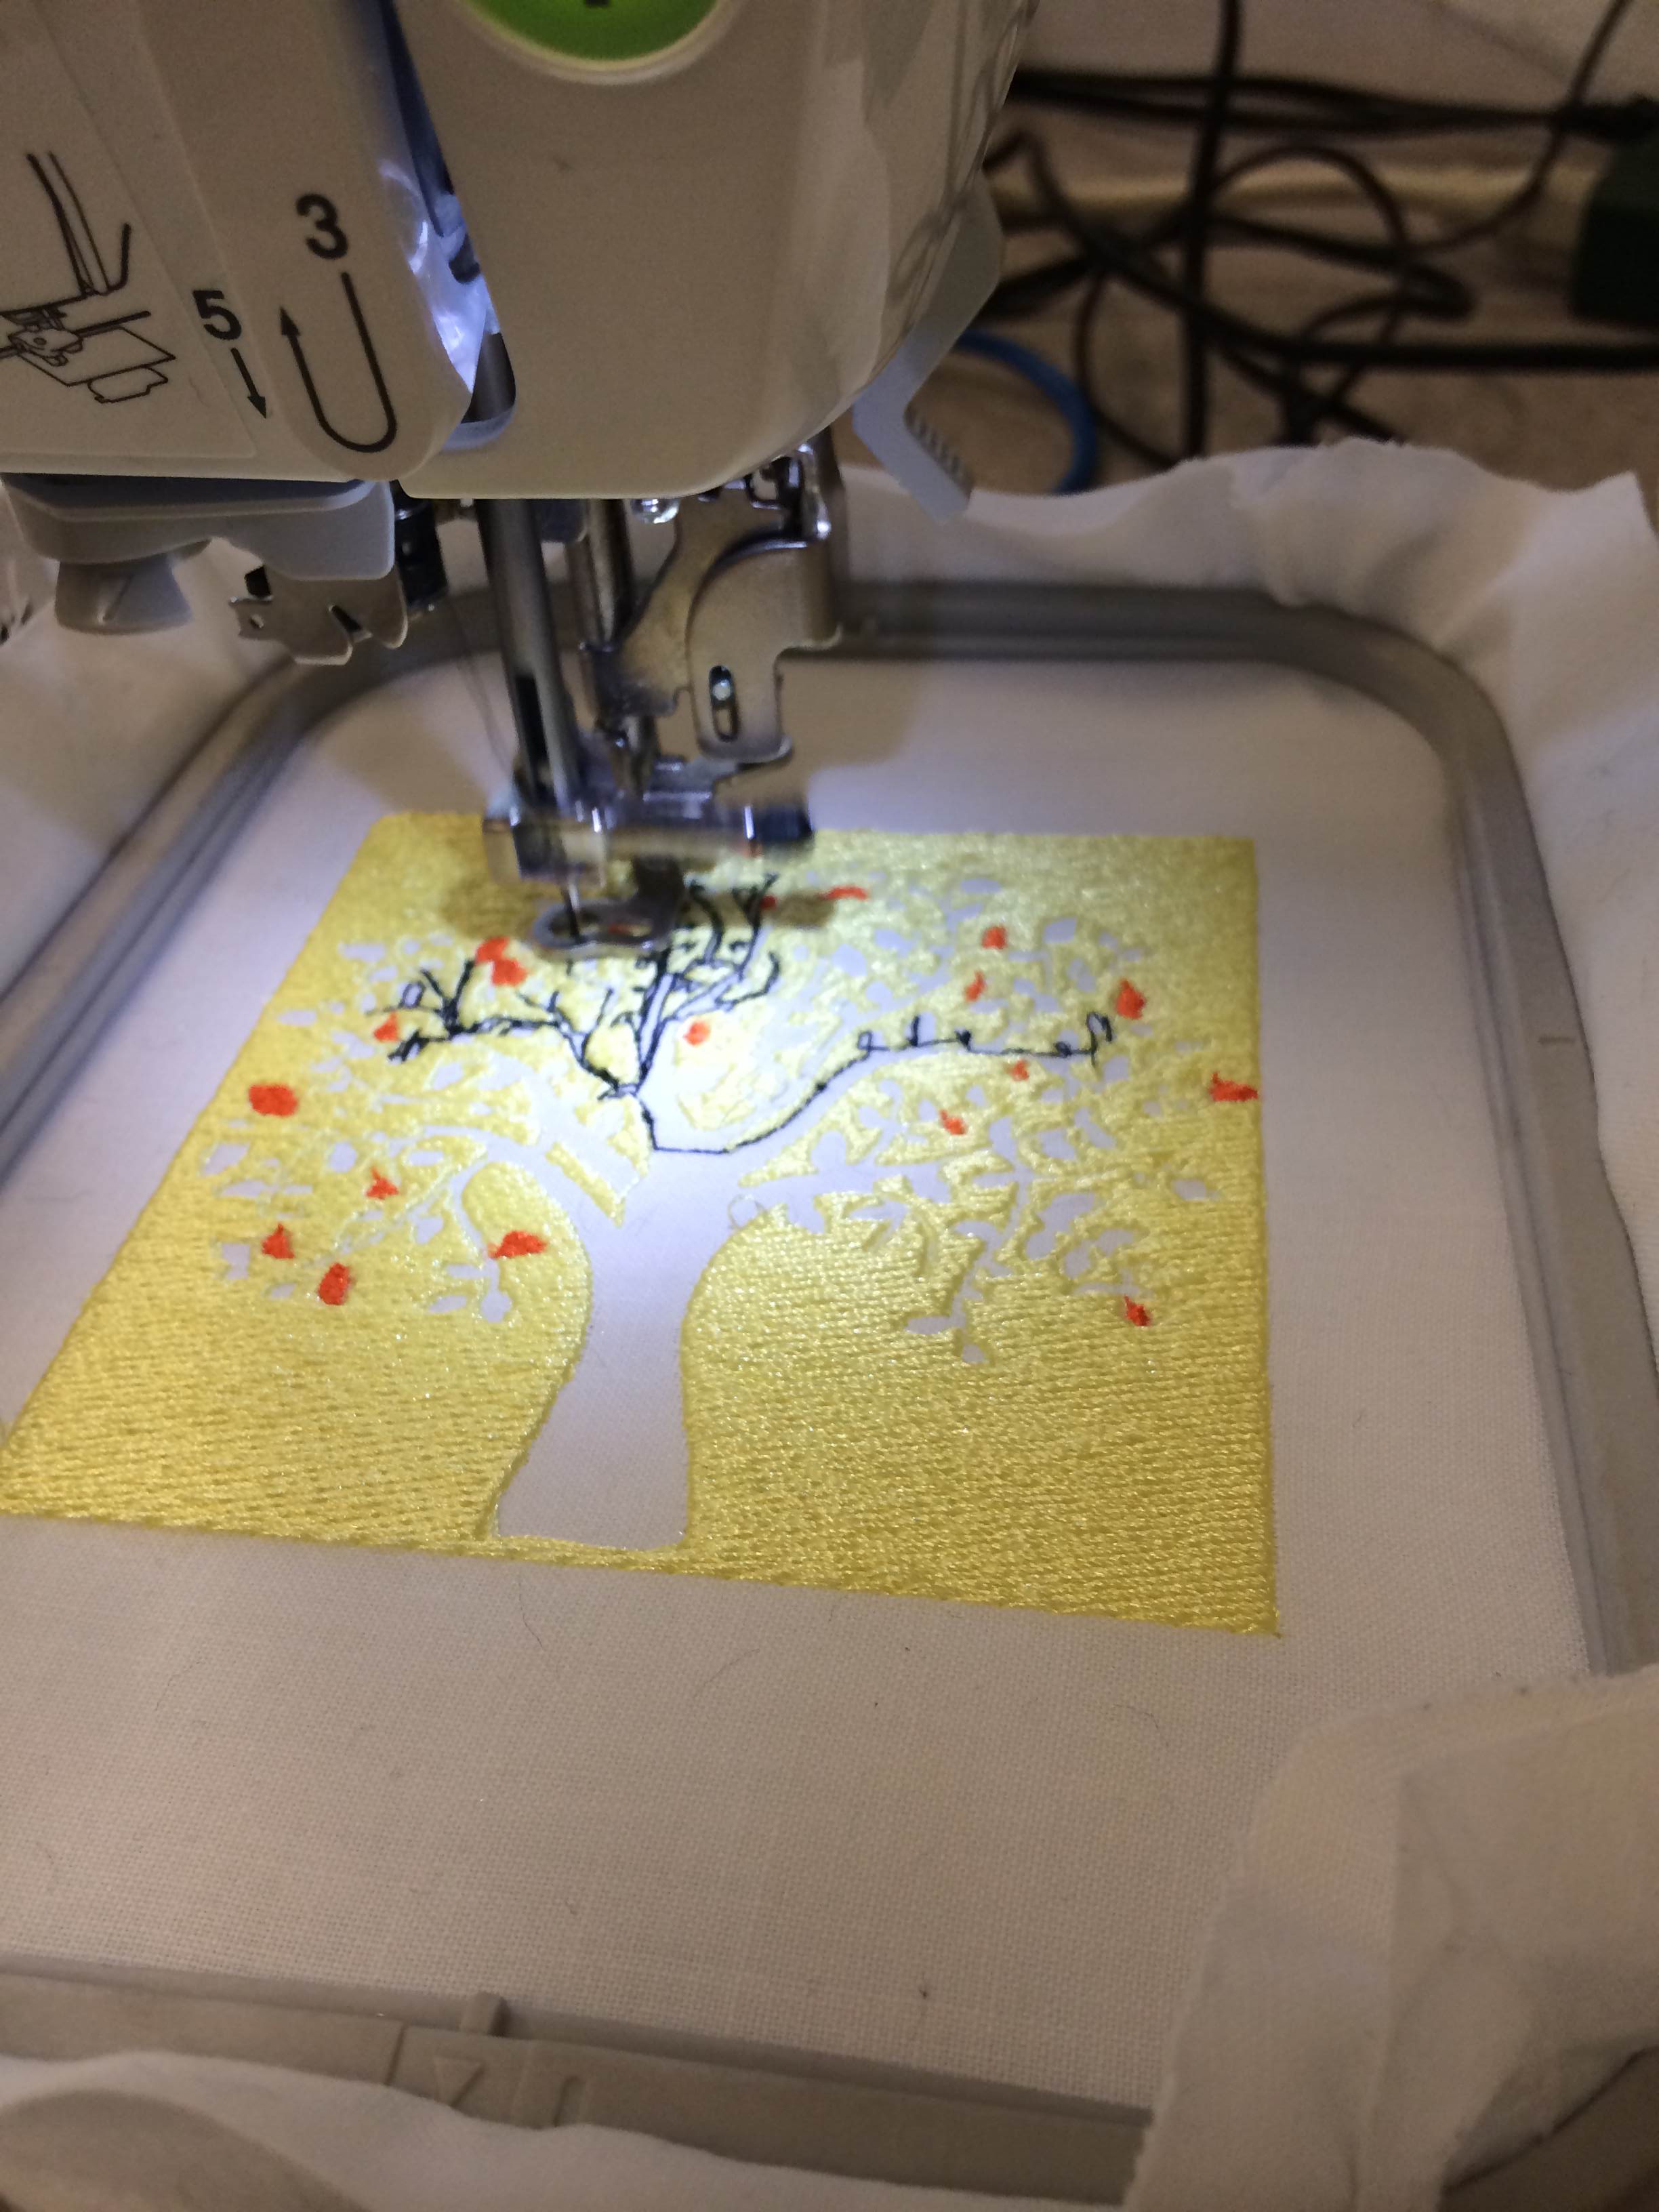
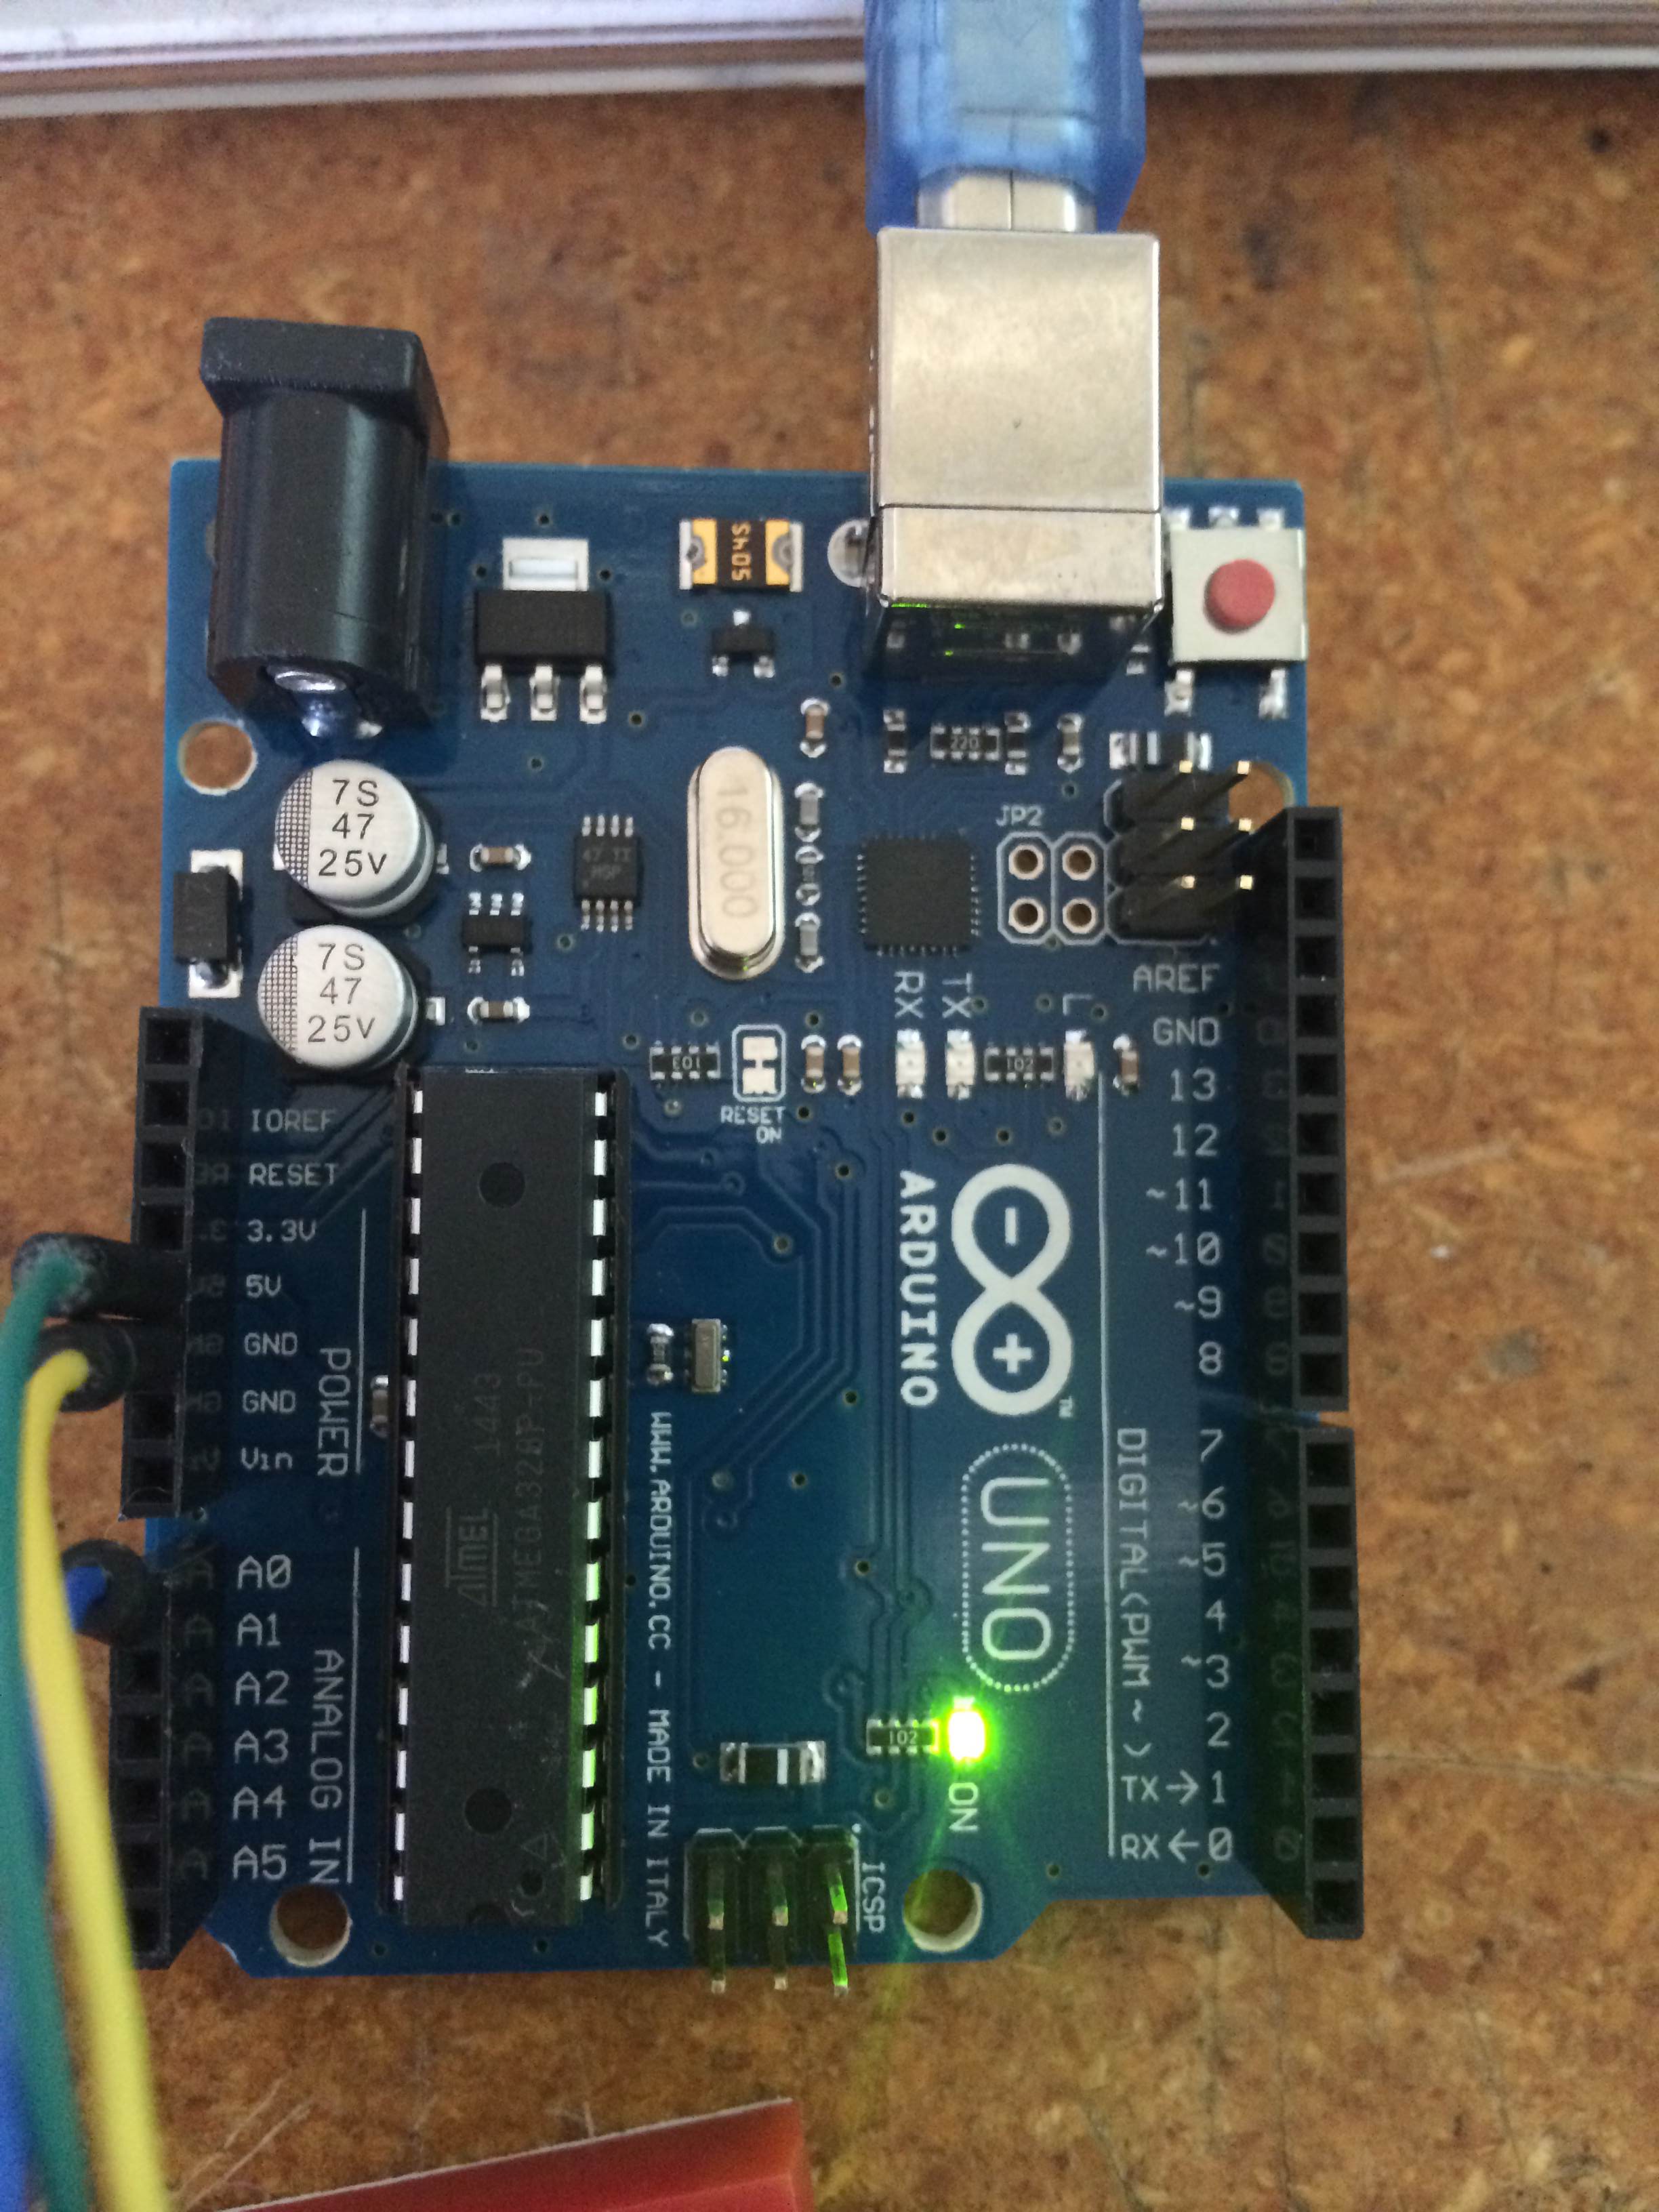
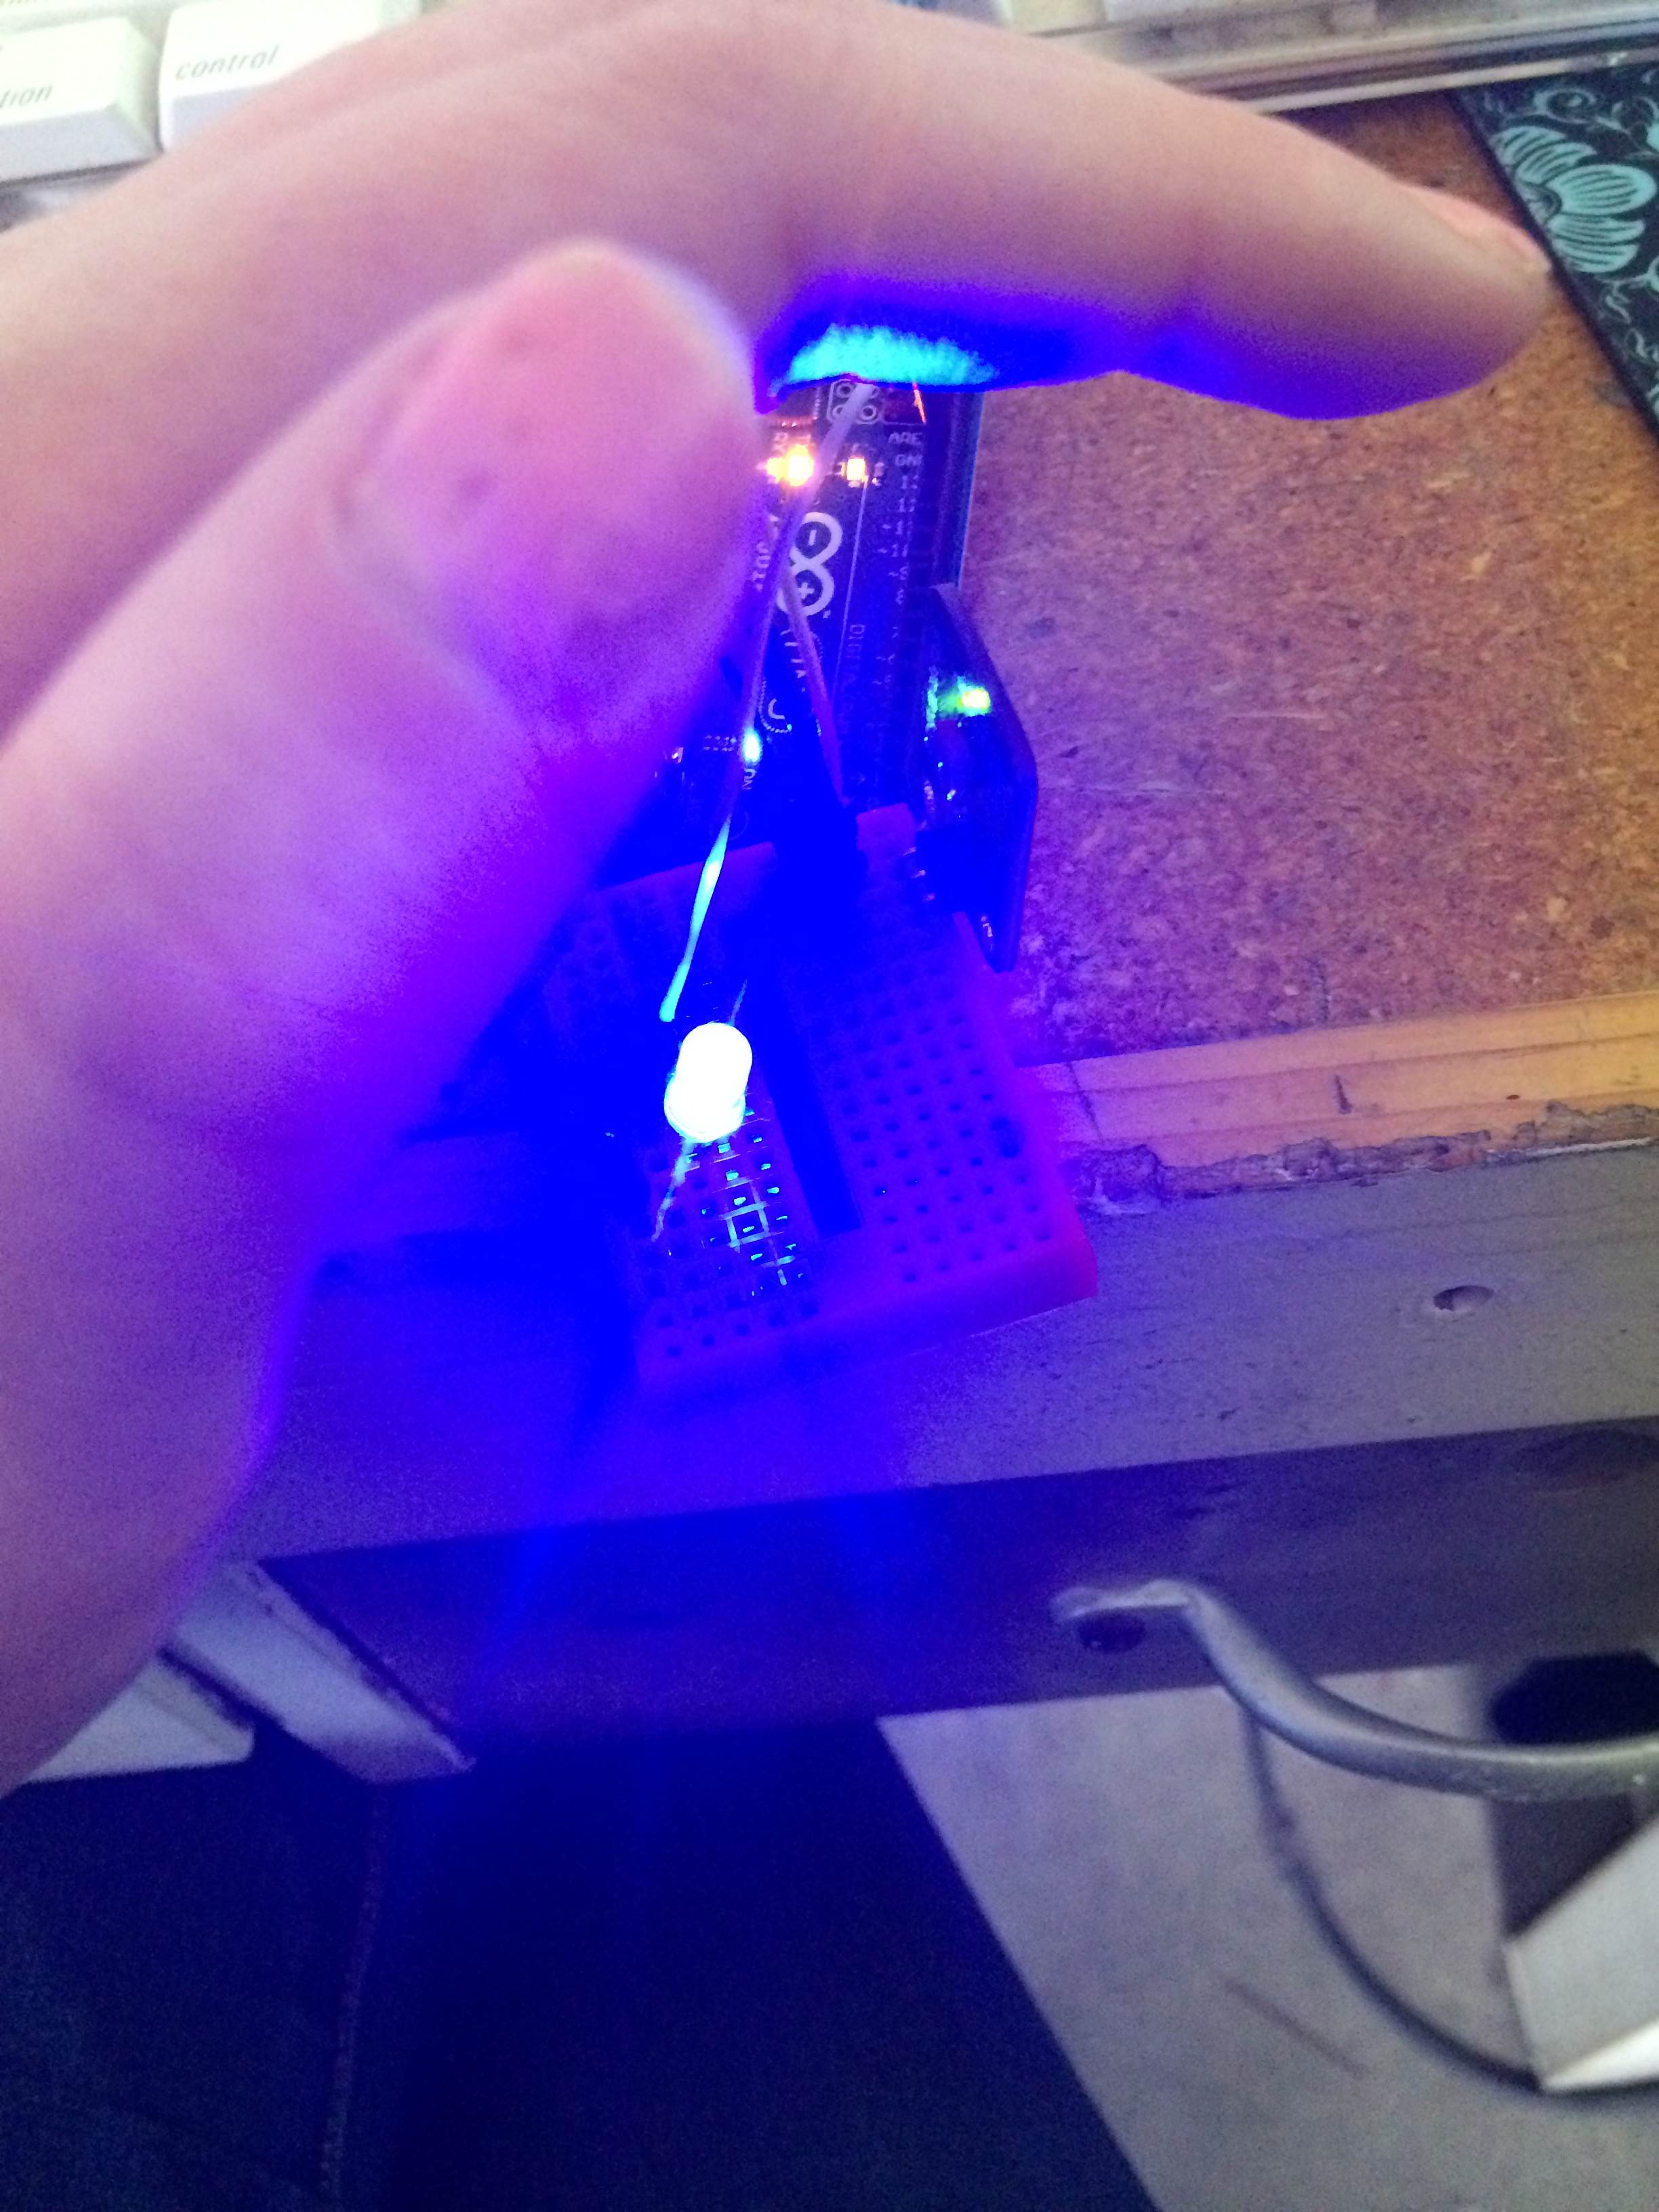
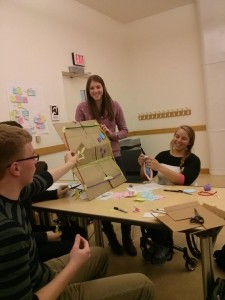
The Fab Lab, on the other hand, was very much so hands-on. Here the staff led us through all different types of making activities such as embroidery, Arduinos, and laser cutting. Everyone there is super friendly and always willing to lend a helping hand if need be. For the digital embroidery, I started out by choosing a design on Google and with some editing it was ready to be uploaded to the machine. My design took a while to color in all of the leaves, but it turned out great. The Arduinos are very small in size, but they can be applied to many different things. We were able to install a light, a sensor, and a speaker. While in the Arduino lab, some of us worked on soldering wire to speakers which was a lot of fun!
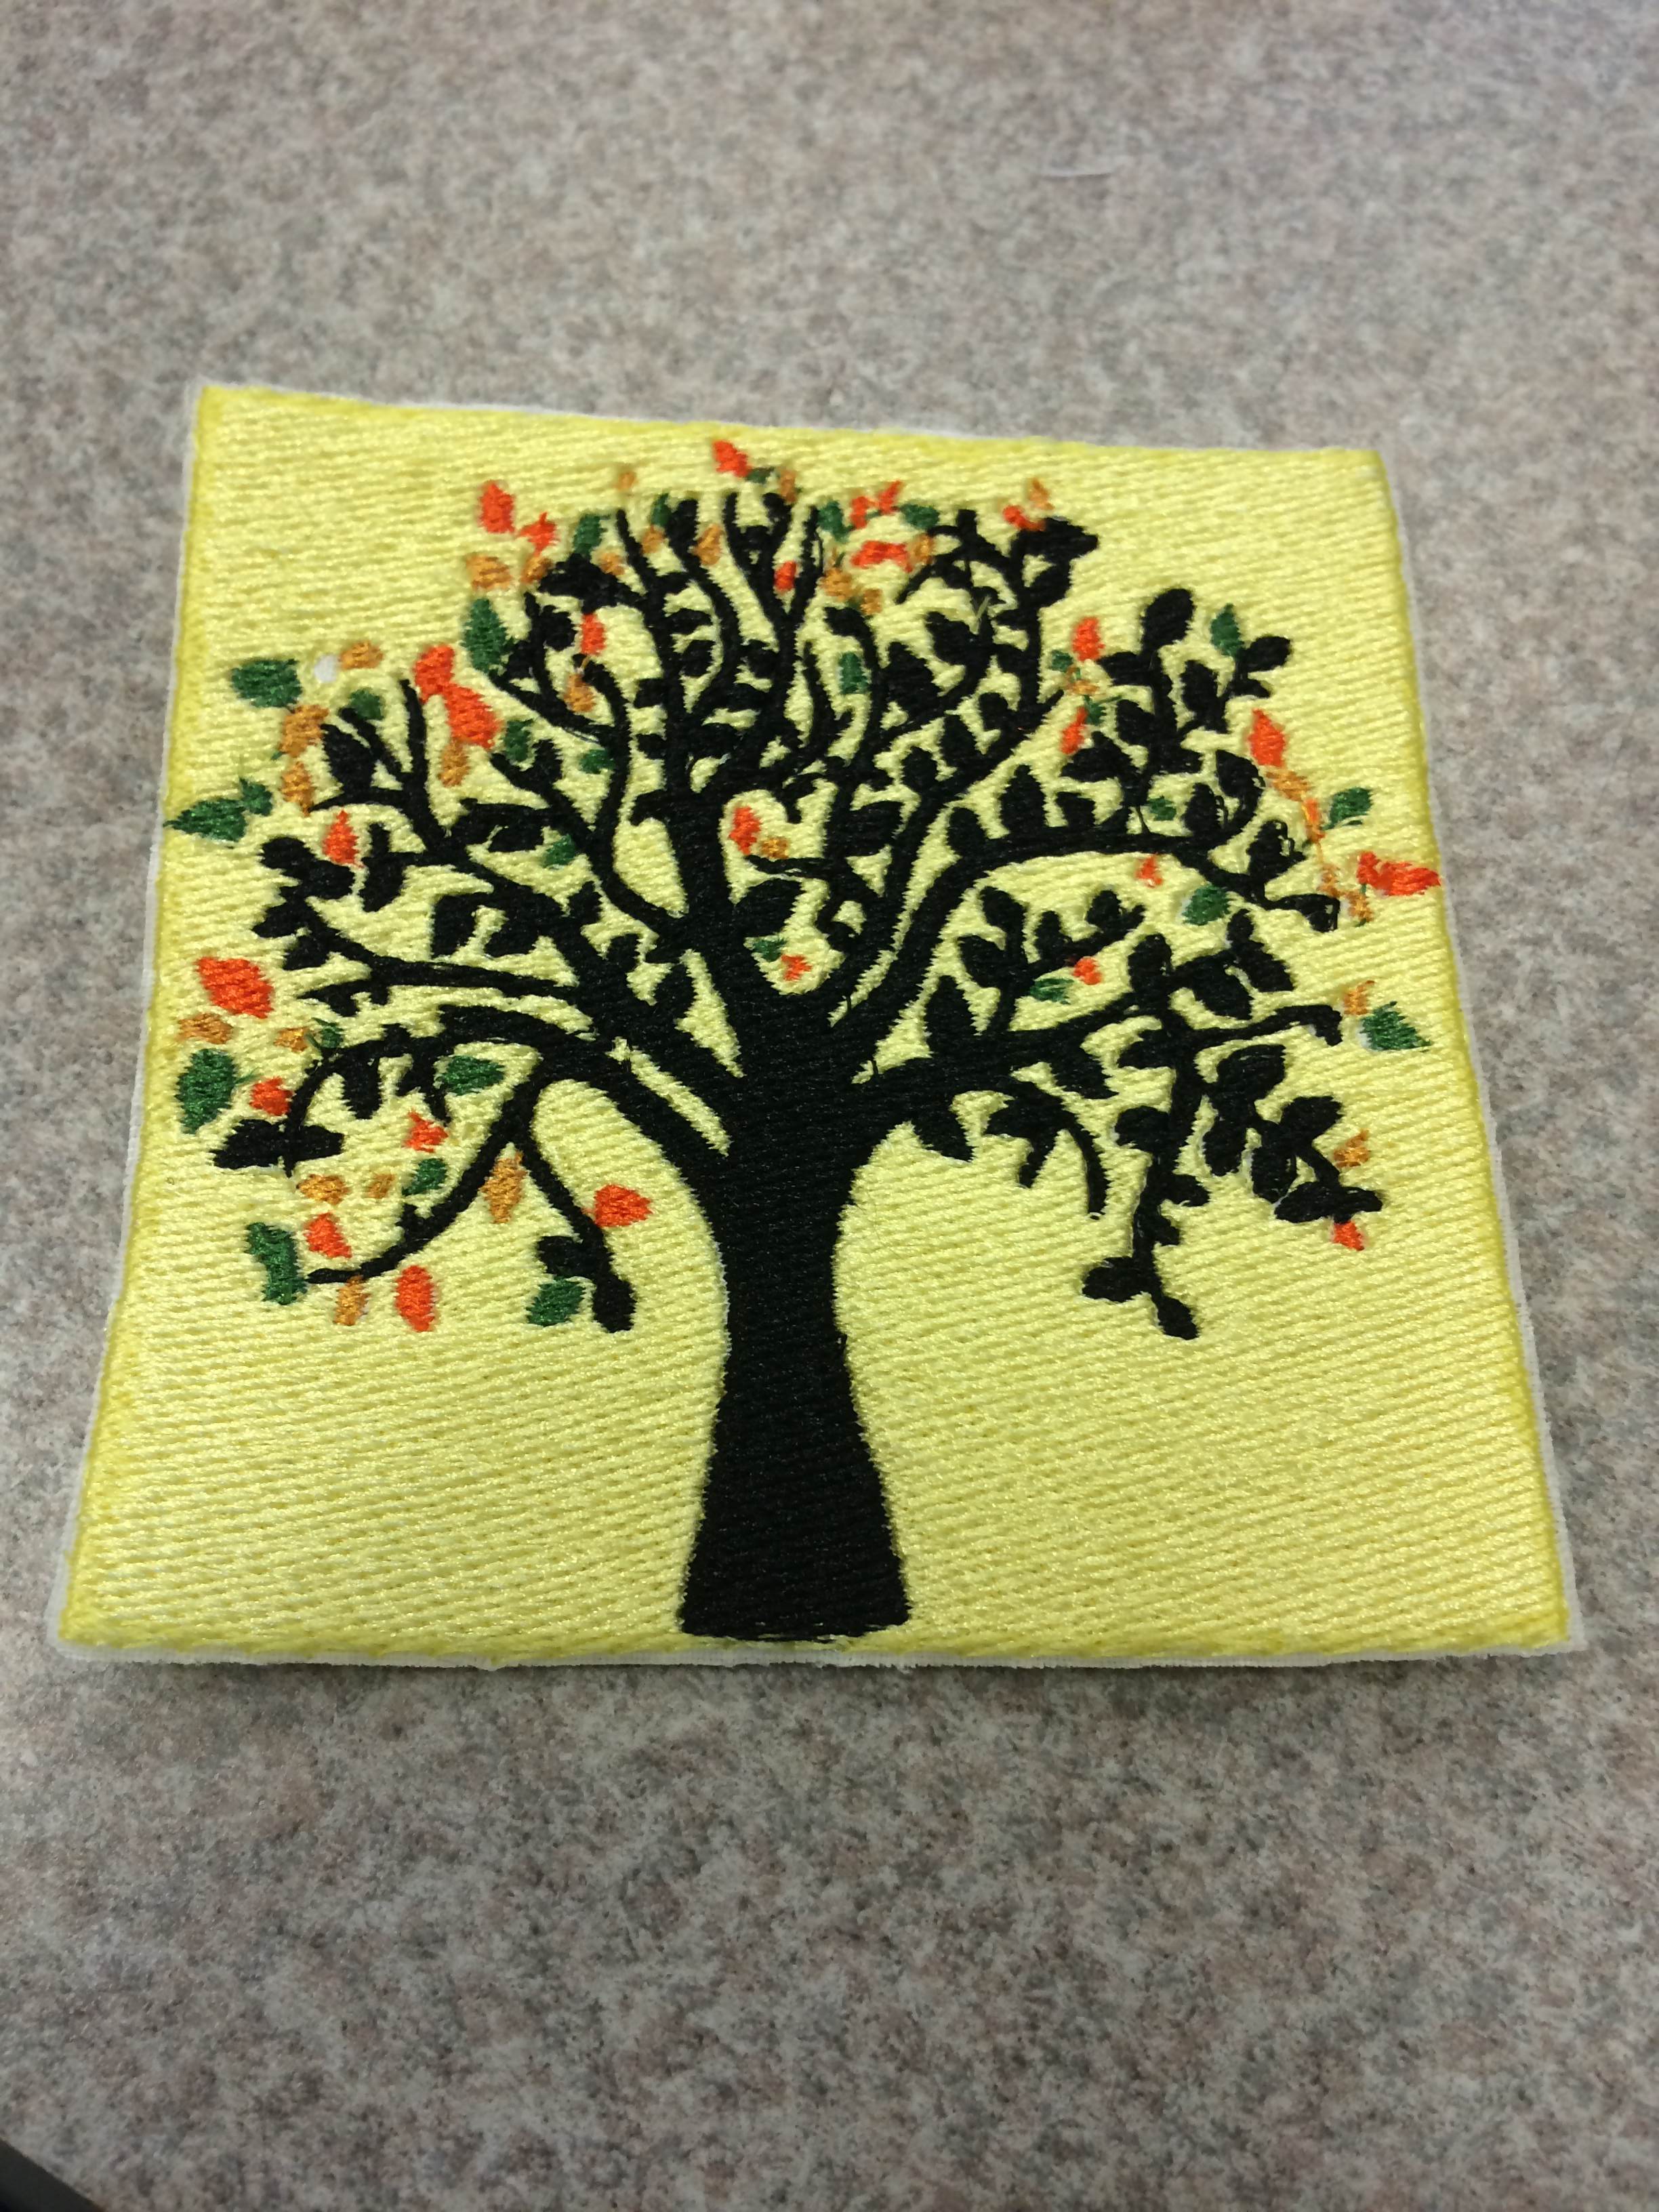
IMG_1273

Digital embroidery

IMG_1257

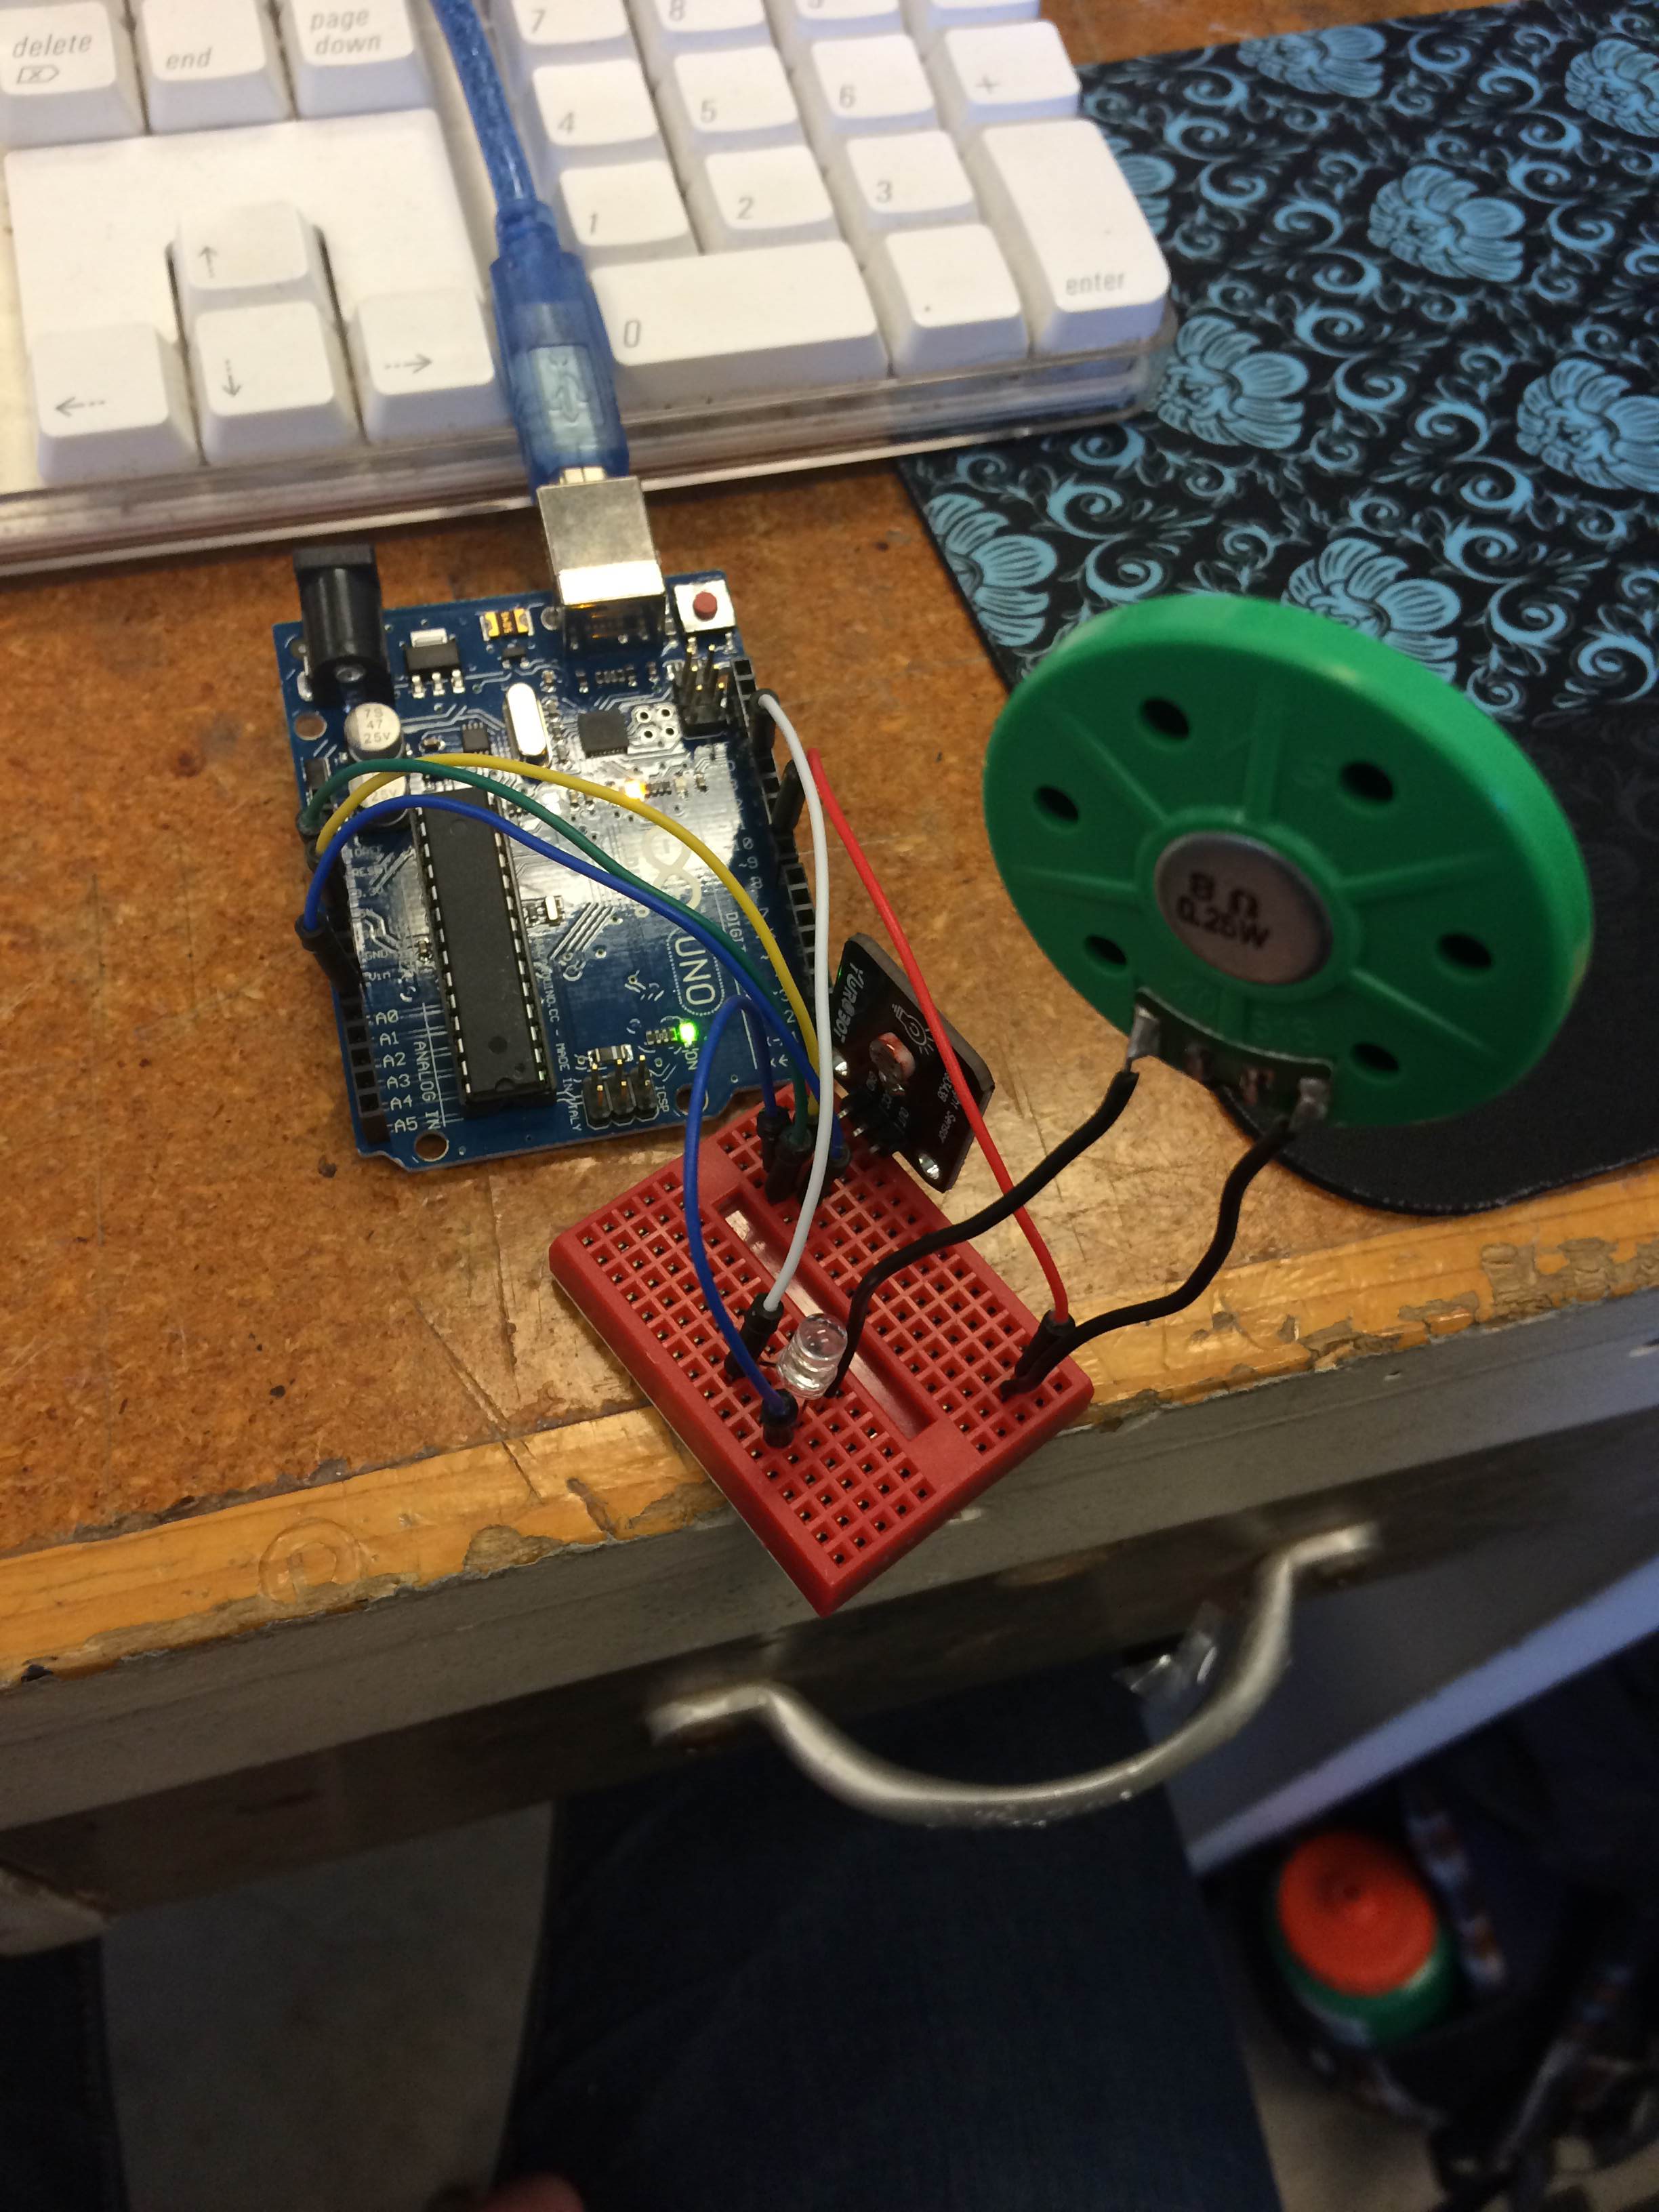
Playing with Arduinos


This class has given me a strong foundation to further strengthen my skills in the making community. I’d like to learn more about Arduinos and their application because there are so many possibilities out there.  From taking this course, I’ve also looked at things differently, especially products. Recently, when I was at my parent’s house I noticed a specific product that was very clever life hack and could easily be 3D printed. We were very lucky to have such amazing opportunities and professionals that helped us through the semester to develop our skills as makers. As a graduating senior, Digital Making was one of the most fascinating, hands-on classes I’ve taken.

Stitching of the Future

The Fab Lab proves itself “fabulous” yet again. This week we did digital embroidery with Jessica. To start, we found a picture online of a silhouette. I chose a picture of a tree. We then uploaded the photo onto an application called SewArt where we could play around with the color and size. When we were finished putting our own touch on it, we saved it as an embroidery file. It was a fairly simple process.

The sewing machine then inputted the image and was able to copy the pattern onto the bobbin. If multiple colors were used, the machine would tell you what color was needed to make the design and you would put in the thread.

One thing I struggled with in the beginning was threading the machine. I couldn’t seem to get it on the hook that pushed the needle up and down. After I figured that out, it was smooth sailing. The progress of the embroidery is shown below:

IMG_1268

  IMG_1270               IMG_1273

All in all, I really enjoyed today’s class; digital embroidery is pretty cool. It is much faster and takes up less physical labor than hand embroidery. However, there are some drawbacks such as not getting a good quality design. For instance, there was someone who tried to make a playing card and it had too much small detail that it didn’t show up well. The design processes are a bit different, but I think the digital method is much easier.

Arduino Fun

When I first signed up for this class I thought it would focus only on 3D printing, but this past week we visited the Fab Lab in Urbana where my group got to work on tinkering with Arduinos. We were introduced to the Fab Lab staff; most of them were previous students and then Virginia and Colten led us through some basic code and set up for the first half hour of class.

The first thing we did was set up the board to make an LED light blink. I’ve never worked with anything electrical before so it was a really awesome experience to see that type of process and the code that makes it happen. We were given a breadboard, a light, an Arduino Uno board, and some wires. All that was needed was to plug in the wires to their respective ports and the LED light into the breadboard. Next, we added a light sensor where you could changes its sensitivity. The lower the sensitivity reading was the less likely it was to blink. In order to make it blink you would have to cover the light sensor with your palm, given that the sensitivity was low. After the light sensor, we began to work on putting a speaker into the board. It just needed to be plugged in correctly and it would start to beep. We were also able to change the sound level and tone.

IMG_1253    IMG_1256     IMG_1257

With about an hour and a half left of class, we continued to play around with Arduino and Virginia showed a few of us how to solder wires onto a magnet. The soldering station is pictured below:

IMG_1258

I learned a lot while at the Fab Lab and I’m really looking forward to what’s in store next week!

Scanning is Magic!

The past couple of weeks, the digital making class went to the Beckman Institute where we met Geomagic guru, Travis Ross. There, he began to introduce us to the scanning equipment at Beckman and to Geomagic software in the second week.

2015-03-03 3D Scanning - 5800 2015-03-03 3D Scanning - 57942015-03-03 3D Scanning - 5784

Geomagic is a CAD software that focuses mainly on preparing 3D products for print. It’s an extremely useful yet complex tool. Some classmates expressed the issues they encountered when using the software. Sebastian voiced in his post that the “software was a bit too powerful for us to learn in such a short time.” Kay, as well, expressed in her post that “we still have a lot to delve into about this software.”

In class, Travis went through a tutorial for the class that consisted of working with a scan done on a clay model. He went through the process of trimming, filling, smoothing, and dividing parts of the object all done in Geomagic. It is a fairly complicated process and the class tried their best to keep up with Travis.

IMG_0143

Travis also worked on cleaning up the racing glove that Arielle brought to Beckman for scanning. Anthony provided some background on the glove in his post:

“The plastic glove is custom made and extremely difficult to replicate for racers. Having a digital copy of a good glove means the ability for a user to create multiple copies using 3D printing!”

During the scanning process of the glove the week before, there were some issues capturing the surface of the glove. Travis decided to spray it with talcum powder so the beams from the scanner could bounce back to the computer. It took multiple scans to make a complete model in the software. It seems that with the right practice and expertise in this type of software that amazing things can be done.

Snapshot of the scanning process for the racing glove

Snapshot of the scanning process for the racing glove

Many classmates started to apply their knowledge of Geomagic to their lives. For example, Jill noted:

“I have a Tupperware container that I absolutely love to carry places when I want lunch on the go. Problem with it is, there’s no great way to carry cutlery with it. I want to scan this existing container, and further add on a pocket that carries forks and knives.”

Noah as well stated:

“…with this software caused me to think about the various economic applications of this technology. Perhaps, I will be able to create my own business concept around this technology. I still will need help to operate the scanner and software, but having this high level overview allows me to be able to think critically about using this technology in my own field.”

Geomagic is a powerful tool in 3D printing that has great potential. It is a little on the pricey side so I would recommend trying to obtain a free trial.

Fab Lab Intro

This week in class, we continued working on our semester-long projects. Nora and I printed out more parts of the Raptor Reloaded hand and began piecing together the different parts. We connected most of the palm and still have to join together the gauntlet as well as the non-3D printed materials such as the string, screws, and Velcro. The pieces were a bit harder to connect than I thought; it took some adjusting to get the pins to go through. Below is a picture of our progress:

IMG_1176               IMG_1177

While we worked on the hand, some other students started working on the Arduino circuit boards which we’ll be getting into more after break. A guest speaker from the Fab Lab, Jeff Ginger, came in later to give us a virtual tour of the lab and show us what we’ll be able to work on while there. He passed around a lot of interesting pieces like a sushi mat, solar paneled purse, nametags, and much more.

It’s awesome to see all these different things being made with 3D printers and laser etching technology. We’re able to create things quickly and efficiently. I look forward to visiting the lab in person and working with the technology available to us. I’ll have to think of some useful gadgets to make.

Beckman Institute

Last week in Digital Making, our class went to the Beckman Institute for Research. I’ve never wandered over to this part of campus, but it’s a very important part of our university. The building houses many offices and labs where grad students and professors partake in research.

There were two phases to our visit. We split into two groups and one group went to the fourth floor while the other went to the basement and we switched after 90 minutes. Both groups focused on the scanning of 3D objects that the lab uses.

Phase 1

The fourth floor had multiple dual-screen computers with high processing speed, most likely for using 3D scanning applications. The scanner on the fourth floor was slower compared to the scanners we used in the MakerLab. It starts out with calibration and then moves to 7 different iterations of the scan. The entire process took about 15-20 minutes.

Based off of my experience using the laser scanner, I wouldn’t recommend it. However, when listening to Travis explain how he uses the scanner and in what circumstances, I can understand what benefits it can offer. Even though it’s slow, it is relatively inexpensive and it can capture color as well as different surfaces. Travis gave the example that he tried using a more high-tech scanner to scan a tablet made of a certain stone that had a shiny surface. It turned out that the scanner could not see the surface of the object. Instead, he tried using the scanner upstairs and it worked perfectly. It seems like there are some scanners are more useful under special circumstances.

While upstairs, we looked at some 3D objects printed at Beckman. Some were very complex and could only be made using a 3D printer. Beckman also has access to different types of printing material other than the PLA filament that we’ve been using in the MakerLab. There was one object that felt dusty and another which resembled metal.

Phase 2

The learning continued when we moved to the basement to see Travis and the larger scanner. The room it was in was high-ceilinged in order to contain the scanner. We listened to Travis while he carried on the scan from the previous group. The scanner is able to take multiple pictures from a camera at multiple angles due to the movable platform which is then imported into Geomagic and aligned into a comprehensive representation of the object.

The scanner has some difficulty capturing objects that have a reflection, glare, or hole. Powdered spray is used to give the object a matte finish to make it easier for the scan to be completed. On the other hand, holes in the object are much harder and time consuming. It may take repeated scans from slightly different angles for the inside of the hole to be captured in the scan.

Overall, I learned a lot about scanning during our visit to Beckman. I’m looking forward to engaging in the Geomagic software next week.

Infusion of Knowledge

With the start of any new software, it takes lots of time and effort to get familiarized with all of the little details. So far, it’s been 2 weeks and I’m still in awe of how many features it has to offer. Last week we went through a workshop on how to construct a lamp in Fusion 360. Lots of questions were asked and I had some trouble on the final step of constructing the shade, as you can see below.

lamp

The lamp tutorial captured the overall gist of Fusion 360 very well, but there was still more that I needed to learn. I had no trouble designing the screw with thread so I decided to try something that was more complex.

The headphones were more challenging and incorporated more aspects of Fusion 360 than the screw, which helped get myself comfortable with the program. I experienced some problems bridging the headphones together which may be due to an error made in extruding the initial stem so it wasn’t able to print. Unfortunately, there wasn’t enough time left for me to redo it, so here’s the final product:

headphones

Instead of printing the headphones, I made a simple form in Fusion 360 and imported it into Tinkercad to add decorative holes on the surface. I made it with the intent to be used as a pencil holder or a mini flower pot. When printed it may be sized down, but it could still be useful as a coin holder.

fp  fp1 fp2

Fusion 360 has helped my designing capabilities and I still have a lot more to learn from it. It’s very quick and easy-to-use once acquainted with and I’m excited to get to that point after some more experimentation.

Resource: MakerBot Tutorials

MakerBot Replicator 2 Tutorials

For this week’s class I wanted to get to know the MakerBot Replicator 2 a little more than what we learned in class so I went online to look at some tutorials. The second video is similar to the Lynda videos on the readings for the week, but these also have an unboxing video and a short run-through of how to use MakerWare as well as some general maintenance.

3D Printing and Scanning

Design Process

My first 3D print was successful! This week we got to dive even deeper into 3D printing and actually make a model. Ryan gave a brief introduction about the printing/scanning process and its components such as file types and slicer programs.

First, we needed a scan of the object that we wanted to print using either the iSense for iPad scanner—which took a bit longer—or the handheld Sense scanner connected to the computer. I may not have had the magic touch using the Sense scanner, but the scan came out really well. After a bit of editing the model was ready for “tinkering.”

For my model, I just added a platform to etch my name in and tweaked the size and position of the bust.

IMG_1117

Significance

I really enjoyed this week’s class because it was my first time ever interacting directly with a 3D printer and scanner. I see myself keeping the model so I could one day show my grandchildren — and who knows where we’ll be by then. As this type of technology is growing, it is also important to know how to use it and apply it so that when it does become a mainstream consumer product, we will already be familiarized with it.

What’s to Come Next

It’s clear that 3D printing is still in the beginning stages of development. There are about 2 billion PCs and only 200,000 3D printers as said by Aric Rindfleisch, the executive director of the Illinois MakerLab. We experienced some printer malfunction during class, such as the head getting clogged. Human error is very minimal as the printers are very user-friendly.

There are also online tutorials to help the newcomers 3D printing (i.e. me) that go through loading and unloading filament, leveling the build platform, and slicing the model after the initial scan. This is all new and exciting for me and I look forward to next week’s class!

I’ve posted a resource about the MakerBot printers used in class for added information or helpful tips. Check it out here.

Week 3: Human-Centered Design

In this week’s class we had two guest speakers from Design for America who led a workshop on design thinking. They started out with a fun icebreaker activity to get us in the sort of unconfined mindset that is needed for the designing process. We were given the problem of distracted driving. After the brainstorming session, we as a group came up with very similar ideas. One of which was a virtual windshield.

I found that this sort of thinking process allows for the mind to have creative freedom and flow easily from one thought to another, however absurd or out there that thought may be. It’s like what Sahil was saying that even the most outlandish ideas can be narrowed down to something more realistic. I am so grateful for having experienced this workshop and getting to see what a small group of people can come up with in just a couple hours to solve a problem that is so prominent in today’s society. Three hours earlier I did not think that I would be making a prototype for a virtual windshield out of cardboard boxes, pipe-cleaners, but DFA’s creative process brought us to think outside the box.

badm395

For the future, I plan to continue using this method in my own design process. This workshop excited me for what is to come in the future and what kinds of changes in technology will come about 5-20 years from now. Maybe by then we will have solved the problem of distracted driving by this crazy thing called self-driving cars.