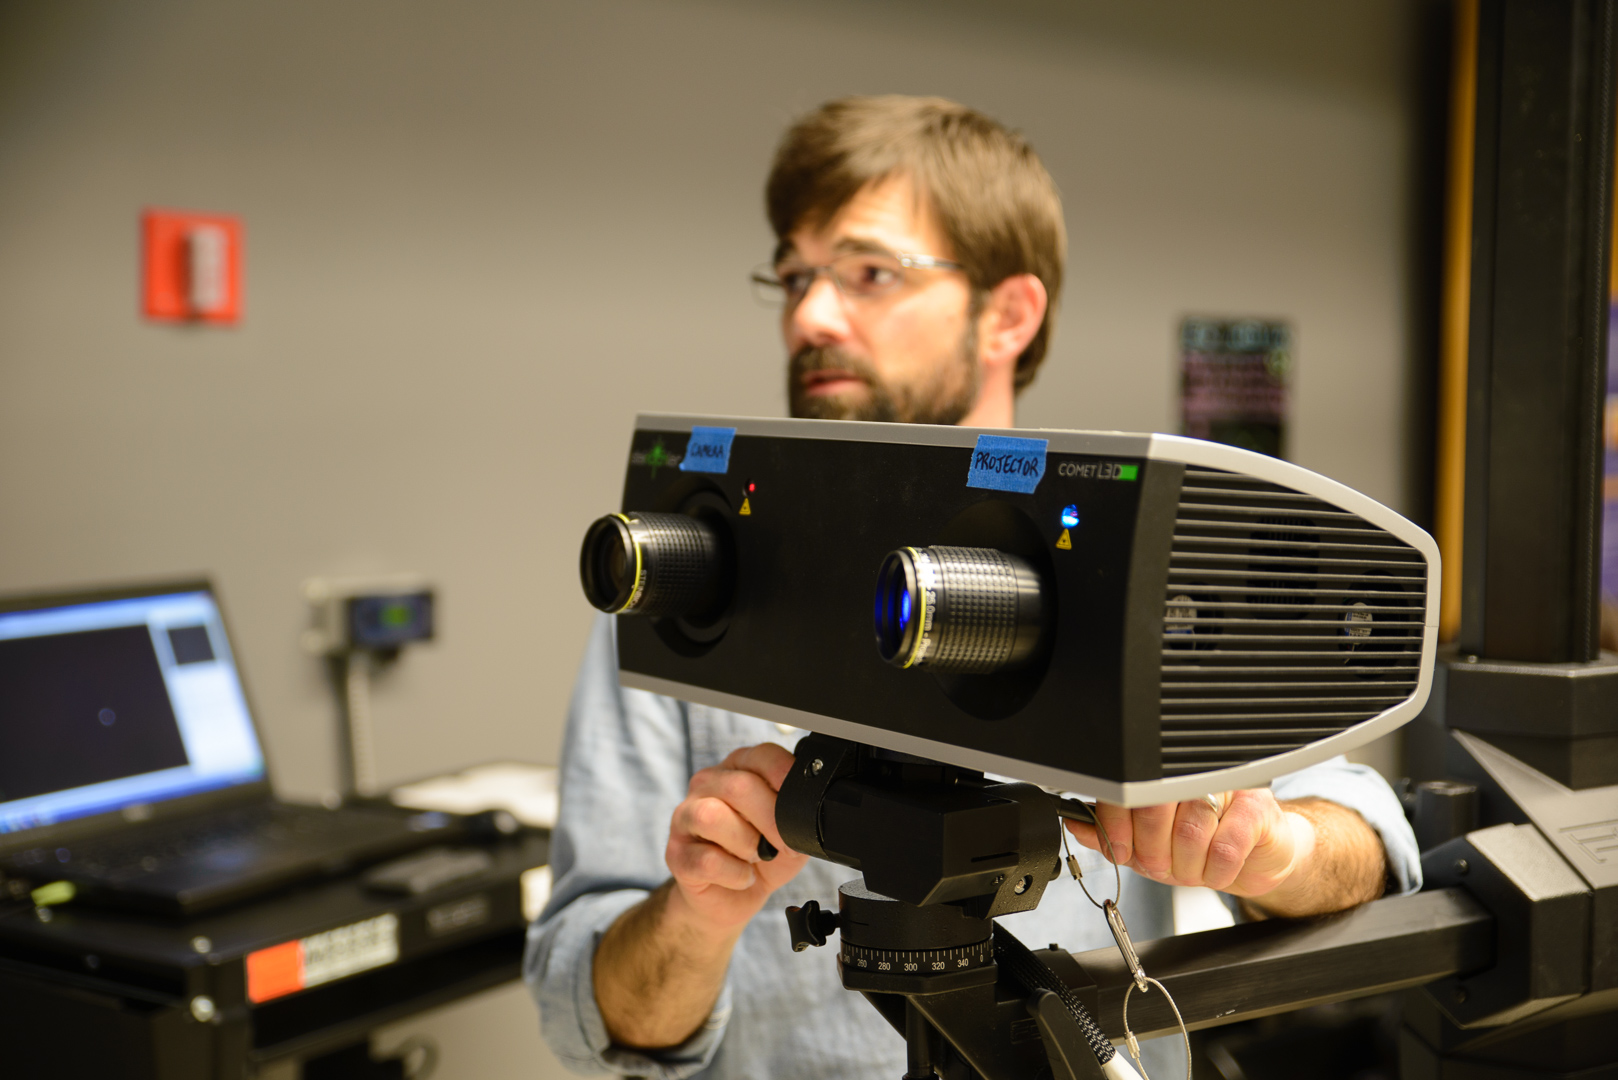
The past couple of weeks, the digital making class went to the Beckman Institute where we met Geomagic guru, Travis Ross. There, he began to introduce us to the scanning equipment at Beckman and to Geomagic software in the second week.


Geomagic is a CAD software that focuses mainly on preparing 3D products for print. It’s an extremely useful yet complex tool. Some classmates expressed the issues they encountered when using the software. Sebastian voiced in his post that the “software was a bit too powerful for us to learn in such a short time.” Kay, as well, expressed in her post that “we still have a lot to delve into about this software.”
In class, Travis went through a tutorial for the class that consisted of working with a scan done on a clay model. He went through the process of trimming, filling, smoothing, and dividing parts of the object all done in Geomagic. It is a fairly complicated process and the class tried their best to keep up with Travis.

Travis also worked on cleaning up the racing glove that Arielle brought to Beckman for scanning. Anthony provided some background on the glove in his post:
“The plastic glove is custom made and extremely difficult to replicate for racers. Having a digital copy of a good glove means the ability for a user to create multiple copies using 3D printing!”
During the scanning process of the glove the week before, there were some issues capturing the surface of the glove. Travis decided to spray it with talcum powder so the beams from the scanner could bounce back to the computer. It took multiple scans to make a complete model in the software. It seems that with the right practice and expertise in this type of software that amazing things can be done.
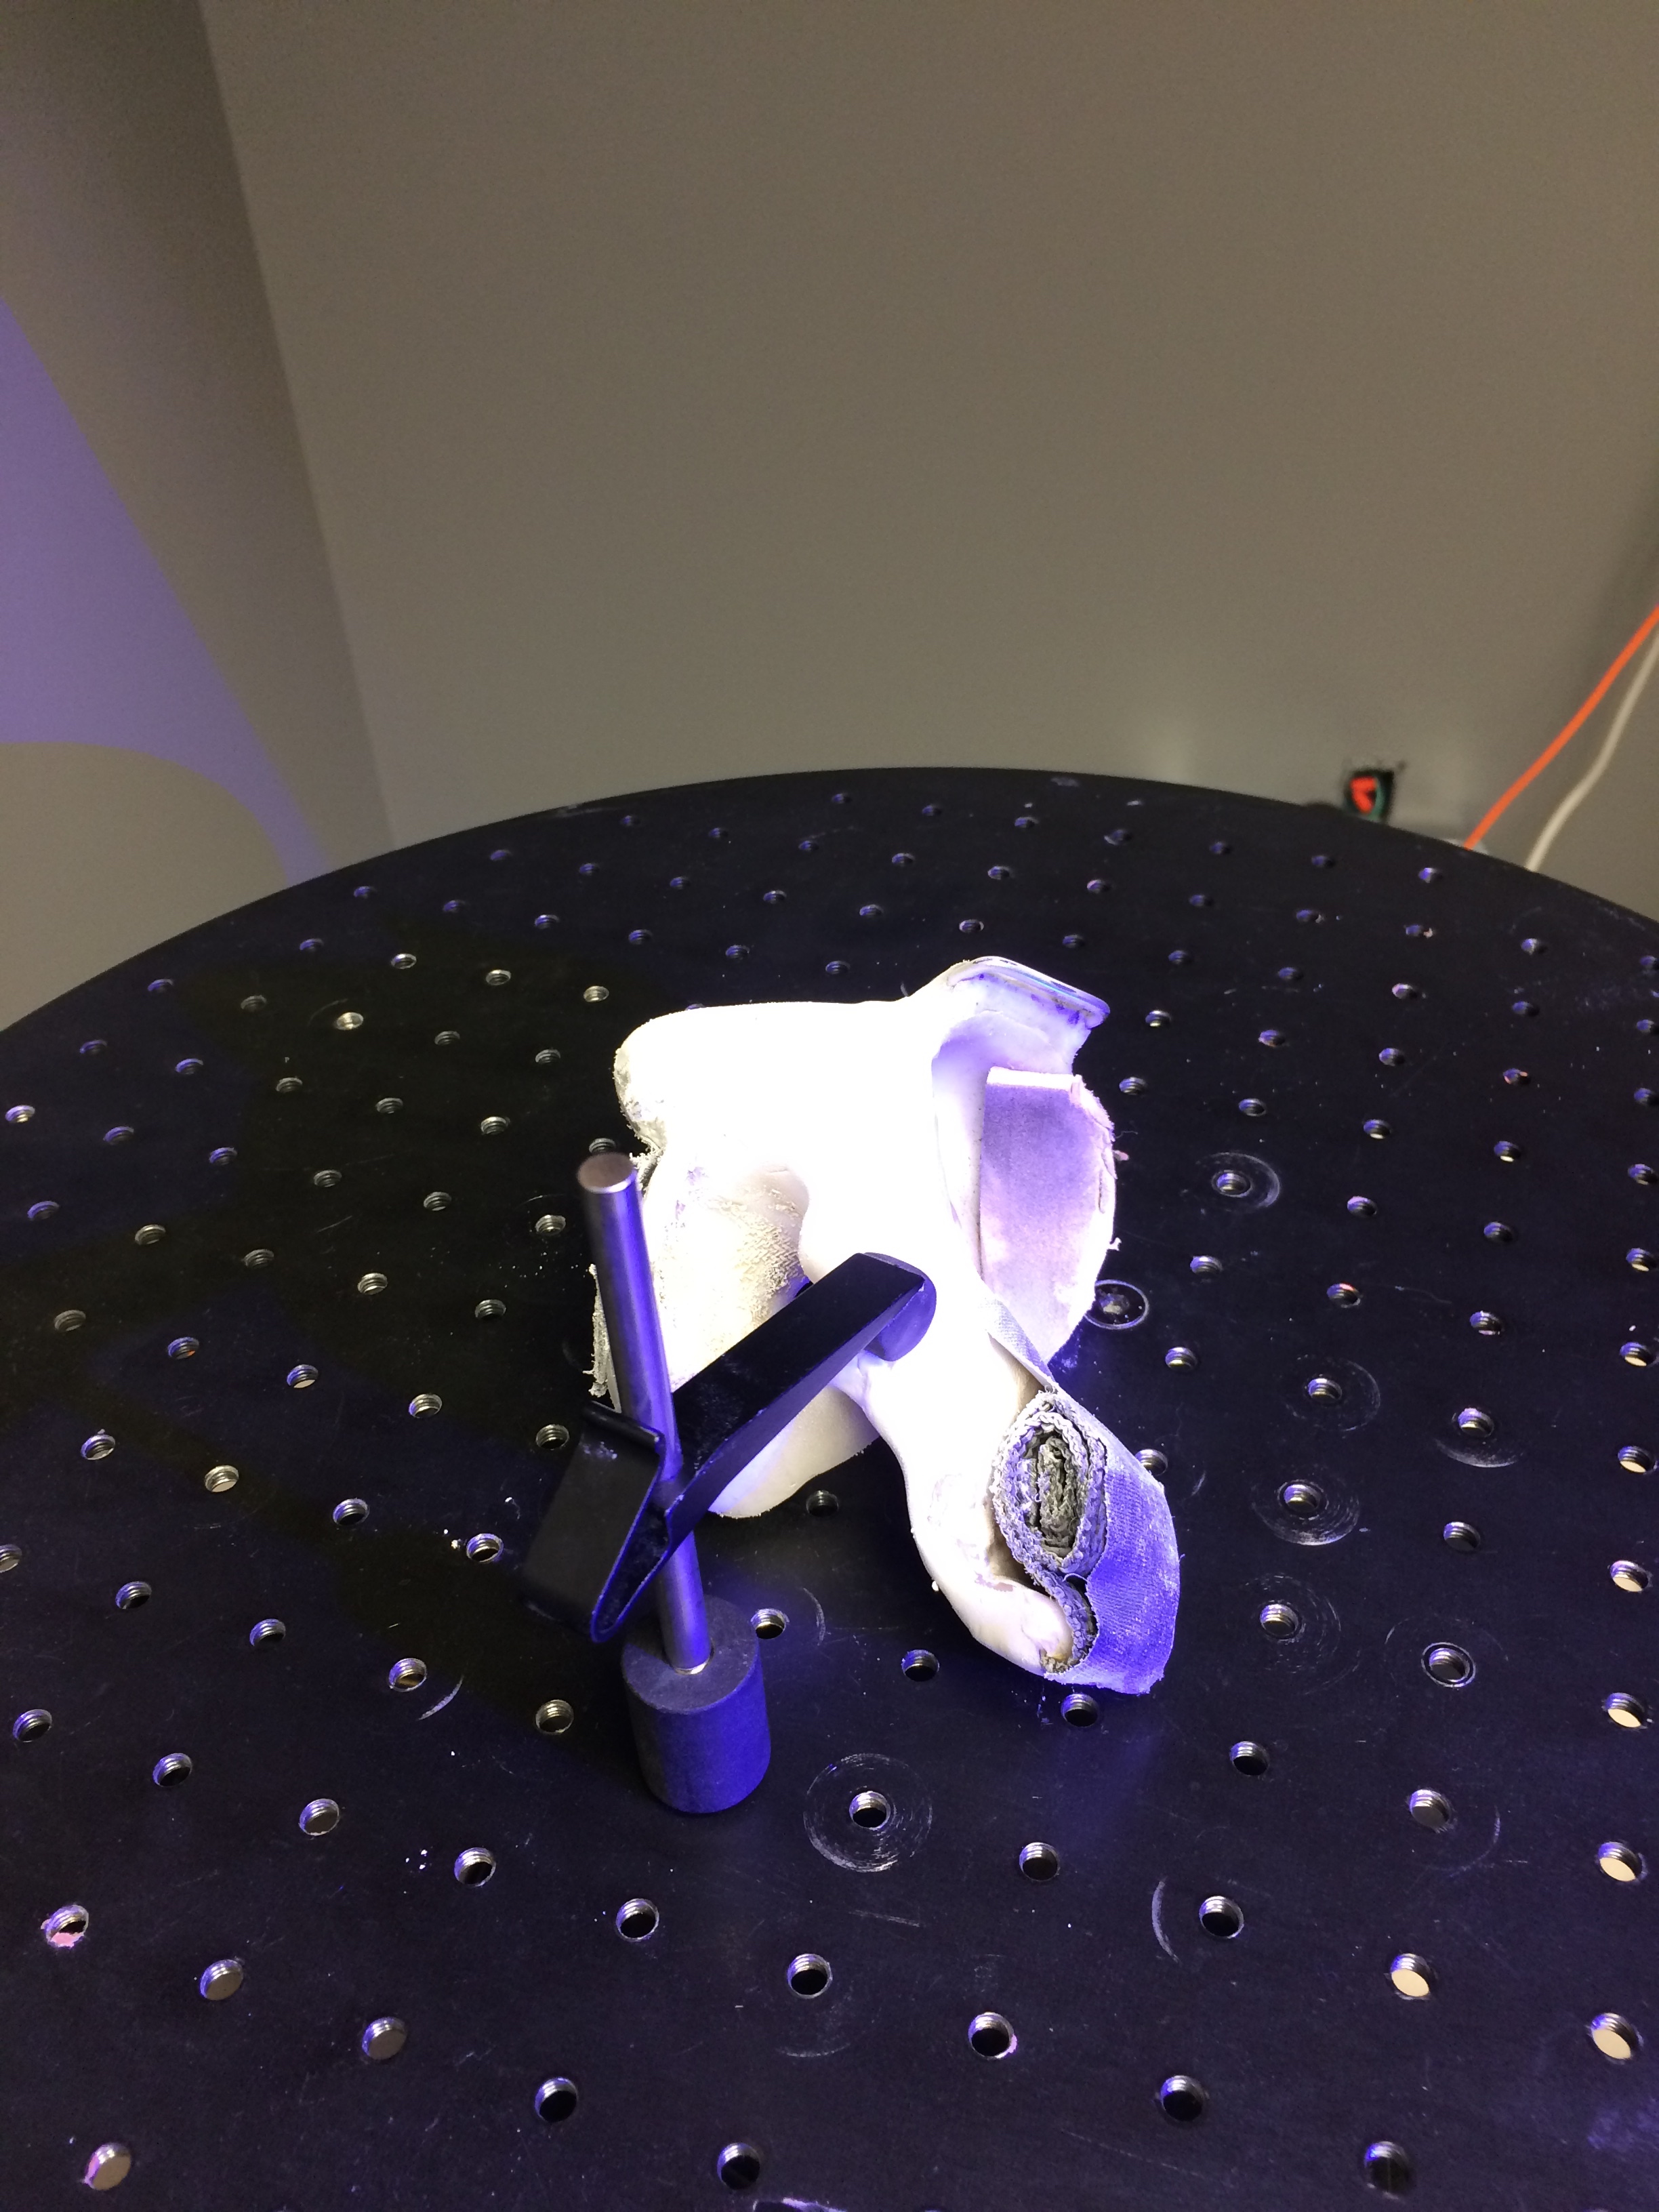
Snapshot of the scanning process for the racing glove
Many classmates started to apply their knowledge of Geomagic to their lives. For example, Jill noted:
“I have a Tupperware container that I absolutely love to carry places when I want lunch on the go. Problem with it is, there’s no great way to carry cutlery with it. I want to scan this existing container, and further add on a pocket that carries forks and knives.”
Noah as well stated:
“…with this software caused me to think about the various economic applications of this technology. Perhaps, I will be able to create my own business concept around this technology. I still will need help to operate the scanner and software, but having this high level overview allows me to be able to think critically about using this technology in my own field.”
Geomagic is a powerful tool in 3D printing that has great potential. It is a little on the pricey side so I would recommend trying to obtain a free trial.