Week10&11

These weeks we are having fun experience in Campus Fab lab.

What we have played with(like stitching,lazer cutting&Arduino) are a great demonstration of how the maker movement has been propelled on very corner.

Firstly, two weeks ago, my job was doing arduino stuff, which I’s posted on this site:

It’s our “strong friend”, you guys remember? lol4head


And last week, we were doing stitching. Honestly, I didn’t find that interesting to me. However, after seeing what you guys made, I realized that was just my shallowness.I can still remember the stitching machine used by my grandma. She doesn’t have digital aided software at her time which made her work last long for a whole day to complete while we are able to finish this in a few minutes.

Do compare my work with yours,lol:

IMG_0392


Merely a wolf silhouette:(


Finally this week, we are playing with Lazer(Fire)

IMG_0397

IMG_0398

Mr.wolf!!! again:)

Week 10 Summary: FabLab Week One

This past week, all of our students discovered the incredible resource that is The CU FabLab. This incredible resource found on our campus is open to all students and residents of the Champaign – Urbana community to use and foster their own creative projects. Our class was split up into three groups: arduinos, digital embroidery, and laser engraving.
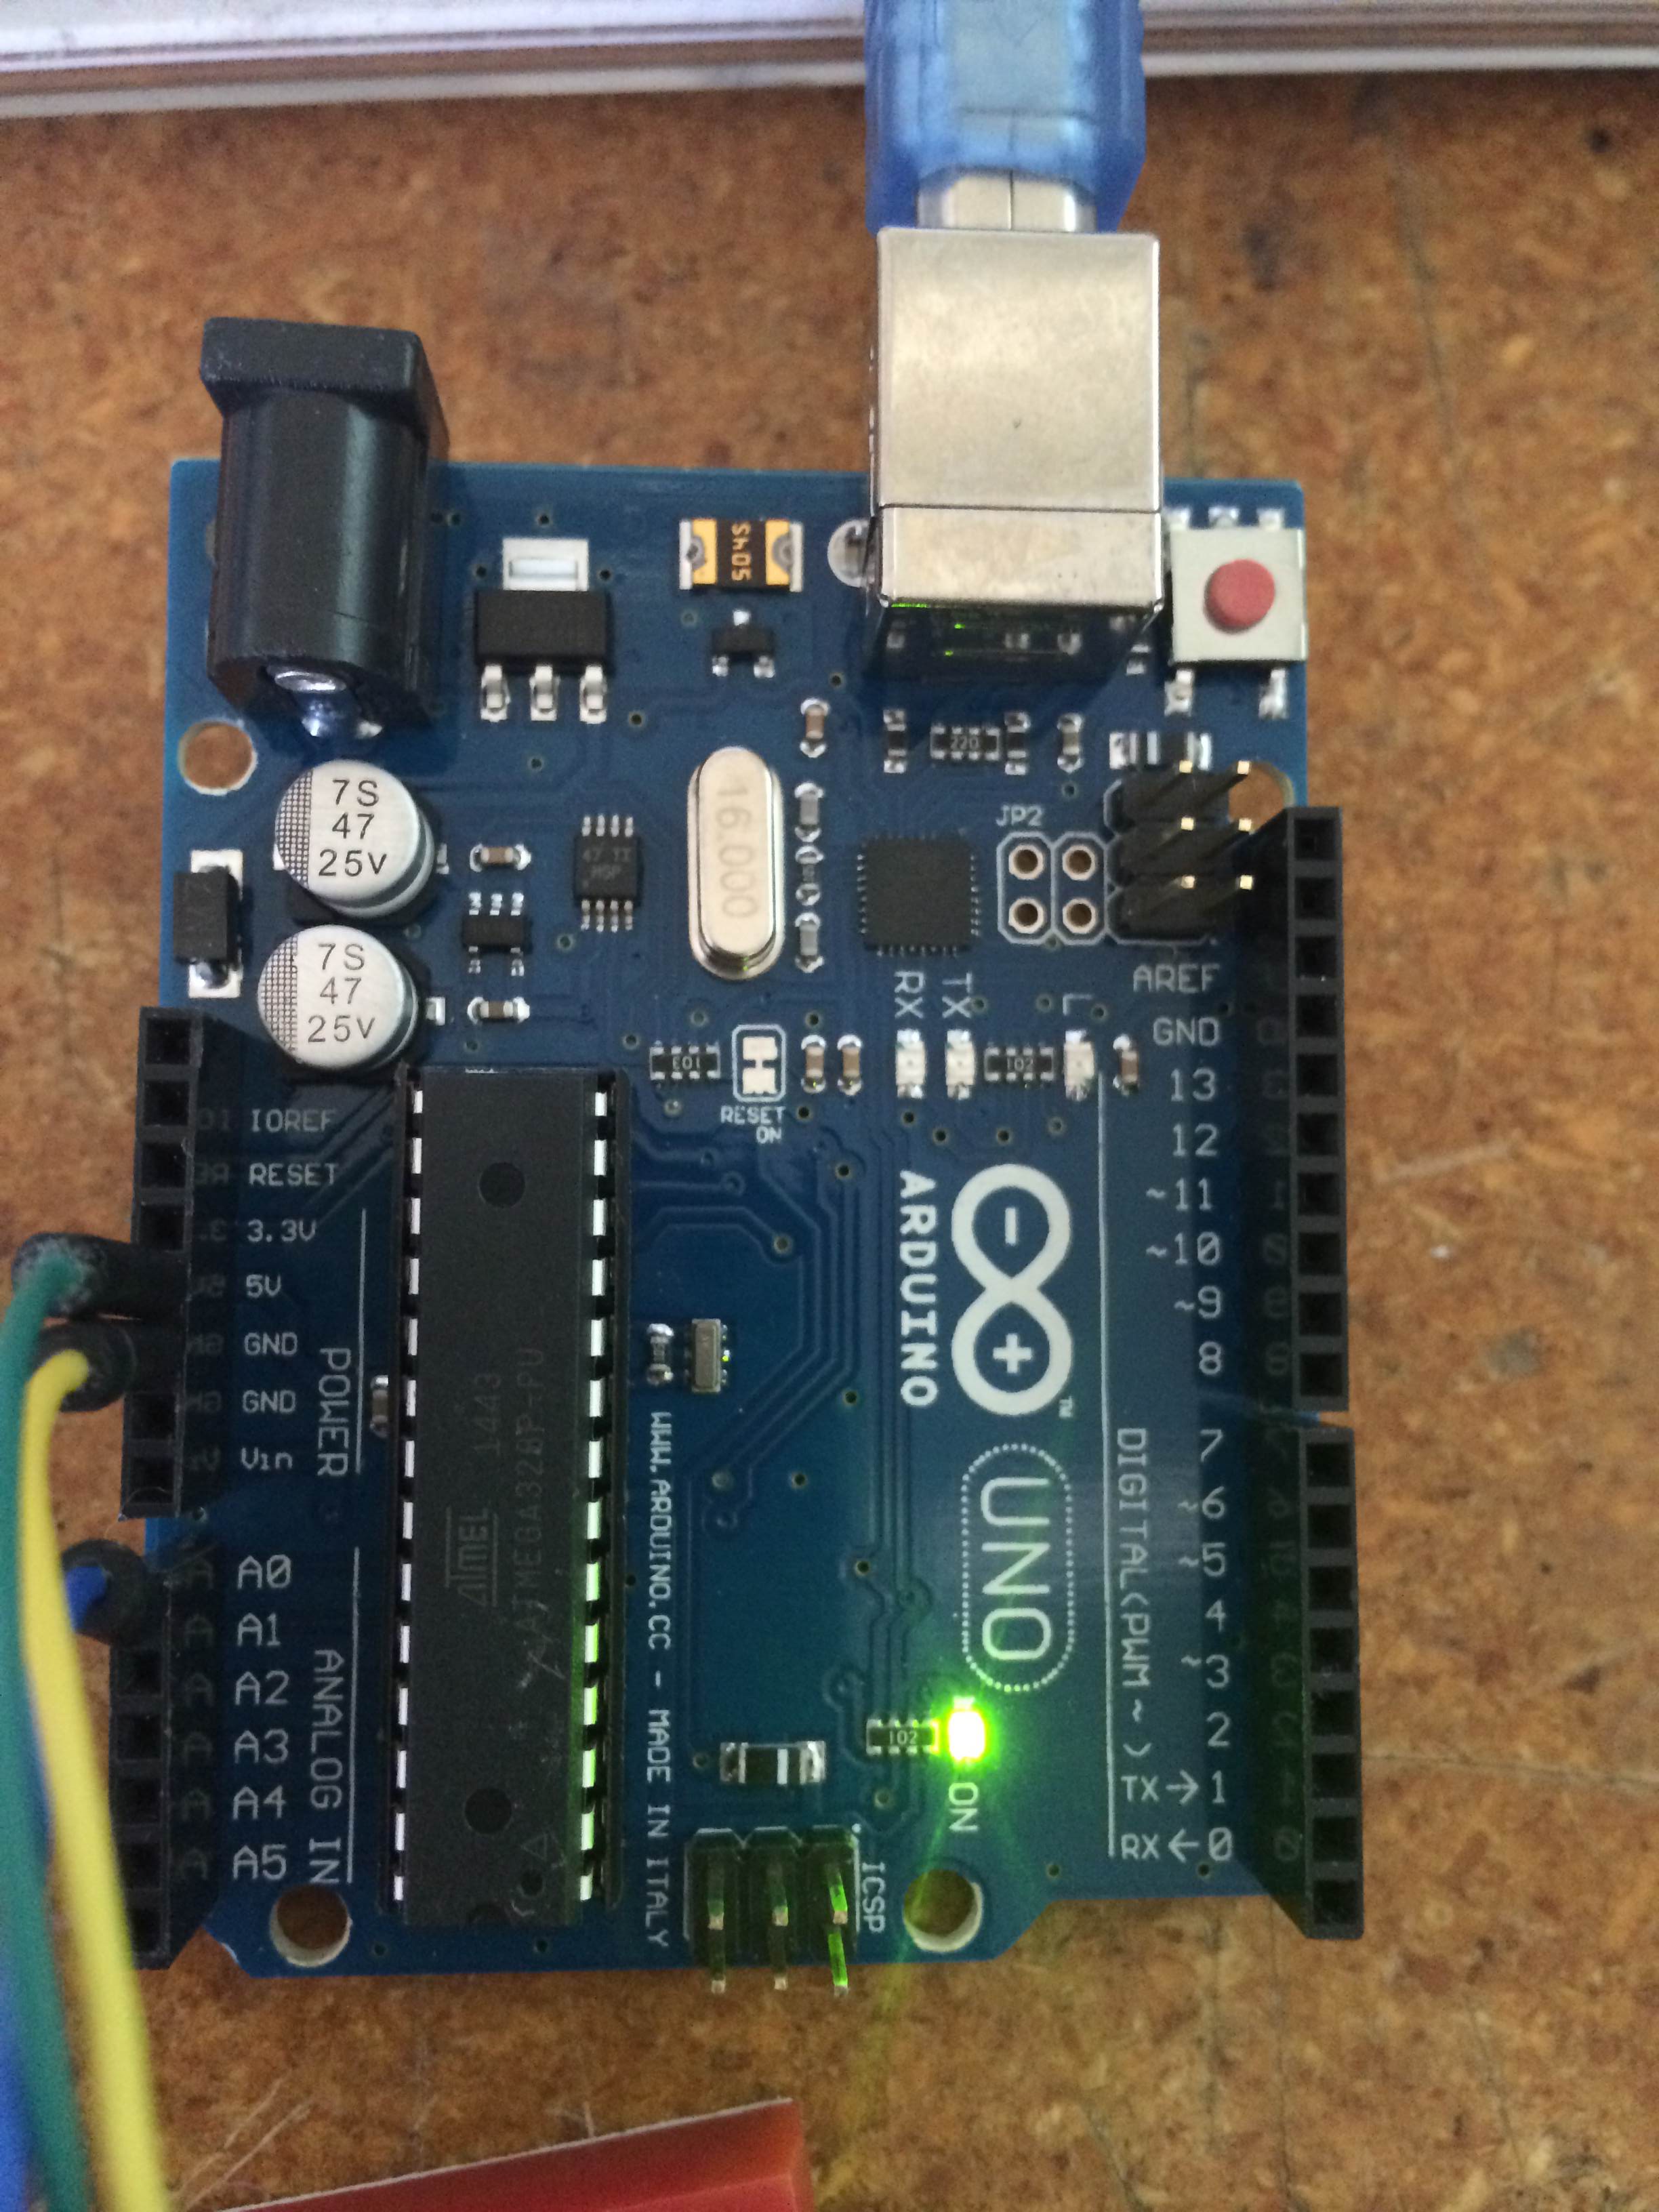
Arduinos

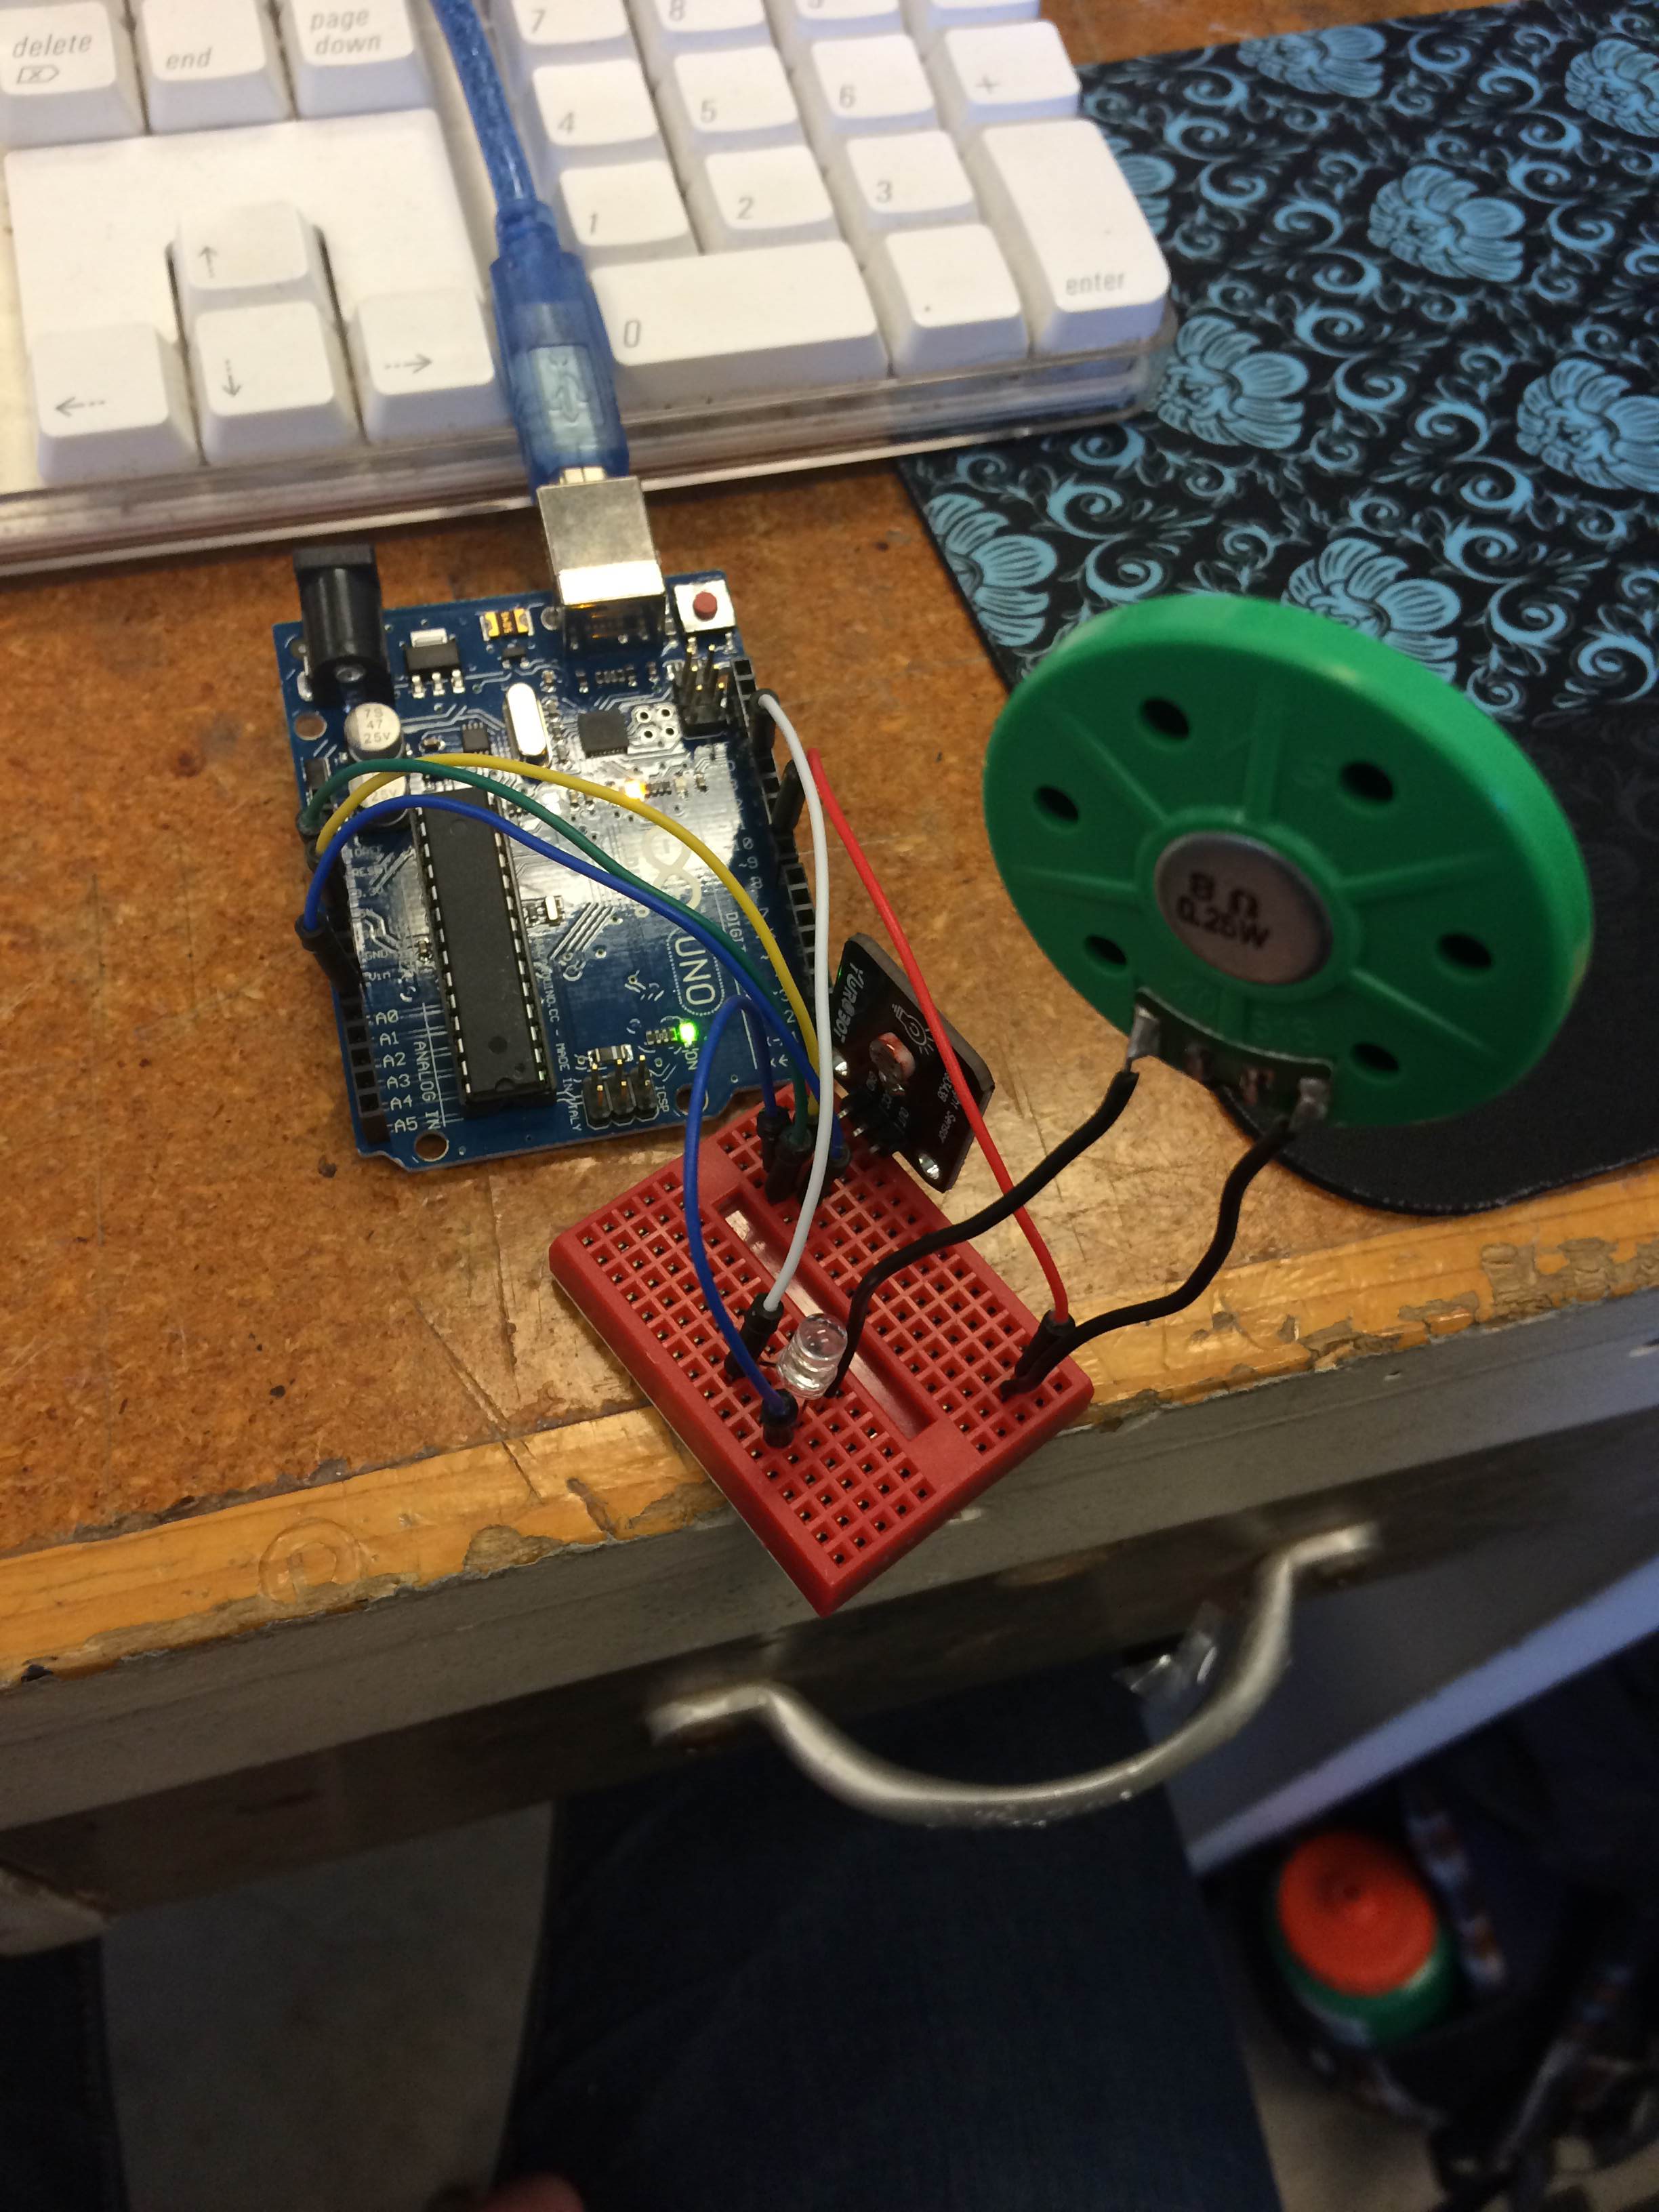
Arduinos are little, inexpensive computers that can perform simple sensory input and output functions. The open source nature of this product has lead for many programs to be available online, so beginners have a place to start at when looking to design a new function.

Arduino Reference Libraries

Getting Started

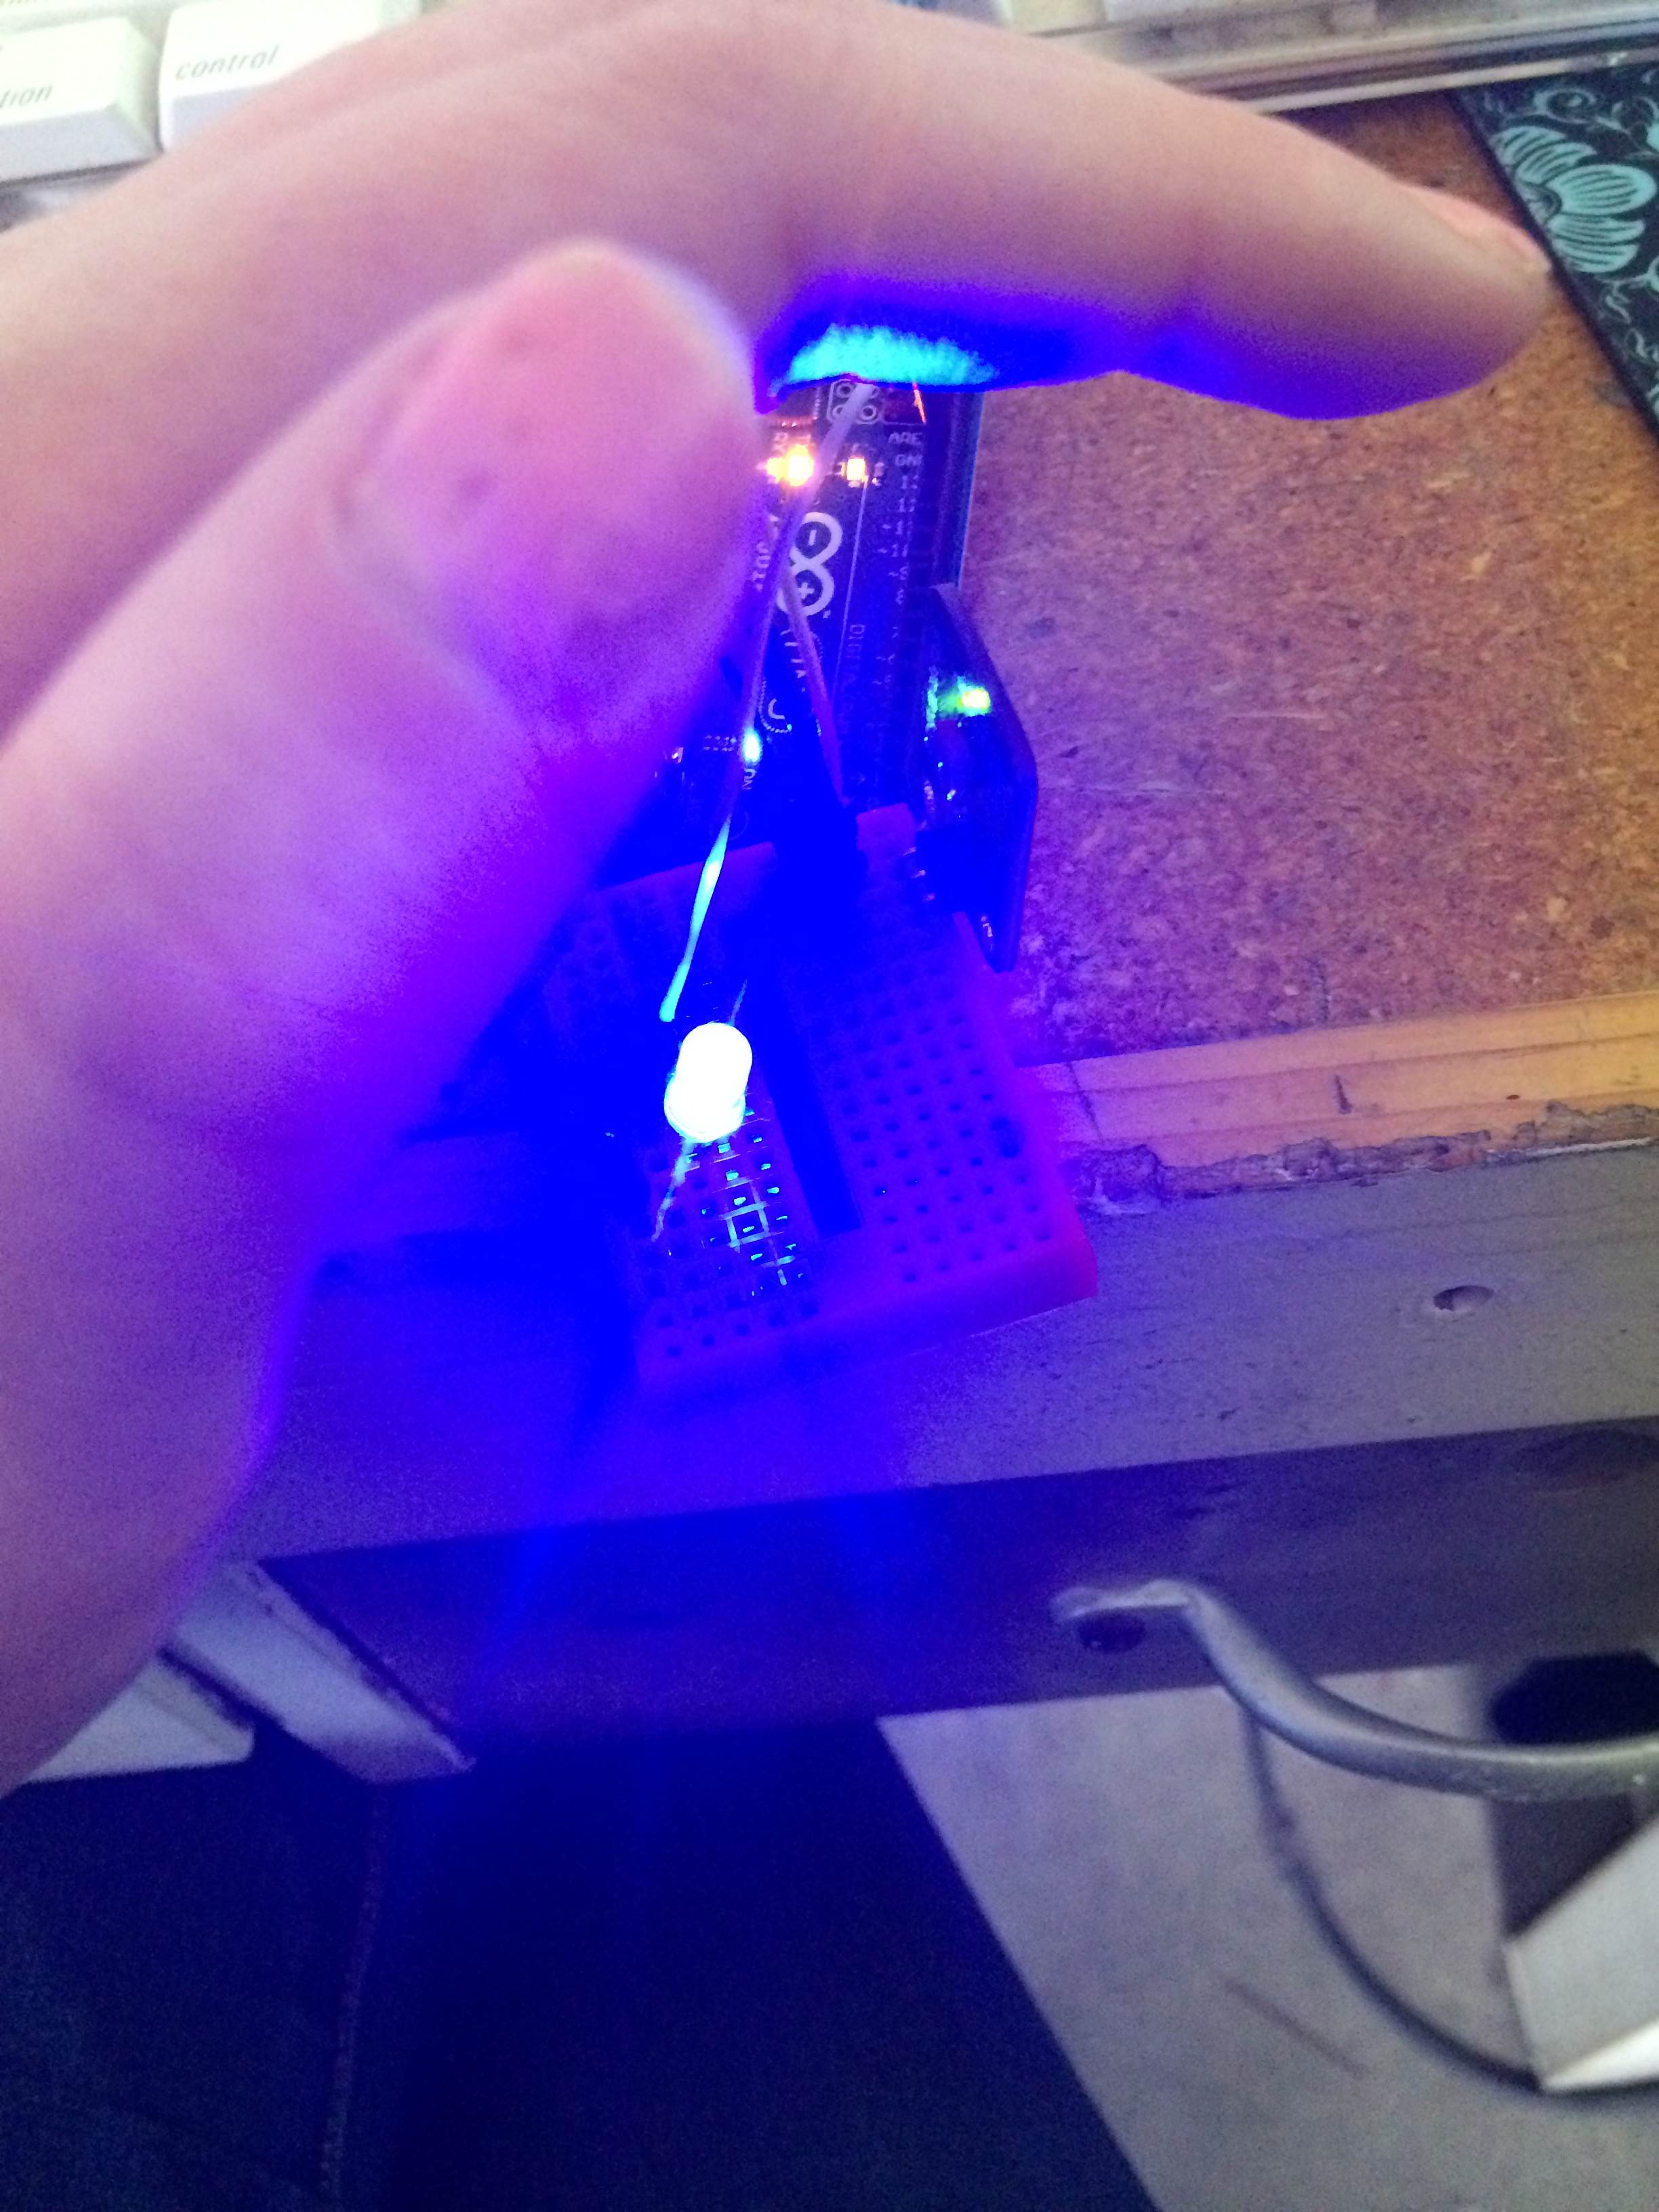
One student described their experience as follows:

“So, this time again I worked with arduino at the electronic section. This time I learned two very cool things that can be done with arduino. First, I learned how to install a sensor chip. I made a light bulb to turn off when I cover the sensor and turn on when I don’t cover the senser. The second feature of arduino that I learned was the sound. I installed a sound device on arduino which later I connected to a senser device. So, I was able to control the level of the sound by placing my hand closer or further from the sensor.”
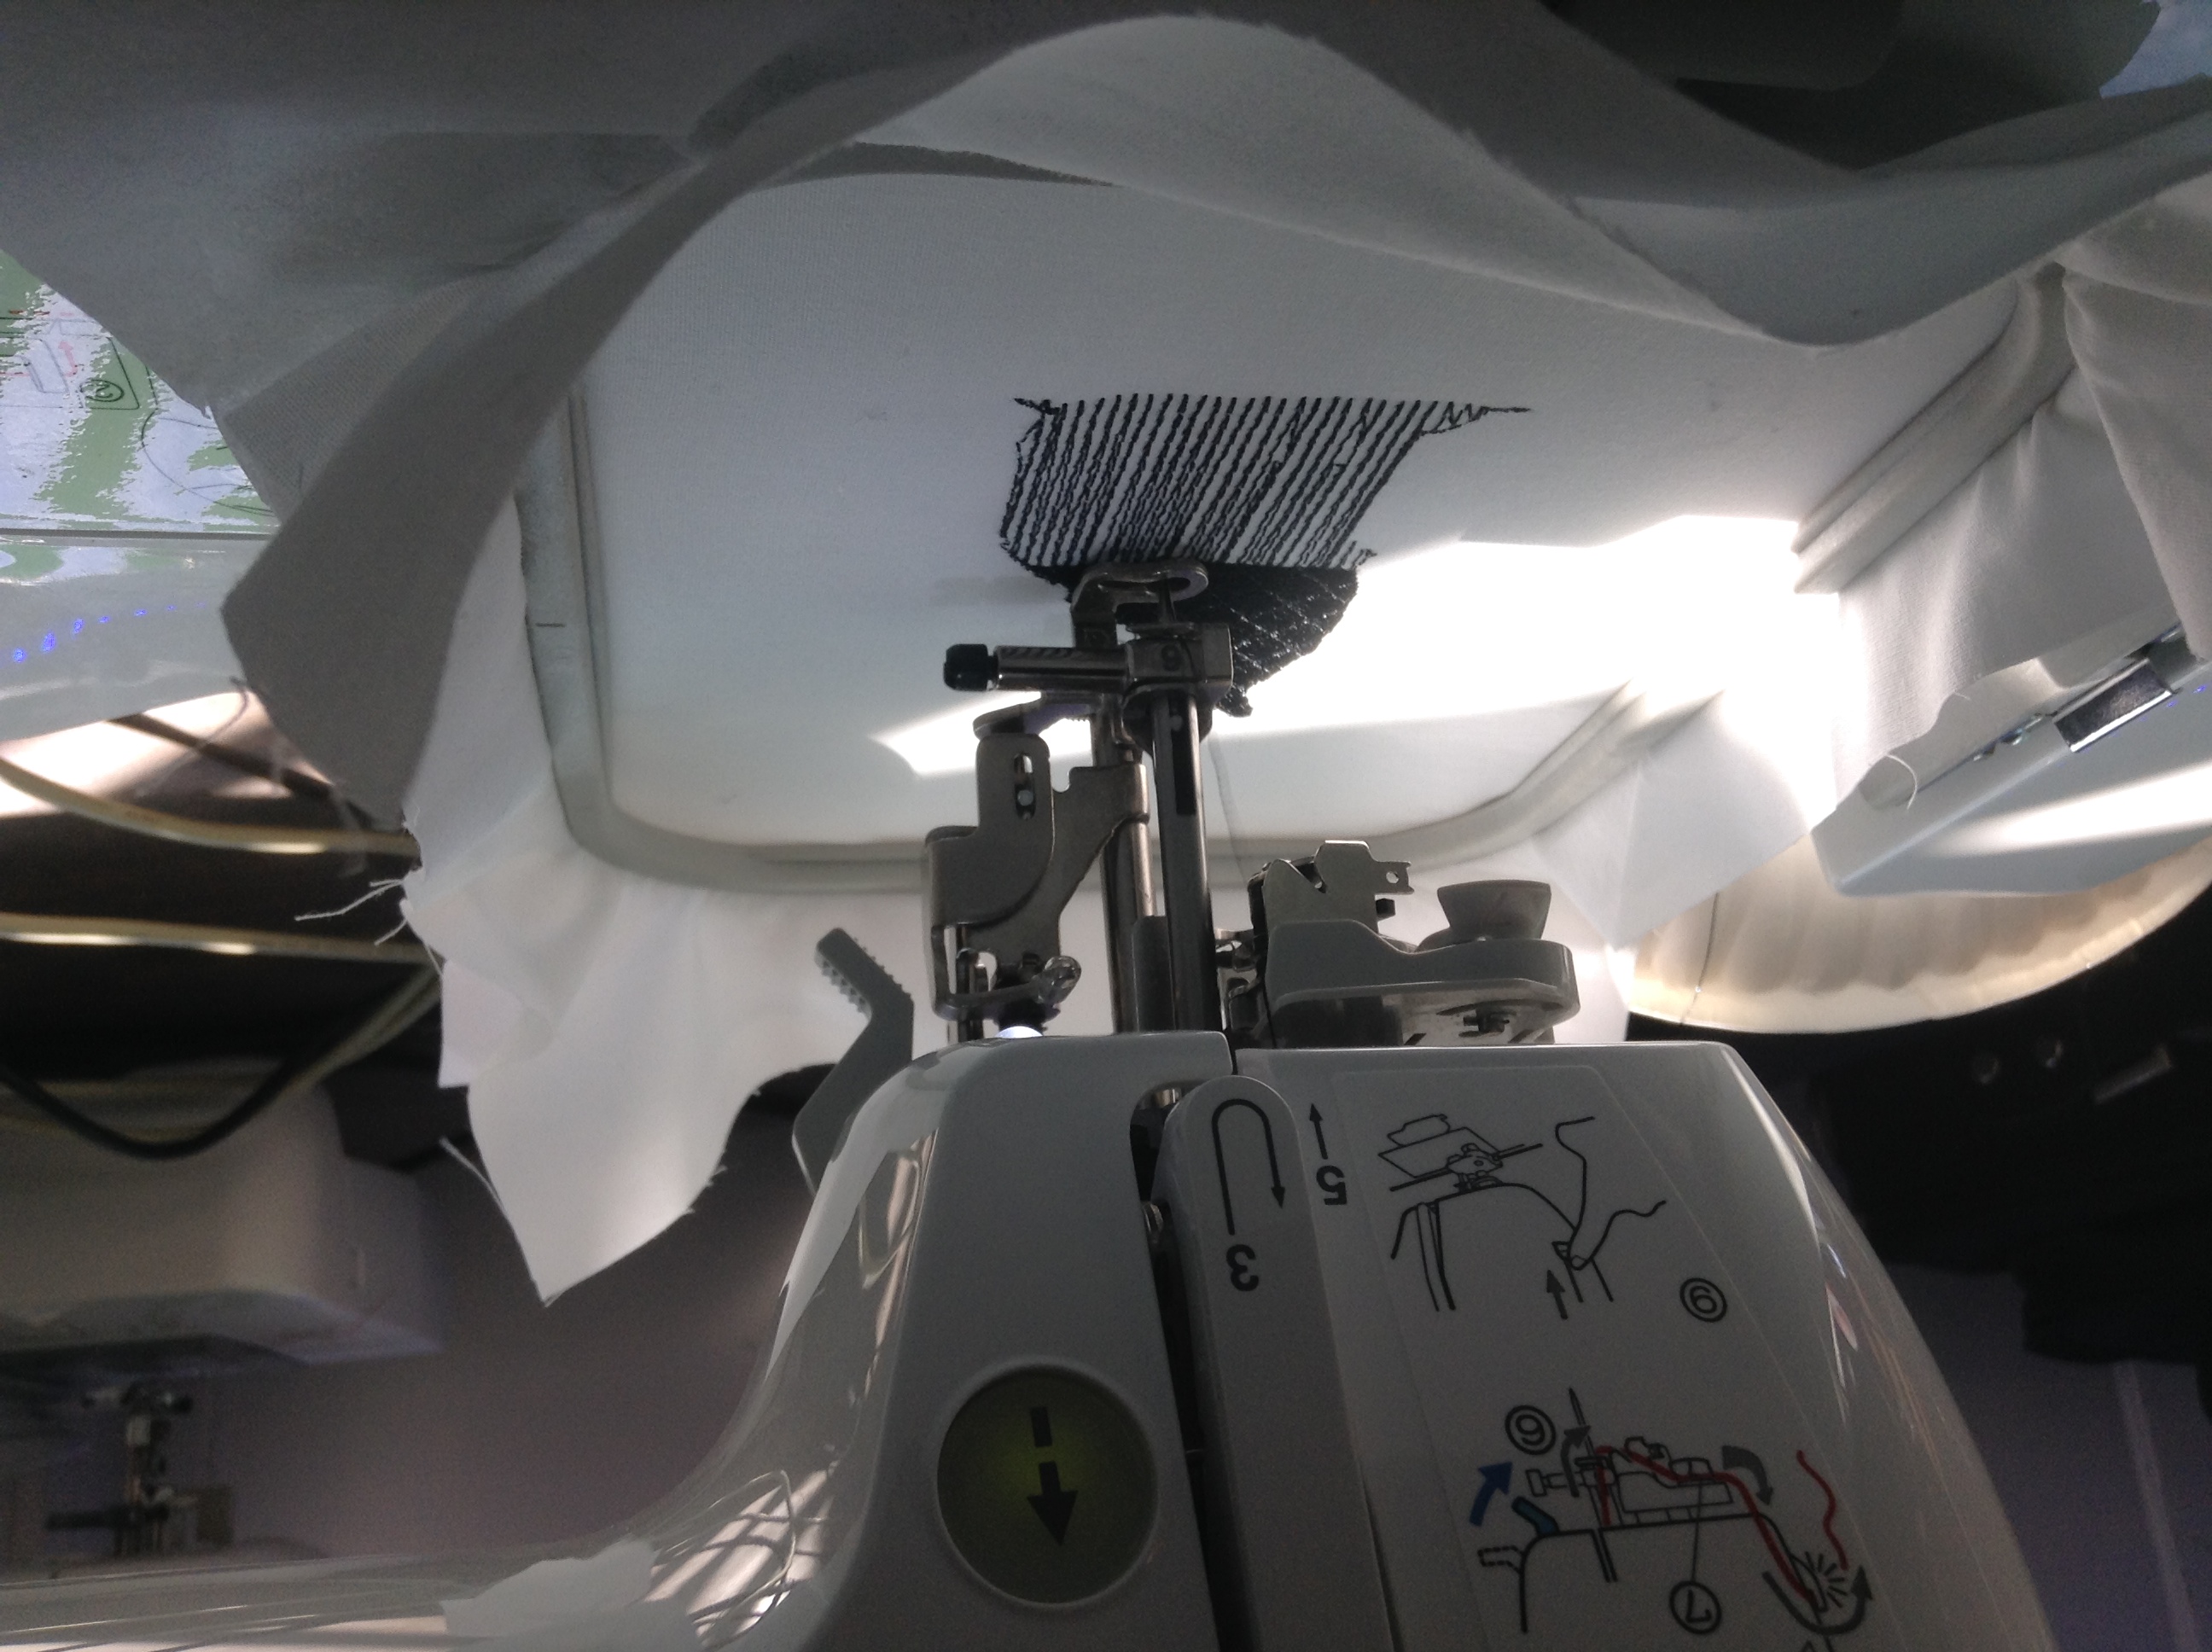
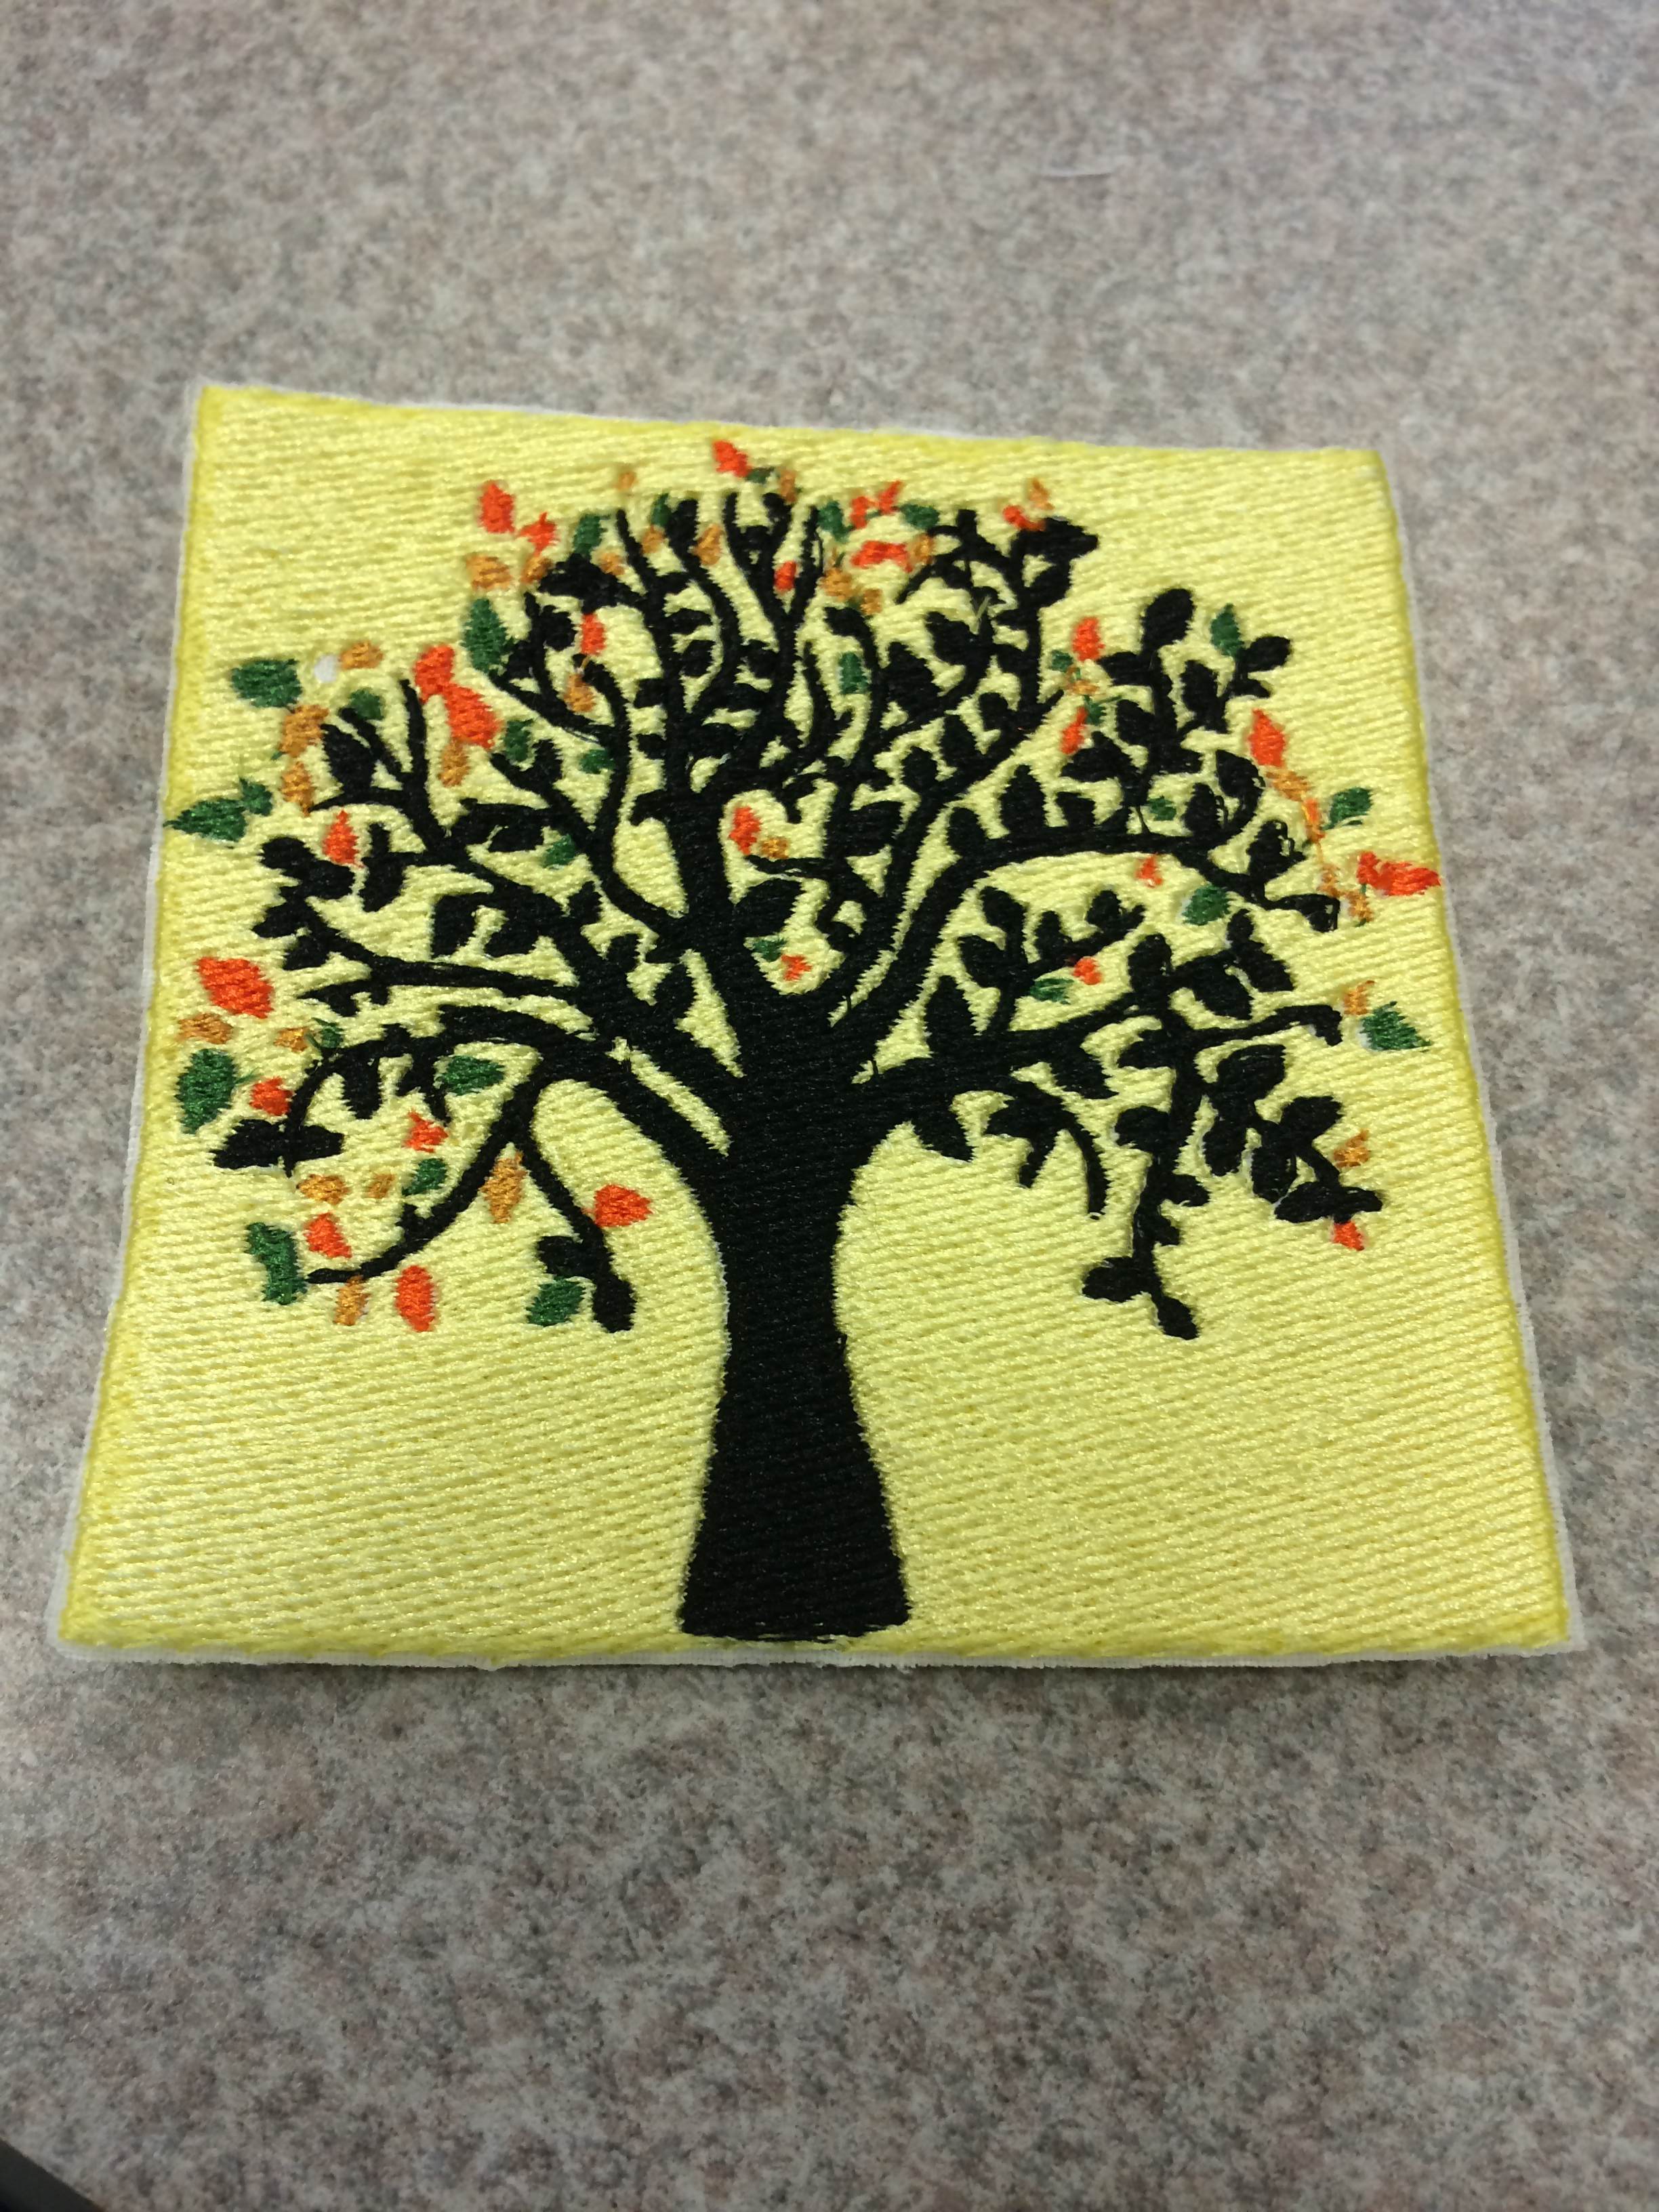
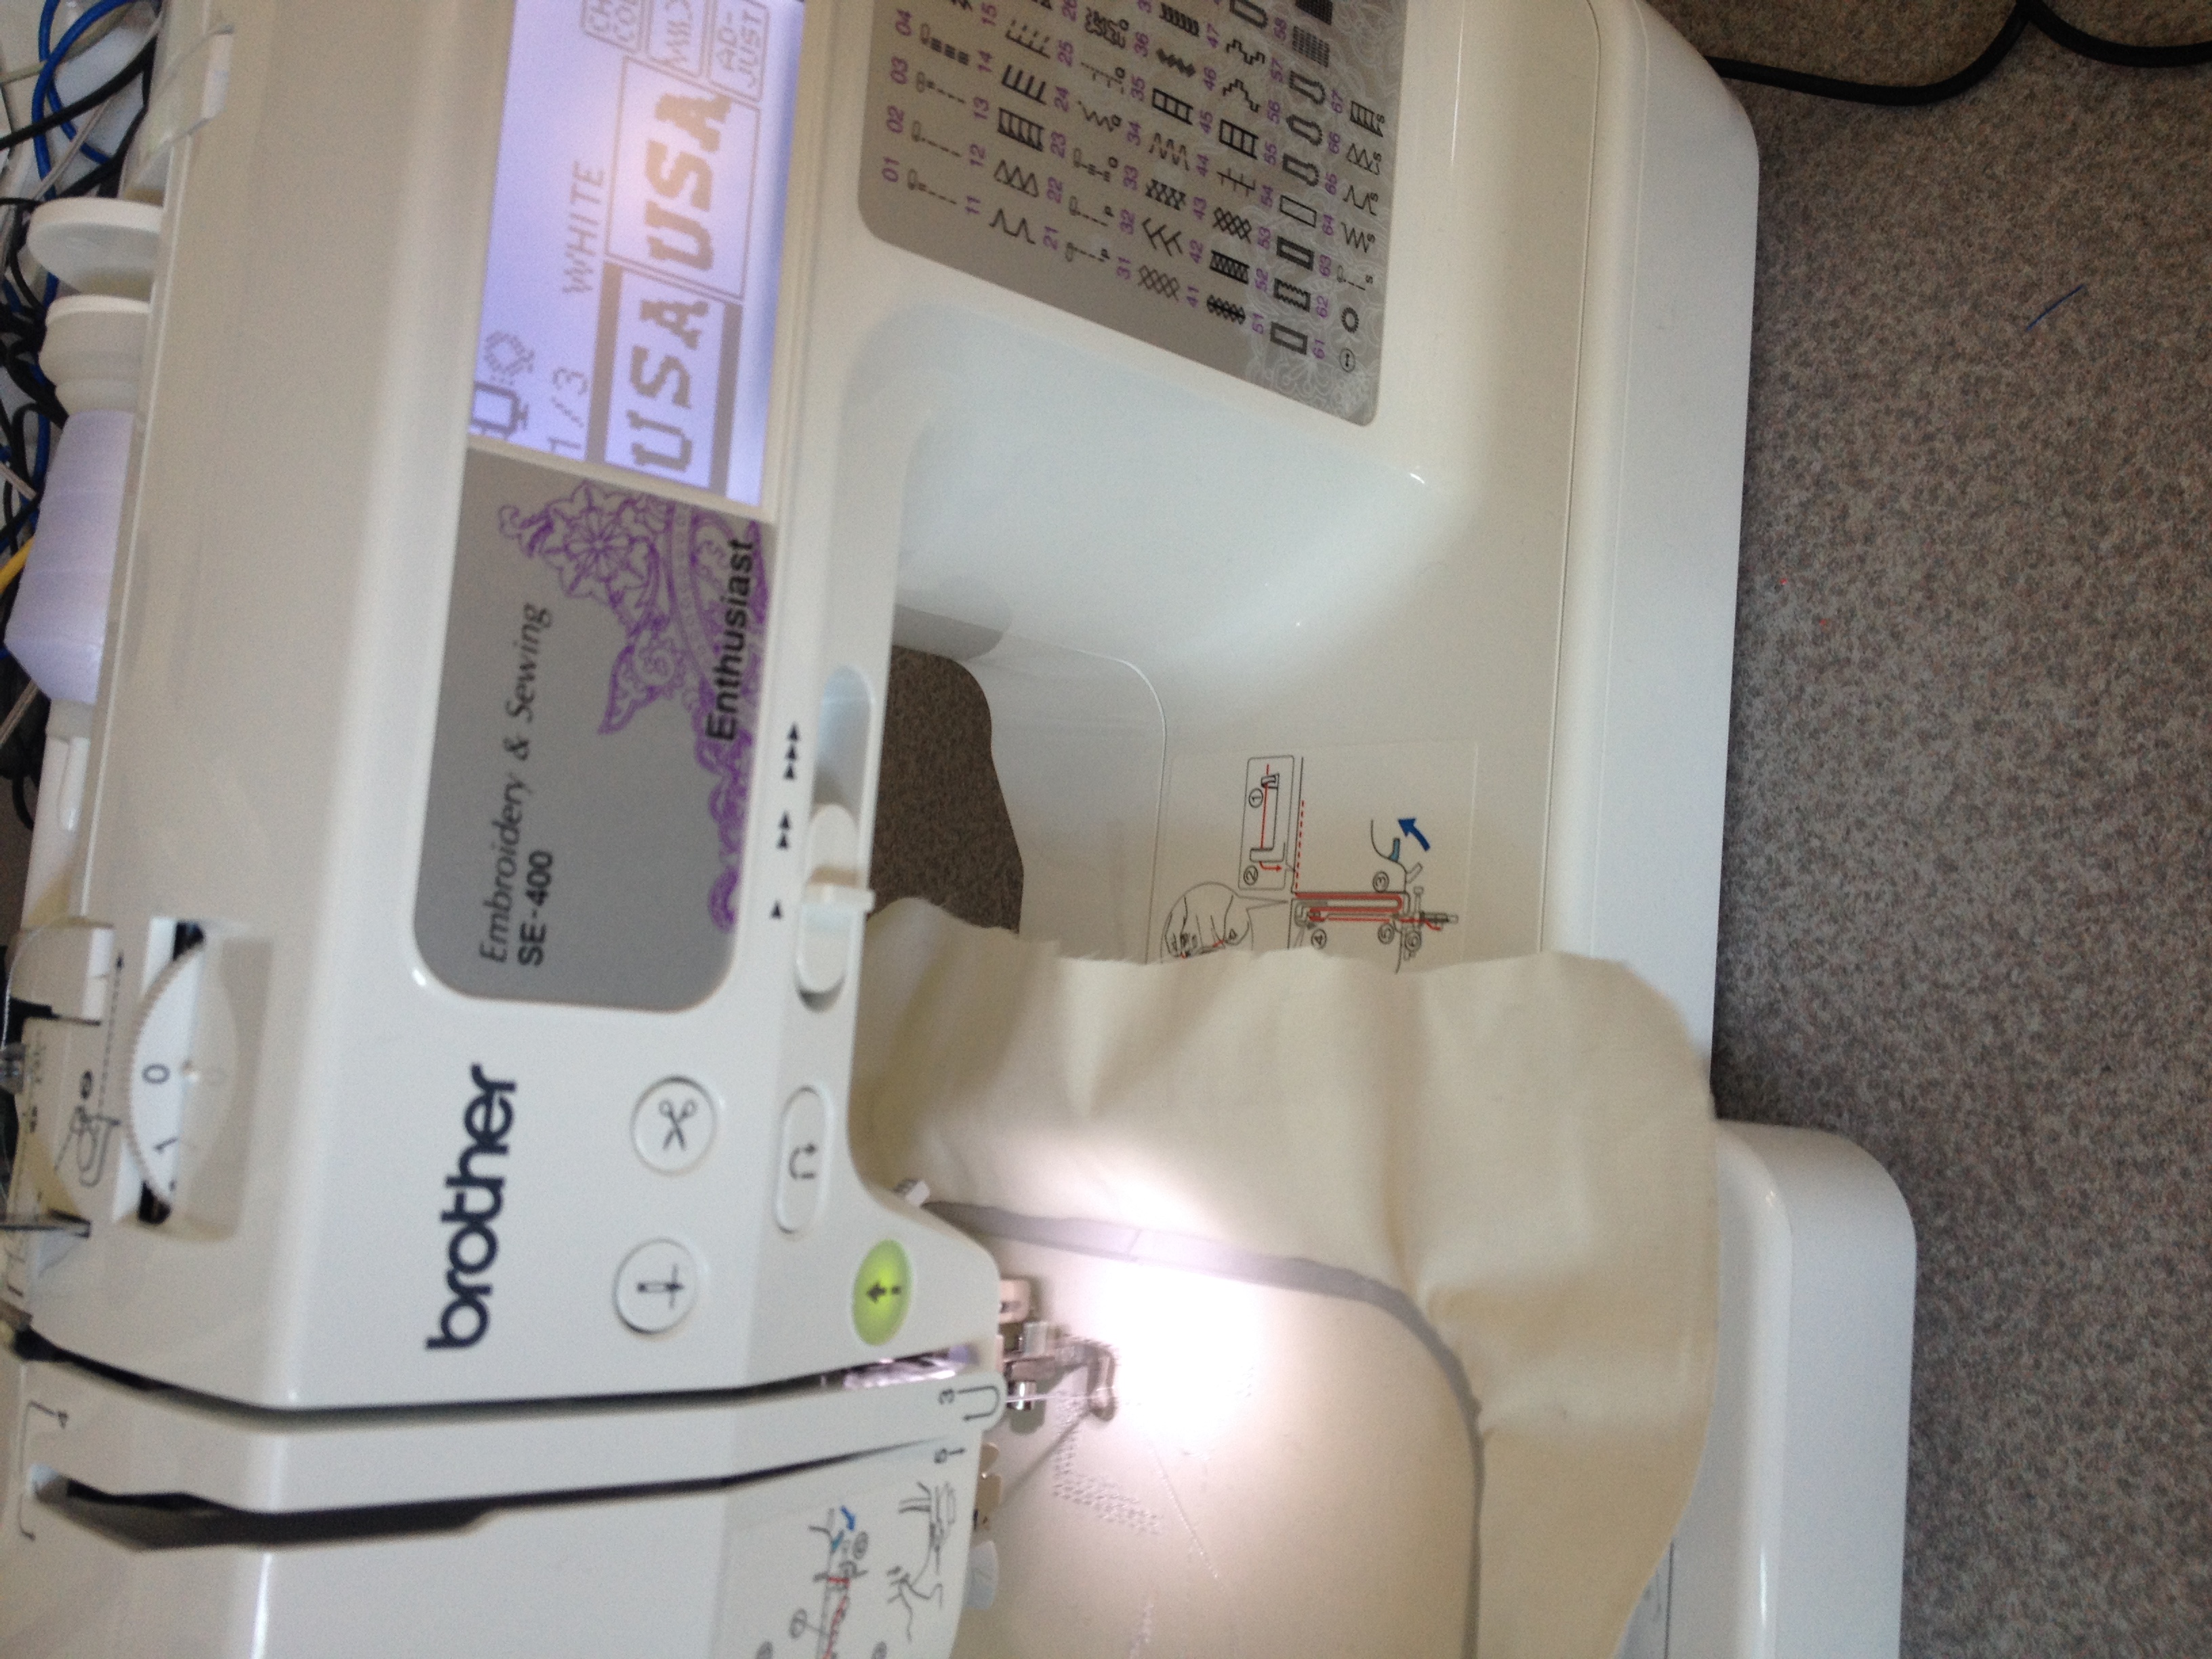
IMG_1257

Digital Embroidery

This discipline allows you to take a picture on your computer and turn it into its own embroidered design in the real world. There are obvious limitations of complexity and size, but despite these, this skill is incredibly handy to have, and can even impressing your grandma! There are not that many online resources for digital embroidery, as it is fairly simple once you have a machine.

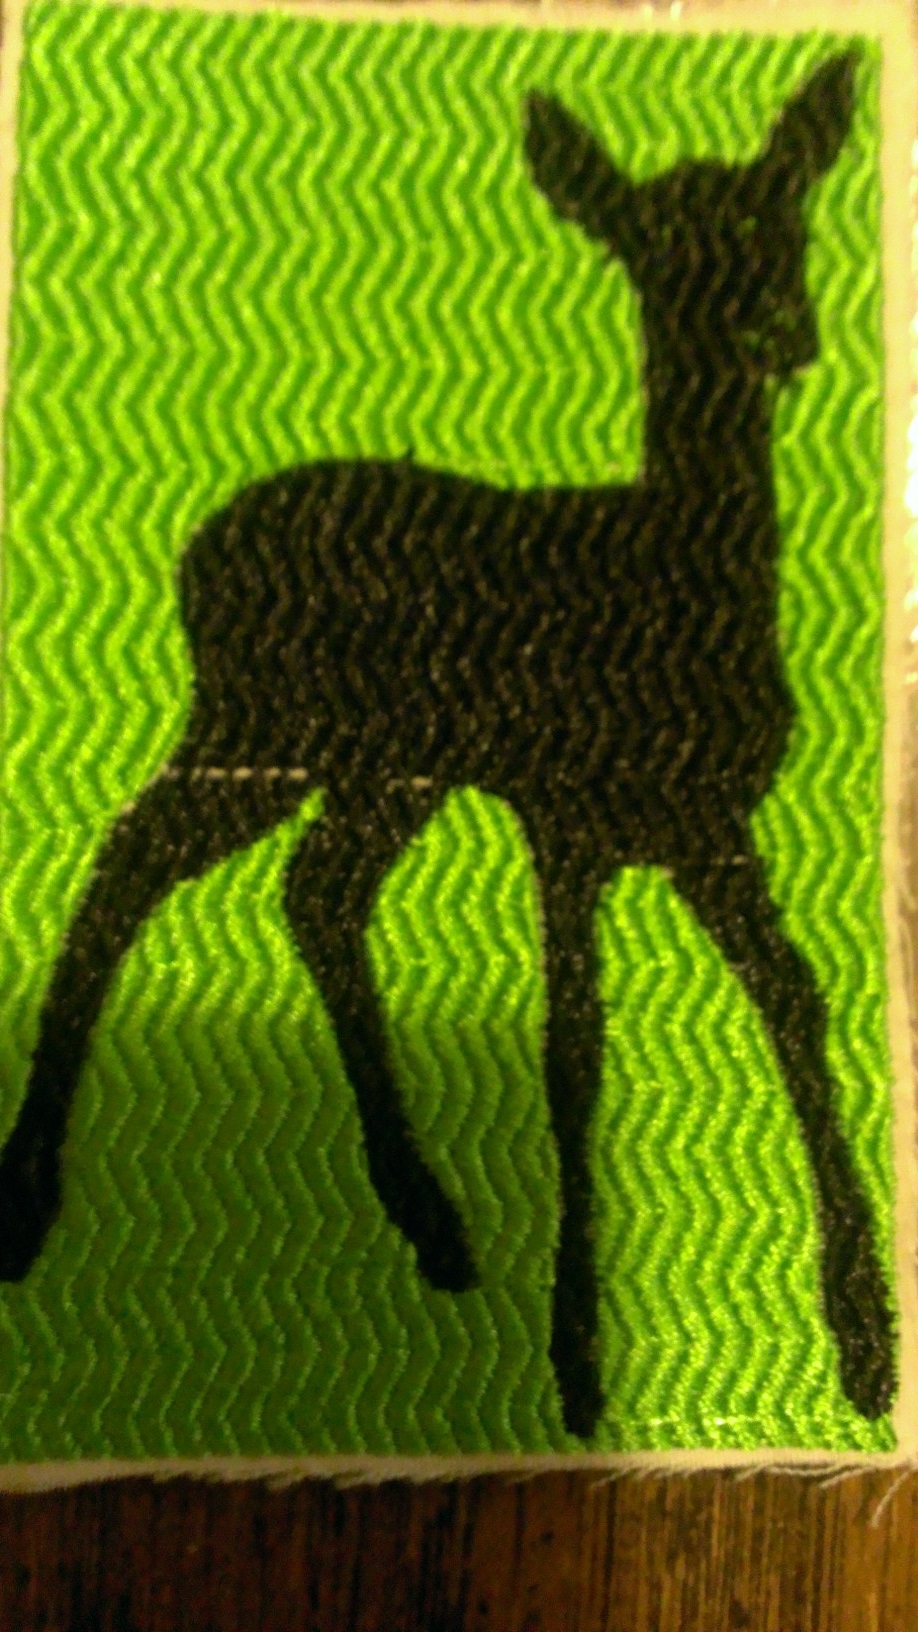
Sam Bohner described his experience:

“All in all, I really enjoyed today’s class; digital embroidery is pretty cool. It is much faster and takes up less physical labor than hand embroidery. However, there are some drawbacks such as not getting a good quality design. For instance, there was someone who tried to make a playing card and it had too much small detail that it didn’t show up well. The design processes are a bit different, but I think the digital method is much easier.”
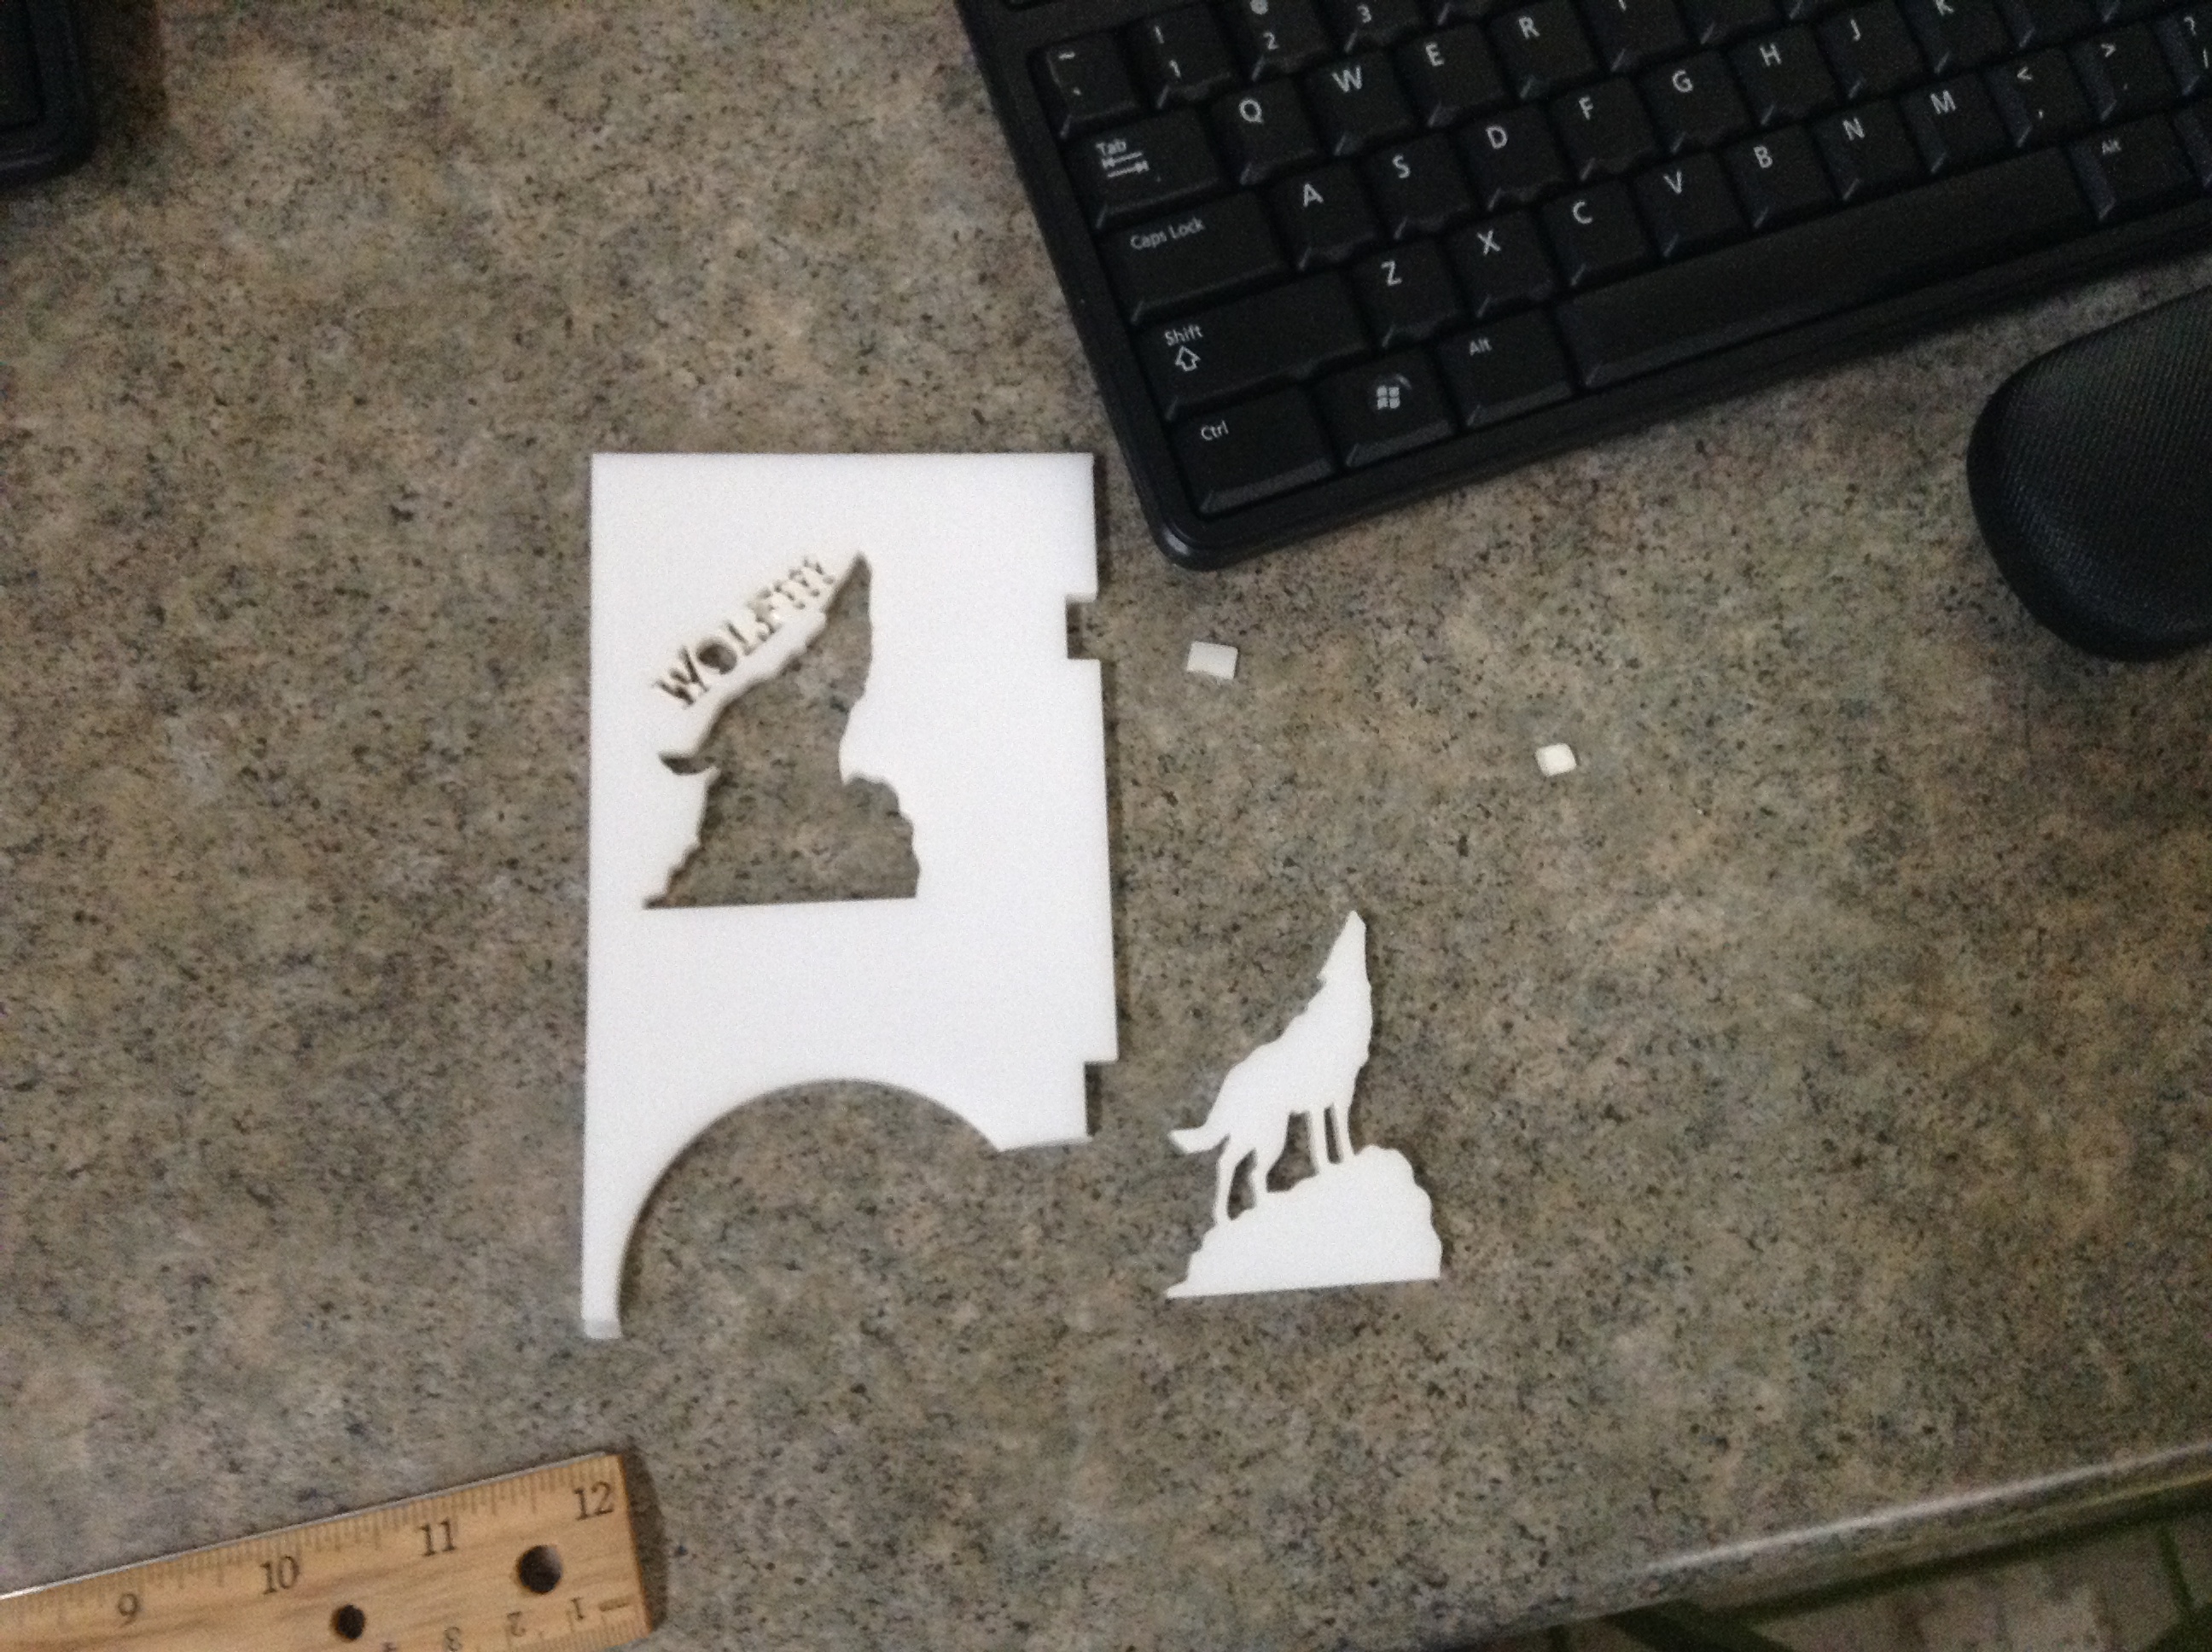
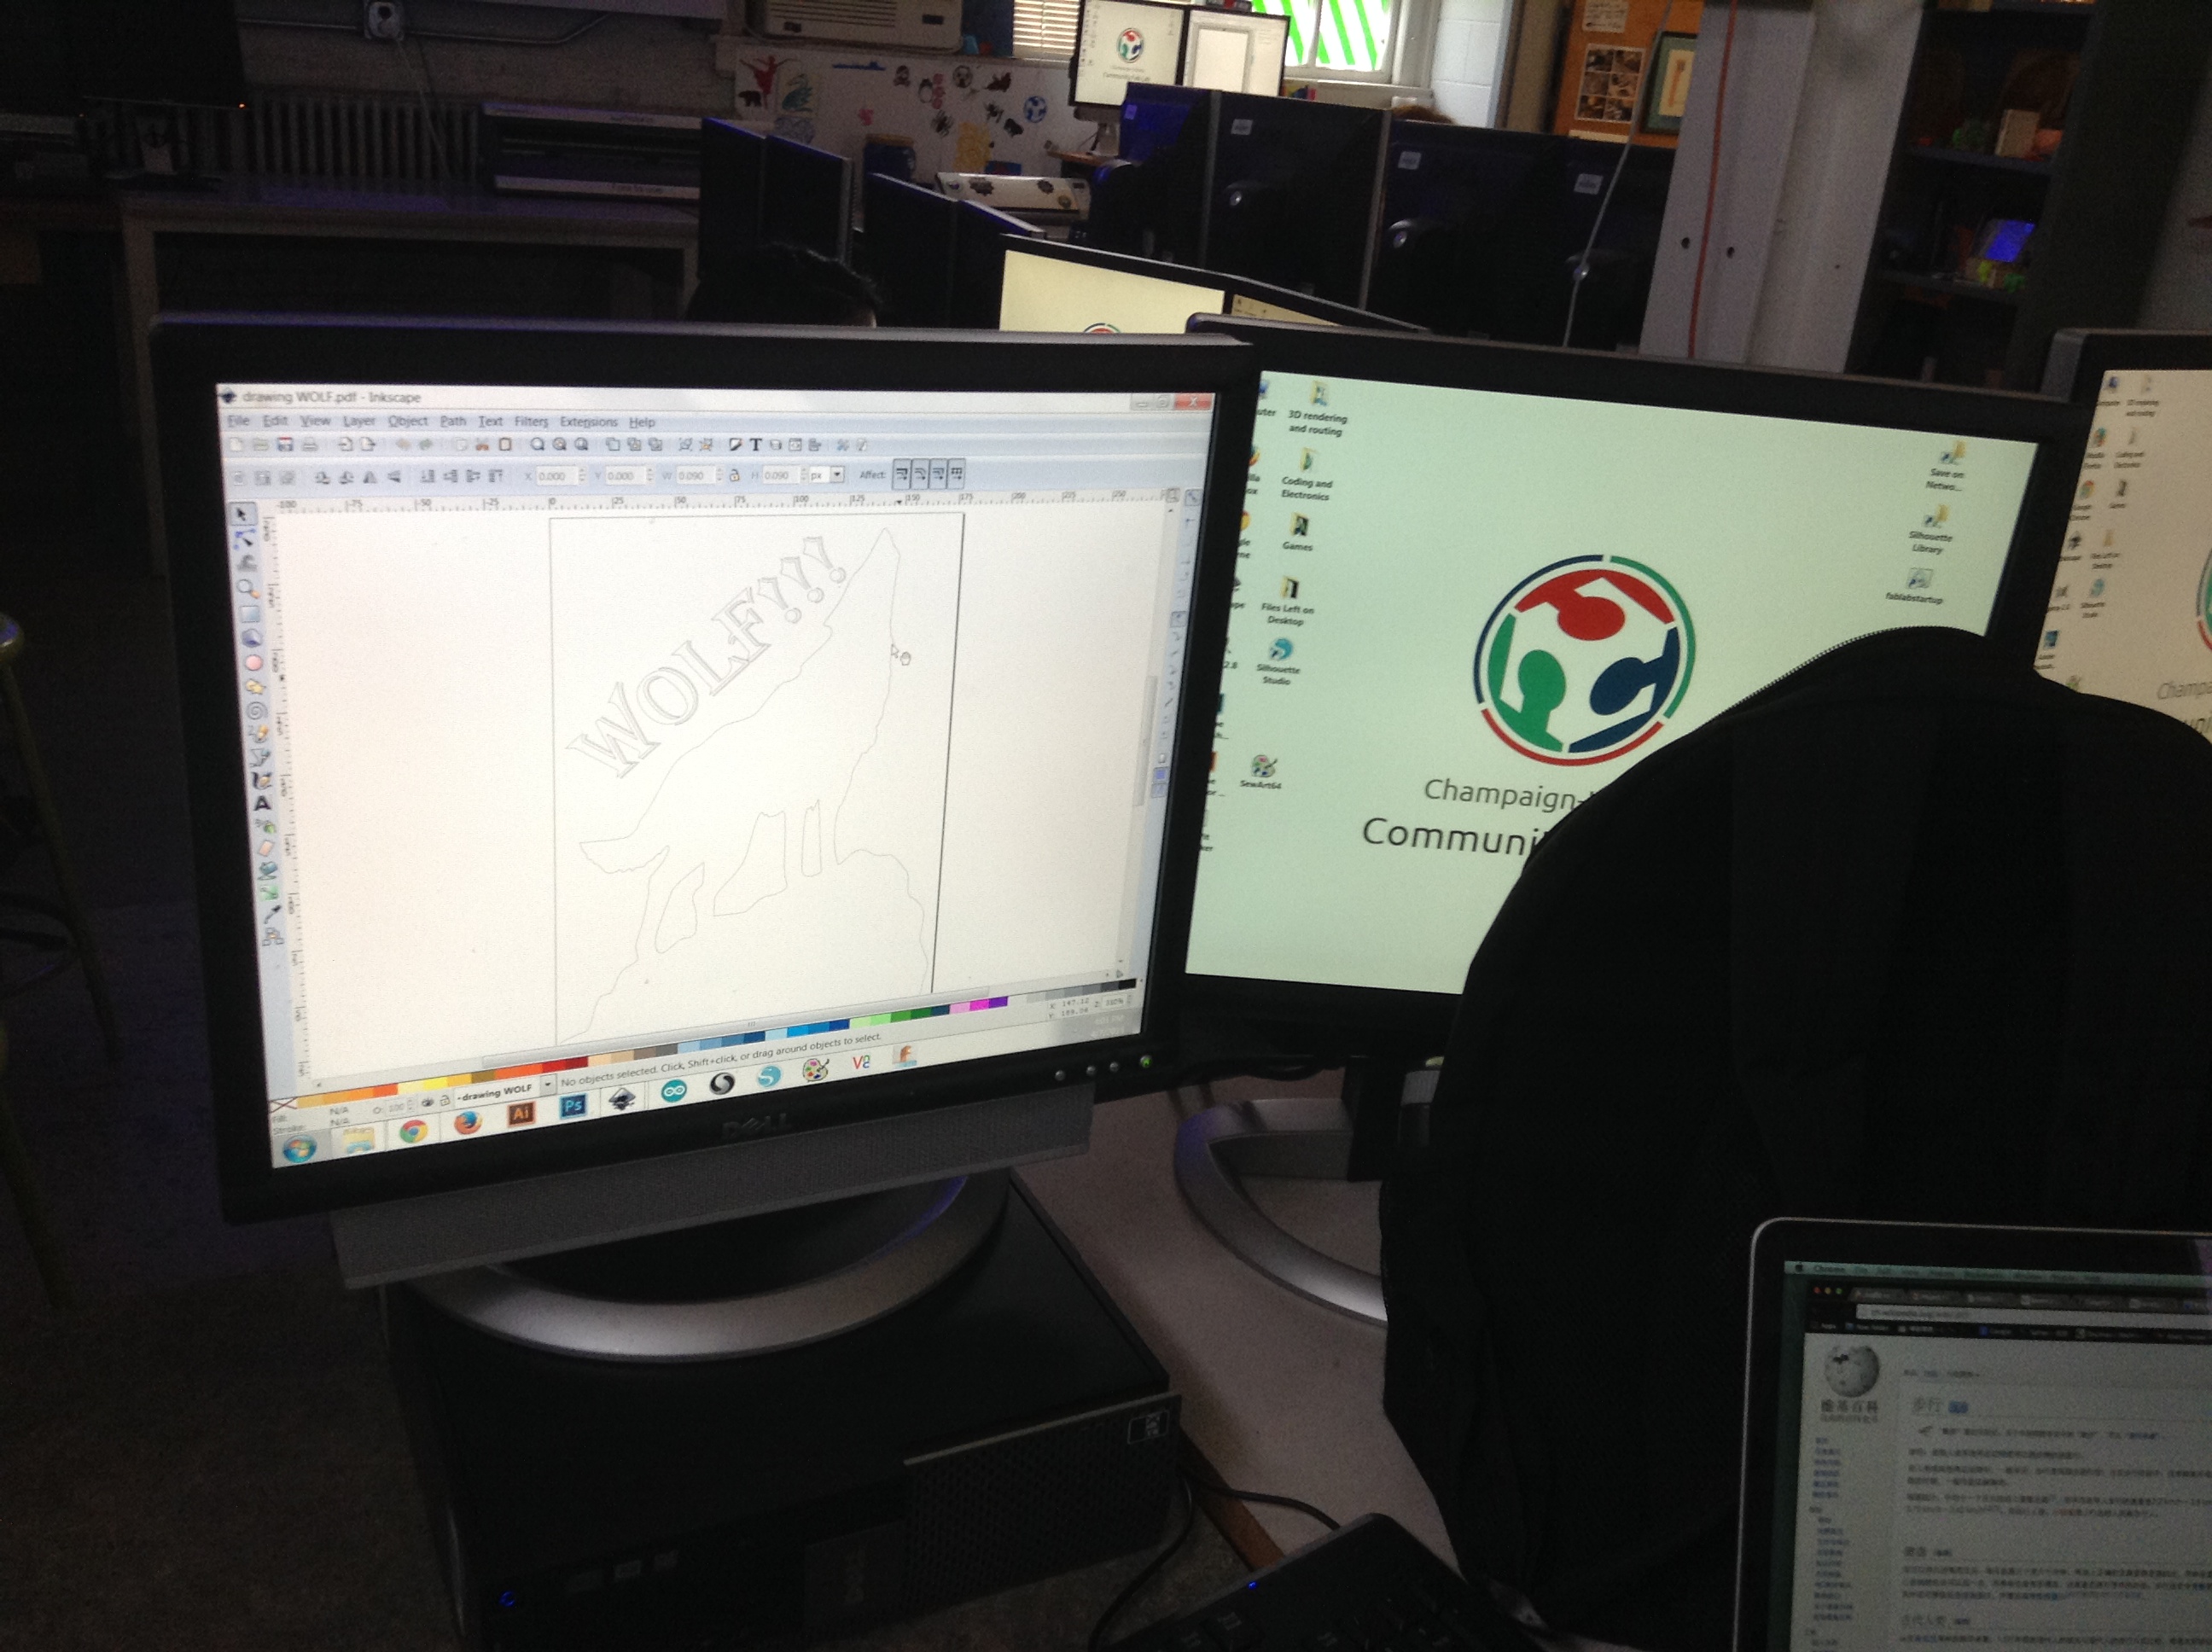
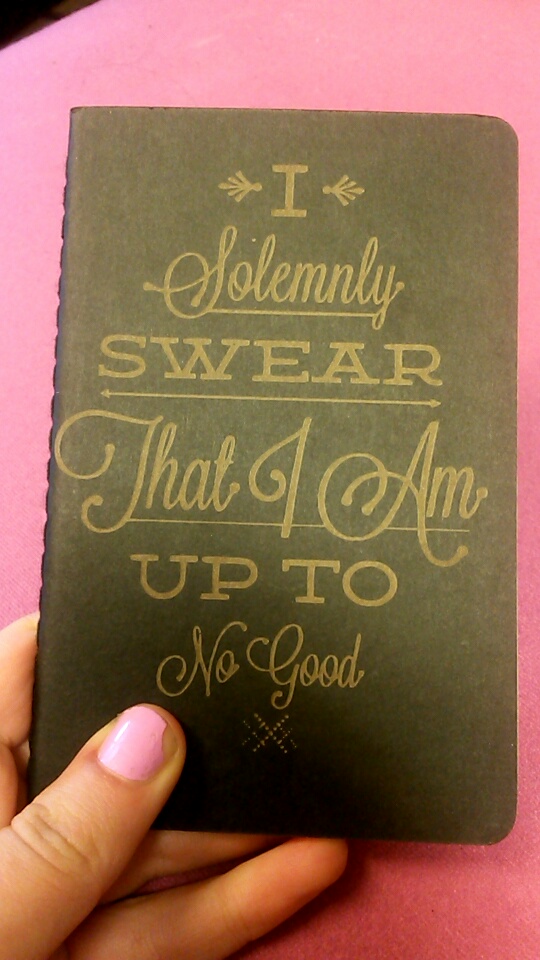
IMG_1273

Laser Cutting

This workshop is exactly as it sounds, you use lasers to cut various materials that you desire. It is much less dangerous than it sounds, so it is vary easy for beginners to get started crafting their own designs.

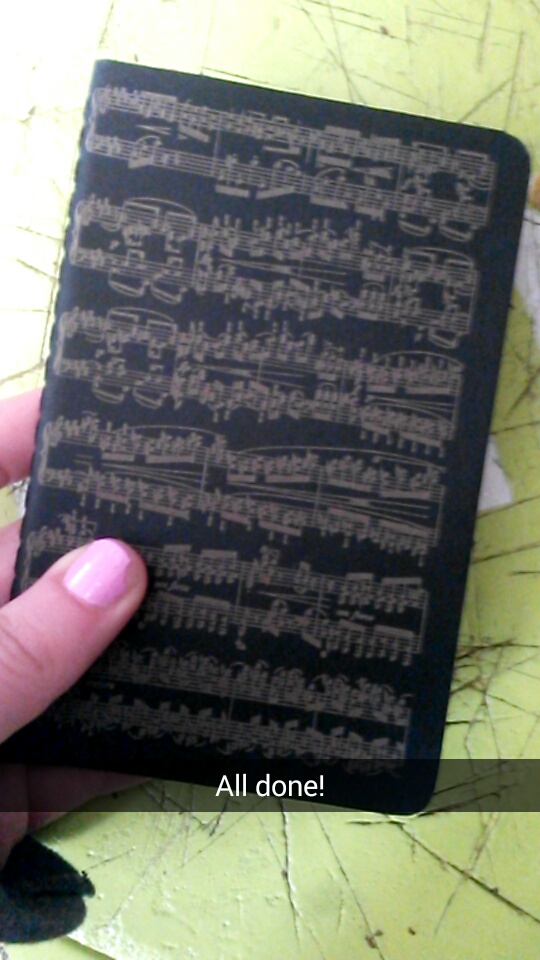
Laser Cutting Tutorial

Abby Cross made an incredible journal cover with her time in the lab.

Snapchat-2074414919149340740Snapchat-7795614530539748959

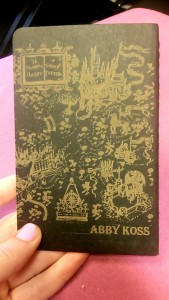
“After seeing how quick and easy it was to create a polished product, I want to look further into the possibility of starting my own Etsy shop for laser engraving journals, phone cases, etc. As we learned with 3D printing, people love the ability of customization, so my shop would provide customers with that option.”


We all have very much to look forward to in the upcoming weeks, and we are excited to get more experience with the FabLab as the course continues!

Arduino Fun

When I first signed up for this class I thought it would focus only on 3D printing, but this past week we visited the Fab Lab in Urbana where my group got to work on tinkering with Arduinos. We were introduced to the Fab Lab staff; most of them were previous students and then Virginia and Colten led us through some basic code and set up for the first half hour of class.

The first thing we did was set up the board to make an LED light blink. I’ve never worked with anything electrical before so it was a really awesome experience to see that type of process and the code that makes it happen. We were given a breadboard, a light, an Arduino Uno board, and some wires. All that was needed was to plug in the wires to their respective ports and the LED light into the breadboard. Next, we added a light sensor where you could changes its sensitivity. The lower the sensitivity reading was the less likely it was to blink. In order to make it blink you would have to cover the light sensor with your palm, given that the sensitivity was low. After the light sensor, we began to work on putting a speaker into the board. It just needed to be plugged in correctly and it would start to beep. We were also able to change the sound level and tone.

IMG_1253    IMG_1256     IMG_1257

With about an hour and a half left of class, we continued to play around with Arduino and Virginia showed a few of us how to solder wires onto a magnet. The soldering station is pictured below:

IMG_1258

I learned a lot while at the Fab Lab and I’m really looking forward to what’s in store next week!

A Dab of the Fab Lab

I was at Denison University (a small school outside Columbus, OH) this past weekend visiting a friend, when I noticed that he had a 3D Printed version of the European Cup (for soccer). A small conversation about 3D Printing ensued and I came to learn that his school, home to over two thousand students had a just one 3D Printer, a MakerBot Replicator 2. The software resources weren’t fab either. The weekend made me realize how lucky I was to have attended Illinois for the past three and a half years, but it also made me regret not having been able to make use of some of the really awesome resources, like the fab lab.

I spend a good twenty hours a week working at the ACES Library, not even a block away from the lab. I even park right outside the entrance to the fab lab, always thinking of the somewhat old exterior as something that probably housed a pesticide laboratory.

Alas, it is one of the coolest buildings on campus! I did not have the opportunity to explore every nook and corner of the space in our one session there, but I am really excited for the next two sessions. The group that I was part of was learning about laser cutting, a tool/process that can be used in a wide variety of fields, from notebook engravings (which we did) to milling pieces of wood or metal right down to the wire. A friend of mine in India decided to go the entrepreneurial route after college and now sells notebooks and other easily customizable objects with her artwork printed on it and I have since had a conversation with her discussing new possibilities for her business if she were to incorporate laser cutting (which she now certainly plans on doing).

I only got a glimpse of what Lin (from our class) was doing last week in the digital fabrication area of the lab but it was enough to get me, and keep me, excited till the next class, where I have some cool ideas for what to ‘print’ out.


Week 10 – Stitching @ the FabLab

IMG_0263

3D Printing except with textiles! Also I guess it’s technically 2D printing. Anyways, that’s what I worked with at my premier FabLab experience last week. A few of us had already messed around with Arduinos so we were moved to the sewing machine stations. We were explained that the machines were purchased late last year after they saw how they could be powerful making tools that could enable just about anyone no matter what sewing aptitude. Here are some of my biggest takeaways/observations:

  • The sewing machine was operated like a 3D/standard ink printer in that it put design onto the canvas based of off coordinates
  • The process is accurate, but not 100% accurate
    • volunteers showed examples of hand stitched embroidery by professionals which showed how the machine could only be so detailed
  • The process was fast!
  • Colors add a painless complexity to the process (takes more time, have to switch out string)
  • Possibilities are endless
    • In terms of patches, this empowers students to make whatever they want. For instance, I have the idea to make a team USA soccer patch. Besides ordering one online, I would have never believed I could make one for myself for $5
  • Could make for a great present!
    • The cost to make a patch is a couple of bucks. I’ve already brainstormed possible gift ideas (mostly sports patches for my younger brother’s backpack)

Fab times in the Fab Lab! (Part 1/3)

Upon walking inside the Fab Lab, you would never guess that you were walking into the third oldest building on campus. The space houses laser engravers, 3d printers, electronic cutters, an electronics room, a milling room, embroidery machines, and more. The possibilities for creation are endless.

Our class split up into groups, each utilizing different tools in the space; my group started out with the laser engravers. We were directed by Jeff Ginger, who was super friendly and approachable.

This was the first time I had ever seen a laser engraver, and it was absolutely fascinating. However, before we got to touch the laser engraver, we worked on the computers to find images that we wanted laser engraved on small Moleskine journals. Nerdy me took a screenshot of the sheet music to Chopin’s Tristesse to put on my journal. We took these images and put them imported them in Inkscape to put them in the correct format for printing.

Although the sheet music was a bit off-center, I am still really pleased with how my journal came out! Unfortunately, I love it so much that there is too much pressure to write in it now.

Snapchat-5452097545415386924

(I enthusiastically made this my Snap Story seconds after its completion)

After completing my first journal, I got a little too excited and stayed after class to make a second one that was two-sided this time. I made this as a gift for my best friend’s little sister’s birthday who is a huge Harry Potter fan.


Snapchat-2074414919149340740 Snapchat-7795614530539748959


After seeing how quick and easy it was to create a polished product, I want to look further into the possibility of starting my own Etsy shop for laser engraving journals, phone cases, etc. As we learned with 3D printing, people love the ability of customization, so my shop would provide customers with that option.

Digital Making Log 10

I never really thought of sewing as something that was ever really “for me.” It always seemed so imprecise, you just had to push along and hope your end product had some level of symmetry. Mine never did..

I went to Fablab in Urbana with my Digital Making class last Tuesday, and while there, I changed my mind on sewing. It’s our first in a 3 part lab session in the building. While there, I was sent to the far back room with laptops and automated sewing machines strewn across a few tables.

I immediately sat down, found a shape (a deer), added some colors and sewing patterns and bam, I had the equivalent of an stl for sewing. All I had to do was thread the string, load the file, and make sure nothing bad happened. All and all, I’d say it turned out pretty well.

WP_20150405_001Next step is to learn how to use circuits, which in the context of this, could lead to some glowing eyes for my dear.

Also, if anyone is interested, I’ve found a way to let people view my spaceship in a 3D way. Check it out below:

Arduino @ FabLab!

Arduino?? No, that’s not a dog’s name. It is a toy. A toy not for small kids, but for big kids. Like we are! 🙂

Arduino is a tiny computer, which does what you tell him. You can use your computer to write some code that is later transferred to the Arduino via USB. The Arduino then runs your program. If you have ever written any kind of code, you won’t get into any trouble. If you have not, you will also be able to program your Arduino! The language is easy to understand and the coding application comes with lots of examples.

We started by writing code that blinks an LED. Yes, that alone is not very useful in “real life”, however, you could combine it with some other code … or some other Arduino parts! We added a light sensor and of course some code to the Arduino. We told the Arduino to turn on the LED when there was less daylight and turn it off again when we had more daylight again.

Arduino and a Light Sensor

For me, the Arduino seems to be a powerful and useful device! I’m a fan (and user) of home automation devices like the Nest Thermostat. Maybe the Arduino will be the next nerdy device at my home 🙂

Here’s another inspiration what you could do with an Arduino! Found at http://www.engadget.com/2015/04/04/moon-phases/ 


Fab-Lab-Fabulous

The FabLab is so stinkin’ cool.

I had no idea what a vector was or why in the world it was relevant to anything cool I could be doing. I tried to use a laser cutter before, but I struggled so hard, had no idea what I was doing, and it completely turned me off trying to learn the software. Jeff walked us through the easiest program possible, InkScape, made sense of all the ridiculous vectors, and showed us how do to some really cool stuff in a way that made so much sense.

I suddenly understood why each step was required, which is integral in how I learn. If I don’t get why I’m doing something, Nothing sticks. I created a super cool little notebook, enjoyed making that one so much, I made another one! After all of that, I was inspired to just up and open an Etsy account selling barnyard themed journals. IMG_4037


I also was super stoked about learning how to make a sticker. It’s proudly sitting on the back of my laptop as I type. I loved the experience because it made doing all of this cool stuff so so simple. It showed me all of the potential of things I could create in a way that got me excited to do it. I’m pumped to see what we do this week. I’m really interested in the Minecraft stuff they do there and I really would love to work with Jeff over the course of the summer to learn and teach it!

Arduino 101

Last week was my first experience in the CU FabLab, a community run maker-space at the UofI campus. Let me tell you, I wish I had found this resource years earlier. The entire environment was set up to foster creativity. If I had explored this area earlier in my college career, I would have hopefully been able to create some impressive works by this time. But, as a latecomer, I hope to use this resource to its fullest.

Programming for Beginners

I have a little experience with programming; my family are all engineers and so I have been exposed to it for a large portion of my life. However, I have never experienced an environment with such instant gratification as programming with and for arduinos. These little computers’ sensors can be manipulated and read to perform simple tasks. I was able to code the beginning functions such as blink and learn how breadboards work. However, I was most proud of the program I created.

I was able to code a proximity sensor to read how far away an object was. Then, I made a small LED light blink quicker if the object was closer. It was a small little back up light detector for making sure you don’t hit any other cars!

I know it isn’t practical, but it still felt like I accomplished something.