Learning the Ropes of Making

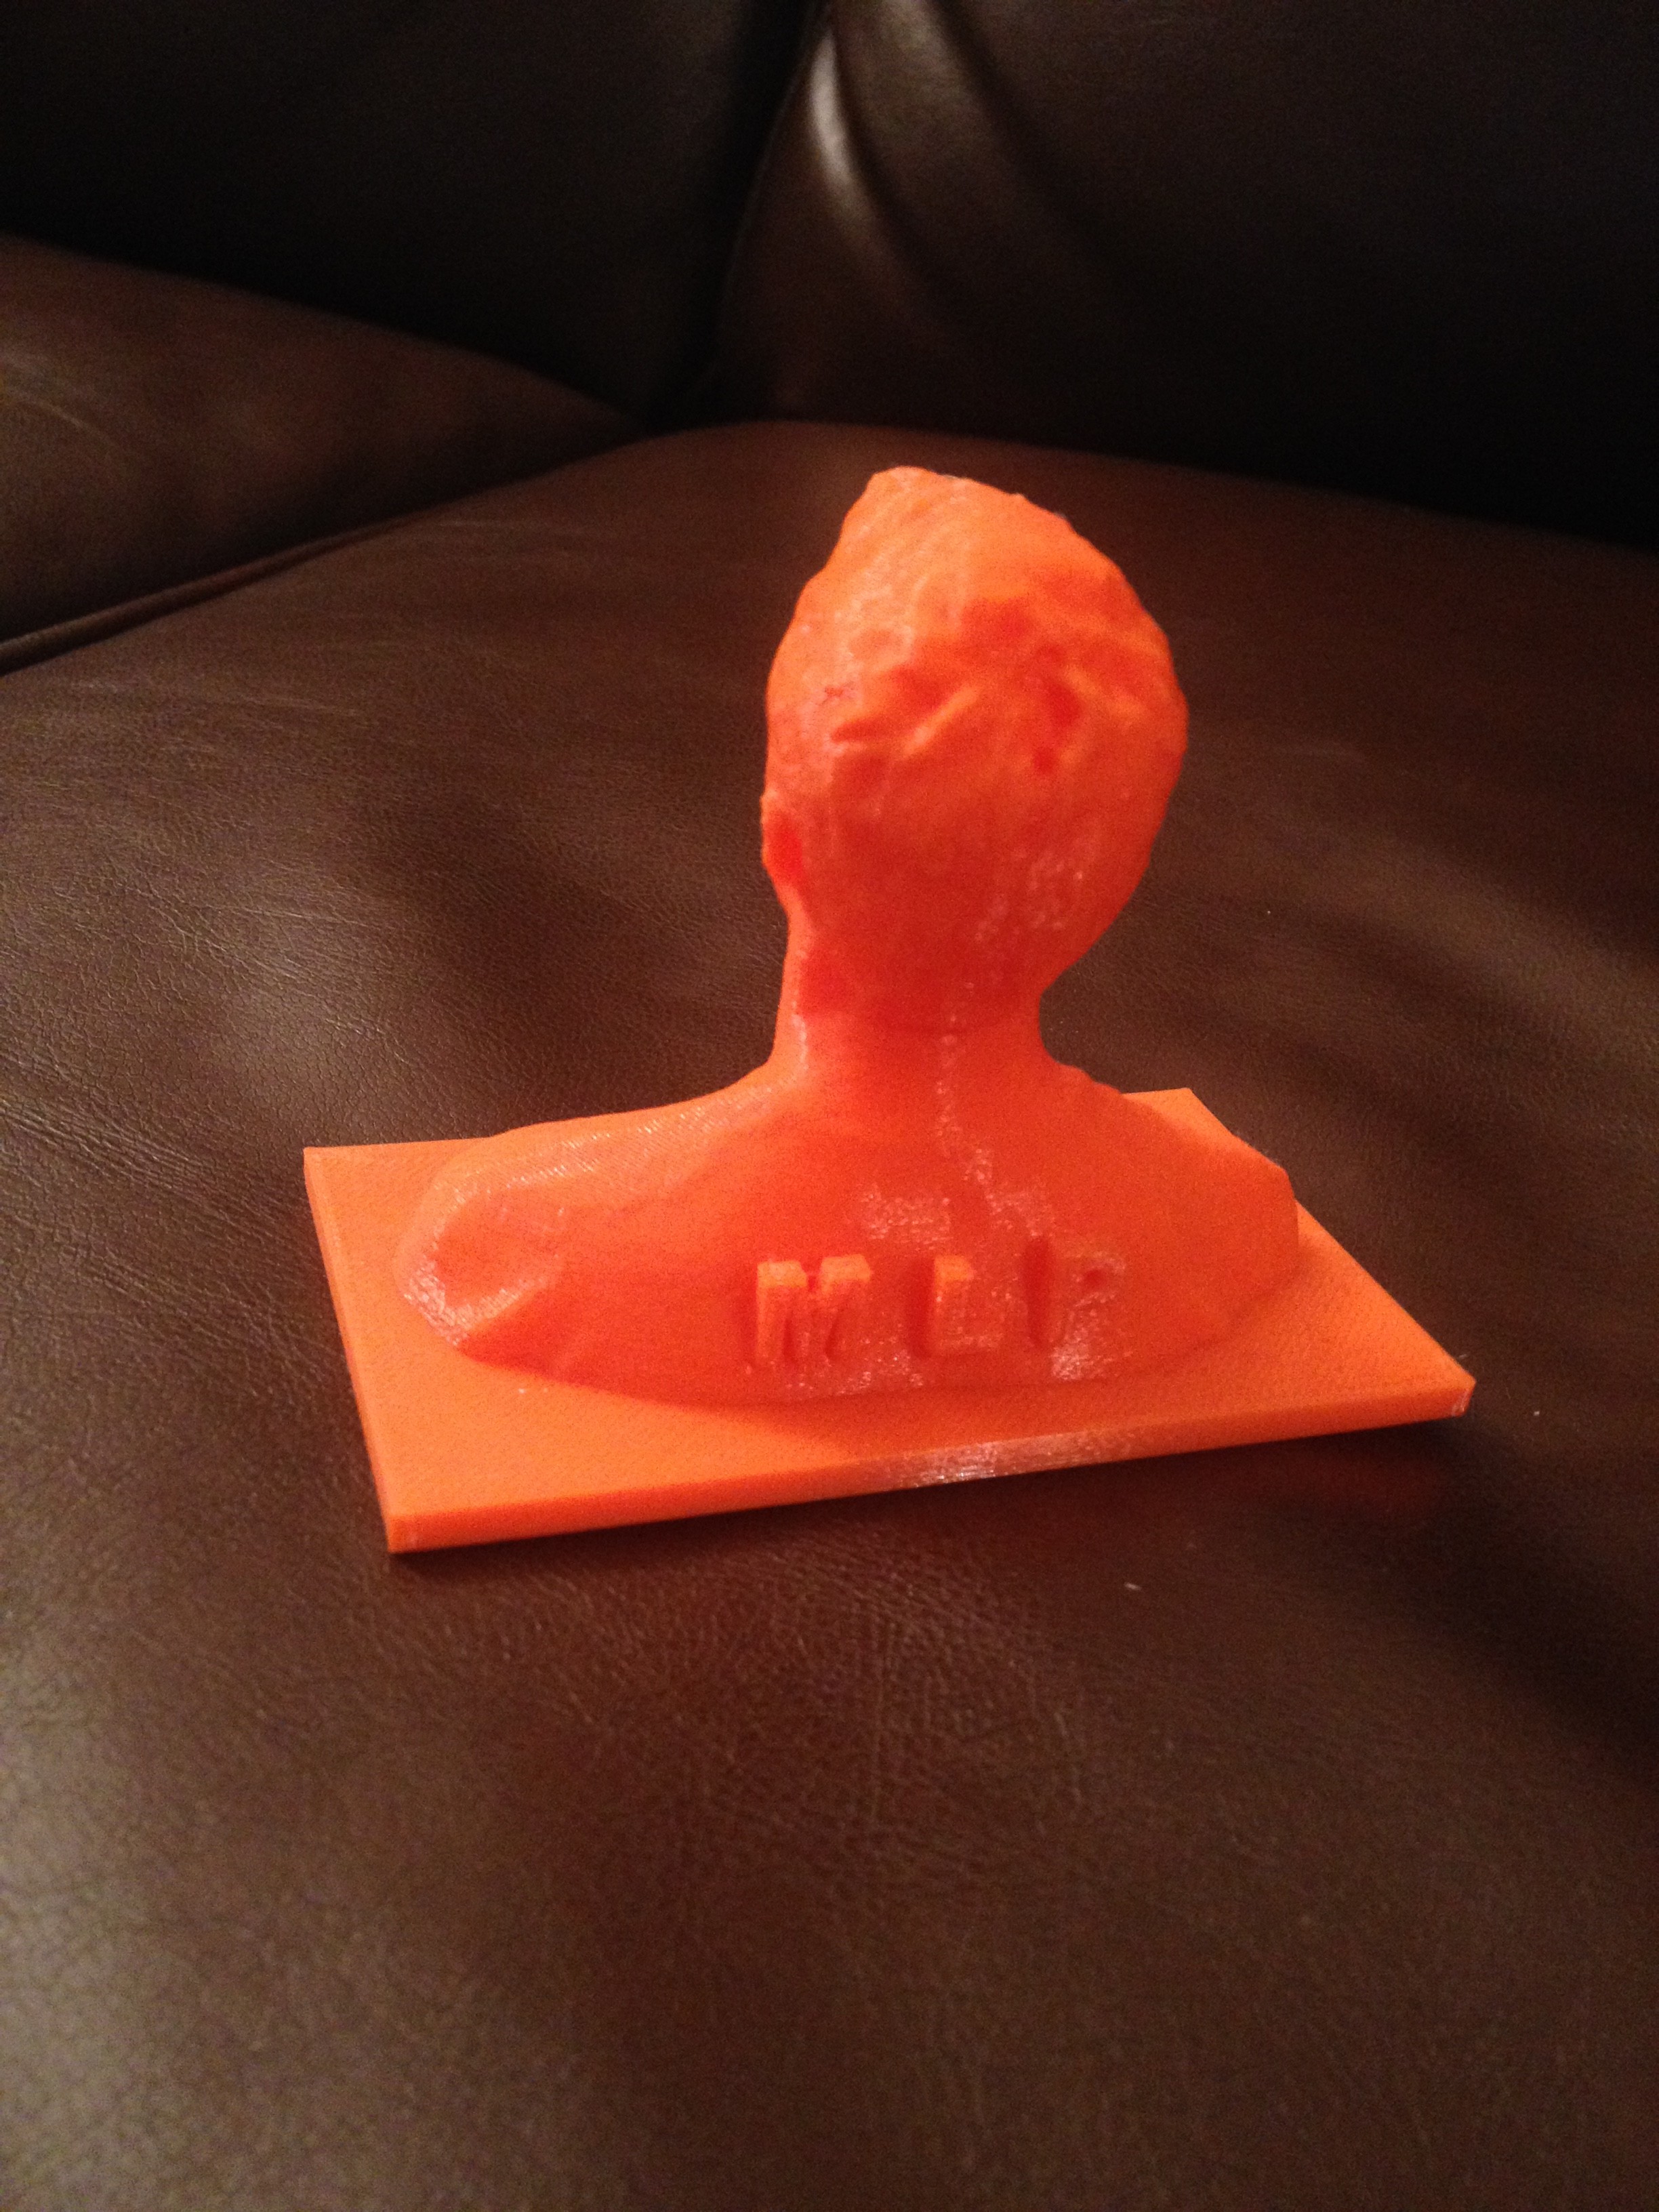
Digital Making has been a true experience for me.  Entering the class I had no idea what 3D printers were capable of doing and how the entire process worked.  What I also did not know was that Digital Making involved so much more then 3D printers, including, digital embroidery, laser etching, sewing, metal fabrication, arduinos, and 3D modeling.  My learning curve was established when in the first couple weeks of class we had a skype call with a Professor from Indiana University and she told us that grade school kids were learning by “making things”.  I was shocked to hear that young kids were learning tangible skills like sewing, 3D printing, crafting, etc.  My learning curve was established.  Starting off, I gained an understanding of 3D modeling and scanning, printed off my first 3D object and thought I had a solid base of knowledge.  What I did not understand was what separated my prints from all the others? Anyone can go on and download the print file and print the same exact thing.  From here on out, about week 3 or 4 of Digital Making, I decided I needed to add creativity and a special touch to my makings.  My first special design touch came while modeling and printing my upper body and head.  I made a major leap of faith and added my initials on my back! Wow what a crazy addition.

IMG_5215

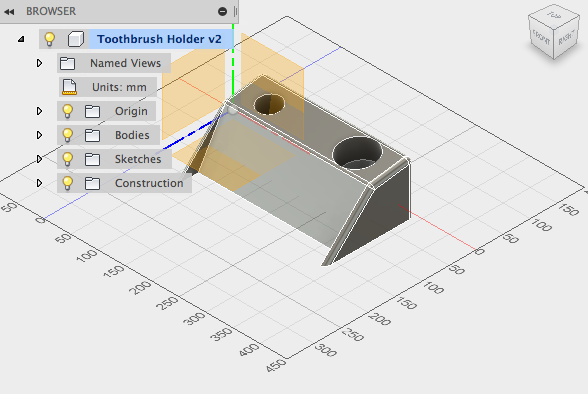
My next test of design came with modeling in Autodesk Fusion 360.  We were challenged to model an object form scratch and incorporate skills used in our Fusion workshop.  I started with a cube and ended with a toothbrush holder.  Again, not super creative at all, but I measured it so it would only fit my specific toothbrush.  Making the holder specific to my toothbrush gave me a good feeling that I had design a perfect product for me and I felt the maker buzz because of that.  See toothbrush holder below:

Screen Shot 2015-05-08 at 6.15.45 PM

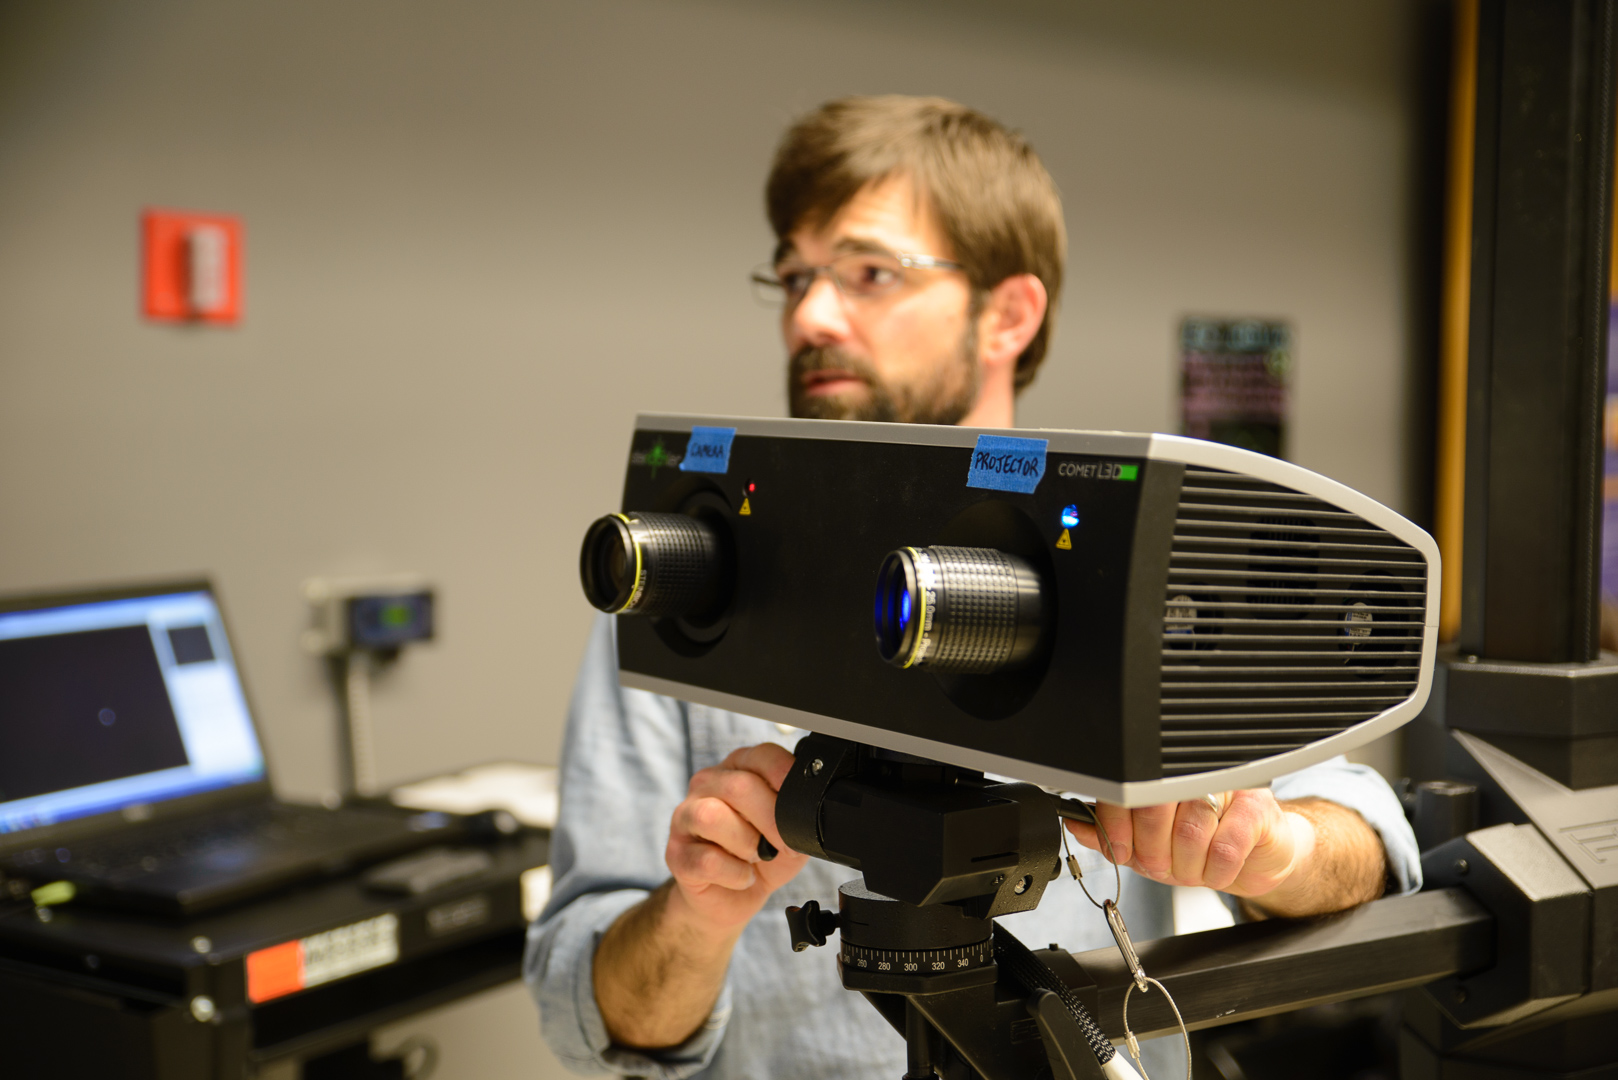
After working with Autodesk for a couple weeks, we visited Beckman’s 3D modeling lab. Looking back  I was not too found of working at Beckman because it was less hand ons then what the rest of the semester had in store.

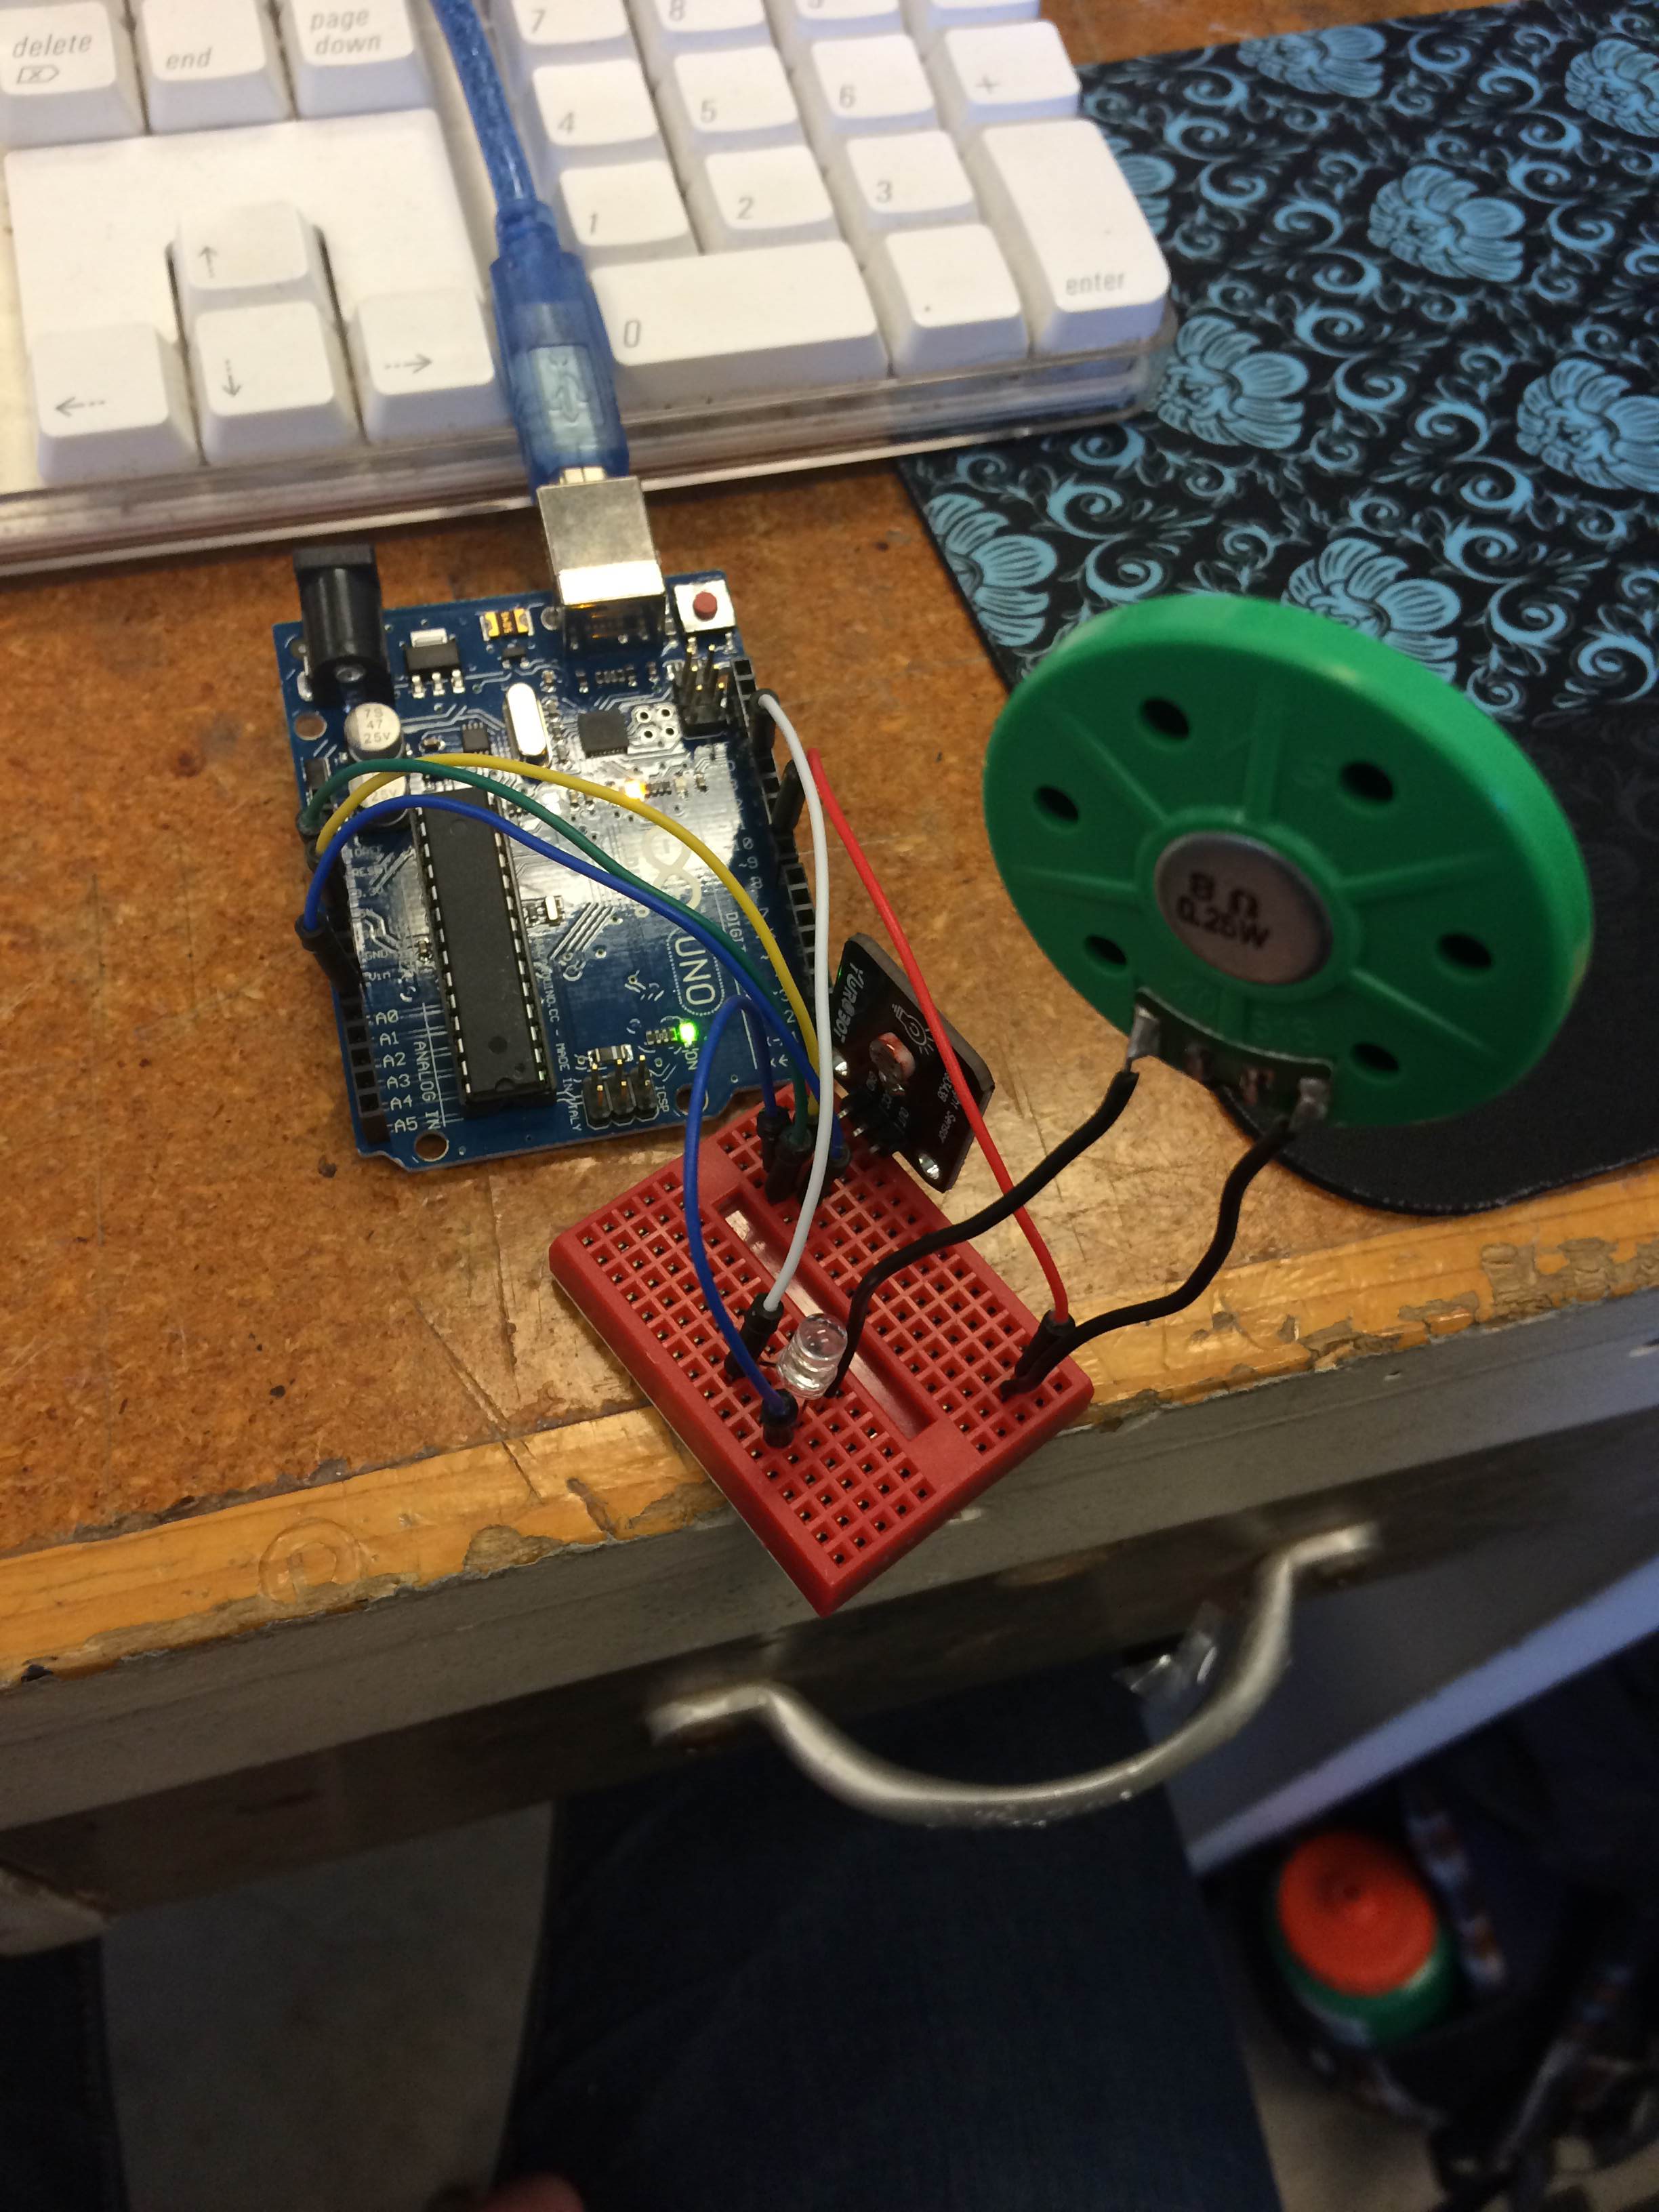
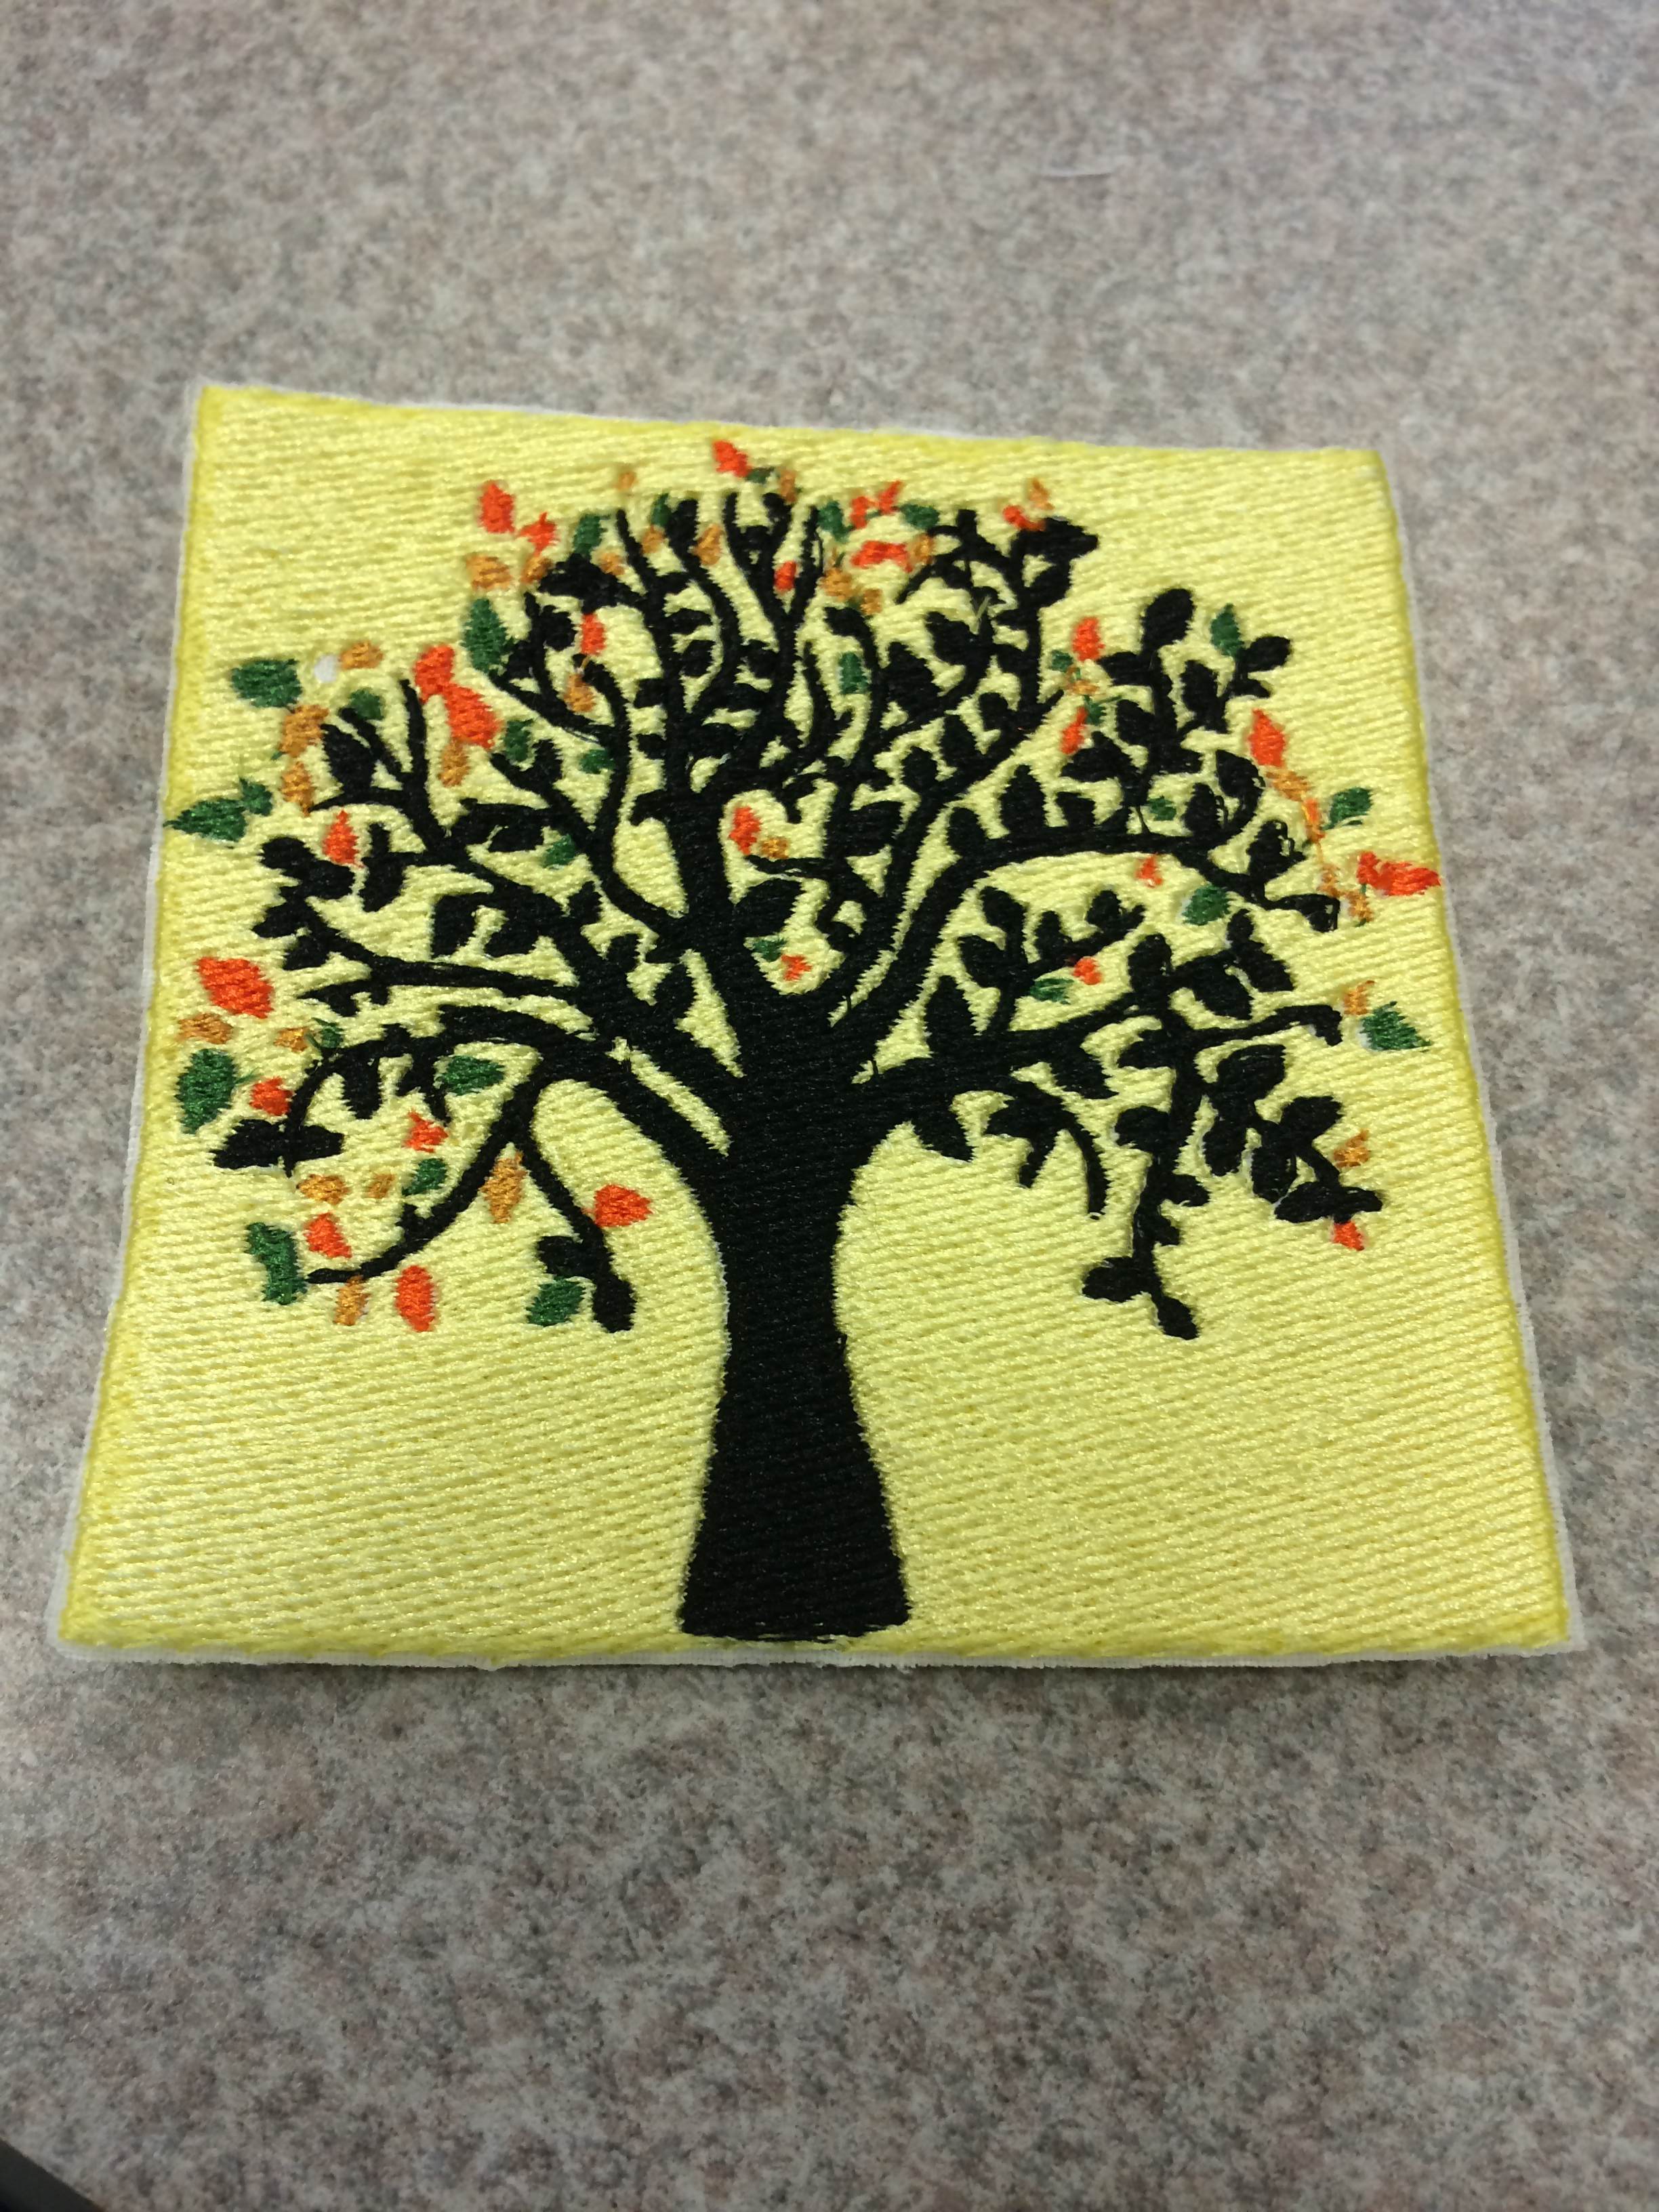
After Beckman we entered into the Champaign-Urbana Fab Lab section of the class.  3 weeks at the Fab Lab allowed us to work on metals, arduinos, digital embroidery, and laser etching.  My experiences at the Fab Lab brought out the true “maker” in me and took my personal design to the next level.  The second week at the Fab Lab, digital embroidery, was were I truely felt like I had created a unique and well designed item.  To start, I chose an image of house off of google, imported it into paint and customized the image to my perfection.  I added a waving person in the window, changed to colors of the house to red, with brown accents, and gave it a brick style of stitching. See image below:

IMG_5216

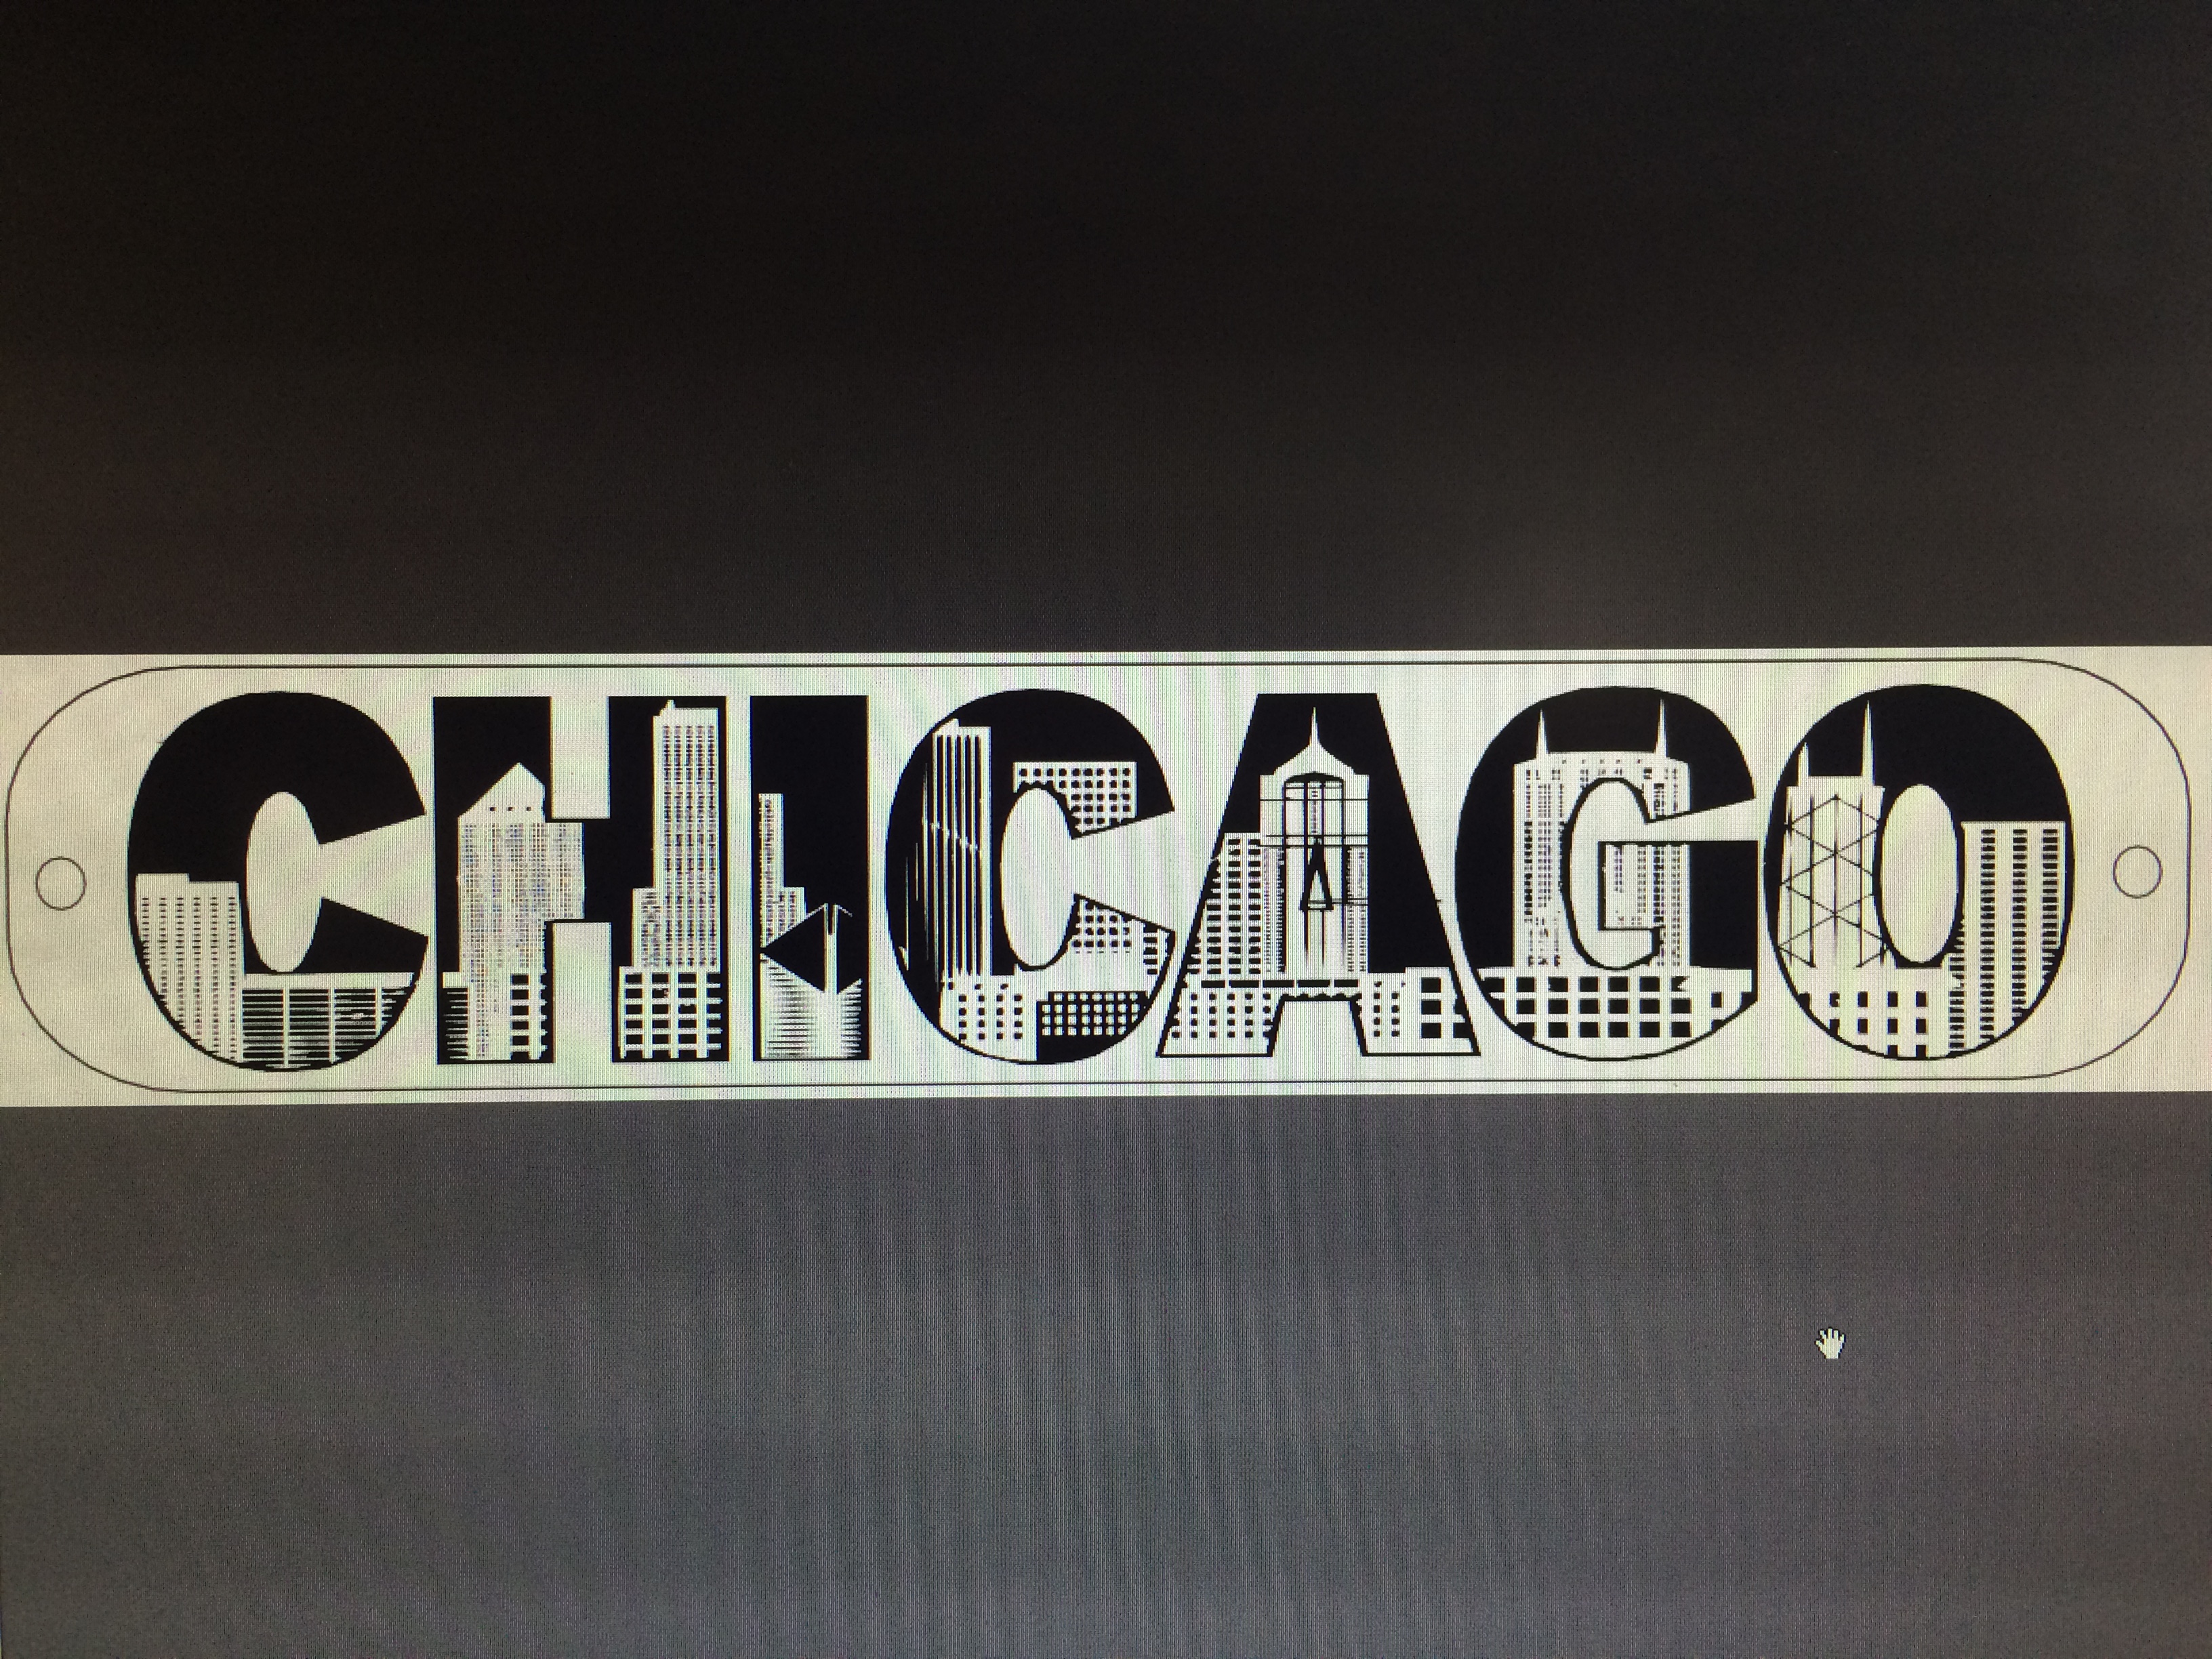
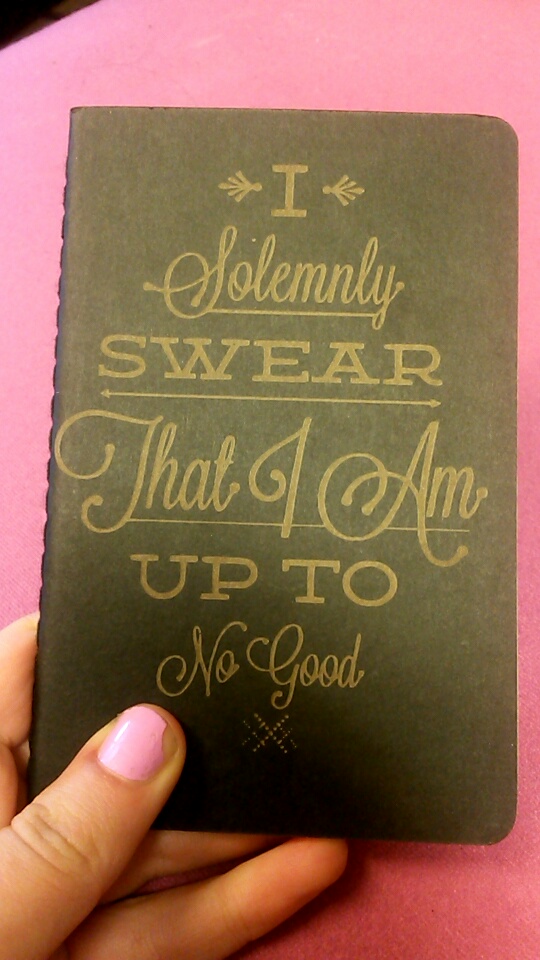
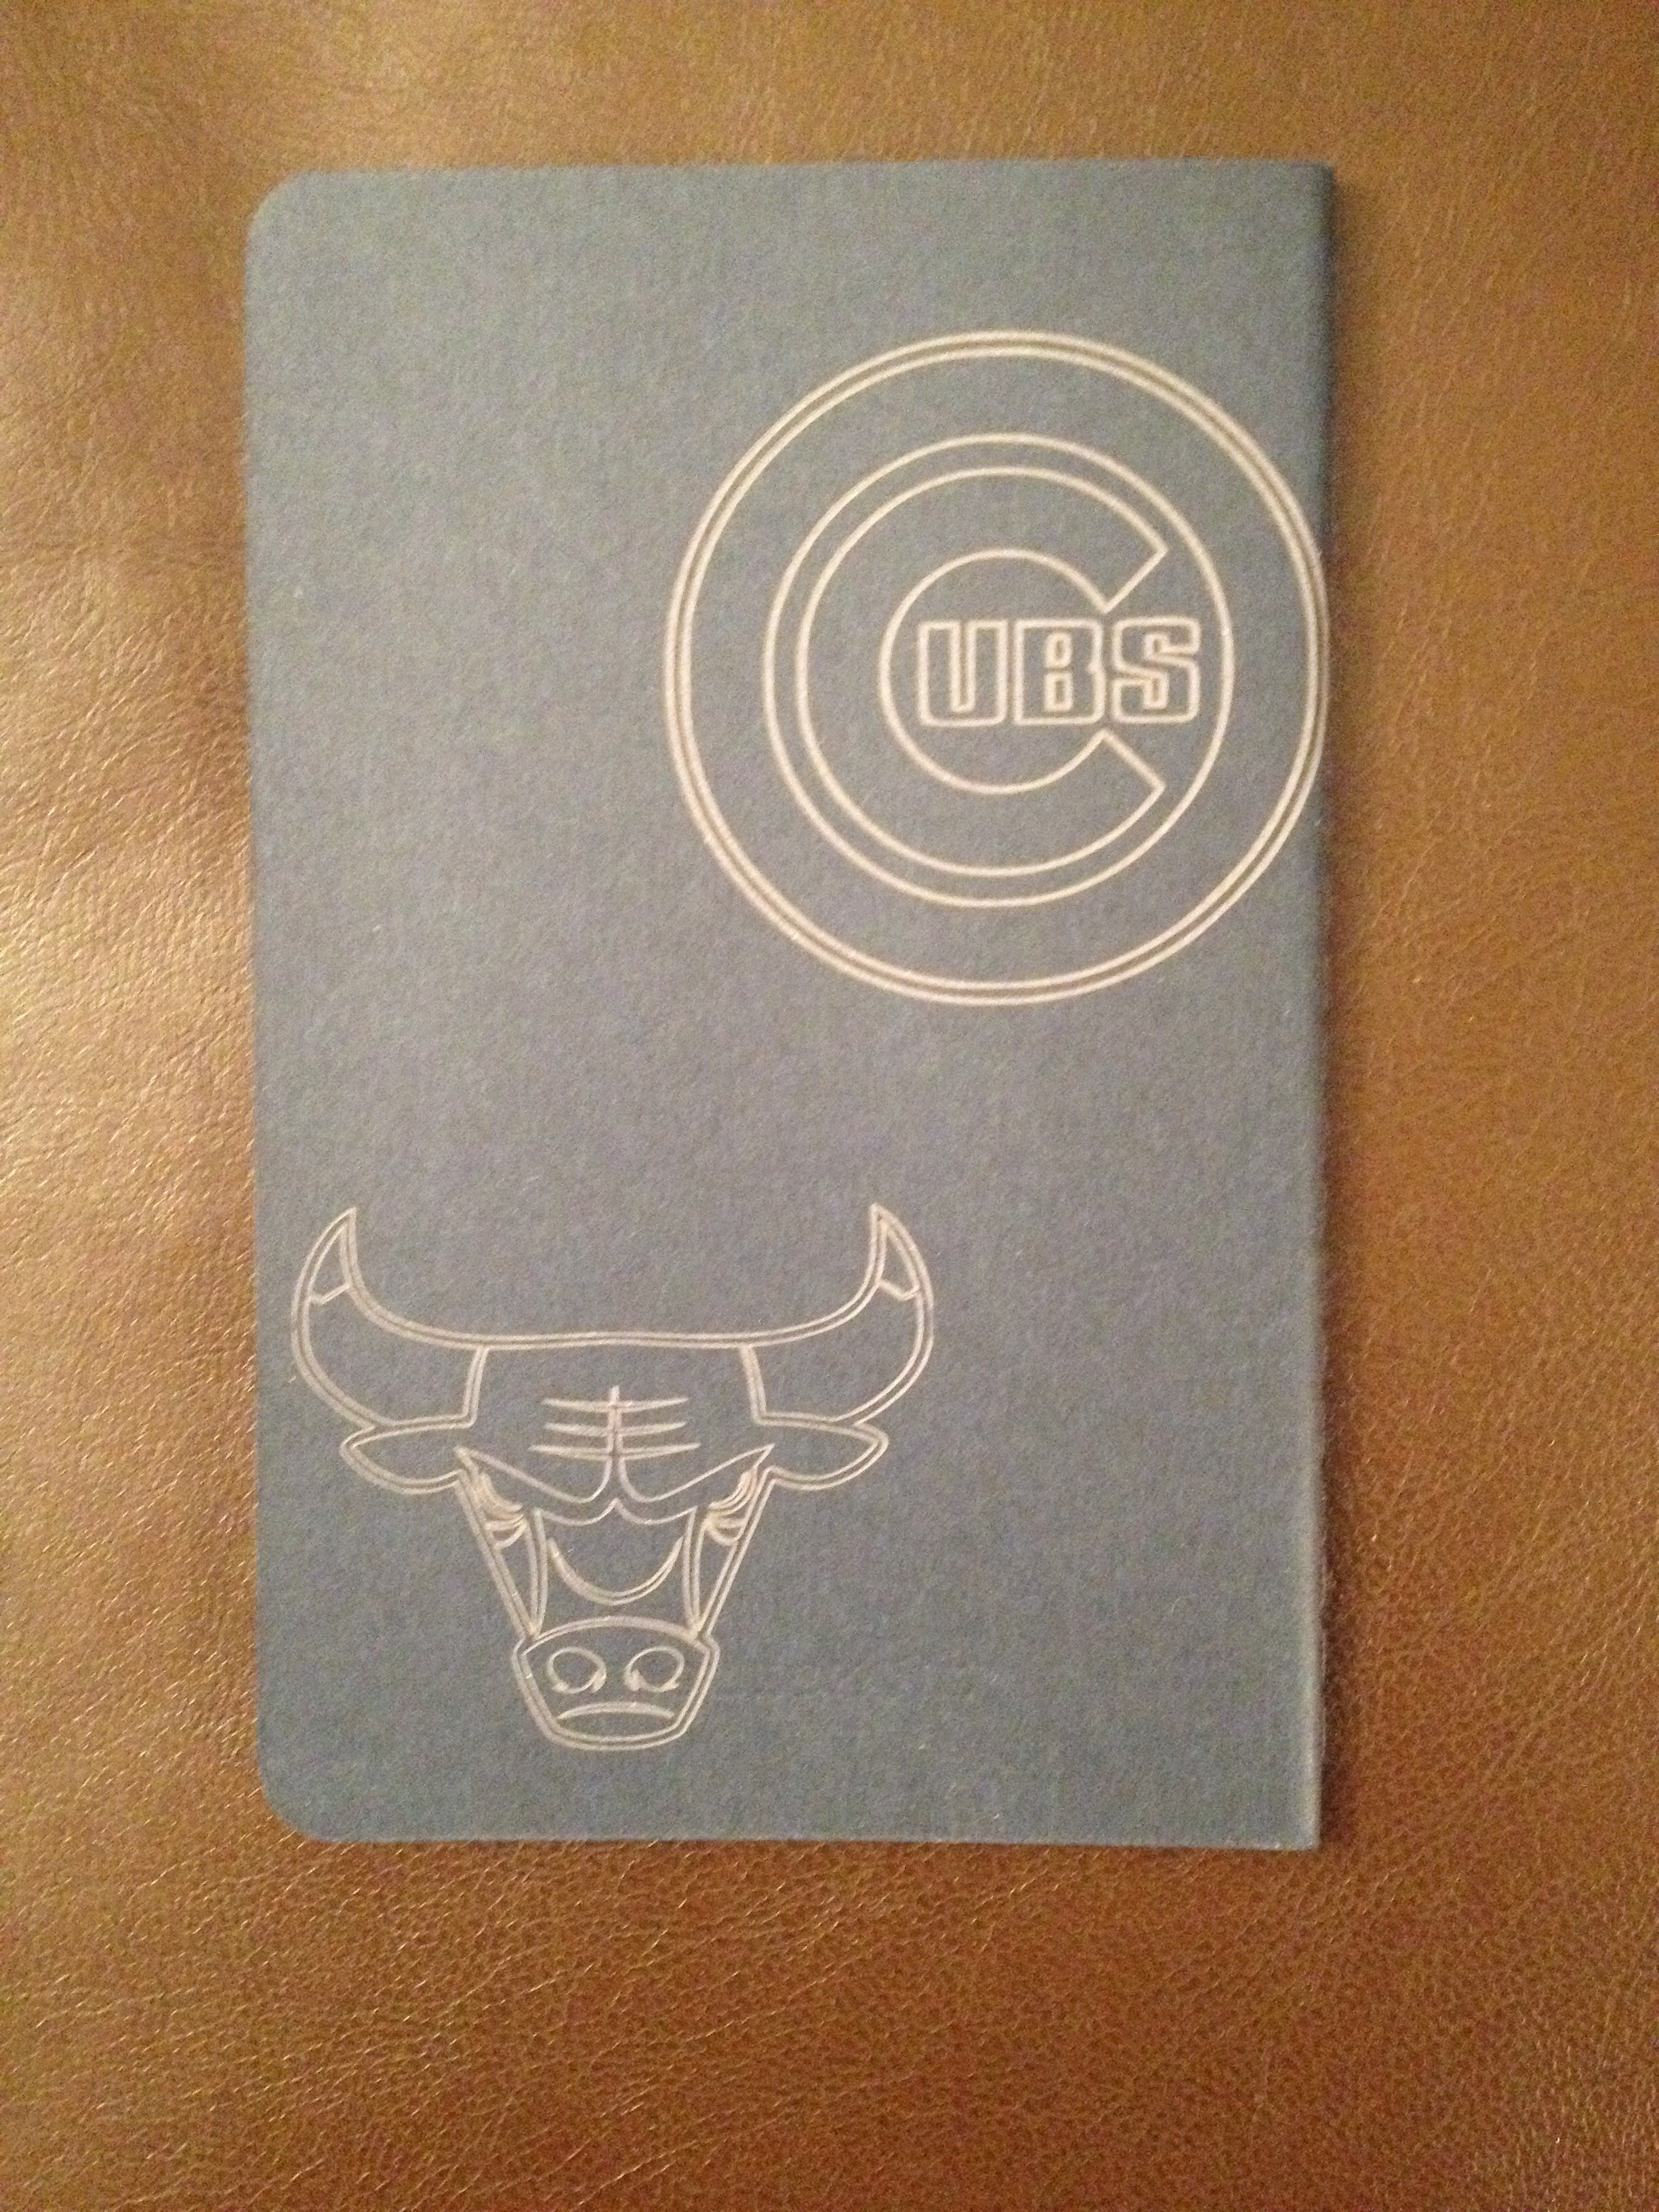
I was pumped to have an item that felt so at home with me and personalized to my choice.  Next came laser etching, another creative experience for me.  I chose to start with a silhouette of the Chicago skyline and began modifying my image in InkScape.  I readjusted the color ratios at least five times until I felt it was perfect, deleted sail boats, and added the sun and a yacht.  I thought the best views of the Chicago skyline I have ever seen are when the sun is shining and tons of boats are out on the water.  Finally, I added a Cubs and Bulls logo to the back, another special touch.  Finishing the laser etch, I felt like a true maker and excited to have been able to be apart of such a cool experience. See the images below:

IMG_5218 IMG_5217

The final segment of the class was turning my 3D head model into a wall hanging and wrapping up my group project.  I decided to turn my 3D head model into a 3D printed wall hanging to have a displayable object from class in my apartment for everyone to see.  Here is a link further explaining the project: 3D Print a Wall Hanging of Your Head

The print turned out great, see the model below:

Screen Shot 2015-04-09 at 5.52.36 PM

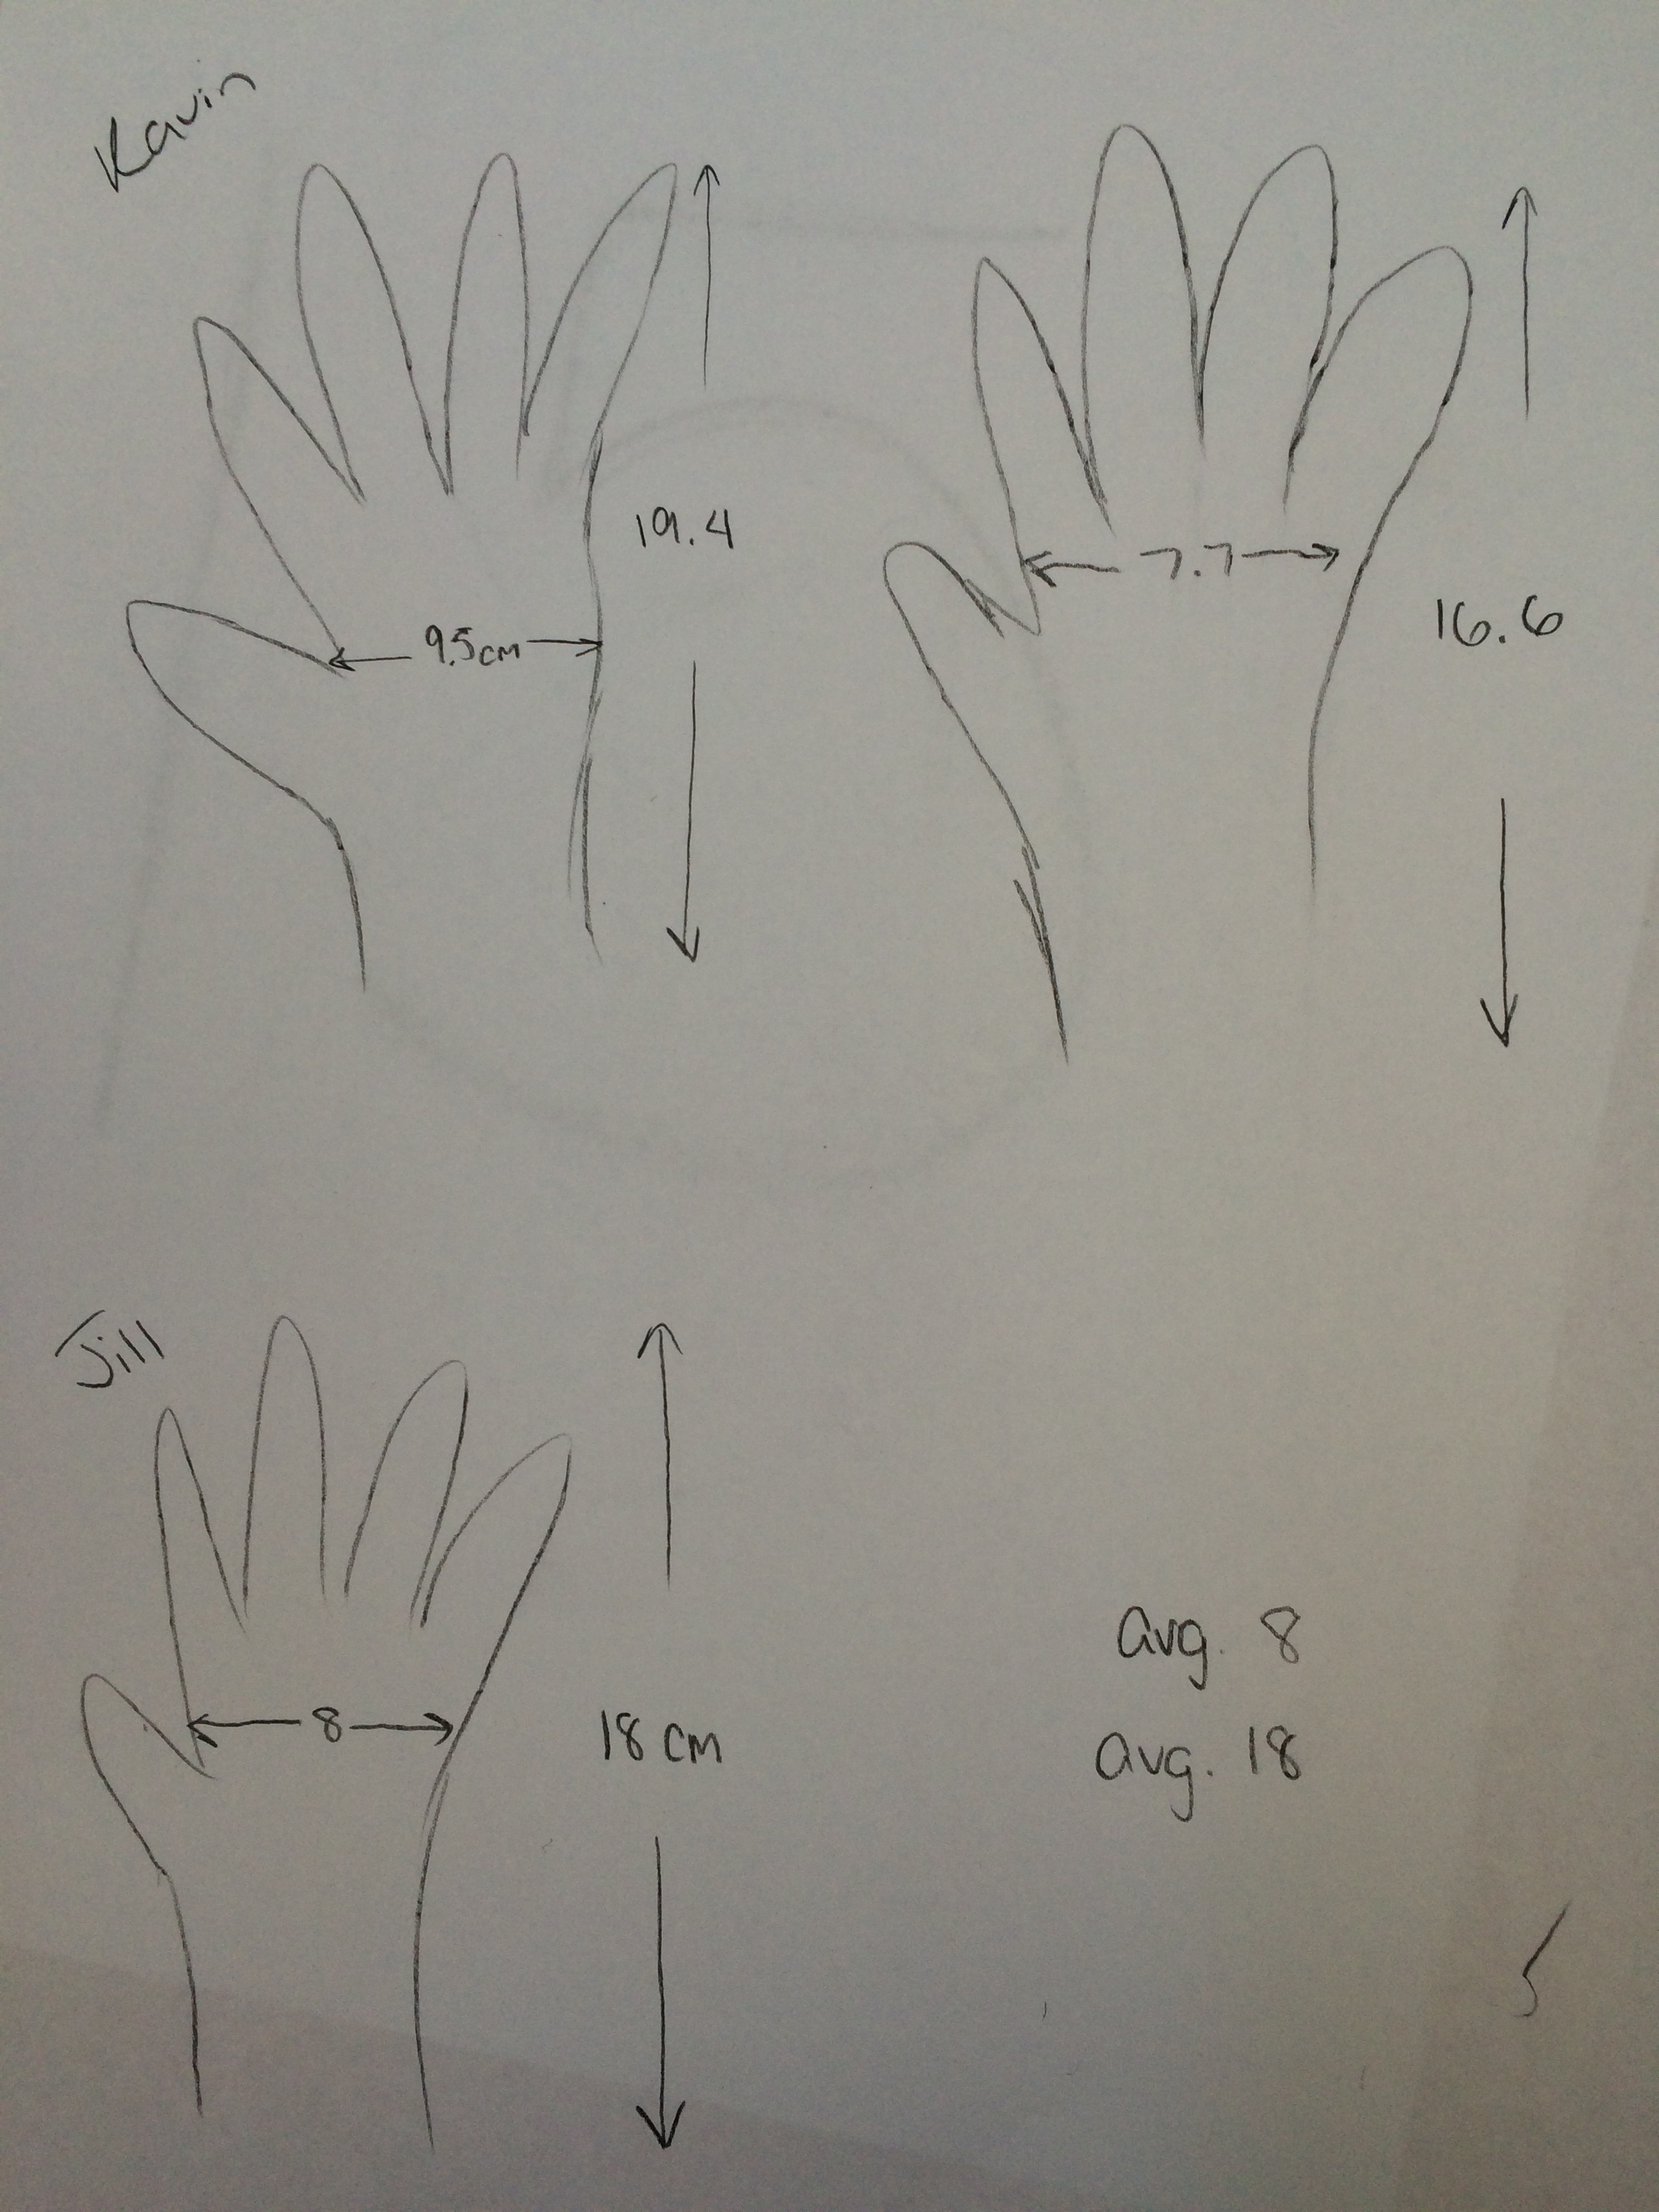
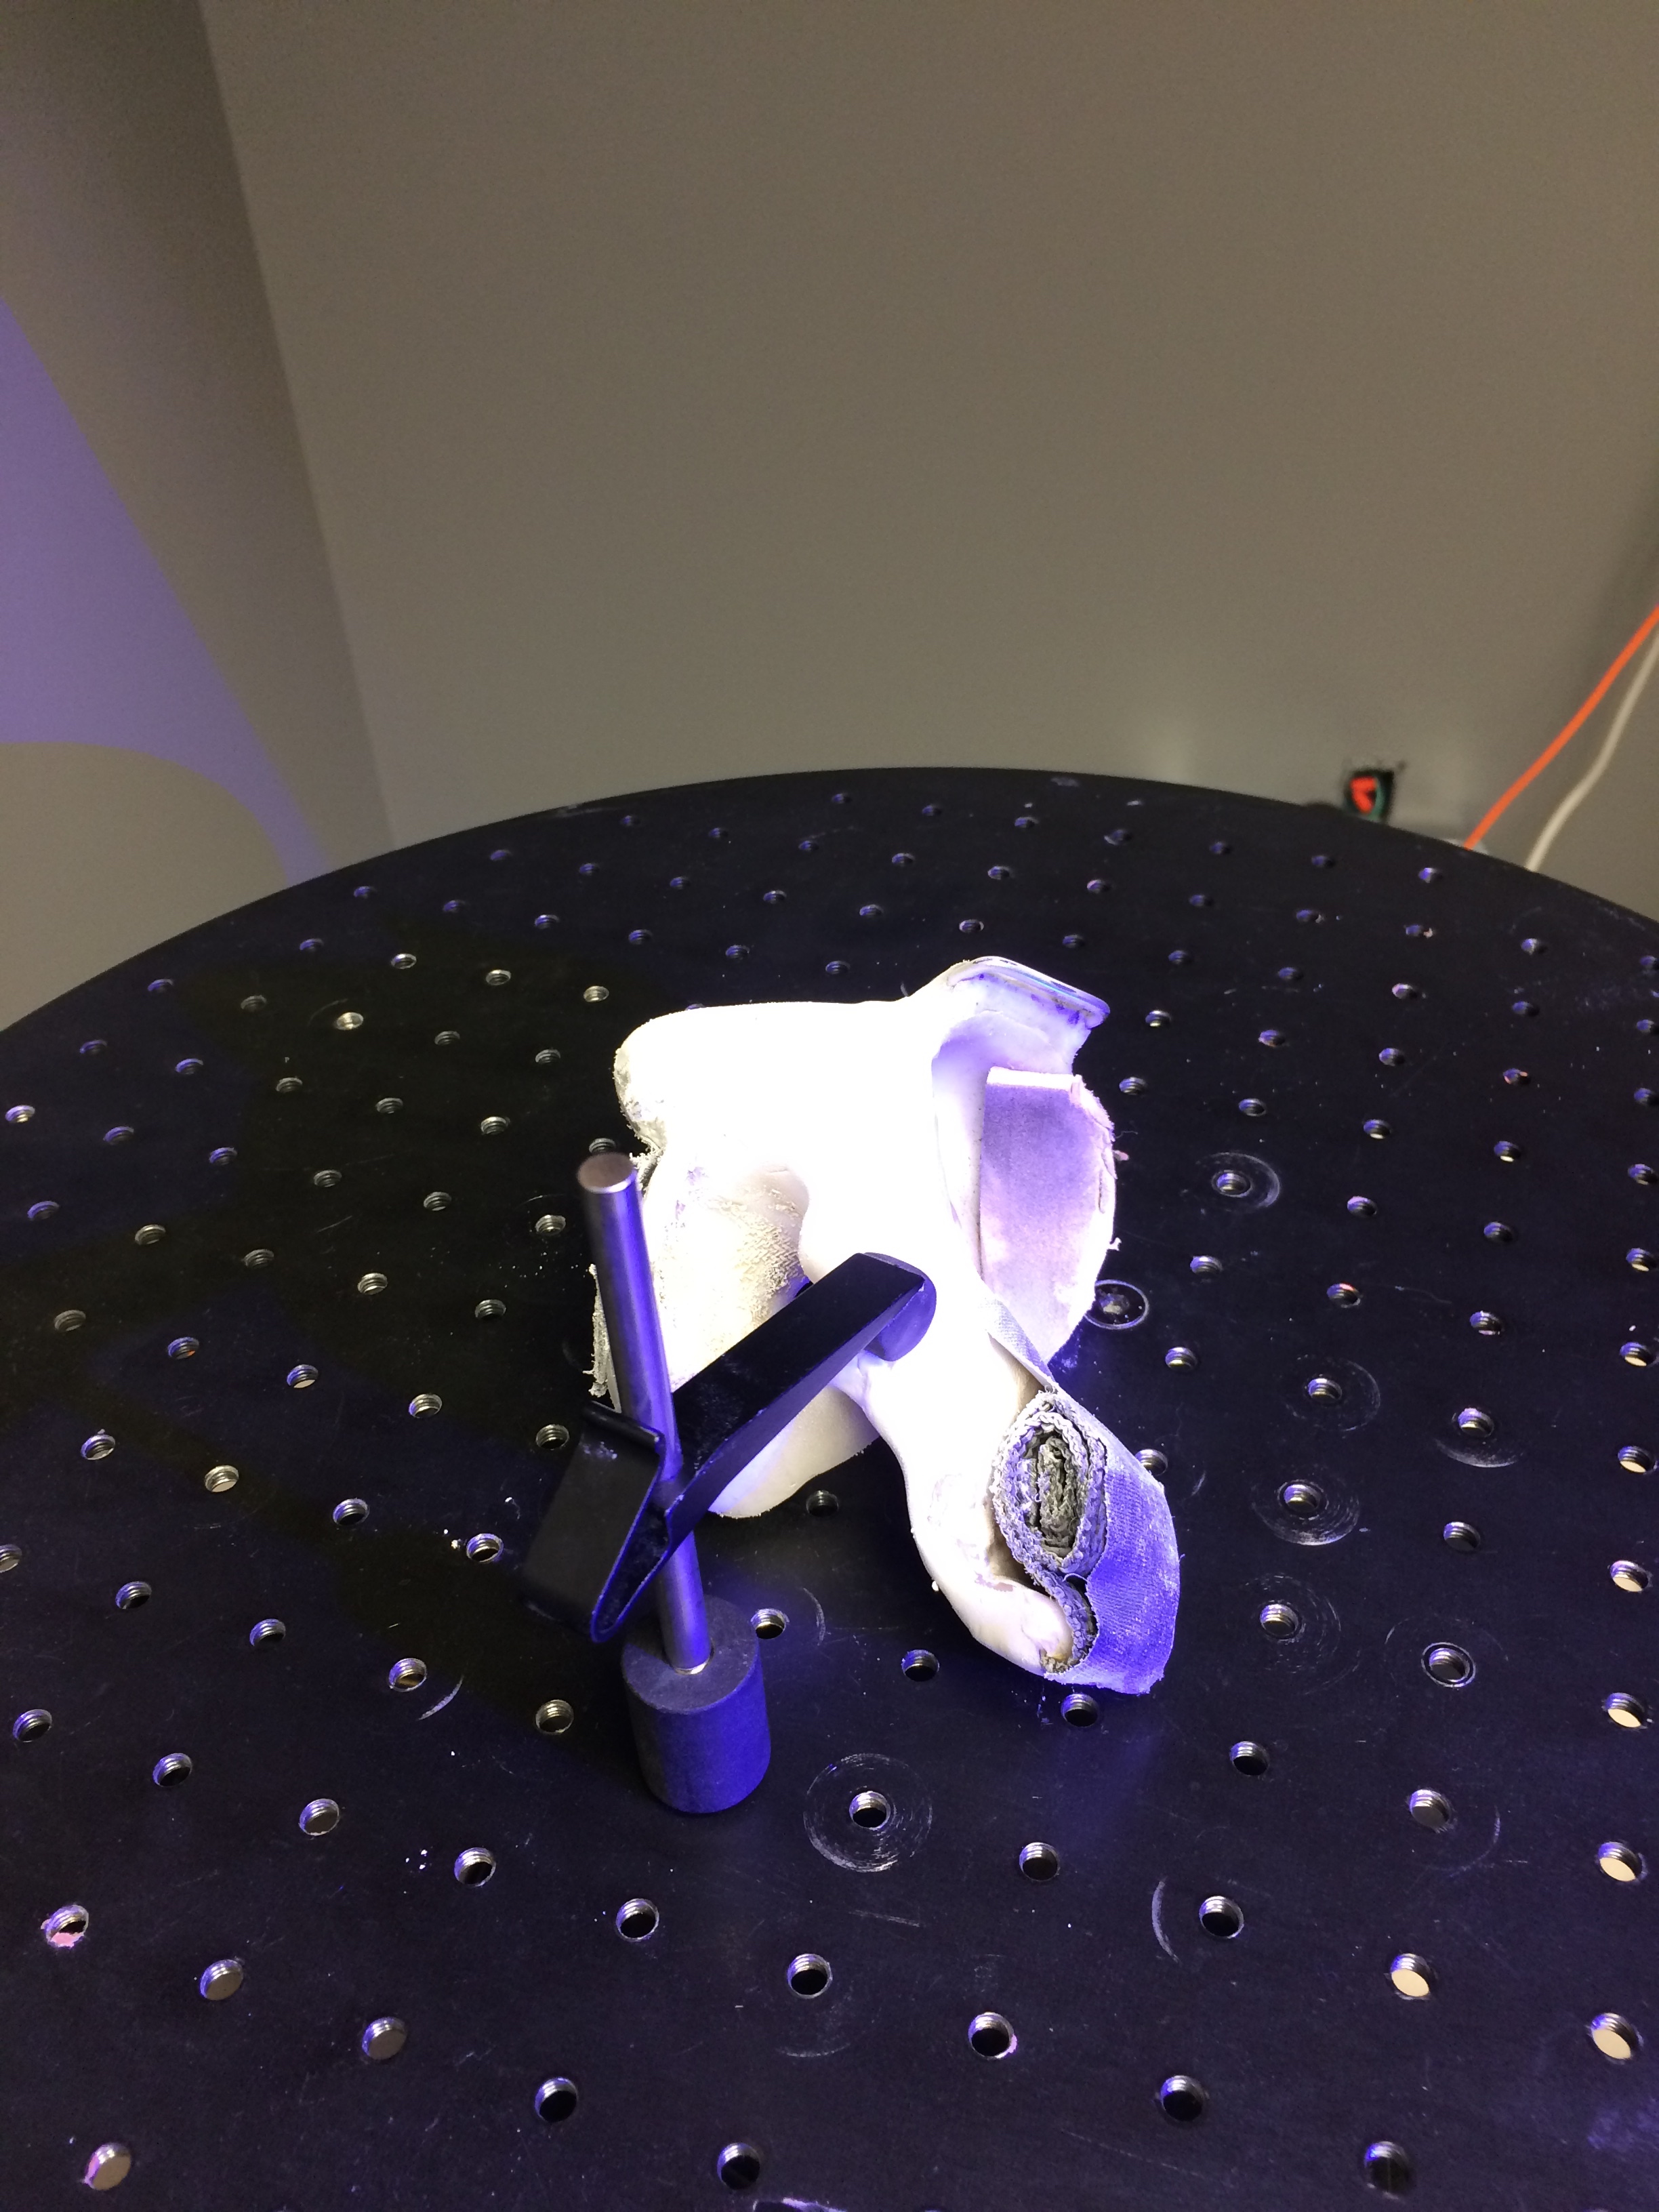
Wrapping up the group project, 3D printing wheelchair racing gloves, was a lot of fun. Week after week it was exciting to hear about Arielle’s, project teammate and wheelchair racer, races using her new 3D printed gloves. Working with Sebastian, other project teammate, and Arielle gave me two other perspectives on how to go about 3D modeling and printing an object. The project was a success and will continue on as Arielle and the crew at Beckman, who 3D scanned her original gloves, works to 3D model the rest of the racing team.

Overall I have grown tremendously in how I approach projects.  After a semester long of making, I believe all my projects, whether for work or school, from here on out, should be given my personal design and touch.  The personal design I have nurtured and grown in Digital Making will stay with me forever and I better prepared to create anything from the ground up here on out.  Skills I learned about design and modeling can be applied to most anything in my future.  Looking forward, I want to 3D print items necessary to life, but that would usually be bought at the store.  For example, next time I need a clothes hanger, I can 3D print it instead of buying it at the store!

Week 11 &12 Summary: Fab Lab Continued + Make-A-Thon

During the past two weeks, the class had been working different projects at Fab Lab. There were three assigned topics: Arduino, Digital Embroidery, and Laser Cutting. By the second week in the lab, the class switched to a new program and continued working with amazing staffs at the lab. My group transferred from using SewArt app to create patterns on fabric to design silhouette on materials like plastic, glass, and wood with Inkscape computer software.

Here is an example of making process of laser cutter.

IMG_5900

This is the final look of a design on Inkscape. The piece combines both characters and graphics. The entire designing stage begins from drawing patterns or using existing ones. Then, people may edit dimension, shape, background and so on with the software. Once the design has been set, it was ready to cut.

 IMG_5901

This shows how the piece was cut with eplloglaser. Before having the machine started, the class were told to turn on fans and gas in order to prevent fire. Laser begins moving and cutting from the left upper corner and it can be adjusted to other places when it is necessary. While laser machine is warming up, we may put materials at the original starting point.

IMG_5902

And, this is the completed piece. There was a hole on letter “A”, which was caused at the design stage.

IMG_5820

At my fist visit to Fab Lab, it took me a while to find out this entry.


During the weekends, there were two groups of students from our class attended Make-A-Thon event held by CU Maker. Jill and Kavin teamed up with me. We named the team JKLOL? Our project is a bean-like silicon grab helper that aimed to make life easier for the elder with weak  arm muscles. It took us a good amount of time to design, research, collect data, ask professional’s opinion, and finally have it printed. During the process, Jill first came out the idea and did both hand-drawing and computer modeling for the conceptual graphs. Kavin and I joined to the discuss and helped to solve problems. Moreover, Kavin visited Fab Lab back and forth several times to make sure that our model was printed and ready.

Following are photos I took during the Make-A-Thon activity.

IMG_5927

This is an inside look of one of the studios at Architecture Annex, which is next to Fab Lab.

IMG_5934IMG_5933

The above two are Jill’s hand drawing. It looks even better on the paper.

IMG_5929 IMG_5935

These two show the way we decided the measurement of our item. We started from collecting the size of each others’ hands. Then, we average the total. The results became the dimension of our first printout.

IMG_5924

The last photo from left to right are Kavin, Jill and Dorothy. Dorothy is an expert of project design and materials choosing. Thanks for patiently listened to our presentation and answered our questions.

Overall, it seems like a week full of excitement, creativity, and work for everyone in the class.


Week 10 Summary: FabLab Week One

This past week, all of our students discovered the incredible resource that is The CU FabLab. This incredible resource found on our campus is open to all students and residents of the Champaign – Urbana community to use and foster their own creative projects. Our class was split up into three groups: arduinos, digital embroidery, and laser engraving.

Arduinos

Arduinos are little, inexpensive computers that can perform simple sensory input and output functions. The open source nature of this product has lead for many programs to be available online, so beginners have a place to start at when looking to design a new function.

Arduino Reference Libraries

Getting Started

One student described their experience as follows:

“So, this time again I worked with arduino at the electronic section. This time I learned two very cool things that can be done with arduino. First, I learned how to install a sensor chip. I made a light bulb to turn off when I cover the sensor and turn on when I don’t cover the senser. The second feature of arduino that I learned was the sound. I installed a sound device on arduino which later I connected to a senser device. So, I was able to control the level of the sound by placing my hand closer or further from the sensor.”

IMG_1257

Digital Embroidery

This discipline allows you to take a picture on your computer and turn it into its own embroidered design in the real world. There are obvious limitations of complexity and size, but despite these, this skill is incredibly handy to have, and can even impressing your grandma! There are not that many online resources for digital embroidery, as it is fairly simple once you have a machine.

Sam Bohner described his experience:

“All in all, I really enjoyed today’s class; digital embroidery is pretty cool. It is much faster and takes up less physical labor than hand embroidery. However, there are some drawbacks such as not getting a good quality design. For instance, there was someone who tried to make a playing card and it had too much small detail that it didn’t show up well. The design processes are a bit different, but I think the digital method is much easier.”

IMG_1273

Laser Cutting

This workshop is exactly as it sounds, you use lasers to cut various materials that you desire. It is much less dangerous than it sounds, so it is vary easy for beginners to get started crafting their own designs.

Laser Cutting Tutorial

Abby Cross made an incredible journal cover with her time in the lab.

Snapchat-2074414919149340740Snapchat-7795614530539748959

“After seeing how quick and easy it was to create a polished product, I want to look further into the possibility of starting my own Etsy shop for laser engraving journals, phone cases, etc. As we learned with 3D printing, people love the ability of customization, so my shop would provide customers with that option.”


We all have very much to look forward to in the upcoming weeks, and we are excited to get more experience with the FabLab as the course continues!

Scanning is Magic!

The past couple of weeks, the digital making class went to the Beckman Institute where we met Geomagic guru, Travis Ross. There, he began to introduce us to the scanning equipment at Beckman and to Geomagic software in the second week.

2015-03-03 3D Scanning - 5800 2015-03-03 3D Scanning - 57942015-03-03 3D Scanning - 5784

Geomagic is a CAD software that focuses mainly on preparing 3D products for print. It’s an extremely useful yet complex tool. Some classmates expressed the issues they encountered when using the software. Sebastian voiced in his post that the “software was a bit too powerful for us to learn in such a short time.” Kay, as well, expressed in her post that “we still have a lot to delve into about this software.”

In class, Travis went through a tutorial for the class that consisted of working with a scan done on a clay model. He went through the process of trimming, filling, smoothing, and dividing parts of the object all done in Geomagic. It is a fairly complicated process and the class tried their best to keep up with Travis.

IMG_0143

Travis also worked on cleaning up the racing glove that Arielle brought to Beckman for scanning. Anthony provided some background on the glove in his post:

“The plastic glove is custom made and extremely difficult to replicate for racers. Having a digital copy of a good glove means the ability for a user to create multiple copies using 3D printing!”

During the scanning process of the glove the week before, there were some issues capturing the surface of the glove. Travis decided to spray it with talcum powder so the beams from the scanner could bounce back to the computer. It took multiple scans to make a complete model in the software. It seems that with the right practice and expertise in this type of software that amazing things can be done.

Snapshot of the scanning process for the racing glove

Snapshot of the scanning process for the racing glove

Many classmates started to apply their knowledge of Geomagic to their lives. For example, Jill noted:

“I have a Tupperware container that I absolutely love to carry places when I want lunch on the go. Problem with it is, there’s no great way to carry cutlery with it. I want to scan this existing container, and further add on a pocket that carries forks and knives.”

Noah as well stated:

“…with this software caused me to think about the various economic applications of this technology. Perhaps, I will be able to create my own business concept around this technology. I still will need help to operate the scanner and software, but having this high level overview allows me to be able to think critically about using this technology in my own field.”

Geomagic is a powerful tool in 3D printing that has great potential. It is a little on the pricey side so I would recommend trying to obtain a free trial.