Digital Making: A Semester of Creativity

This semester provided numerous experiences in expanding my horizons of how I can create products. My education thus far, while extremely valuable, has prepared me for continuing the operations large institutions. While this is a valuable skill set, it does not focus on creativity or creation of products.

Learning to Make

I entered this class with a rudimentary understanding of what 3D printing was and how it could be used to make custom iPhone cases. However, I had little knowledge of the broader maker movement or its implications beyond 3D printing. This course has taught me a broader appreciation of all things related to this phenomenon.

Demo

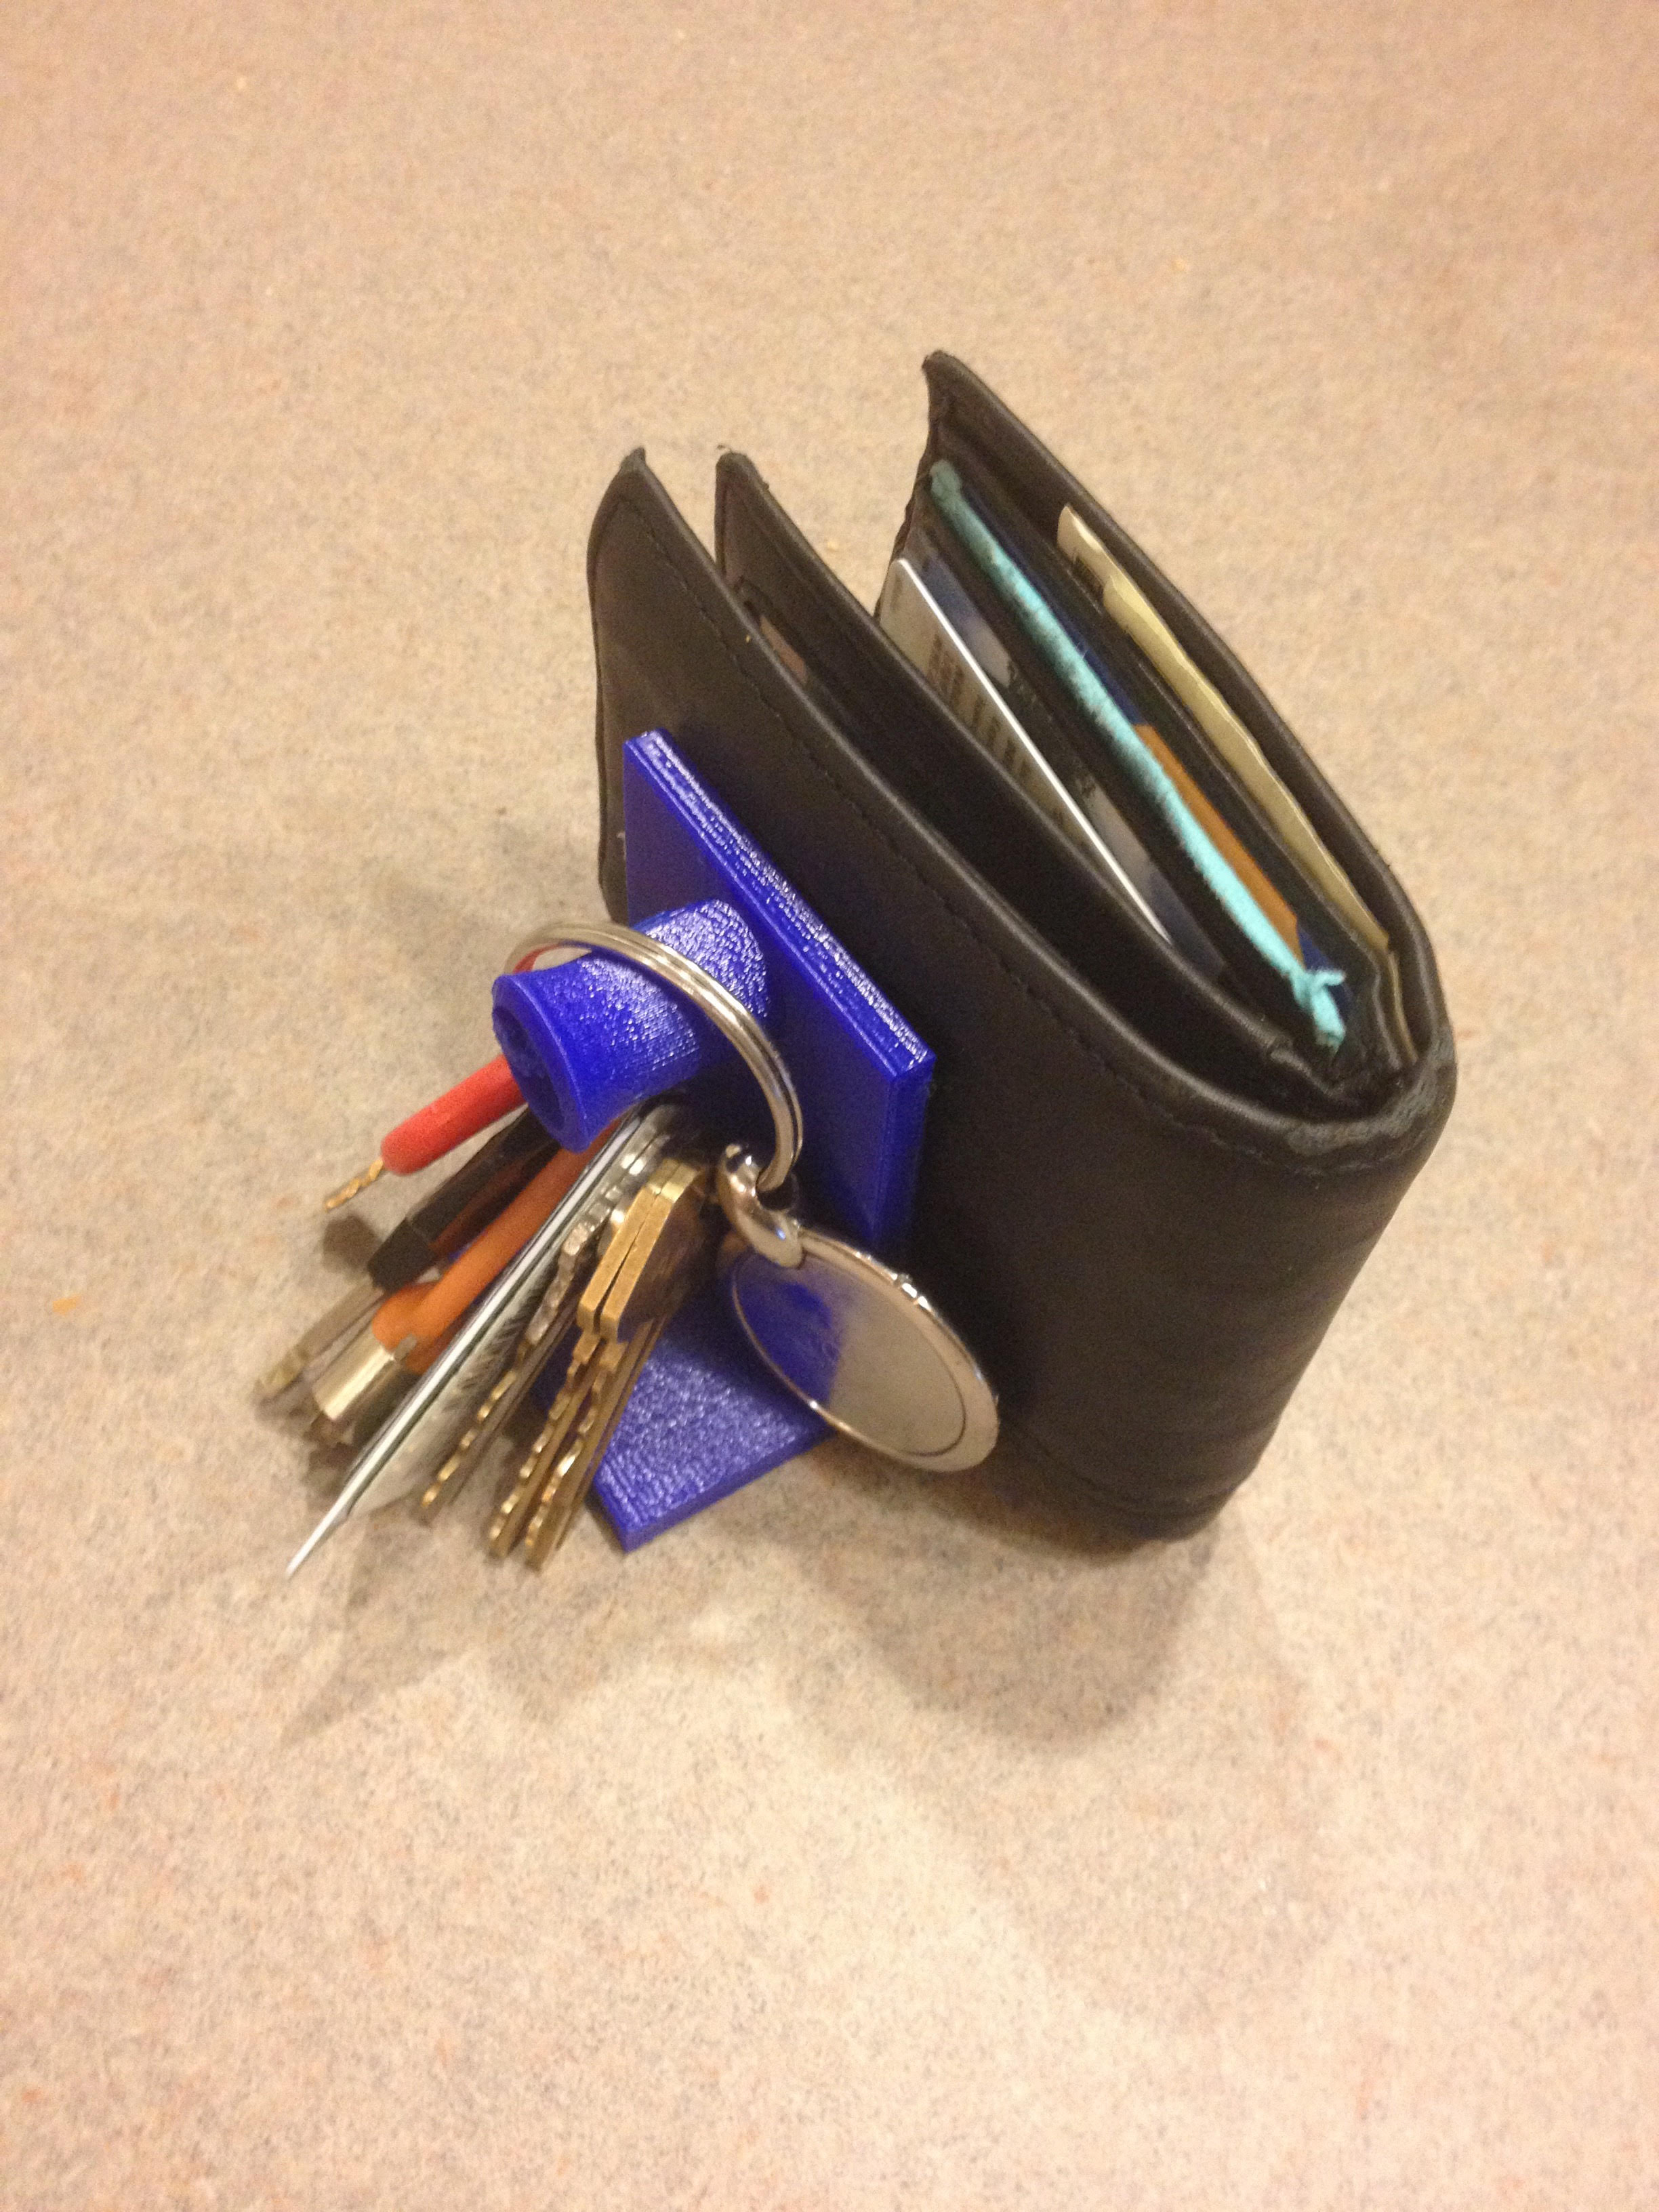
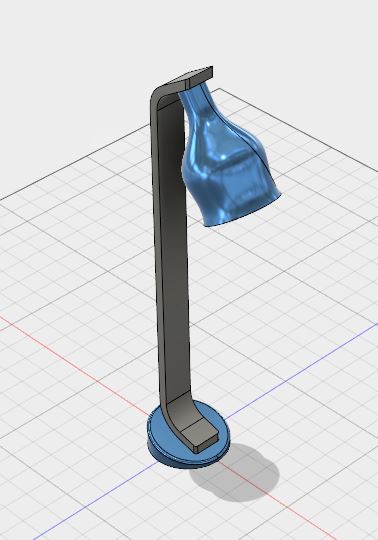
The beginning of this course explored the materials that we had in the MakerLab. Using TinkerCad, handheld scanners, and eventually Fusion 360, we were able to design products and bring them into the physical space. The process of creating something from scratch provided a pleasant refreshment from the other tasks of my education.

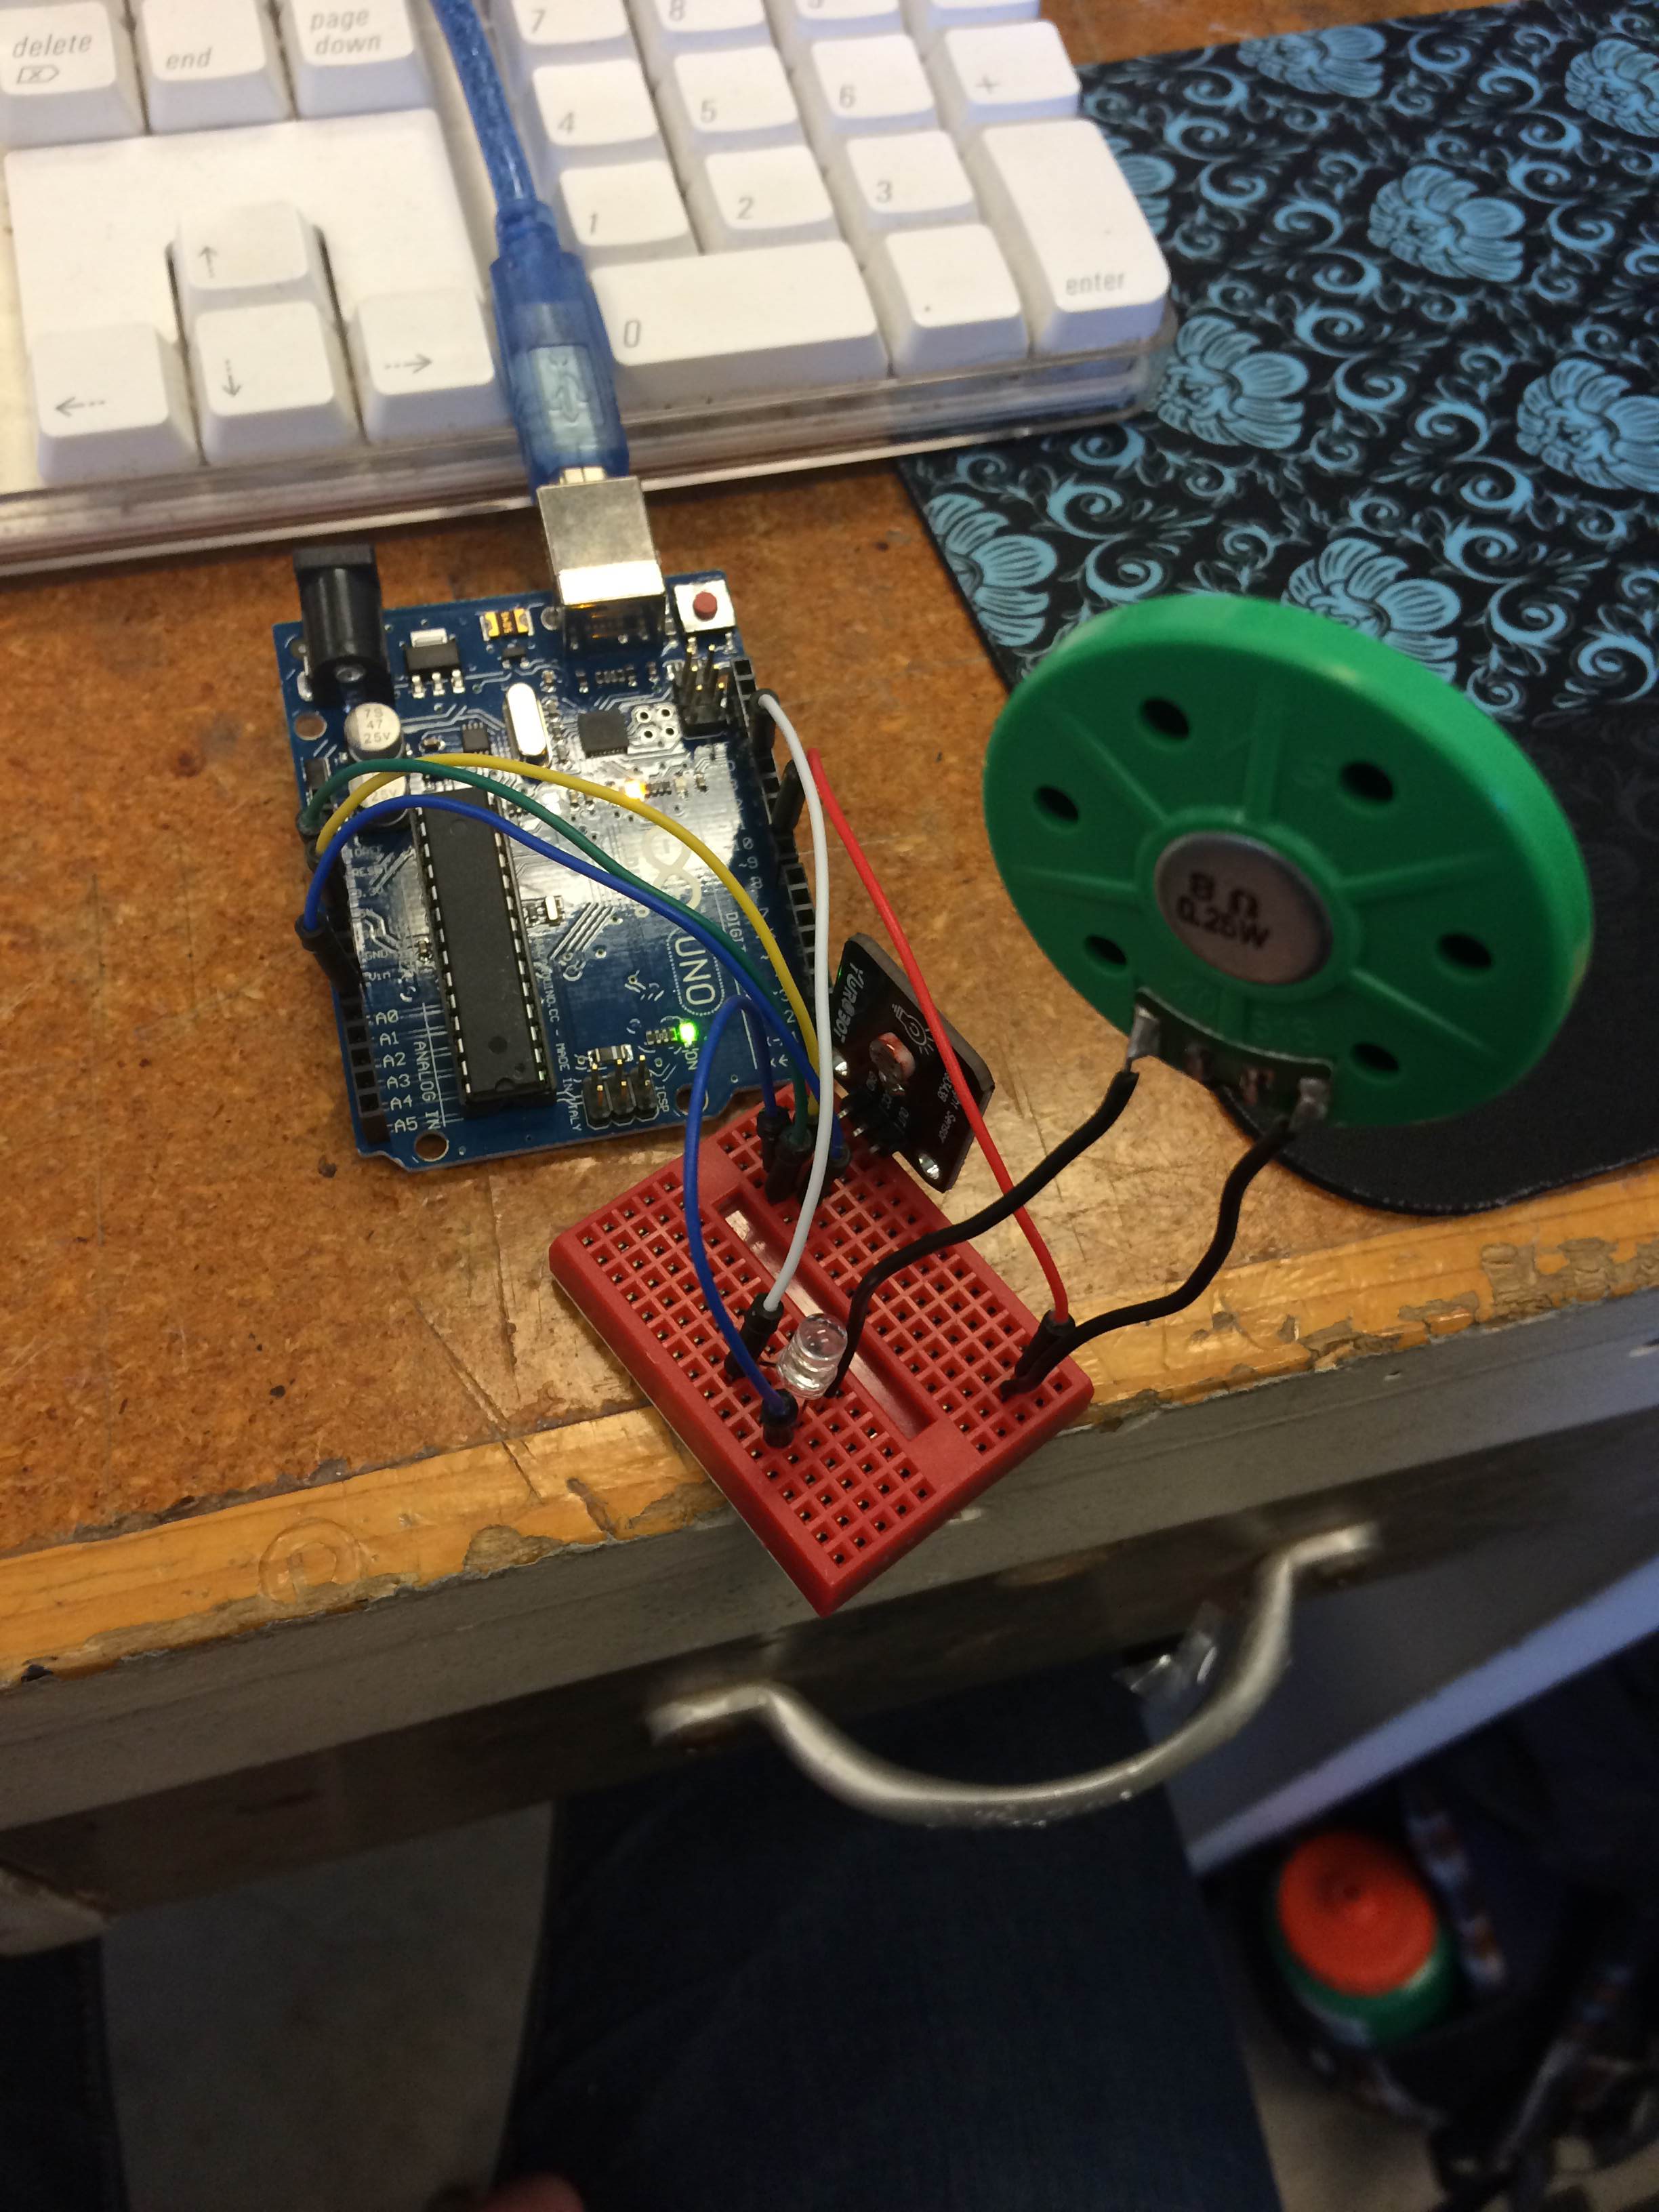
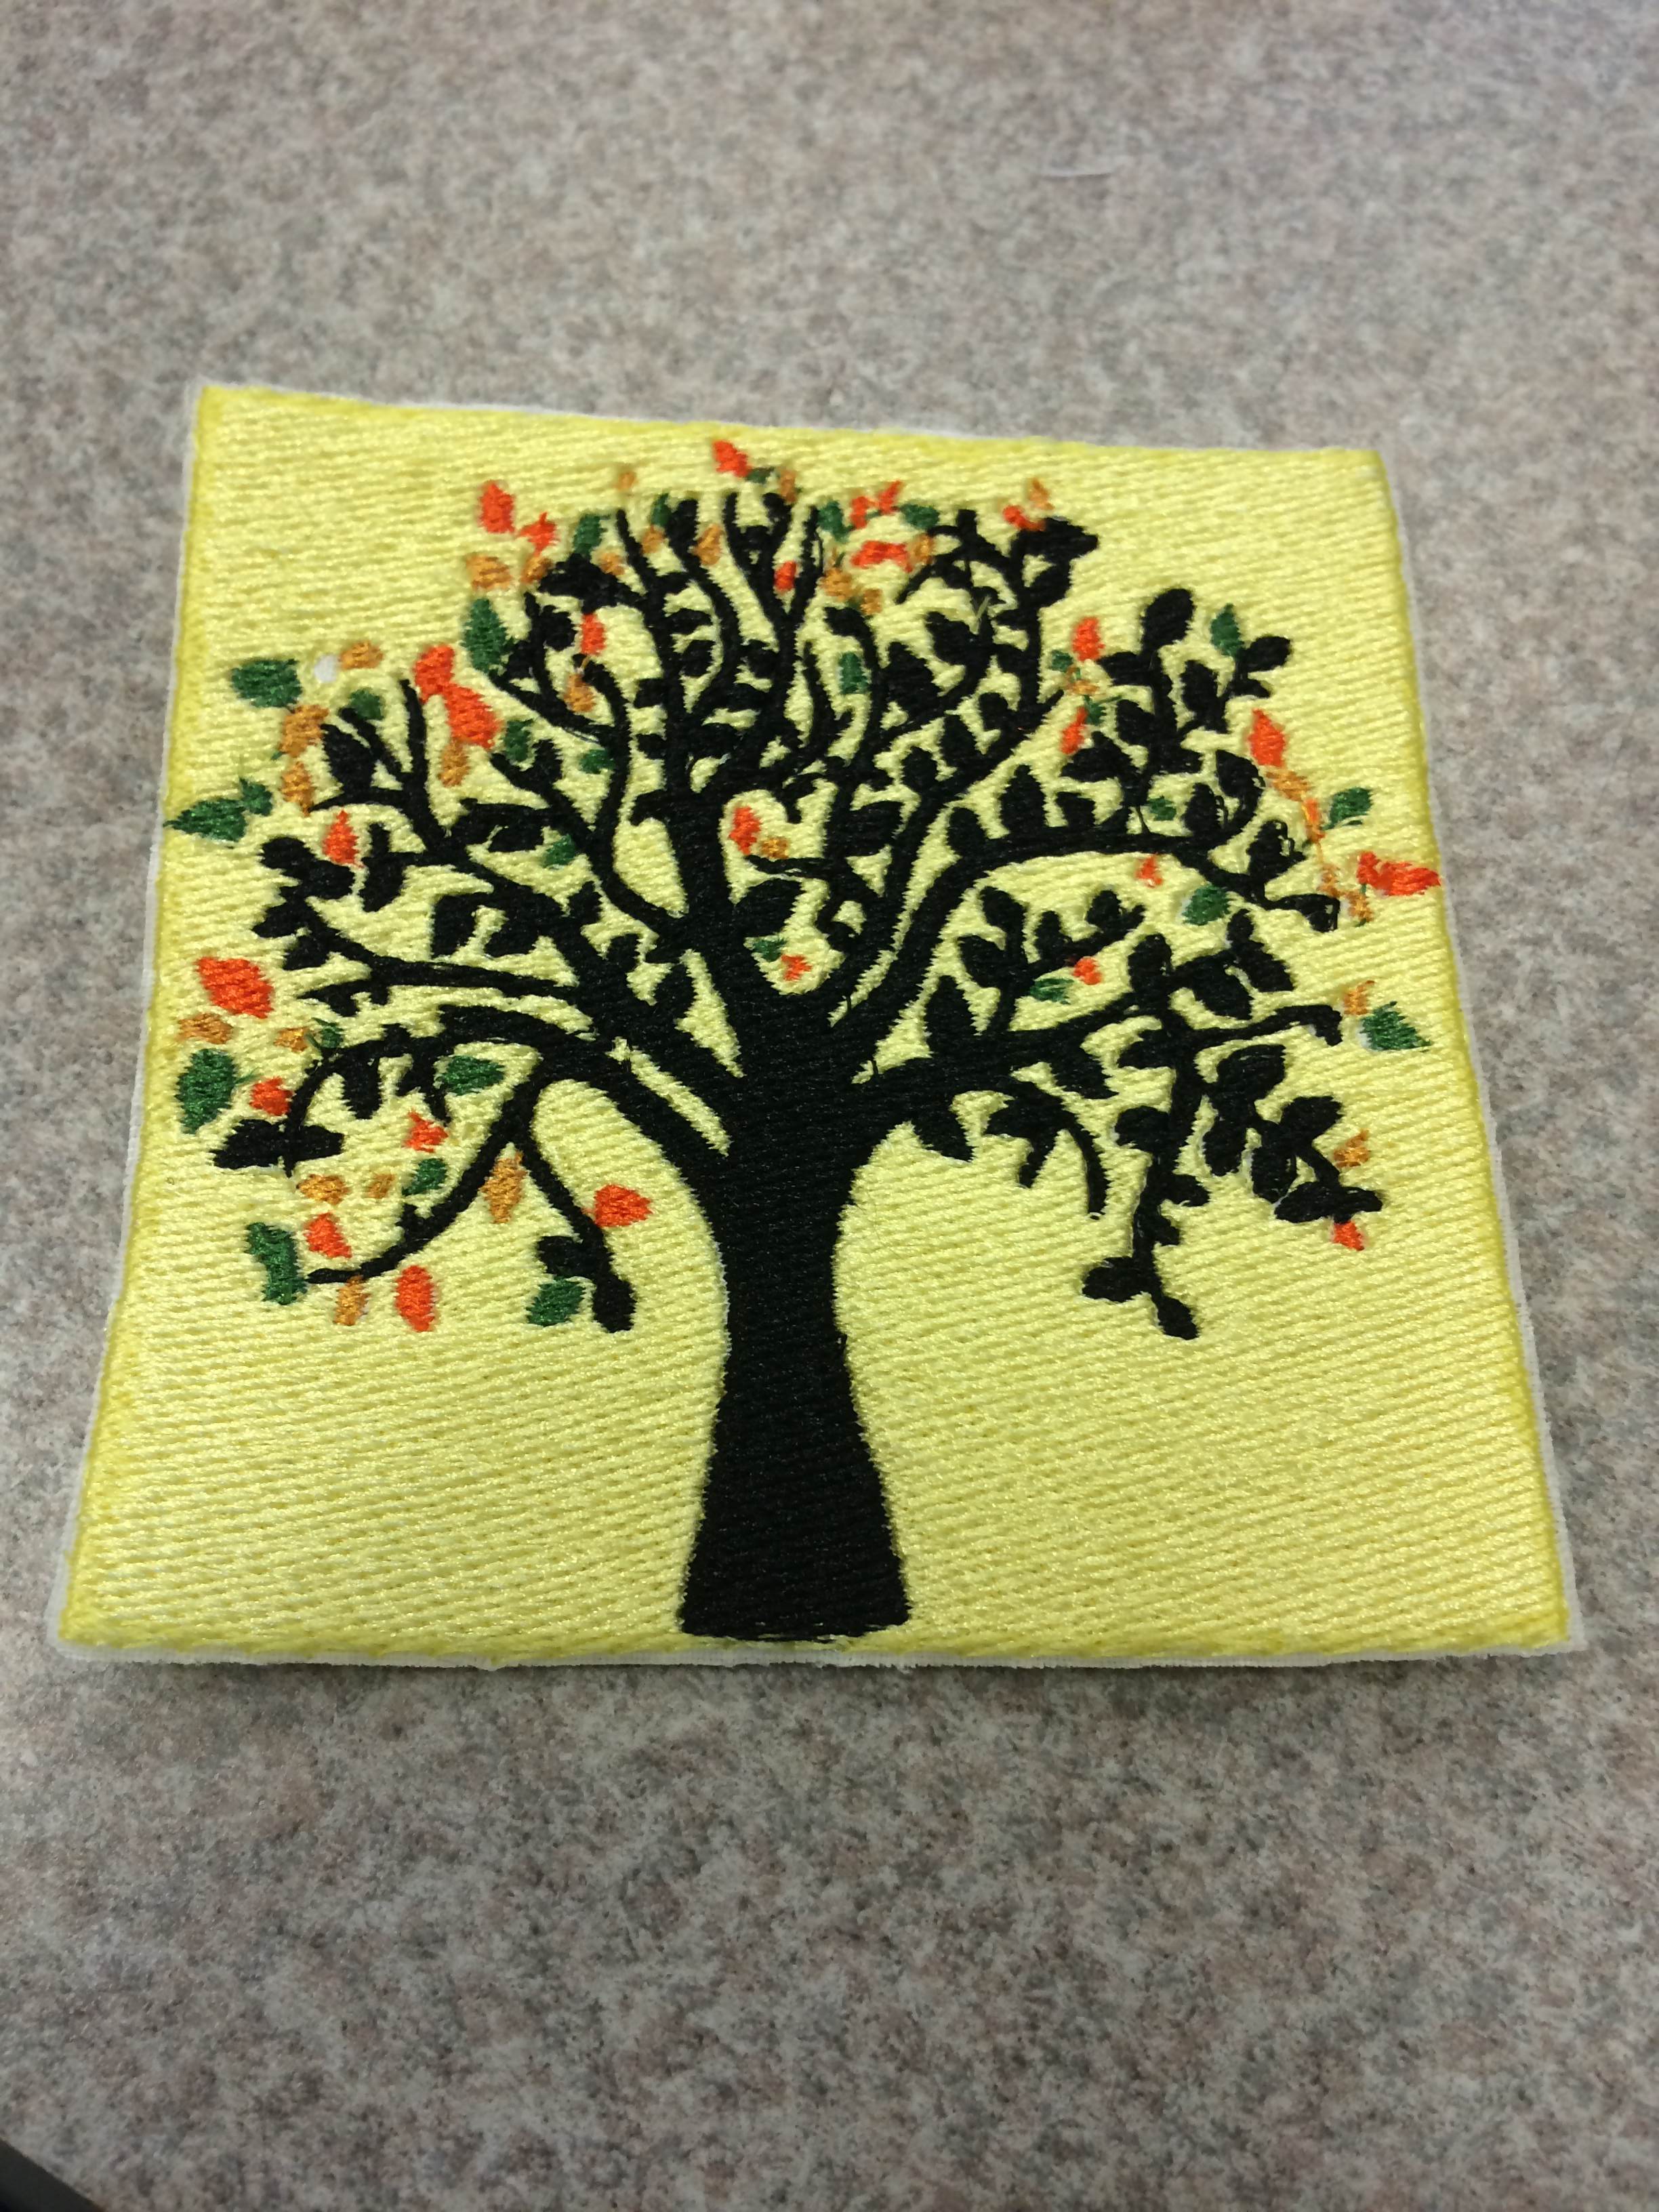
Later in the course, we broadened our learning to other technologies in the Maker Movement. With help from the Beckmen Institute and the CU FabLab, our class was exposed to 3D scanning, laser engraving, digital embroidery, and arduinos. These technologies only increased our classes capabilities and knowledge to create incredible works of art and engineering.

Changing Thinking

Learning these skills only gave me a taste of what the Maker Movement provides. Knowing some of the skills taught by this phenomena will better equip me to understand these people  who work in fields where the democratization of manufacturing would be applicable. As I talked about previously, my education is focused existing industry and preparing me to work in that world. However, this class exposed me to an entirely new industry and its thinking. If I chose to work in this field, I would be more poised to succeed due to my prior knowledge.

This class has also changed the way I think about preexisting products in my day to day life. Now, when I look at a cup or a phone case, I don’t think about where I need to buy one if I replace it. Instead, I think if it would be better to make one myself, or if there was something I could improve upon. I could go on thingiverse, download a file for a replacement product, edit it if I desire, and print one off. Instead of accepting what is in front of me, I can now question what exists and seek to improve it.

Beyond the Classroom

This class has come to an end, however, the Maker Movement is still going strong. For my professional path, I am not yet sure if I will pursue a career in this field. However, in my chosen field of consulting, it is likely that I will encounter some businesses in the additive manufacturing field. With this class, I will better be able understand these individuals and work towards solving their problems.

I also don’t believe that I will stop honing my skills after this course has ended. While I have gained some skills with CAD, I wish to further work with Fusion 360 to create more sophisticated designs. I also hope to keep using the FabLab to continue to make artwork for my own enjoyment.

All in all, this course has vastly improved both my interest and ability in Digital Making. The concepts taught in this course have shown me a new world of business and my own personal projects.

FabLab: Laser Engraving

I’ve always been a minimalist when it comes to designing objects for my personal use. This week, while laser engraving at the FabLab, I was able to fulfill this desire.

For the laser engraving demonstration that was given to us, we created the cover for a small journal. I’ve never kept a journal and have never found much need for one, but I began to think of uses I could use for something incredibly portable and pocket sized. The best idea that came to mind was a place to jot down any musical ideas I had to remember later. With laser engraving, I was able to create a simple design that marked the journal as my own as well as show its purpose.

Journal

This design, while simple to make, shows off how powerful and detailed laser cutting can be. I hope to use this technology in the future to create other projects that I could get use out of.

Week 10 Summary: FabLab Week One

This past week, all of our students discovered the incredible resource that is The CU FabLab. This incredible resource found on our campus is open to all students and residents of the Champaign – Urbana community to use and foster their own creative projects. Our class was split up into three groups: arduinos, digital embroidery, and laser engraving.

Arduinos

Arduinos are little, inexpensive computers that can perform simple sensory input and output functions. The open source nature of this product has lead for many programs to be available online, so beginners have a place to start at when looking to design a new function.

Arduino Reference Libraries

Getting Started

One student described their experience as follows:

“So, this time again I worked with arduino at the electronic section. This time I learned two very cool things that can be done with arduino. First, I learned how to install a sensor chip. I made a light bulb to turn off when I cover the sensor and turn on when I don’t cover the senser. The second feature of arduino that I learned was the sound. I installed a sound device on arduino which later I connected to a senser device. So, I was able to control the level of the sound by placing my hand closer or further from the sensor.”

IMG_1257

Digital Embroidery

This discipline allows you to take a picture on your computer and turn it into its own embroidered design in the real world. There are obvious limitations of complexity and size, but despite these, this skill is incredibly handy to have, and can even impressing your grandma! There are not that many online resources for digital embroidery, as it is fairly simple once you have a machine.

Sam Bohner described his experience:

“All in all, I really enjoyed today’s class; digital embroidery is pretty cool. It is much faster and takes up less physical labor than hand embroidery. However, there are some drawbacks such as not getting a good quality design. For instance, there was someone who tried to make a playing card and it had too much small detail that it didn’t show up well. The design processes are a bit different, but I think the digital method is much easier.”

IMG_1273

Laser Cutting

This workshop is exactly as it sounds, you use lasers to cut various materials that you desire. It is much less dangerous than it sounds, so it is vary easy for beginners to get started crafting their own designs.

Laser Cutting Tutorial

Abby Cross made an incredible journal cover with her time in the lab.

Snapchat-2074414919149340740Snapchat-7795614530539748959

“After seeing how quick and easy it was to create a polished product, I want to look further into the possibility of starting my own Etsy shop for laser engraving journals, phone cases, etc. As we learned with 3D printing, people love the ability of customization, so my shop would provide customers with that option.”


We all have very much to look forward to in the upcoming weeks, and we are excited to get more experience with the FabLab as the course continues!

Arduino 101

Last week was my first experience in the CU FabLab, a community run maker-space at the UofI campus. Let me tell you, I wish I had found this resource years earlier. The entire environment was set up to foster creativity. If I had explored this area earlier in my college career, I would have hopefully been able to create some impressive works by this time. But, as a latecomer, I hope to use this resource to its fullest.

Programming for Beginners

I have a little experience with programming; my family are all engineers and so I have been exposed to it for a large portion of my life. However, I have never experienced an environment with such instant gratification as programming with and for arduinos. These little computers’ sensors can be manipulated and read to perform simple tasks. I was able to code the beginning functions such as blink and learn how breadboards work. However, I was most proud of the program I created.

I was able to code a proximity sensor to read how far away an object was. Then, I made a small LED light blink quicker if the object was closer. It was a small little back up light detector for making sure you don’t hit any other cars!

I know it isn’t practical, but it still felt like I accomplished something.

Semester Project: Workshop Resources

Education has always been my top goal in life. I always try to keep learning and expanding my horizons, and when I can, I try to do the same for others.

For our semester project, Gian Delgado and I will be creating and compiling resources that people interested in 3D printing can learn from. Our material can be viewed as a stand alone product, but is most valuable when combined with one of the workshops that the MakerLab offers. We will provide introductory materials that students can view before attending a workshop that set them up to get the most out of the time in their lab. After they have attended a session and honed their skills, they can turn to our resources to find additional ways of applying these skills and find additional support resources, as well as a few things to keep their minds thinking about 3D printing.

In addition, we will be providing support to the MakerGril workshops that are taking place throughout the semester by giving them additional ideas as well as some logistical support working with the 3D printers.

Beckman Center: High Power Scanning

These past few weeks, our classes have taken the opposite approach than what we have done for the rest of semester. Our coursework have focused on creating a physical manifestation of a digital object. With the help of the Beckman Center at UIUC, these past two weeks we have focused on turning a physical object into a digital file. This experience proved insightful, despite its limitations.

High Buy In

The first thing that I noticed about this hardware and its accompanying technology is the amount of power that the user can wield with these tools. As our guide was explaining how the hardware and software works, it became all too apparent how useful these scanning tools can be.

Quickly after I noticed how incredible the scanning apparatus we were using was, I realized how prohibitively expensive that it must be to use. I was correct. The suite we were using, hardware and software, cost upwards of $20,000. Needless to say, that price point is a little outside my casual use level. However, the more I pondered this sticking point, the more I realized how I could leverage this software.

Why I’m Here

I’m not an engineer. That ability is not in my wheelhouse. However, I understand the importance of this field. Chances are, in my career, I will be working with more than a few engineers. It is important that I learn how to communicate with these incredibly talented individuals. By working with the scanning software that is used in the industry, I am better informed and will be better able to assist the people that I work with by already understanding their own working conditions.

Also, working with this software caused me to think about the various economic applications of this technology. Perhaps, I will be able to create my own business concept around this technology. I still will need help to operate the scanner and software, but having this high level overview allows me to be able to think critically about using this technology in my own field.

Struggling Against the Grain: Fusion 360

I am an extremely inexperienced designer. My world is in finance and accounting; money, not models. Due to this, I had never worked with such a power CAD or really any software even remotely close to the power of Fusion 360. Because of this, I ran into several issues along the way to creating my design.

With power comes complexity, and most of this CAD’s functions were beyond my simple design capabilities. With that being said, I could tell even from a beginners point of view that this program could be used to create extremely intricate designs. However, all I wanted to do was create a lamp.

NHB Lamp

Here’s my lamp. It’s rudimentary and doesn’t look great. Yet, this design showed me the power of the program that we were using. If you scroll down this page, you will see many other lamps that look similar to this one. This is because we all followed the same basic design frame work in order to create this project. Yet, Fusion 360’s “Create Form” function allowed us all to personalize our projects to our individual whims, showing that relative beginners can use this tool to create vastly differentiated designs.

As I continue to work with Fusion 360, I am learning how to control and shortcut my way through this CAD. This program has had a faster learning curve than other new software I have tried in any regard. While I may struggle now, I know that as I continue working with this software, it will begin working for me.

Update: It gets better, I swear!

After messing around with Fusion 360, I am becoming more comfortable with the software. By using the basic shapes and functions within the program, I am able to create simple designs that I can use.

Keys Holder

Here is my first print using Fusion 360. I was able to make it by drawing planes and then extruding out the heights. Finally, I was able to add the nodule at the top by using the create shape function and then thickening it out.

Demo

As you can see, its purpose is to be a hub to hold my wallet and keys in my apartment when its not in my pocket. One downside is that in order to print, the nodule required supports. This causes the backside to be rough without the supports. In the future I will learn to design to not need that measure.

In conclusion, I now feel comfortable using Fusion 360 in order to create basic designs. Some of the more intricate tools are still beyond me, but I know that now I will be able to learn to create more complex models.

Week 4 – Reflections

This week was primarily occupied by creating our first 3D print. We spent the majority of the period scanning our faces, cleaning up the scans, and printing the resulting model. This was our first real experience working with the MakerBots and it wasn’t without a hitch. Leveling the platform, something that should have proved a relatively simple process, turned out to be more difficult for me than anticipated. Despite these minor hiccups, I was able to successfully begin my print by the end of class and be able to pick it up the next day.

The first thing I learnt from this experience with the MakerBot is some of the devices drawbacks. While 3D printing is a wonderful tool, the physical limitations of the device can get in the way of the printing of the object. When printing, the plastic outlining my chin and nose drooped slightly. This shows how in order to accurately print objects with that sharp of oblique angles, the MakerBot would need adequate supports in order to allow the MakerBot to accurately corner and support these objects.

I also learnt a valuable lesson in the beginnings of 3D design. In order to learn best of how to work with a thing, its best to work with something you already know fairly well. And what do people know better than their own face? By working with a familiar object, a person can familiarize themselves with the software they are working in, as well as the limitations of the hardware themselves. This learning experience can help inform on how to better improve objects that someone may not be as comfortable working with, such as an object that may only exist in the designers mind.

Going into the future, I will keep this experience in mind with designing my own objects. The complexity of the model is no impediment to the physical manifestation to the object. However, there are some aspects of design that the printer cannot handle. I think going into the future, I will focus on working from objects that I have experience with objects on Thingiverse that others have designed.

By working with other objects, I can find how I can put my own personal spin on these ideas and make them work for me.


–Noah Baird

Week Three – Reflections

This week our class was visited by two representatives of Design for America. This organization showed us how to take a step back from the building of three dimensional objects and to really look at how the design for that object came into existence. After some ice breaking exercises, the team took us through a brief version of the design process and how to think about solving a problem.

I haven’t played with crafts in most likely over a decade. However, with the DFA team, these crafts became rudimentary prototyping tools, making building the design as fun as thinking of it.

The most astonishing part of this process was how important it was to remain in a judgement free zone through the whole experience. Because we had all been playing silly games moments earlier, our team was better able to tackle what seemed like difficult problems before we were all able to loosen up.

This appears to be the most important part of the design process. Most problems that are trying to be solved have been around for a long time. In order to solve a long standing problem, it is important to think in a way that no one has before. It is impossible to do that with the fear of being judged by your peers, so a necessary part of the process should be to take that fear away.

Going forward, I believe that it is necessary to keep that judgement free zone in all aspects of digital making. Design is the foundation of the making process. If this foundation requires no judgement, it only follows that the making be judgment free as well. With this mentality, it would become easier for the fabrication of the design to able to be improved as well as the design itself.

– Noah Baird

Week 2 Reflections

This class explored the already existing world of 3D printing designs and how they can be applied and modified to better fit our own personal needs. My sharing assignment allowed me to explore one, specific design and wonder how it could be applied differently.

The chain mail bracelet design could be applied an expanded to modify other 3D printed jewelry designs in both plastic and metallic compounds. Looking at this design allowed me to better understand the way of thinking required for this class. Using this, I looked for other designs that I could modify and use in my own day to day life.

Alexa and Sinclair-10’s Musical Instrument Toys

One thing I love to do almost more than anything else is make music. This collection of printed instrument designs provide little ways to use a Makerbot to bring music into your home. The rubber band harp made me wonder if it was possible to use multiple materials to make a mbira, commonly referred to as a thumb piano.

Wall-Mounted Utensil Holder

In college, we all need to save space as much as we can. One great way to do that would be to be able to hang kitchen supplies on the wall. This utensil holder could be modified to hold kitchen tools. Because everyone has different kitchen supplies, each holder could be modified to hold the utensils that each person needs.

Mac power cord clip

As someone who travels with my laptop on a daily basis, sifting through a bundle of chords has always been a pain. A small, easy to make devise would be perfect for someone who travels. As a PC user, I would need to modify the design to better accommodate my own cable and power block. This modification would be simple to make, but important for everyone’s use.

Labyrinth Gift Box

This is a cute way to give your loved ones a gift that you didn’t put that much time into thinking of. However, this provides a memorable experience with a good reward at the end. You could design each tube to be different for each person receiving the gift. Also, one change could be to make the tube clear so that the person could see the gift inside as well as the labyrinth itself in case they got stuck.


— Noah Baird