Fab times in the Fab Lab! (Part 2/2)

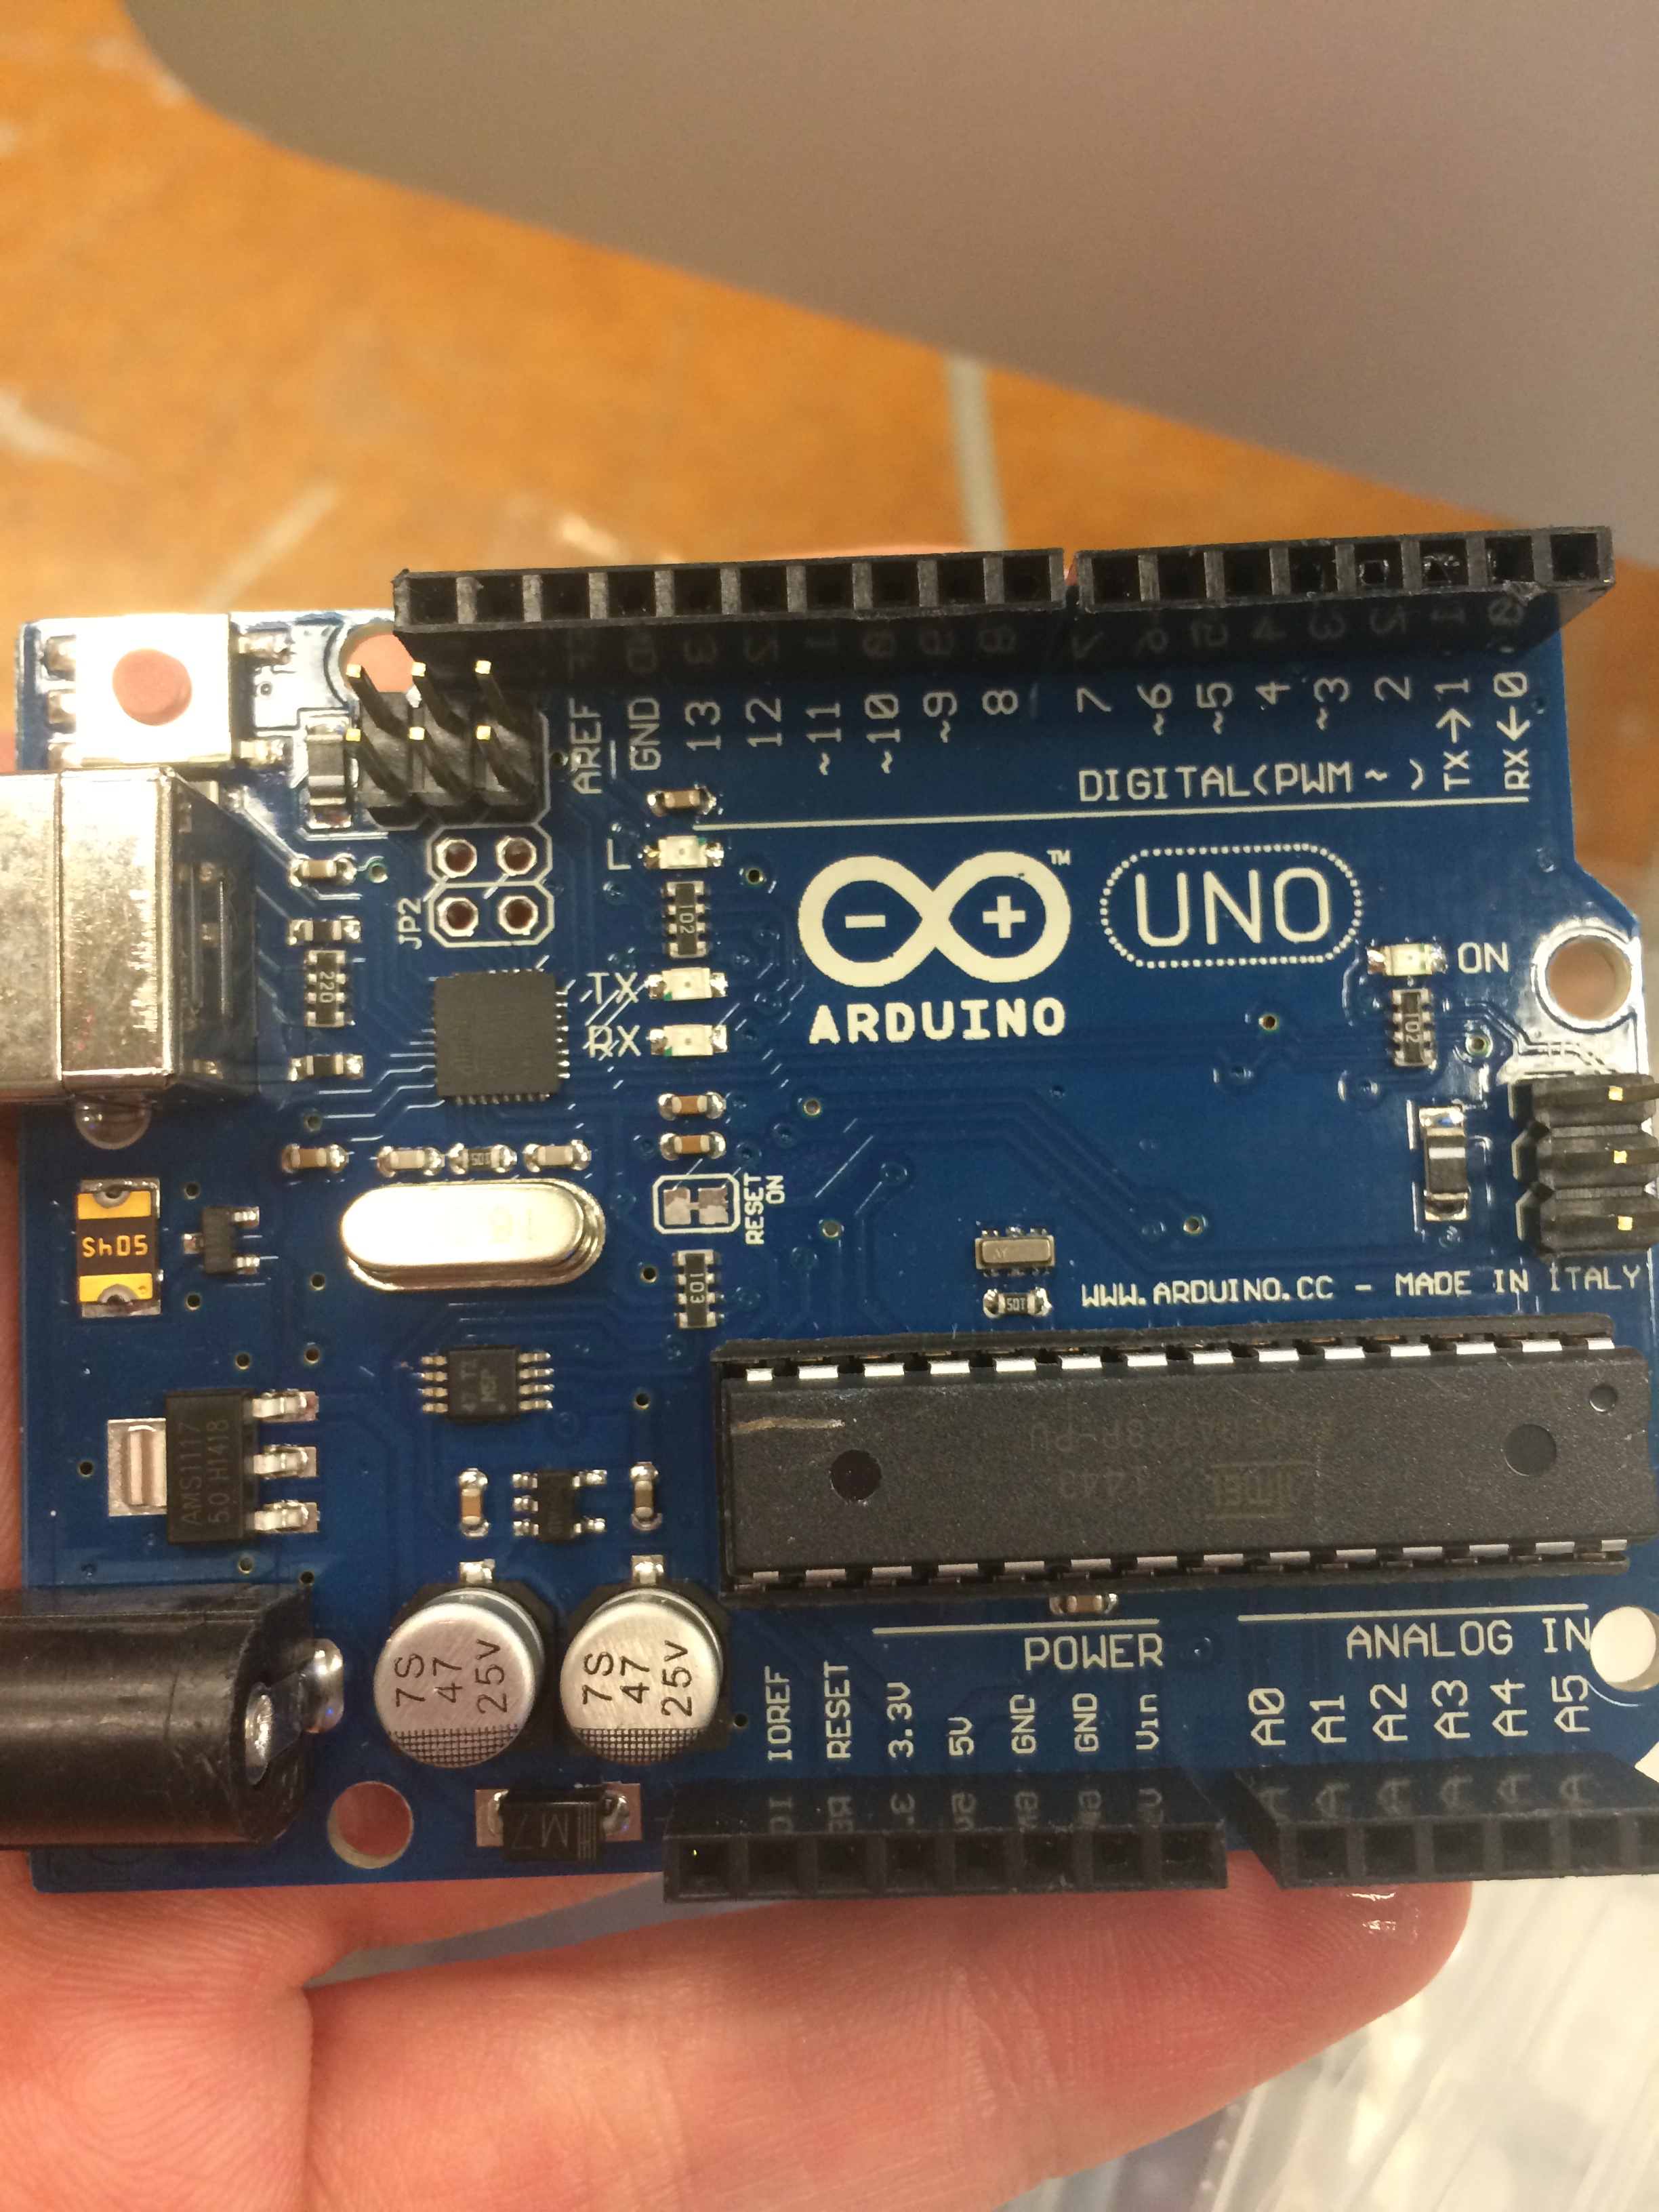
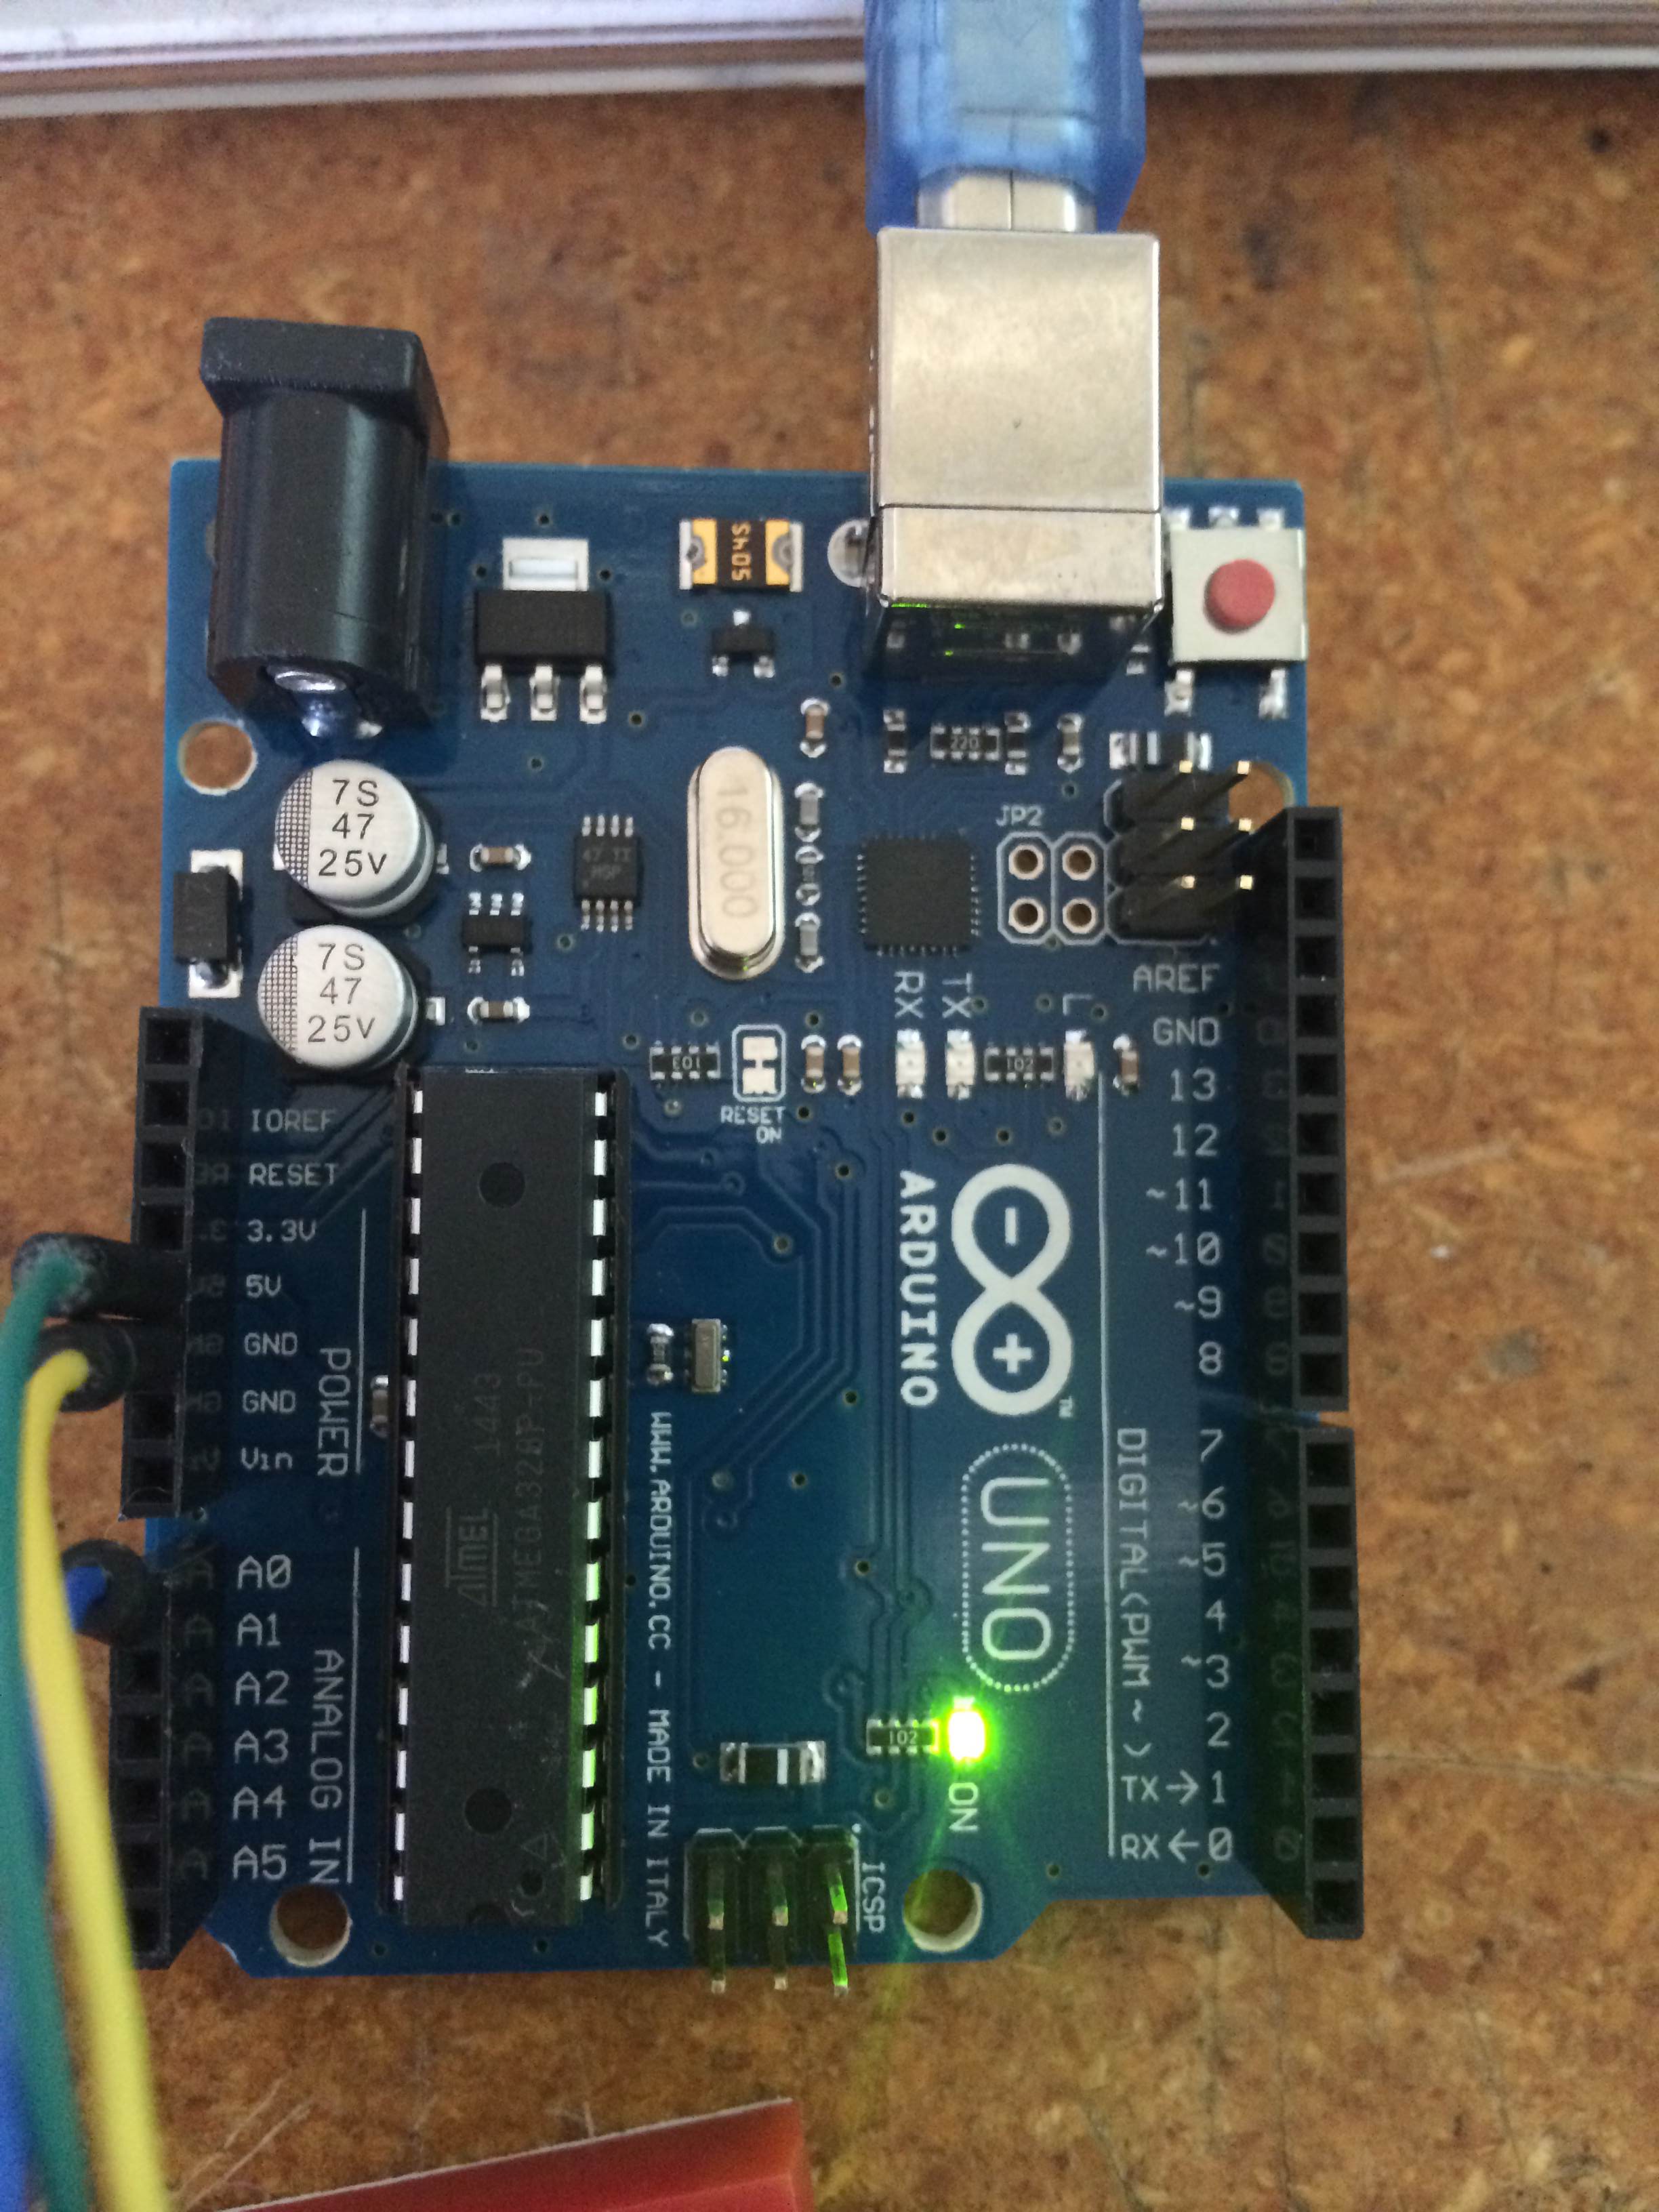
This week at the Fab Lab, I dabbled in using Arduinos. Having never coded before in my life, using an Arduino came as a bit of a challenge. We started out using a basic Blink code, which caused a light on the Arduino to blink. Using the code, we were able to change the code so the light would pulse faster or slower depending on the numbers we inputted.

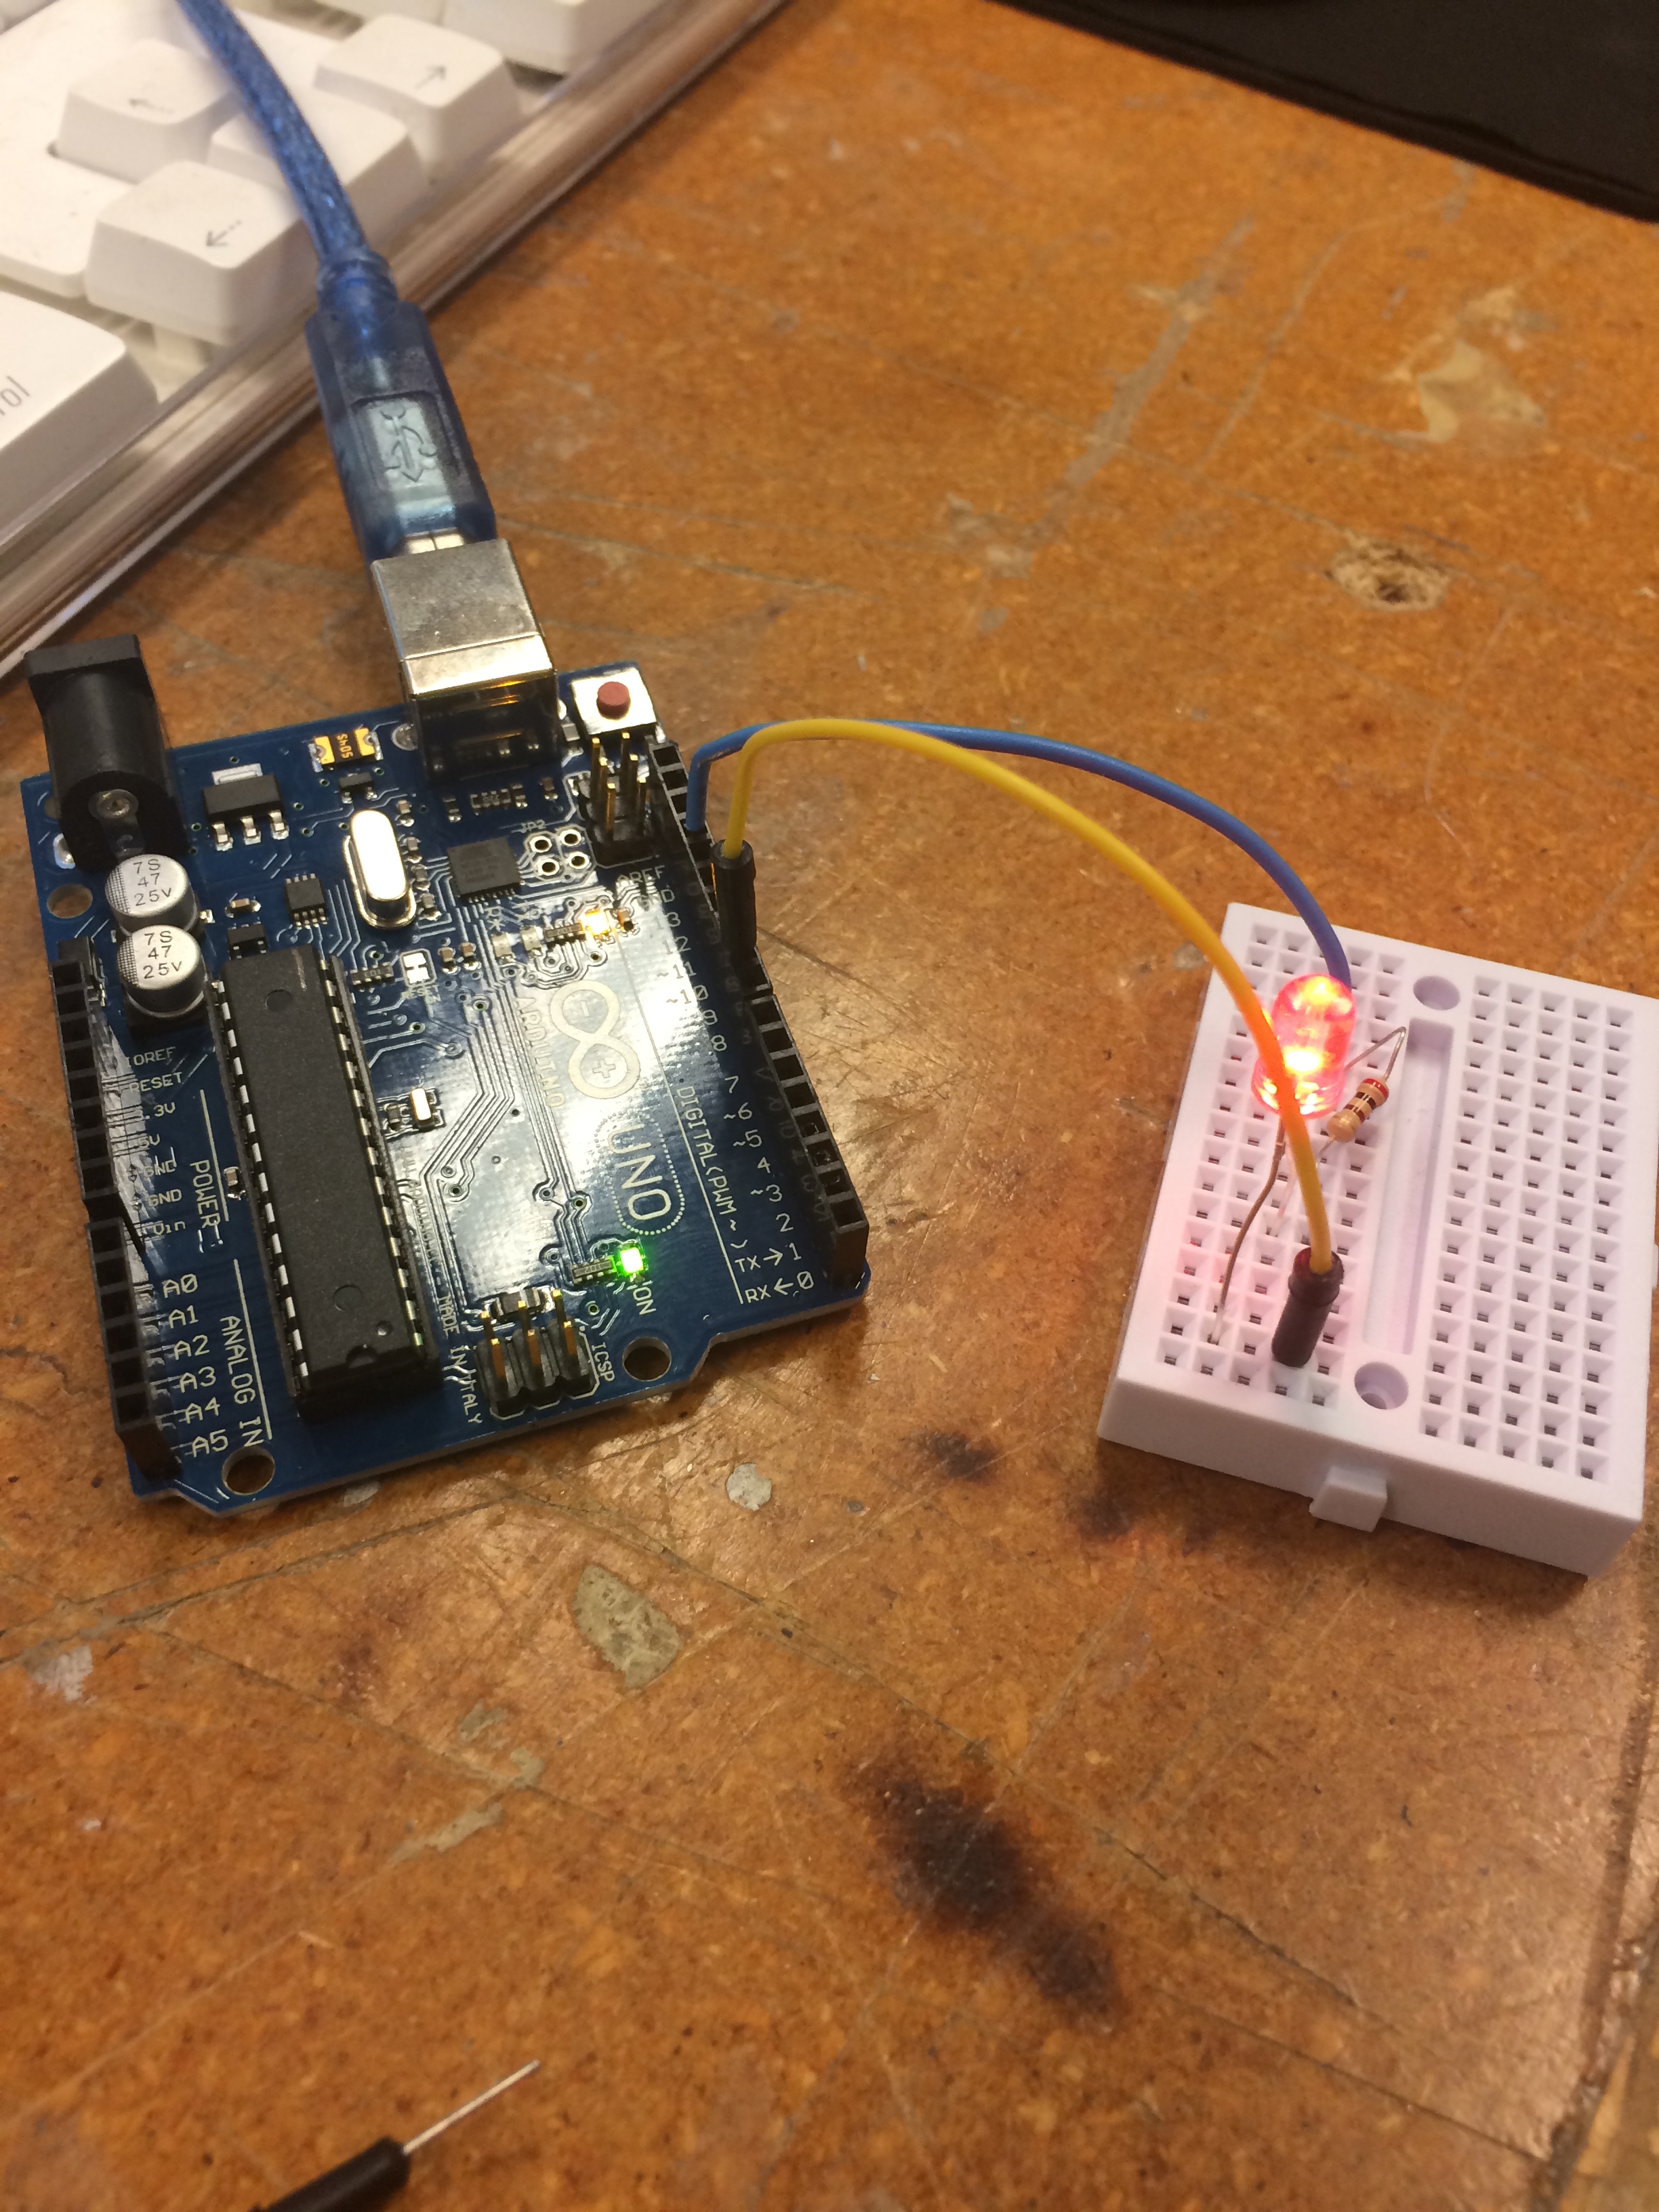
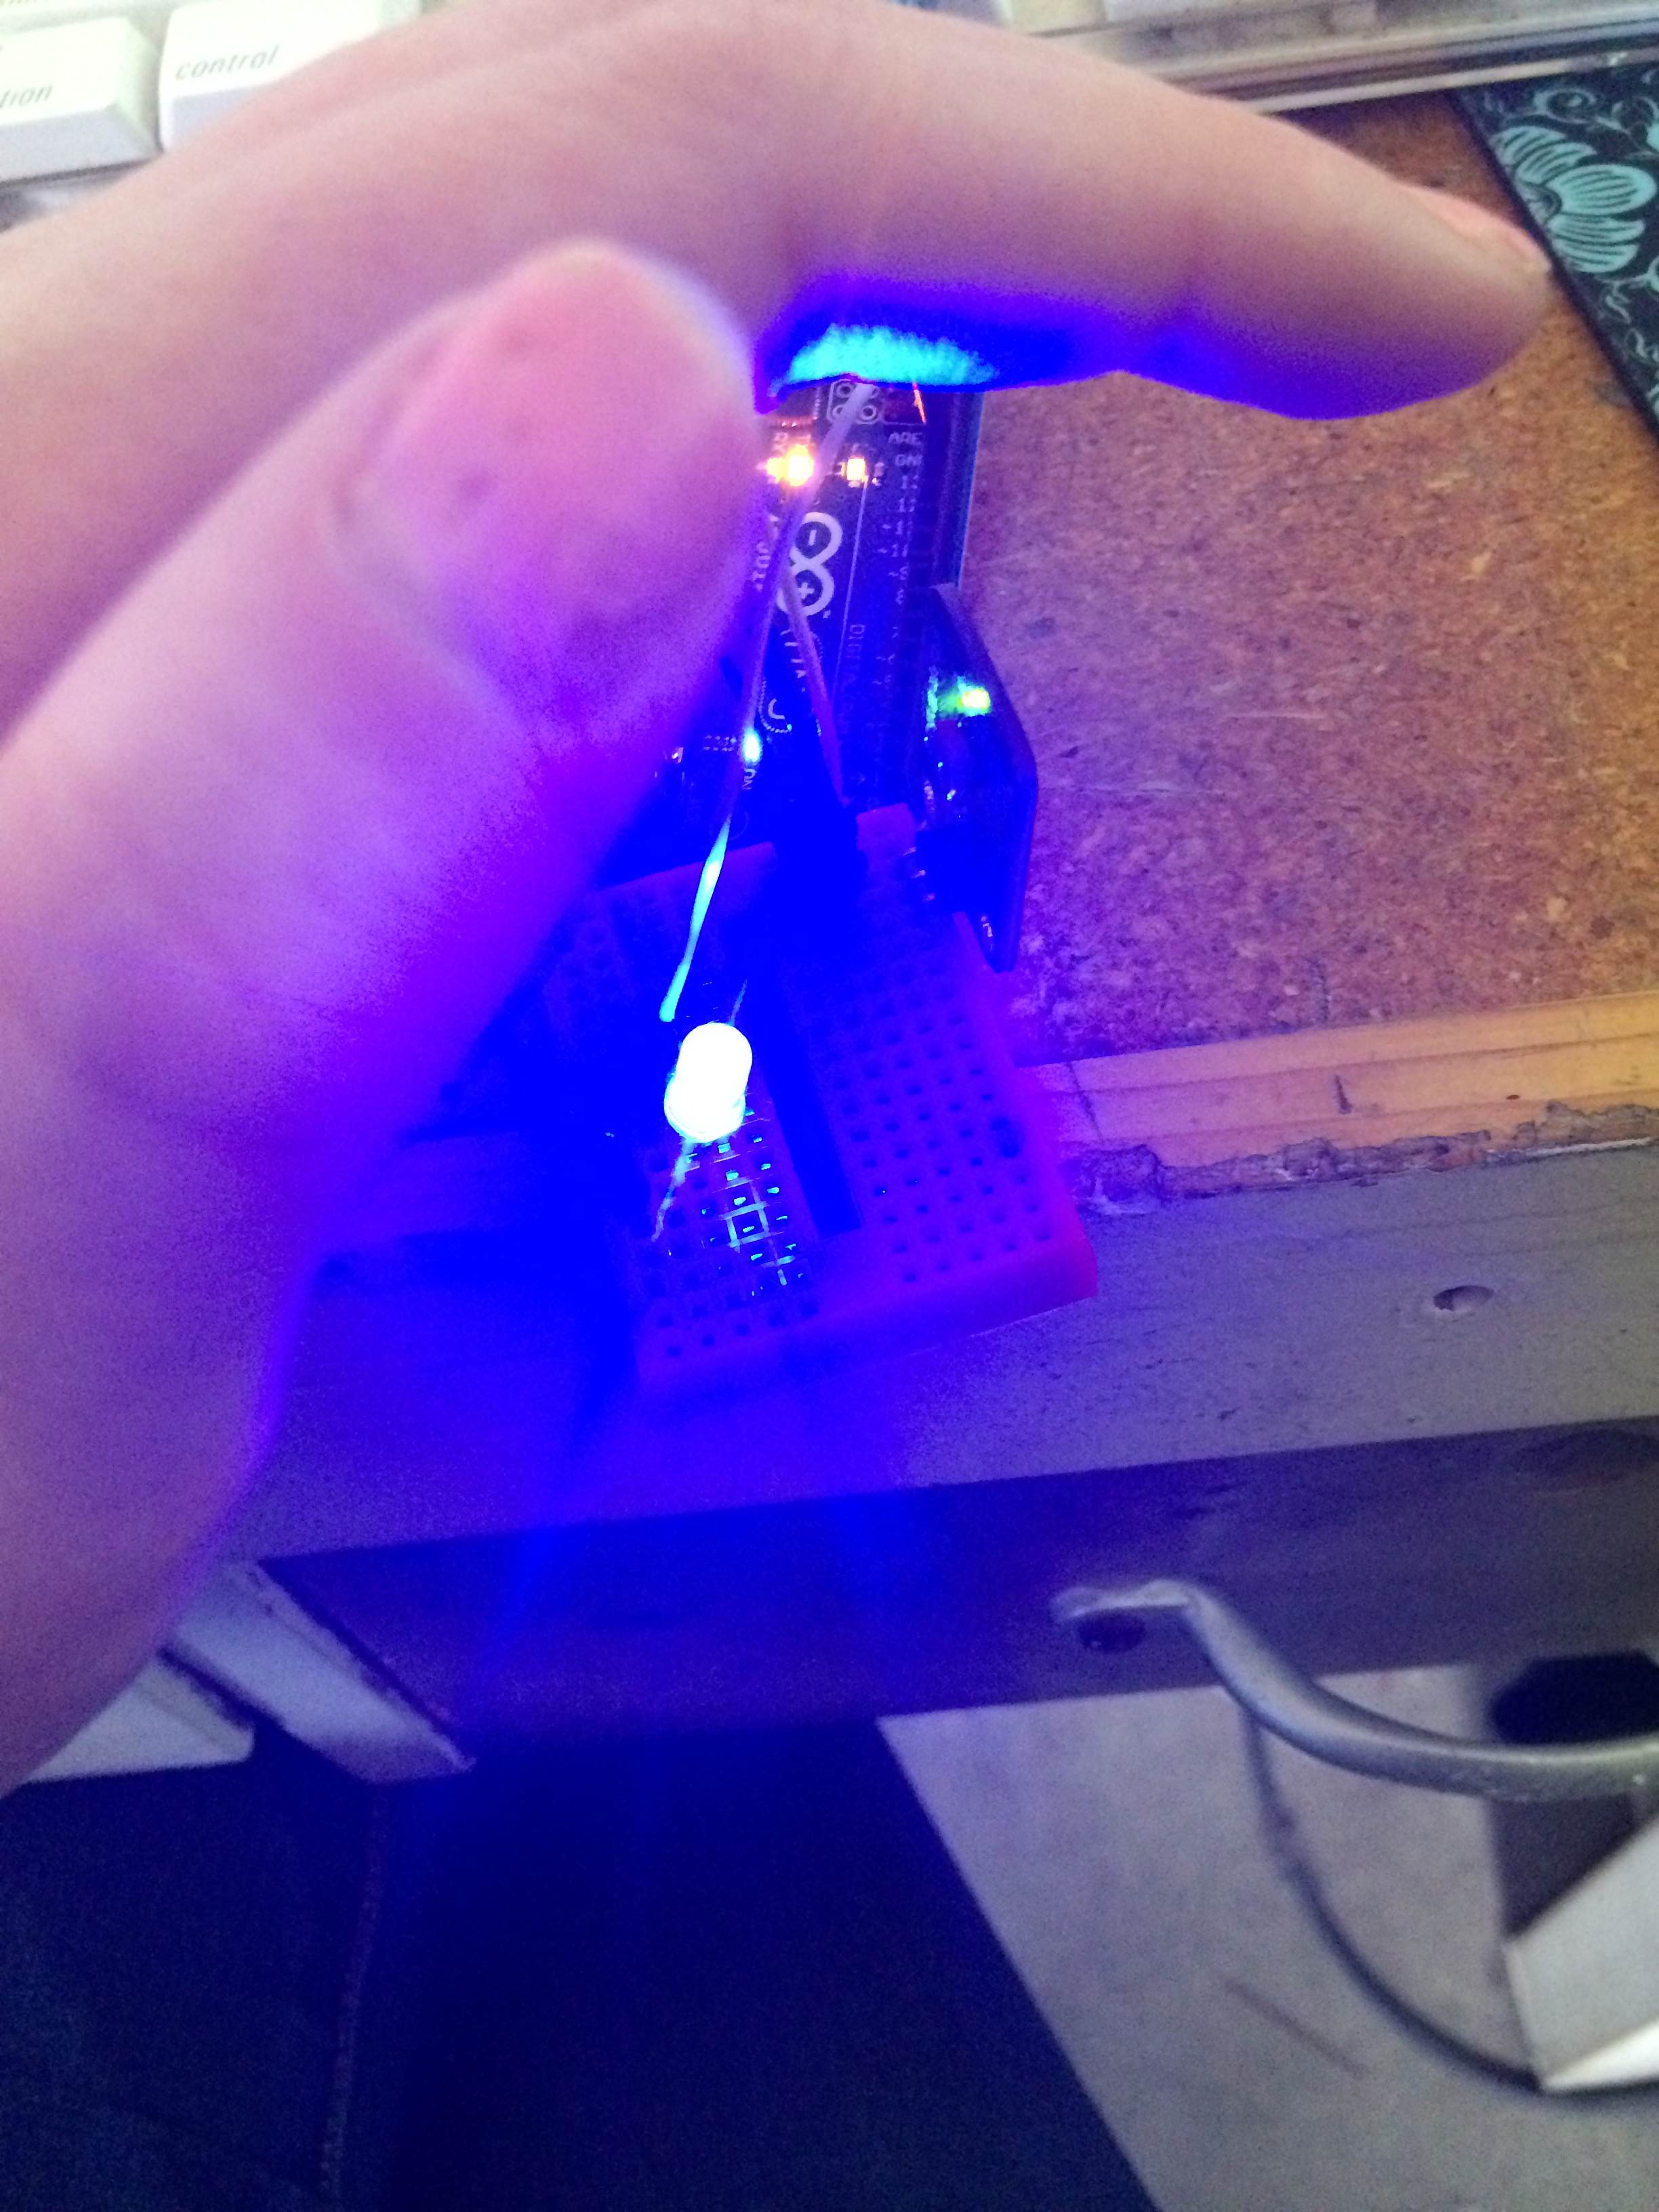
After completing this, we expanded on the concept through wiring our Arduino up to an LED, so this time the code corresponded to the LED light. After, I found a code online to make the LED fade in and out. Wanting to test my new knowledge of coding, I attempted to combine the Blink and Fade codes, which ended up failing. I still found other ways to play around with what I learned, however, such as by hooking up a second LED to the Arduino and modifying the code so that the two LED’s flashed at different times.

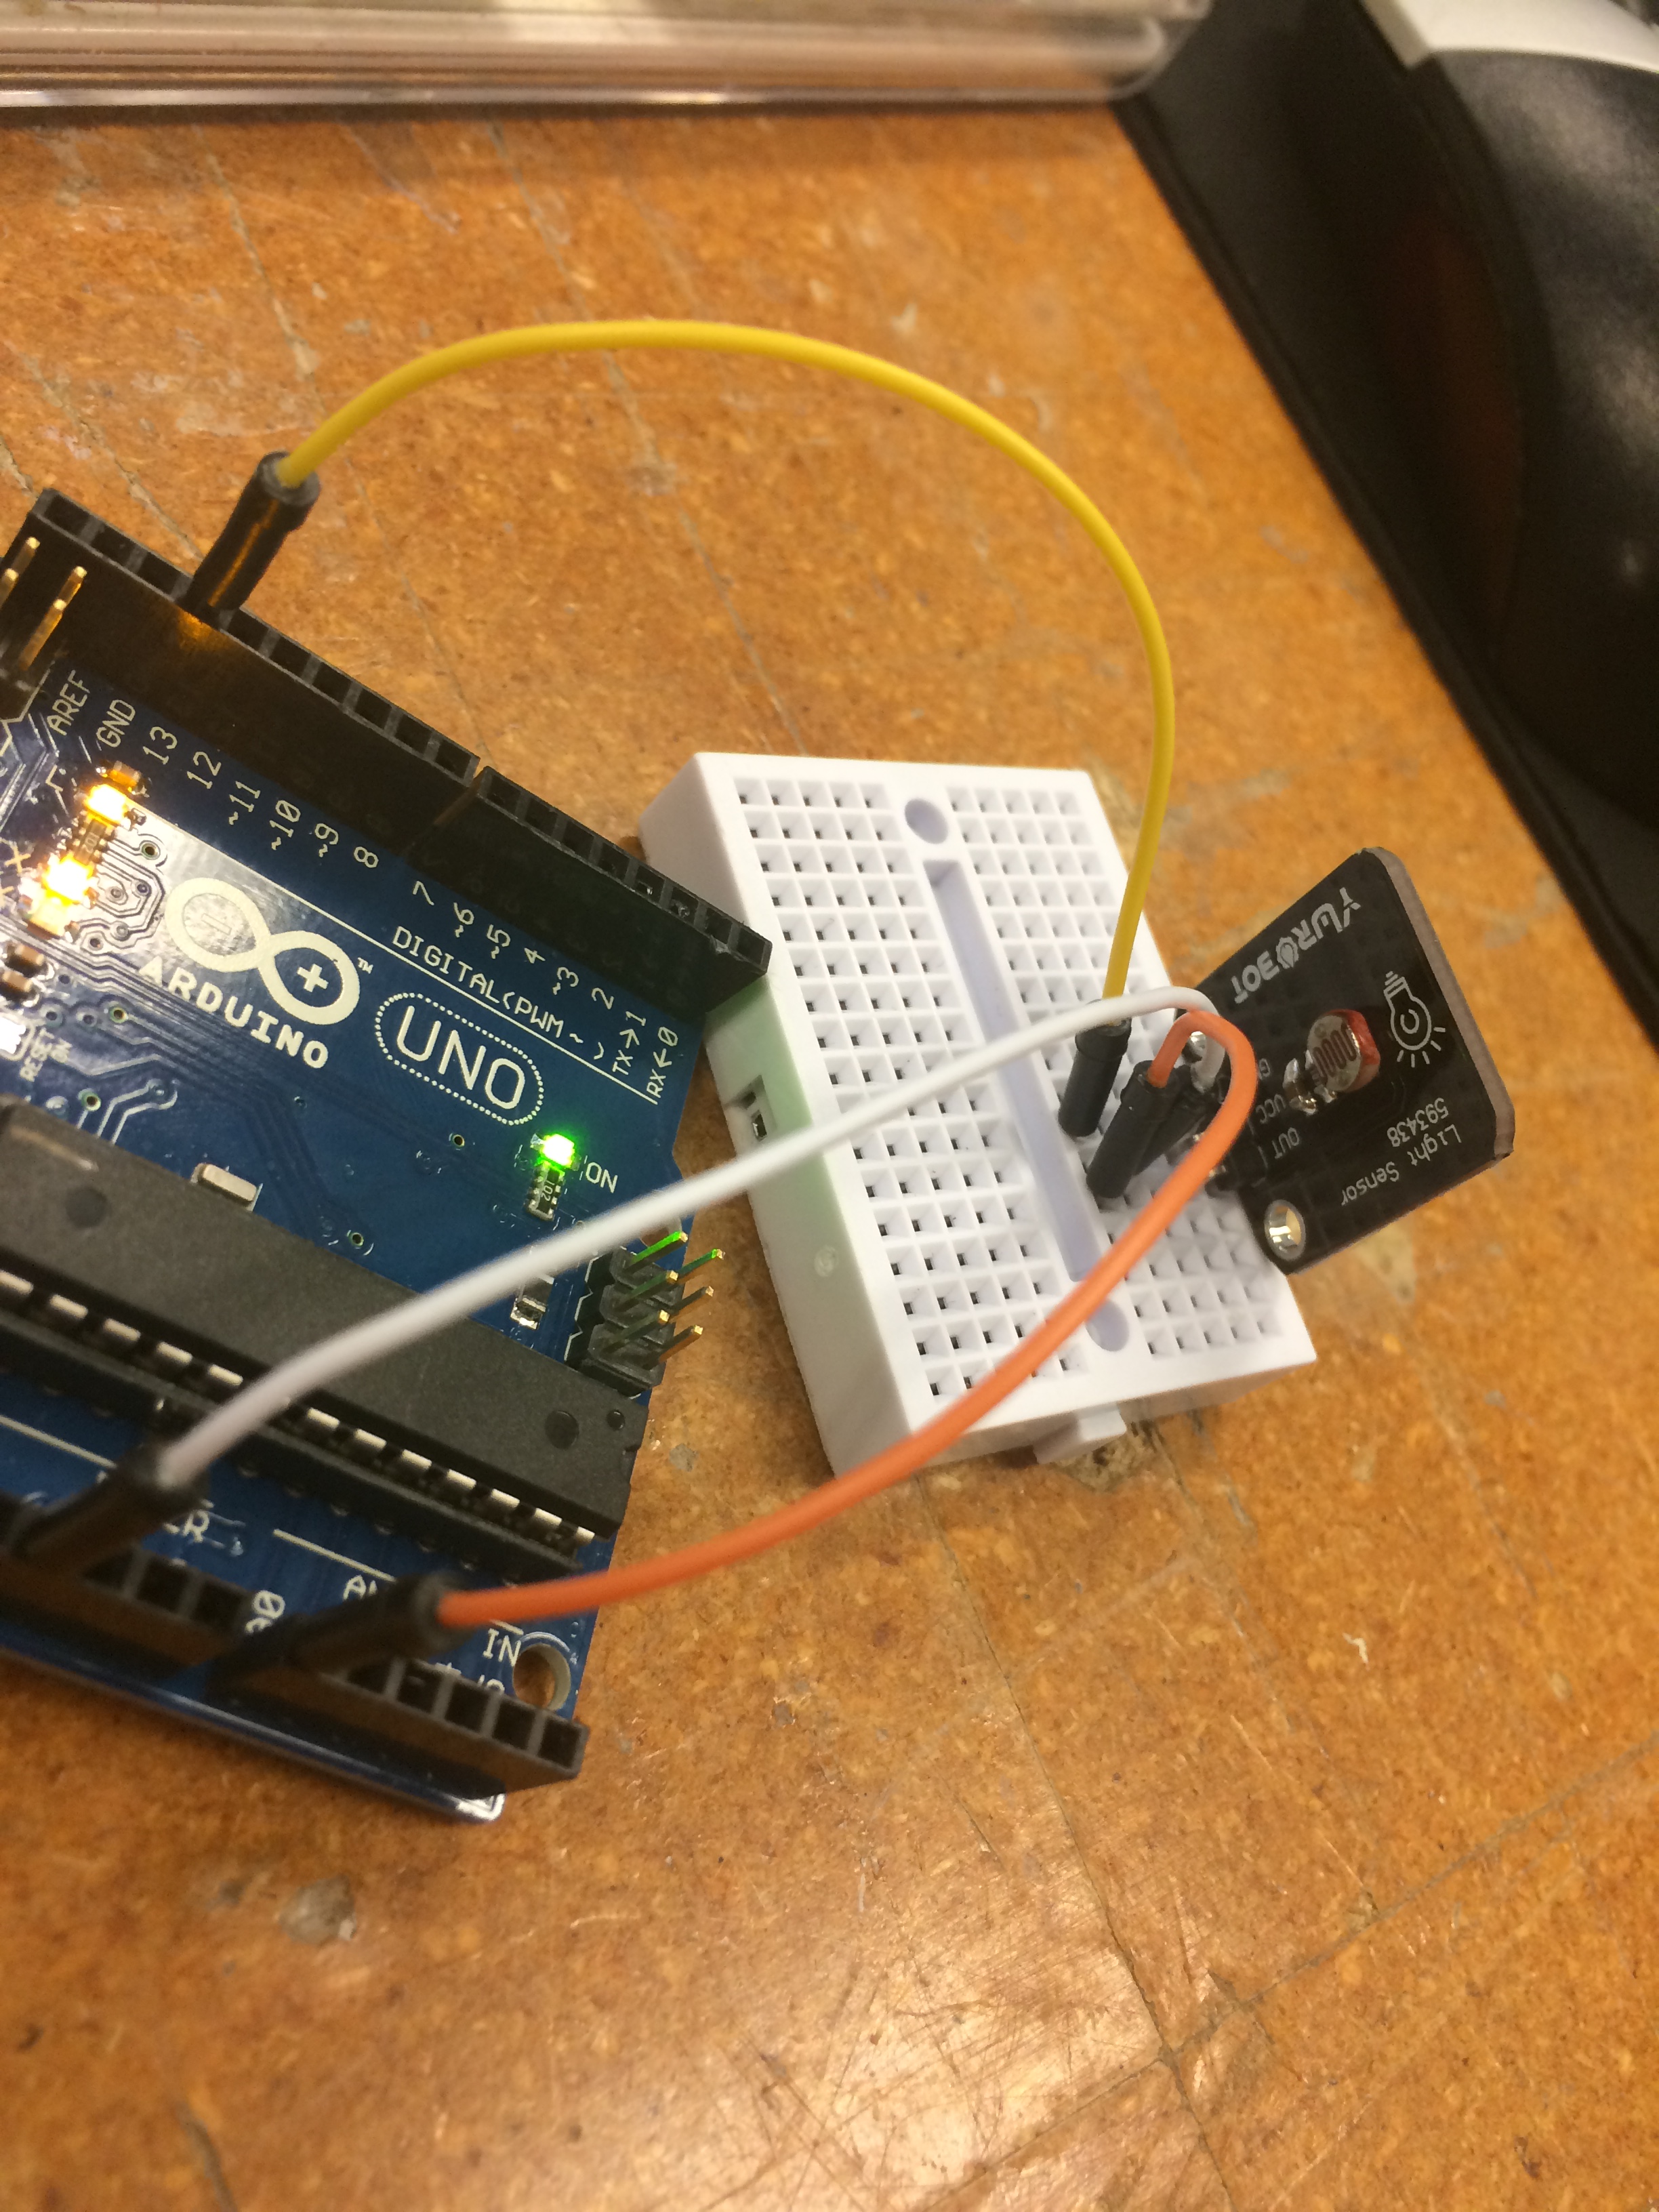
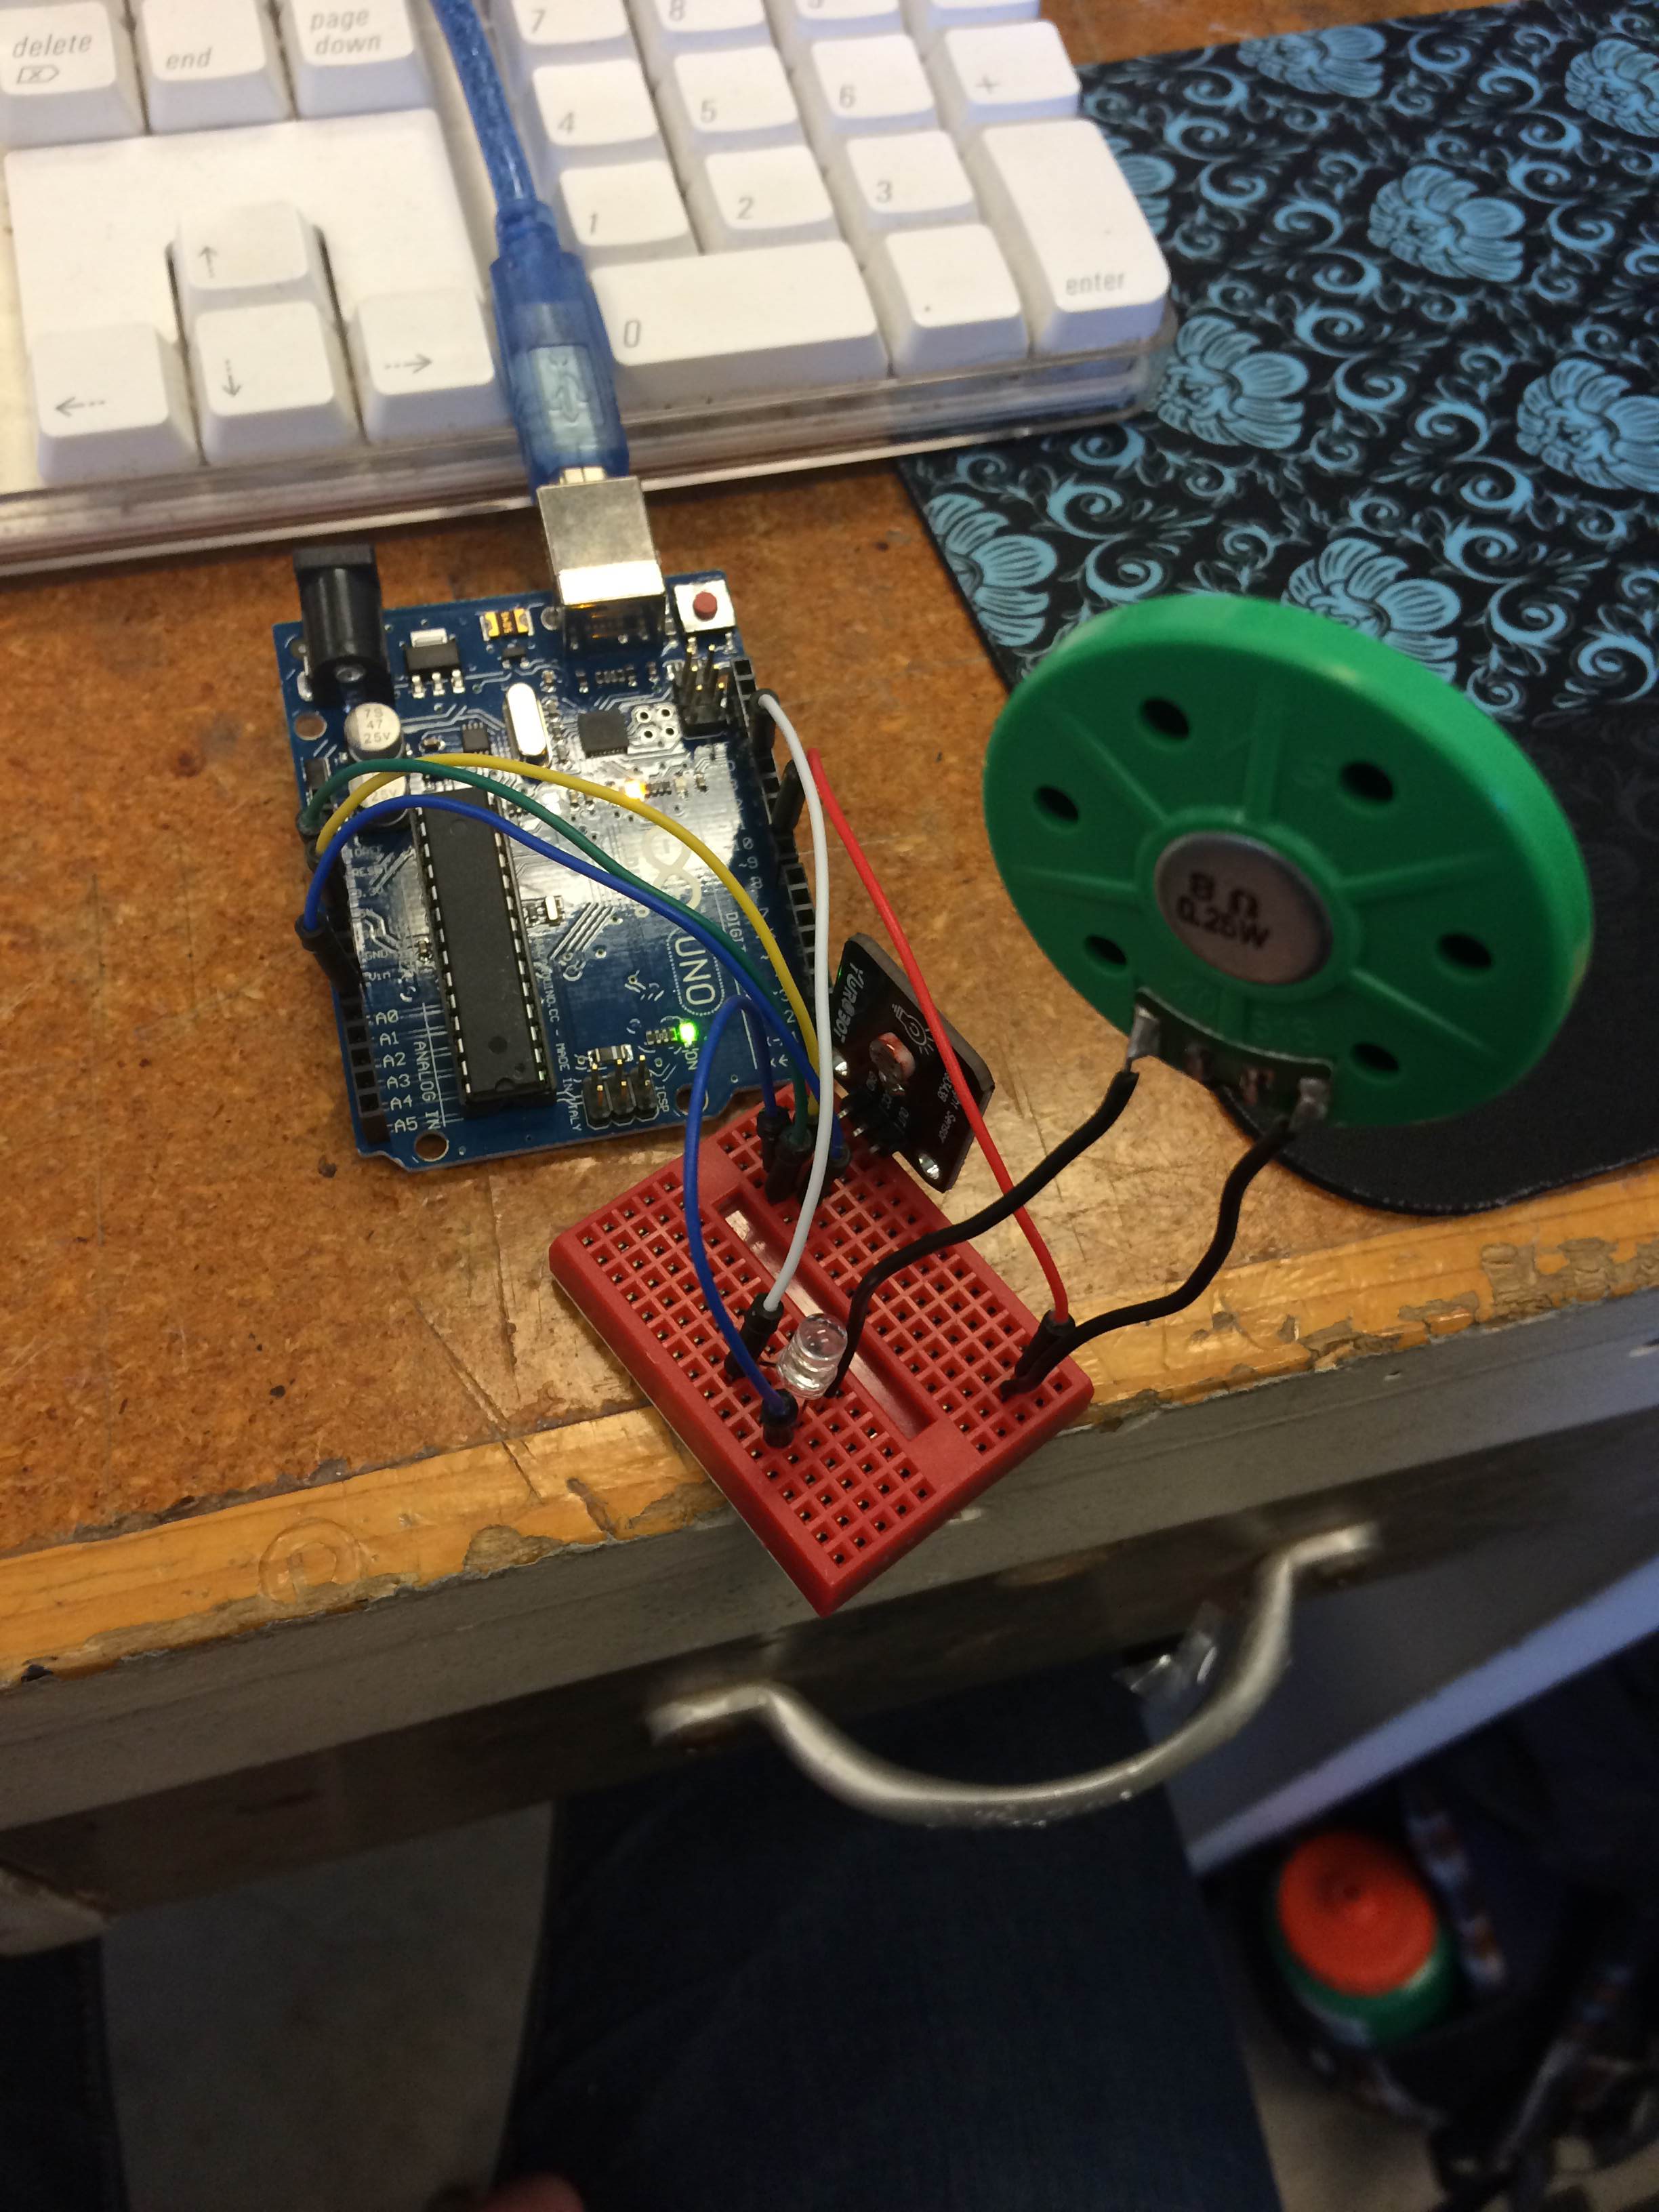
After playing around with LED’s, we were given light sensors to play with. With the code associated with them, they were able to pick up on data about how much light was around them. We then also had an LED hooked up and found an “if” function online so that when the light it sensed was above a certain level, the light turned on. We then reversed this code to program the light to be like an automatic nightlight so that when the light was below a certain reading the light would turn on.

Although coding probably is not my thing, learning about it made me realize that anyone now has the capability to add innovation to society. There are a lot of people with highly creative abilities who are now able to make their ideas reality because of the ability to just copy and paste codes from online.

Digital Making SP’ 15: What Have We Been Up To?

Ideation and Product Development

This entire semester, our class has been learning a great deal about the process of making and what it means to take an idea from early beginning thoughts to full execution. We had the privilege of having Professor Kylie Peppler from Indiana University speak with us about the Maker Movement. We’ve learned about the inherent value of thinking like a ‘maker’ and learning about the different ways that we can take a problem and transform into a tangible solution that can benefit others. Additionally, we’ve discuss the ideation process and learned how to approach the sequence of steps that it takes to actually develop a product. Design for America put on a workshop for us that helped us to see the different stages of innovation and how to ultimately get to your final product using principles like human-centered design.

3D Printing: Learning Platforms

Illinois MakerLab

Illinois MakerLab

Digital Making focuses on creating and making digitally through the medium of 3D printing. We have learned about a variety of different softwares that we can use to develop 3D models that can ultimately be printed at the Illinois MakerLab on MakerBot printers. The first platform we learned about was Tinkercad. This web-based tool allows users to easily create a model by providing pre-created geometries and basic tools to do things like create holes, construct letters and numbers, and modify the size/shape of the objects users work with. We then progressed to learn about Autodesk Fusion 360. This software is more sophisticated and allows for users to manipulate objects on many more measurements than a platform like Tinkercad and with greater amounts of precision. We also learned about a high-end software called Geomagic which essentially renders 3D scans, refines the scans with various tools, and parameterizes scans into models to ultimately be used in softwares like Fusion 360 or Autodesk Inventor. Gaining exposure to all of these different tools has been invaluable.

3D Printing & The Business Environment

In addition to learning about all the different methods and tools for #digitalmaking (also our class hashtag!), we took time to understand the implications that digital making has had and is continuing to have on today’s dynamic business environment. 3D printing is becoming the disruptive technology of the future that has great implications for production processes, procurement, supply chains, and much more. Additive manufacturing, a corporate extension of 3D printing processes, is helping to lower product lead times and helping to optimize product manufacturing by lower costs and enabling customization. One of the first things you learn in this class is that complexity is not an obstacle when it comes to 3D printing and many digital making methods. This enables the production of objects with complex geometries that may have not been possibly on a larger scale before.

Technology Immersion and Exposure

Champaign-Fab-Lab

Champaign Fab Lab


In addition to 3D printing and scanning methods, our class has learned many different techniques to make digitally. We’ve learned about arduinos and the use of e-textiles to create some very interesting things that require the use of circuitry and computer programming. Additionally, our class has been visiting the Champaign Fab Lab to learn and play around with other technologies. We’ve furthered our knowledge of how to use arduinos at the lab and we have also been playing around with digital embroidery and laser cutting technologies. Participating in sessions at the Fab Lab has enabled us to become makers with a myriad of new tools. As the course continues, we will continue to learn about technologies that are disrupting different making spaces and become more skilled in using these technologies.


Fab Lab – Week 2

This week in the Fab Lab I learned about arduinos. I was a little nervous at first because I didn’t know anything about them or where to begin in order to code them. I have taken an introductory computer science class, but it was awhile ago and I assumed the coding for arduinos was going to be harder.

I was completely wrong! Arduinos were nothing to be afraid of. They are very beginner friendly and a lot of the coding is available online.

Here’s an arduino for anyone who hasn’t seen one before:

2015-04-07 14.16.35 2015-04-07 14.16.45


We started with the simple blink program. As you can probably guess, a small light on the arduino blinks when you run the program.

It wasn’t too exciting, but it was a way to learn the basic steps of uploading a few lines of code to the arduino to make it do something. We also ran the fade code to see the same light fade on and off.

The next step was to connect it to a led light and run a similar code sequence to make it blink or fade. We used a breadboard to connect all the wiring and the led.

Here’s the completed sequence:

2015-04-07 15.16.09

Not too complicated. It kind of reminded me of taking physics in high school. The arduino was like a power source and the wiring connected to the light to complete the circuit. Of course there was no blinking or fading in basic physics circuits.

Next we learned how to use a light sensor. It is a very similar process as hooking up the led, but the output isn’t a light, it’s a bunch readings that show up on the arduino software.

Here’s the setup for it:

2015-04-07 15.54.13

I messed around with different light levels to see how high and how low I could get it. A reading of 0 means no light, so I covered the sensor completely so no light can reach it. And I was able to get a reading of just over 1000 when I flashed a light directly on the sensor. The room lighting read between 500 and 700 depending on the angle of the sensor to the room lighting.

We also were able to connect a led to the light sensor and told it to turn the light on or off depending on the light level (sorry I don’t have a picture of that setup – basically, imagine the last two setups on the same breadboard).

Overall, the main thing I learned about arduinos is that there is a lot of trial and error!

Just with the coding part, a lot of things can go wrong. I didn’t do much coding myself because a lot of it was online and easy to understand. But when I tried to add things in or change parts of the code, I ran into some difficulties.

Also, the arduino setups take a lot of trial and error as well. The good thing is wiring an arduino incorrectly doesn’t hurt the device in any way. I was very glad that I couldn’t break the device by running crazy programs on it because it meant that I can play around with it. Messing up was frustrating, but also expected.

I learned a lot in this class session and even incorporated some of it in my semester project, which will be posted soon!

Week 11 – Dabbling with Lasers

Lasers, baby. First time ever using a laser cutting tool this past week at the MakerLab and I couldn’t be more pleased with my work. I can honestly say this was the first time I had produced something that I was especially proud of in terms of the aesthetic look of my creation. I’ll explain why later.

IMG_0296

The machinery that printed followed the same trend of other printers. That is, it used x-y coordinates to accurately vector cut and burn into the material. This technology isn’t new but I am getting the sense that it is becoming more and more available to the amateur maker in the same way 3D printers and the smart stitching machines. The fact that these machines are becoming more and more available to makers all over have great implications for the maker movement. Namely, the paradigm of making power is continuing to shift in the direction of the small guy.

IMG_0299

Daenerys Targaryen is my love

So what did I use the laser cutter for and why am I so proud? So in honor of tonight’s season premier of Game of Thrones, I decided to print out a graphic that I made of my favorite character (and crush) form the show, Daenerys Targaryen. The process was extremely simple but it did take some toying with in terms of saving the file and setting up the printer up correctly. It took me two tries to get the above piece 100% correct. I made a slight error and didn’t vector cut a square so the art was just burned into a large plane. Isn’t she a beaut?

IMG_0297

Birthday gifts are always a hassle, at least for me. This is why I am stoked about the above cut that I made using the laser cutter. I printed a cut of the country Lebanon with the focal piece of the national flag right on top. My dad is from Lebanon and even though this piece isn’t exactly useful for much or easy to display, I thought the wood and the burnt edges made the cut be especially meaningful considering the country is known for her great cedar trees. Look at me, trying to be deep!

I’m looking forward to returning to the maker lab two classes from now!

Stitching of the Future

The Fab Lab proves itself “fabulous” yet again. This week we did digital embroidery with Jessica. To start, we found a picture online of a silhouette. I chose a picture of a tree. We then uploaded the photo onto an application called SewArt where we could play around with the color and size. When we were finished putting our own touch on it, we saved it as an embroidery file. It was a fairly simple process.

The sewing machine then inputted the image and was able to copy the pattern onto the bobbin. If multiple colors were used, the machine would tell you what color was needed to make the design and you would put in the thread.

One thing I struggled with in the beginning was threading the machine. I couldn’t seem to get it on the hook that pushed the needle up and down. After I figured that out, it was smooth sailing. The progress of the embroidery is shown below:

IMG_1268

  IMG_1270               IMG_1273

All in all, I really enjoyed today’s class; digital embroidery is pretty cool. It is much faster and takes up less physical labor than hand embroidery. However, there are some drawbacks such as not getting a good quality design. For instance, there was someone who tried to make a playing card and it had too much small detail that it didn’t show up well. The design processes are a bit different, but I think the digital method is much easier.

Stitching @ FabLab!

Do you know the company brand “Brother”? Yes that company that sells printers. I thought they only sell desktop (paper) printers? However, they sell printers that “print” using threads!

At the UIUC’s FabLab you can find multiple of these printers! One of these I used today!

  1. The first step was to find a picture you wanted the printer to stitch. It should not have to many details. I started with a simple drawing of two hearts.
  2. We loaded that picture into the program SewArt. A software that converts a jpg, png, etc. into a specific file format for the printer.
  3. Basically we used the tools “Color Reduction” and “Merge Colors”. That is because we don’t wanted to stitch 250 different colors. We tried to simplify the image to use about 5 different colors.
  4. Then we saved the file using “Stitch image” and Fill and Auto-sew Color.
  5. The file is then loaded to the printer, which appears as disk on the computer.
  6. The file will then appear on the printer’s display. And you can start sticking!

Stitching

Arduino Fun

When I first signed up for this class I thought it would focus only on 3D printing, but this past week we visited the Fab Lab in Urbana where my group got to work on tinkering with Arduinos. We were introduced to the Fab Lab staff; most of them were previous students and then Virginia and Colten led us through some basic code and set up for the first half hour of class.

The first thing we did was set up the board to make an LED light blink. I’ve never worked with anything electrical before so it was a really awesome experience to see that type of process and the code that makes it happen. We were given a breadboard, a light, an Arduino Uno board, and some wires. All that was needed was to plug in the wires to their respective ports and the LED light into the breadboard. Next, we added a light sensor where you could changes its sensitivity. The lower the sensitivity reading was the less likely it was to blink. In order to make it blink you would have to cover the light sensor with your palm, given that the sensitivity was low. After the light sensor, we began to work on putting a speaker into the board. It just needed to be plugged in correctly and it would start to beep. We were also able to change the sound level and tone.

IMG_1253    IMG_1256     IMG_1257

With about an hour and a half left of class, we continued to play around with Arduino and Virginia showed a few of us how to solder wires onto a magnet. The soldering station is pictured below:

IMG_1258

I learned a lot while at the Fab Lab and I’m really looking forward to what’s in store next week!

A Dab of the Fab Lab

I was at Denison University (a small school outside Columbus, OH) this past weekend visiting a friend, when I noticed that he had a 3D Printed version of the European Cup (for soccer). A small conversation about 3D Printing ensued and I came to learn that his school, home to over two thousand students had a just one 3D Printer, a MakerBot Replicator 2. The software resources weren’t fab either. The weekend made me realize how lucky I was to have attended Illinois for the past three and a half years, but it also made me regret not having been able to make use of some of the really awesome resources, like the fab lab.

I spend a good twenty hours a week working at the ACES Library, not even a block away from the lab. I even park right outside the entrance to the fab lab, always thinking of the somewhat old exterior as something that probably housed a pesticide laboratory.

Alas, it is one of the coolest buildings on campus! I did not have the opportunity to explore every nook and corner of the space in our one session there, but I am really excited for the next two sessions. The group that I was part of was learning about laser cutting, a tool/process that can be used in a wide variety of fields, from notebook engravings (which we did) to milling pieces of wood or metal right down to the wire. A friend of mine in India decided to go the entrepreneurial route after college and now sells notebooks and other easily customizable objects with her artwork printed on it and I have since had a conversation with her discussing new possibilities for her business if she were to incorporate laser cutting (which she now certainly plans on doing).

I only got a glimpse of what Lin (from our class) was doing last week in the digital fabrication area of the lab but it was enough to get me, and keep me, excited till the next class, where I have some cool ideas for what to ‘print’ out.


Week 11

This week we had a class at a wonderful place called FabLab. Essentially, FabLab is a maker place with many resources such as 3D printers, 3D scanners, sewing machines and many other cool things. As I understood, FabLab is divided into 3 sections: 3D printing, arts&crafts and electronics.

fablab


So, this time again I worked with arduino at the electronic section. This time I learned two very cool things that can be done with arduino. First, I learned how to install a sensor chip. I made a light bulb to turn off when I cover the sensor and turn on when I don’t cover the senser. The second feature of arduino that I learned was the sound. I installed a sound device on arduino which later I connected to a senser device. So, I was able to control the level of the sound by placing my hand closer or further from the sensor.

ard

Next time at FabLab I am looking forward to try making something new. Hopefully will learn some skills that will be helpful for Make-a-thon and develop some ideas to get a head start.

Week 10 – Stitching @ the FabLab

IMG_0263

3D Printing except with textiles! Also I guess it’s technically 2D printing. Anyways, that’s what I worked with at my premier FabLab experience last week. A few of us had already messed around with Arduinos so we were moved to the sewing machine stations. We were explained that the machines were purchased late last year after they saw how they could be powerful making tools that could enable just about anyone no matter what sewing aptitude. Here are some of my biggest takeaways/observations:

  • The sewing machine was operated like a 3D/standard ink printer in that it put design onto the canvas based of off coordinates
  • The process is accurate, but not 100% accurate
    • volunteers showed examples of hand stitched embroidery by professionals which showed how the machine could only be so detailed
  • The process was fast!
  • Colors add a painless complexity to the process (takes more time, have to switch out string)
  • Possibilities are endless
    • In terms of patches, this empowers students to make whatever they want. For instance, I have the idea to make a team USA soccer patch. Besides ordering one online, I would have never believed I could make one for myself for $5
  • Could make for a great present!
    • The cost to make a patch is a couple of bucks. I’ve already brainstormed possible gift ideas (mostly sports patches for my younger brother’s backpack)