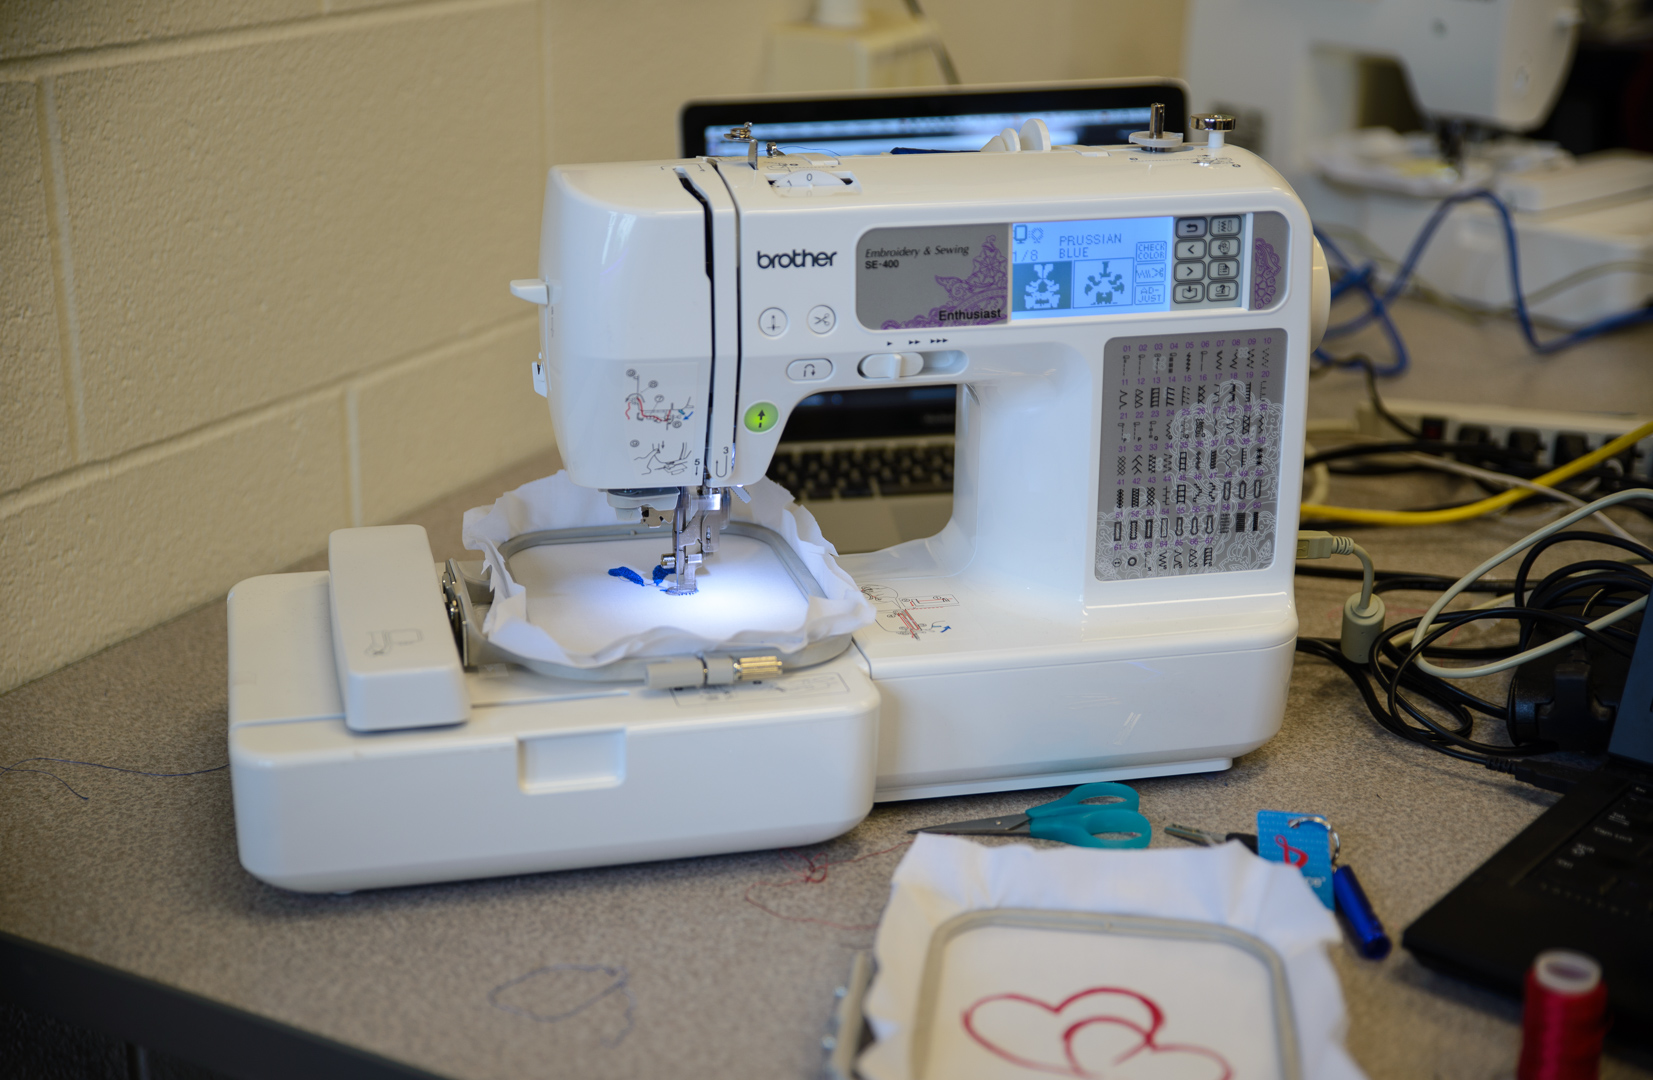
Do you know the company brand “Brother”? Yes that company that sells printers. I thought they only sell desktop (paper) printers? However, they sell printers that “print” using threads!
At the UIUC’s FabLab you can find multiple of these printers! One of these I used today!
- The first step was to find a picture you wanted the printer to stitch. It should not have to many details. I started with a simple drawing of two hearts.
- We loaded that picture into the program SewArt. A software that converts a jpg, png, etc. into a specific file format for the printer.
- Basically we used the tools “Color Reduction” and “Merge Colors”. That is because we don’t wanted to stitch 250 different colors. We tried to simplify the image to use about 5 different colors.
- Then we saved the file using “Stitch image” and Fill and Auto-sew Color.
- The file is then loaded to the printer, which appears as disk on the computer.
- The file will then appear on the printer’s display. And you can start sticking!