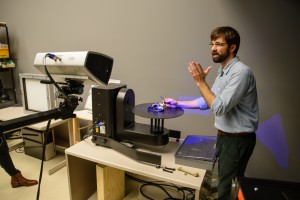
We were already well into the first month of class, and I still couldn’t decide what I was going to do my semester long project about. Then Vishal told us we were taking a field trip to the Beckman Institute of Advanced Science and Technology, with the assignment of bringing an object to 3D scan. I racked my brain for a while trying to come up with an object that was interesting and maybe held potential to be turned into something more.
 Then later, at track practice, my coach suggested trying to scan one of the handmade gloves we use to race. Usually the gloves take hours and hours to make- custom fit for each racer, not to mention their 350.00 dollar price tag. One pair will last a long time, but since they are so unique they can never be exactly duplicated. This sounded like the perfect kind of item to try and scan, because having a 3D model that you could print over and over again would open up many possibilities.
Sebastian and Mark were also interested in this project, so the three of us set out to try and make the world’s first 3D printed wheelchair racing glove!
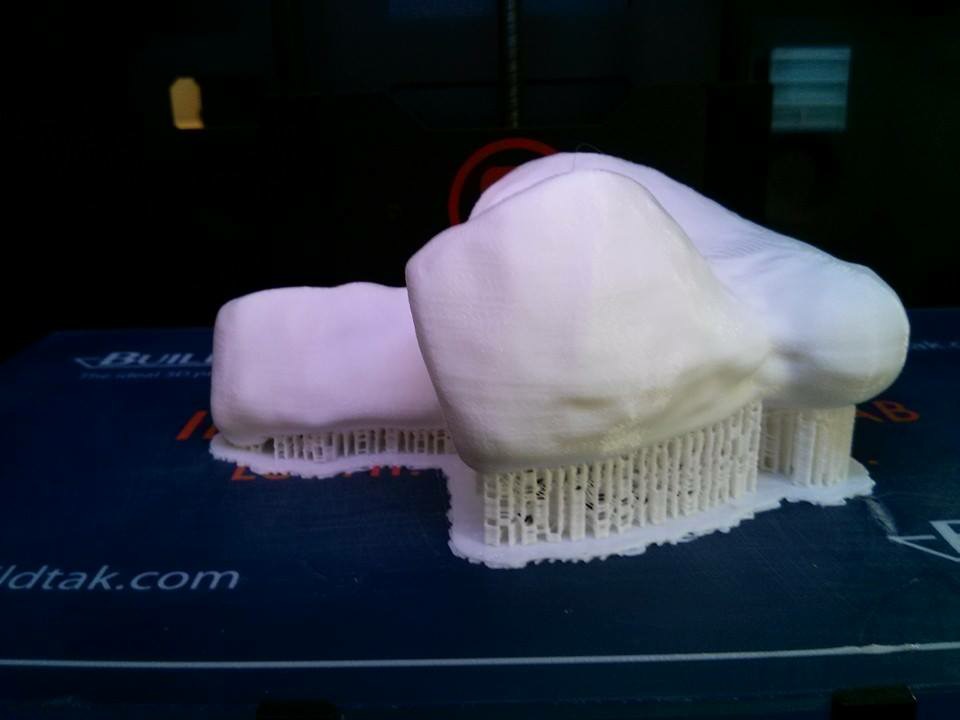
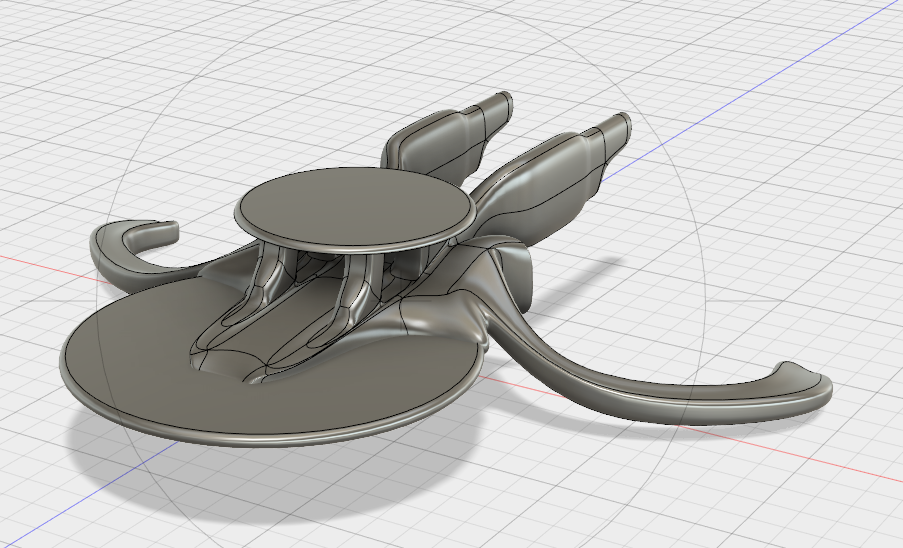
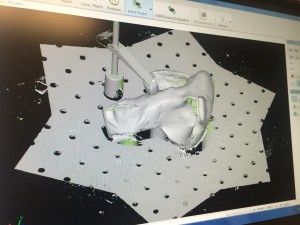 After Travis (from the Vis Lab over at Beckman) completed the scan and cleaned up the glove file, we were off to work! We were incredibly lucky and barely had to manipulate the design at all in Geomagic because the scanner was so precise. Surprisingly, the very first time we tried to print our glove, it worked! Afterwards, when trying to make duplicates, we had a lot of trouble positioning it correctly on the raft so print would not fail, but eventually we figured out the best angle and direction to place the glove in order for the prints to continuously be successful.
Once we had our first printed glove, we got to work testing it. I added the additional materials needed to generate grip when pushing at high speeds- some suede and rubber- and encountered a little trouble getting these materials to stick to a different kind of plastic than I was accustomed to.
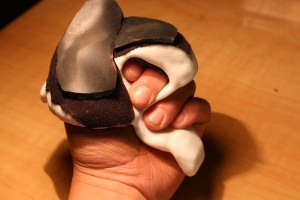 Once I discovered that using contact cement was the best method, I started putting the glove to good use! We were very excited that the glove held up after just using it for one training run, but we’re happy to announce that the glove is still working perfectly after over 200 miles of force and exertion.
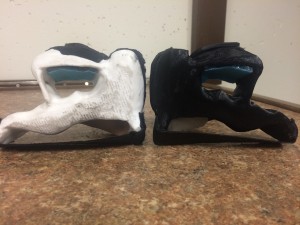 The next step was mirroring the 3D glove file in order to print another glove for my right hand. Once we figured that out, I added the same extra materials and used the gloves to race in the 2015 Boston Marathon. They worked beautifully!
The things that make this project so successful though were all of the benefits we discovered after the prints proved their durability. For one thing, the plastic that we printed with is incredibly lightweight. My original gloves weighed 174 grams each, and the printed glove only weighs 70 grams. It may not sound like much, but this, I’ve noticed, makes a significant difference when using the gloves to climb hills and push at high speeds. Their lightweight quality also aids in injury prevention. It is common among wheelchair racers to get tendonitis in the wrist from overuse, but the 100 grams that the printed gloves shave off put less stress on the tendons and hopefully decrease the risk of injury. The cost is another great advantage! To print a single glove cost only 4 dollars, that’s a lot of green left in your pocket from the original pair costing a minimum of 300 dollars. The replicability is probably the greatest benefit here though. The fact that you could print multiple pairs of gloves for different weather conditions could be a huge advantage when racing. Some of the world’s best athletes lose important races because they weren’t prepared for the conditions, whether it was rain, humidity, or even snow. Now that we found a way to print the perfectly fitting glove, it is possible to make many, many varieties.
Our next step is to help everyone on the University of Illinois’ Wheelchair Racing team to get their own pair of printed gloves! We’ve started scanning more and more pairs and the team is getting excited. Eventually we would like to discover a process to create a pair of gloves from scratch- just by scanning an athlete’s hand. Over the summer we will continue to explore different methods so potentially people all across the world could buy a pair by simply sending us a file of their scanned hand.
We are very excited to continue pursuing this project, and hope to see it keep growing into the future! The uses for 3D scanning and printing are endless, and it is so thrilling to be a part of discovering why!


