Week 4: Complexity is NOT an Obstacle

Coping with Viewing Myself in 3D

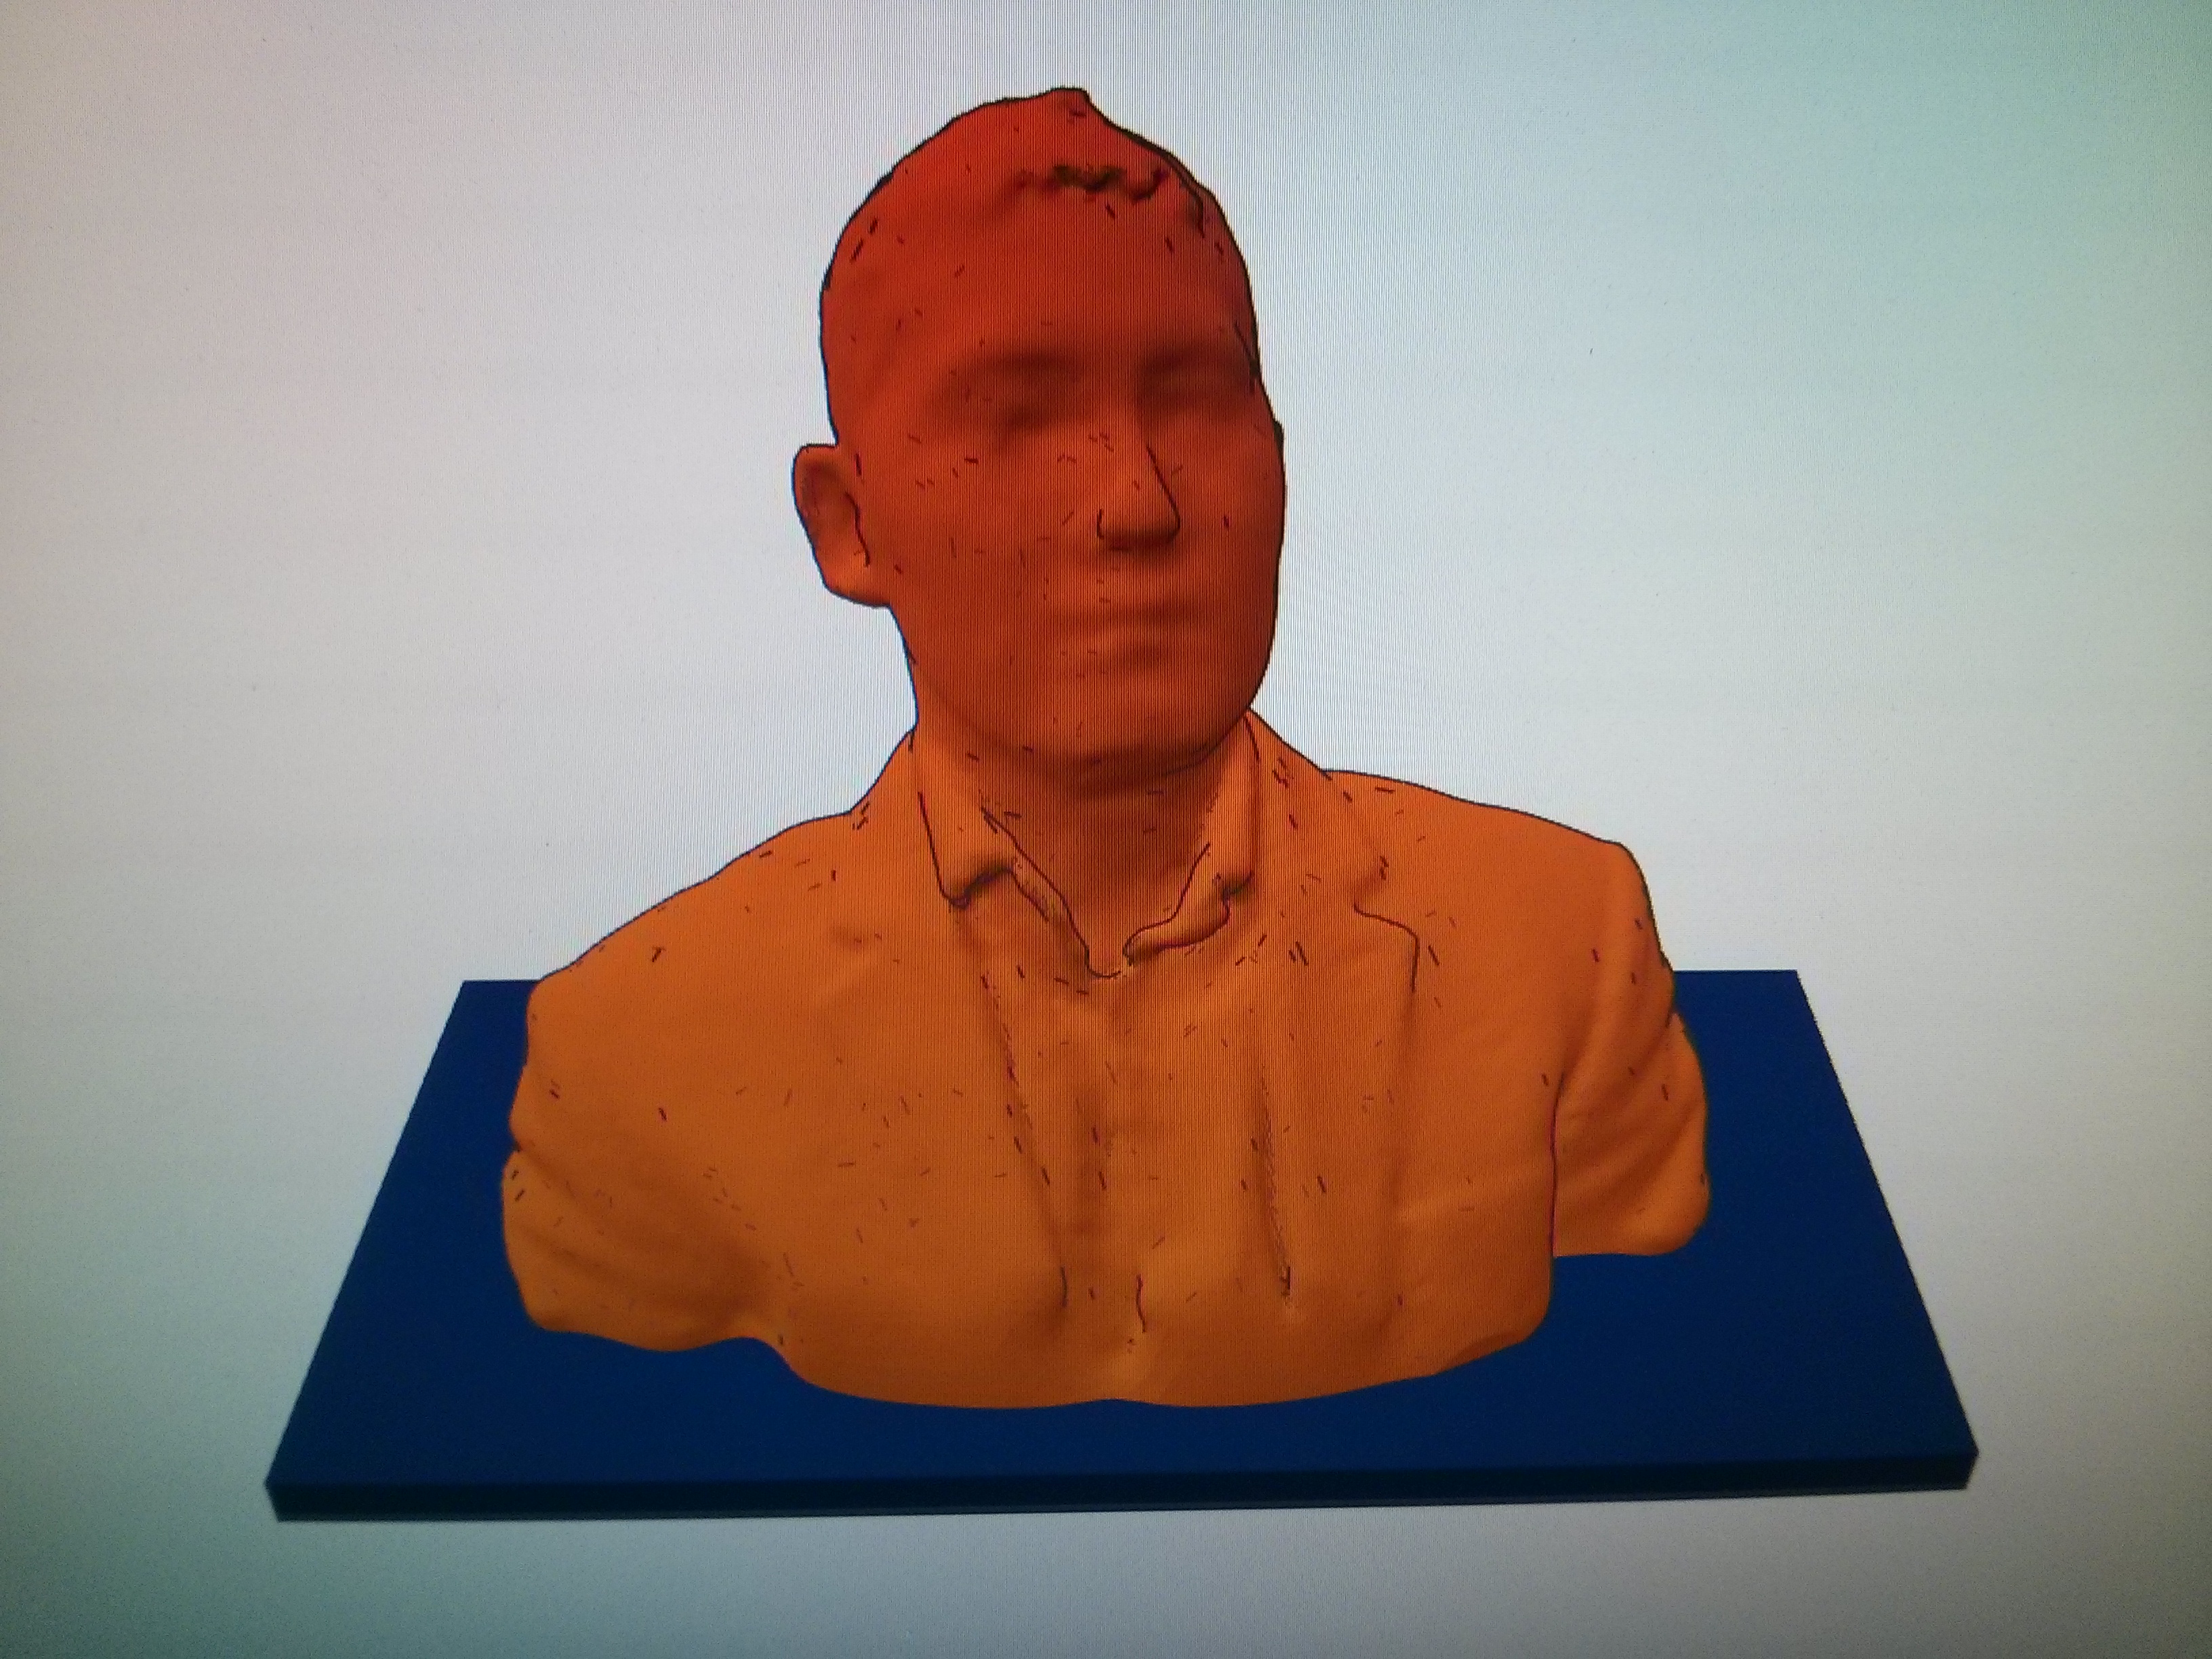
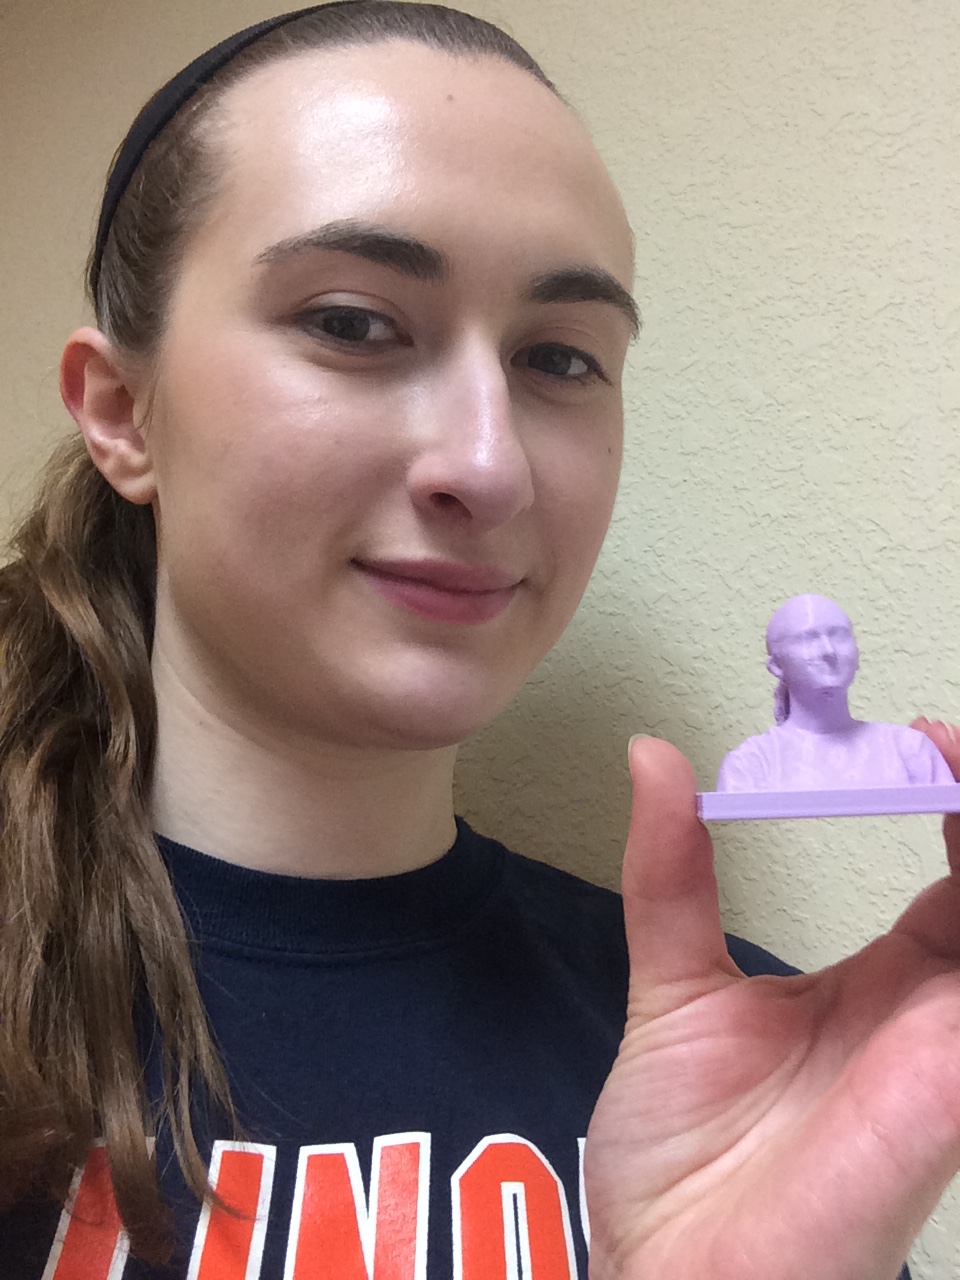
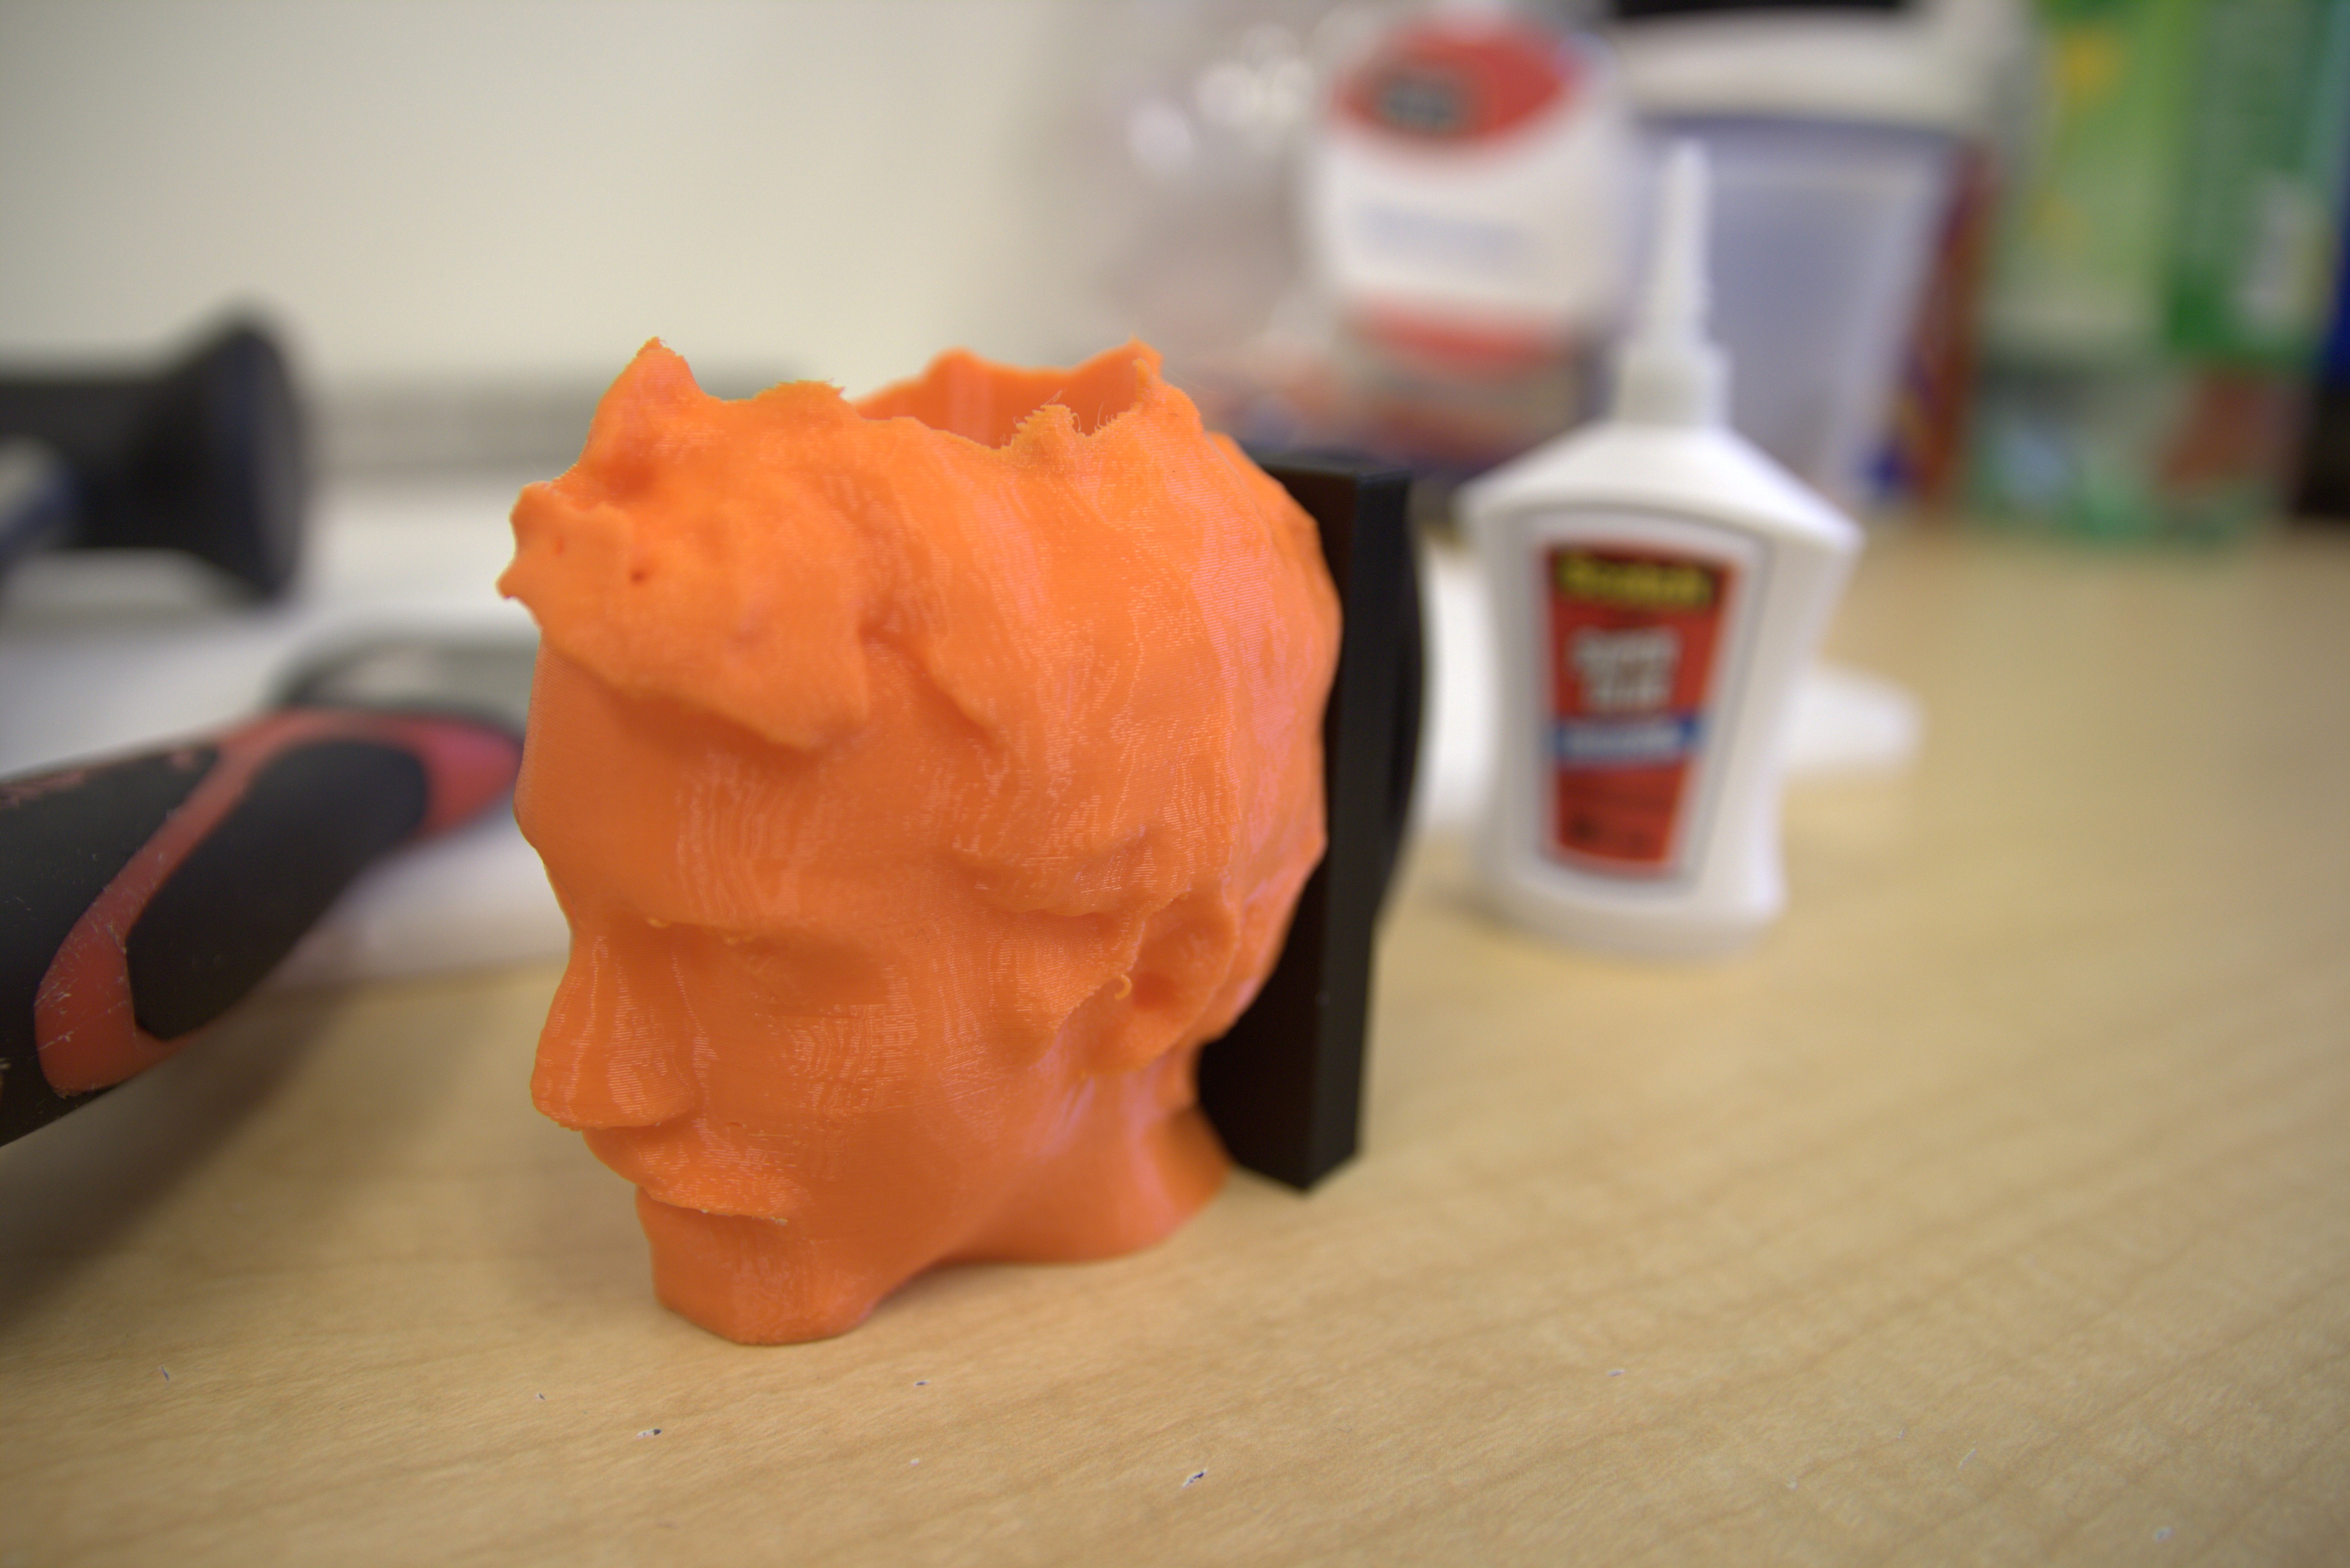
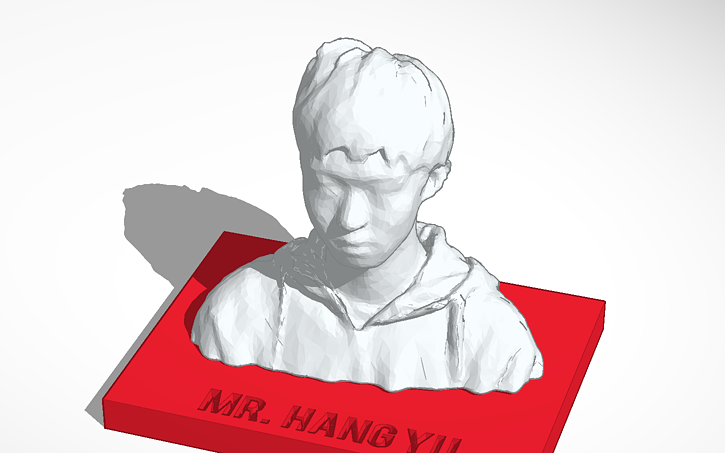
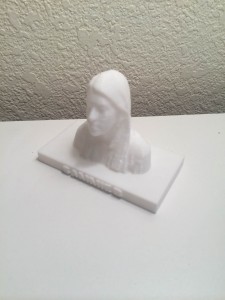
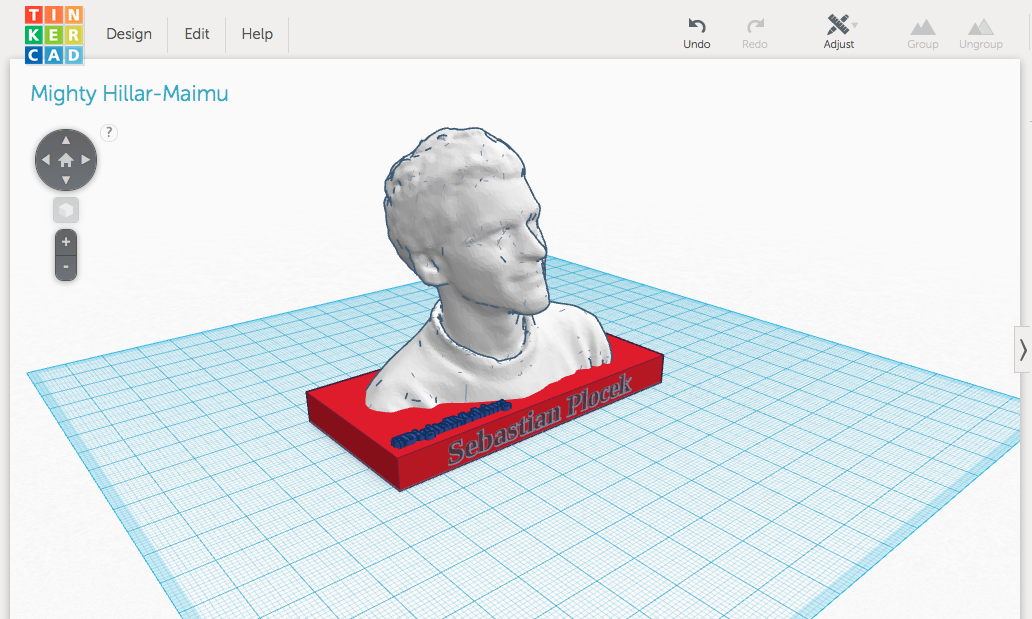
This past week, our class had the privilege of digitally scanning our upper torsos to create OBJ & STL files that could be edited in softwares like Tinkercad and Fusion. The digital scanners captured our profiles with an incredible amount of precision; I was astounded by just how accurately the scanners captured us. Learning how this occurred and how the scanners aggregated the millions of points in space to create thousands of surfaces that eventually round out to shape the desired object was remarkable and frankly mathematically intriguing. Thinking of how a plane is formed and the parametrization that can form it provoked me to think about how exactly these surfaces are forming; are these points creating a multitude of vectors that help to create a plane? After my OBJ file was generated, I spent a great deal of time simply playing around with the file in MakerBot and marveling at the accuracy by which I was recreated on a computer.

Me in 3D

Digital Making: Moving Forward with Digital Scanners

As I continue to to develop more ideas for objects and things to make, using digital scanners will definitely become a routine part of my making process. Letting ideas grow off an object that already exists will be a great way to create not only practical things, but also to get an idea of how different dimensions look in softwares like MakerBot and Fusion. I’m still learning how to get a relative idea of size and how computer design can translate into something tangible that’s printed. I’m very excited to be able to scan other objects, because this also enables you to create AROUND them, which can lead to the development of useful accessories and companion items.

Precision and Complexity in the Future

The fact that a digital scanner was able to accurately produce a 3D file of myself really gave me a solid understanding of just exactly our professor meant on the first day when he continued to reiterate that complexity was not a concern for 3D printing. The 3D printer’s ability to produce objects with intricate structures and unique frameworks gives another reason for manufacturers to adopt additive manufacturing as a process. The product possibilities are infinitely expanded by being able to create something positively (adding material) as opposed to negatively (removing material). I am positive that as additive manufacturing begins to scale and become more of an influential force with suppliers, companies will begin to capture segments of markets in ways that were previously not feasible. Customization and personalization, a growing need for consumers, is at the crux of the maker movement in the realm of enterprise and will continue to be a huge selling point for why manufacturers should adopt additive practices.

Week 4: 3D Printing myself

I have never thought that one day I would be able to print myself. But, last week I got a chance to do that. It was pretty exciting. First, we had to scan each other using an Ipad or a special scanner connected to a computer. After couple tries the scanning process was successful and I was able to save it and open it on tinkercard. This is the scanner that I used.

IMG_20150210_153737

Next, I added the base for my model and played around with colors creating Illini spirit. I thought that I would be able to print my model in two colors, however I forgot that we can only use one color. The shape of the model was nearly perfect, so there was no need for adjustment.

IMG_20150210_155059

Then I saved my model and sent it to the 3D printer. I waited a little bit before it started printing and then picked it up the next day when it was ready. The result was great, I liked my model.

IMG_20150210_173014  IMG_20150211_172156


This experience had a significant impact on me, because I realized the power of this technology and what can be done with it. Essentially, this means it is possible to scan any object and replicate it through 3D printing. I think the combination of 3D scanning and 3D printing will be a powerful way of finding new solutions for existing problems. I believe that this know how will be especially useful in organ printing where most of the times the exact copy of the existing organ is needed.


Week 4

This week’s class was my favorite so far. I got to directly use a 3D printer! I’ve watched things being printed in the lab before and recently learned how to make designs, but this week I did the whole process in a few hours.

We started with learning about scanning objects. And then we found out the project for the day was to 3D print our own heads! I was excited to get started.

Scanning people turned out to be quite difficult. For example, my nose would not properly scan in unit about the 5th try, but then my chin wouldn’t process, then the top of my head. Basically, scanning requires a lot of patience.

It was fun to see how this technology worked. I never realized that it was possible to digitalize an object with one device. Plus, it was relatively easy to use in terms of the editing process. Once I finally had a scan that had all of my face in it, the flyaway hairs could be virtually cut off in seconds.

The next step was to take the file from the scan and edit it a bit more in tinkercad. This was quick and easy for me because after we were first introduced to the website a few weeks ago I played around with it until it a lot. I put a base under my scanned head to create a bust of myself that could now be printed.

This is where I got really excited. I even took pictures! So once the editing in tinkercad was finalized, the file was imported into the makerware program that directly translates to the makerbots in the lab.

Here is my bust in the MakerBot program (sorry for the poor quality):

2015-02-10 15.37.54-1I was so excited to print my head that I went straight for the first available machine while others stayed in tinkercad to edit fun things onto their bust. While I waited for it to print, I went crazy and posted this poor quality picture from my phone taken of my laptop’s screen to every social media platform. (Don’t ask why I didn’t think to take a screenshot.)

Finally, after what seemed like hours even though it was probably only 30 or so minutes, my head was printed!

Here it is:

2015-02-10 16.40.23-2

I was thrilled! And, again, posted this picture on every social media platform. Including snapchat which is how I communicate with my roommate who’s abroad in London right now. (So my print was seen by people across the world!)

The rest of class I helped out others with their editing in tinkercad and got to admire my completed project. Later I sent a picture of me with my bust to my parents and directly to my friends who I was most excited to share it with.

Here’s the pic of me with my mini-me:

2015-02-10 17.27.40

As you can tell by the picture, my print was very tiny. But I’m so happy with how it turned out and it made me even more excited for what projects are coming next in this class.

As Professor Rindfleisch (the guest speaker of the week) mentioned, there’s a sense of pride in making things with your own hands. I agree that after this experience I feel much more accomplished now that I have gone through the whole scanning and 3D printing process.


Digital making log: Week 4

This week we utilized scanning equipment to scan our heads for 3D printing. We had classmates scan our faces onto a cloud, and then we took those scans and scaled them in our modeling software.

From there we could do anything to our 3D mugs. We could put hats on, type our names into our foreheads – anything. I wanted to go the practical route and inserted a hole into my head, making it a fine mug.

From there, I flattened the back-side of my head and printed two additional components: a plank and a handle. When all three components were printed, I simply glued it together. Check it out:

IMG_0070


Of course, it probably isn’t safe to drink out of this, so I think I’ll just use it as a coin cup for now.

What I’ve learned

This new print has propelled me farther than I was before Not only can I print something, but I now also can print multiple things separately as long as they’re scaled to fit together just right.

I also know how to use scanning equipment, so if I ever want to, I can get an app and accessory for my roommates iPad and start doing these scans myself!

With this knowledge in my backpocket, I’m thinking I can continue to grow, most importantly, in learning how to model well.

I may never be able to produce something as complex as a face without the assistance of a scanner, but maybe I can get close enough.

Week 4 – Reflections

This week was primarily occupied by creating our first 3D print. We spent the majority of the period scanning our faces, cleaning up the scans, and printing the resulting model. This was our first real experience working with the MakerBots and it wasn’t without a hitch. Leveling the platform, something that should have proved a relatively simple process, turned out to be more difficult for me than anticipated. Despite these minor hiccups, I was able to successfully begin my print by the end of class and be able to pick it up the next day.

The first thing I learnt from this experience with the MakerBot is some of the devices drawbacks. While 3D printing is a wonderful tool, the physical limitations of the device can get in the way of the printing of the object. When printing, the plastic outlining my chin and nose drooped slightly. This shows how in order to accurately print objects with that sharp of oblique angles, the MakerBot would need adequate supports in order to allow the MakerBot to accurately corner and support these objects.

I also learnt a valuable lesson in the beginnings of 3D design. In order to learn best of how to work with a thing, its best to work with something you already know fairly well. And what do people know better than their own face? By working with a familiar object, a person can familiarize themselves with the software they are working in, as well as the limitations of the hardware themselves. This learning experience can help inform on how to better improve objects that someone may not be as comfortable working with, such as an object that may only exist in the designers mind.

Going into the future, I will keep this experience in mind with designing my own objects. The complexity of the model is no impediment to the physical manifestation to the object. However, there are some aspects of design that the printer cannot handle. I think going into the future, I will focus on working from objects that I have experience with objects on Thingiverse that others have designed.

By working with other objects, I can find how I can put my own personal spin on these ideas and make them work for me.


–Noah Baird

Week 4 – 3rd time’s a charm!

I printed my face!

That’s what I texted my mom after, you guessed it, I printed my own face using additive manufacturing. Last Tuesday’s seminar equipped me with everything I needed to move from scanning my face to creating a scaled model of myself. This project was my first 3d printing experience that I was responsible for from start to finish. I printed a name tag that my group and I designed on Tinkercad but I was completely uninvolved with the use of the actual printer itself. Though I can say that I did in fact successfully print my face, it wasn’t the smoothest of processes for me.

Attempt #1

I didn’t have time to print in class so I ended up coming to the lab Wednesday to complete the assignment. I had all the time in the world because my work and class for the day had been completed. After loading my ready-for-print file onto the Replicator, I had a guru assist me in prepping the machine. Minutes into the print I could tell something was wrong. It was obvious that the printer filament was being excreted just above the platform. The lab guru explained to me that my print must not have been completely touching the platform. After canceling the print I ran back to my computer to fix my file.

Attempt #2

After a quick observation I could tell that my base wasn’t completely making contact with the virtual platform. Easy fix. I moved down the object so that the base was actually below the platform. I figured that would simply cut out the bottom and have everything not cropped out be touching the base. Fast forward 10 minutes and I find that this isn’t an actual fix to my problem. The guru couldn’t completely explain why my fix didn’t work, but suggested instead I go back to the basics and fix the original design on Tinkercad.

Attempt #3

Frustrated with my lack of success and waste of time, I rushed onto Tinkercad to fix this once and for all. I wasted no time playing around. I used a “hole” box and completely cropped anything on the bottom the wasn’t even. Exported the file to Autodesk, brought it to platform and set it on its base just to be sure that I wouldn’t mess up yet again. This time around, after a wasted 45 minutes, I successfully was able to print my face object. Well, I know the base looked good, I haven’t actually seen my object as I left early once printing began. I bet its good. I’ll keep you all posted on my twitter @MatarDMS!

Takeaways

Learning can be frustrating… but rewarding! This was my first time working with the machines on my own and I really wasn’t surprised that things went wrong. This isn’t to say I would have much rather it worked on the first try but an admission that that’s how my learning usually is. A little bit of trial and error. Not always being the most careful with instructions. This isn’t the worst thing in the world as I feel it solidifies the lessons especially well with me. Learning is learning at the end of the day, no matter how many attempts it takes.


Week 4 giveaway!!!

Hi, unbelievably we have come through 4 weeks “severe”(=ez) journey of DIGITAL M(S)A(P)K(O)I(R)N(T)G(S) kreygasmkappa

And Now I want to introduce you my masterpieces4head

1, I finally printed out my team’s nameCard, here we go:

Shazam!

IMG_0381


Cheers, S,G,R and me and #3Dprinting!

It looks very nice if you photo it by unaided eyeskappa but my iPad sucks(which is real in terms of camera)

ANd the original CAD looks like this:

uiuc_name_card

IT is very exciting when you see CAD file become real from void just by a printer working for roughly 30 mins~

2, This is the one shows how powerful scanners are:

My sculpture

Future world will be a world of sensors and scanners will play a big role in translating reality into virtuality.

See you next weekkappa🙂

3D Printing and Scanning

Design Process

My first 3D print was successful! This week we got to dive even deeper into 3D printing and actually make a model. Ryan gave a brief introduction about the printing/scanning process and its components such as file types and slicer programs.

First, we needed a scan of the object that we wanted to print using either the iSense for iPad scanner—which took a bit longer—or the handheld Sense scanner connected to the computer. I may not have had the magic touch using the Sense scanner, but the scan came out really well. After a bit of editing the model was ready for “tinkering.”

For my model, I just added a platform to etch my name in and tweaked the size and position of the bust.

IMG_1117

Significance

I really enjoyed this week’s class because it was my first time ever interacting directly with a 3D printer and scanner. I see myself keeping the model so I could one day show my grandchildren — and who knows where we’ll be by then. As this type of technology is growing, it is also important to know how to use it and apply it so that when it does become a mainstream consumer product, we will already be familiarized with it.

What’s to Come Next

It’s clear that 3D printing is still in the beginning stages of development. There are about 2 billion PCs and only 200,000 3D printers as said by Aric Rindfleisch, the executive director of the Illinois MakerLab. We experienced some printer malfunction during class, such as the head getting clogged. Human error is very minimal as the printers are very user-friendly.

There are also online tutorials to help the newcomers 3D printing (i.e. me) that go through loading and unloading filament, leveling the build platform, and slicing the model after the initial scan. This is all new and exciting for me and I look forward to next week’s class!

I’ve posted a resource about the MakerBot printers used in class for added information or helpful tips. Check it out here.

3d scanning and printing in black-and-white

For me, it’s quite hard to belive that 3d printing is still in the “black-and-white-age”. It was on 1. January, 1969 when the first television programm was broadcasted in color! Before that time, did people image that there could exist any “upgrade” to black-and-white TVs?

Aric Rindfleisch Executive Director of the Illinois MakerLab made clear, that 3d printing is still in its infancy stages. We cannot yet imagine what we will print in 2025, or 2035. Do we still have to go to a grocery store to buy food or will every family have a printer in their kitchen?

scan my head

In any case, I was facinated how easy it was to scan ourselves within minutes! Yes, there occured some problems so that we had to rerun our scans, however we really did not need to spend more than 5 minutes per scan!

Next, we imported our scans to TINKERCAD and … well see the picture below.

My head virtually at tinkercad

me in tinkercad

print my head

The printing itself was not that successful. The reason was a problem with the printer. He unfortunately stopped grabbing new material. I’ll repat my print another time. For now, watch my 10-seconds black-and-white 3d printing video