Racing Gloves

We were already well into the first month of class, and I still couldn’t decide what I was going to do my semester long project about. Then Vishal told us we were taking a field trip to the Beckman Institute of Advanced Science and Technology, with the assignment of bringing an object to 3D scan. I racked my brain for a while trying to come up with an object that was interesting and maybe held potential to be turned into something more.
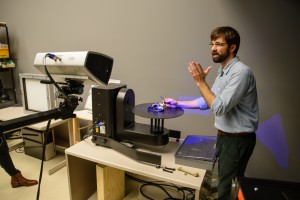
2015-03-03 3D Scanning - 5784Then later, at track practice, my coach suggested trying to scan one of the handmade gloves we use to race. Usually the gloves take hours and hours to make- custom fit for each racer, not to mention their 350.00 dollar price tag. One pair will last a long time, but since they are so unique they can never be exactly duplicated. This sounded like the perfect kind of item to try and scan, because having a 3D model that you could print over and over again would open up many possibilities.

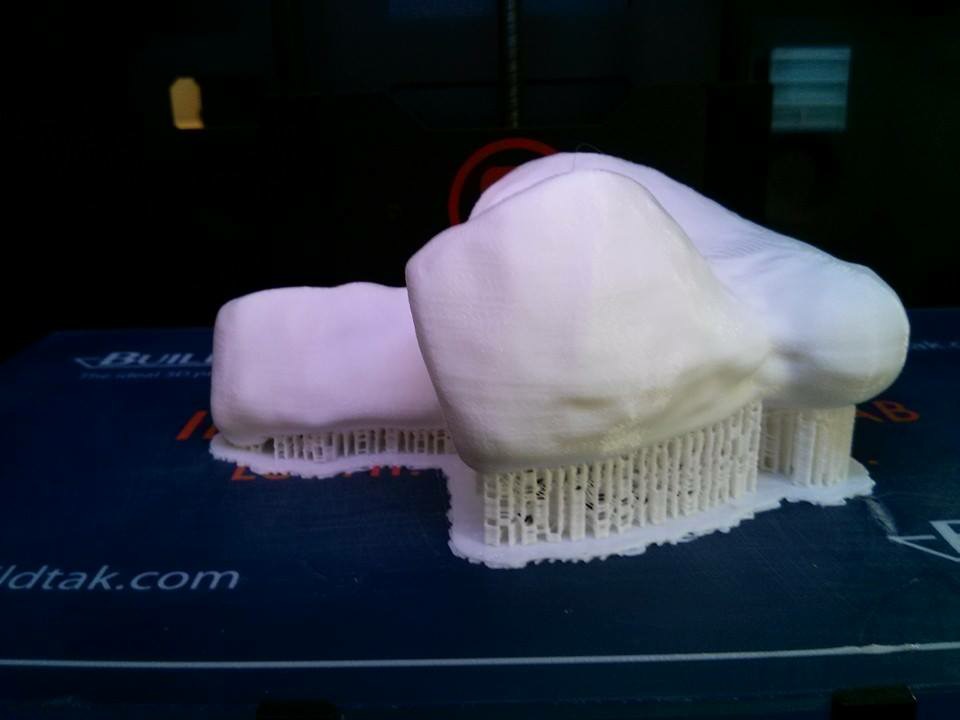
Sebastian and Mark were also interested in this project, so the three of us set out to try and make the world’s first 3D printed wheelchair racing glove!
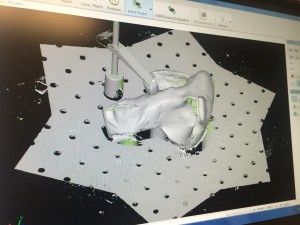
IMG_7091After Travis (from the Vis Lab over at Beckman) completed the scan and cleaned up the glove file, we were off to work! We were incredibly lucky and barely had to manipulate the design at all in Geomagic because the scanner was so precise. Surprisingly, the very first time we tried to print our glove, it worked! Afterwards, when trying to make duplicates, we had a lot of trouble positioning it correctly on the raft so print would not fail, but eventually we figured out the best angle and direction to place the glove in order for the prints to continuously be successful.

IMG_7192


Once we had our first printed glove, we got to work testing it. I added the additional materials needed to generate grip when pushing at high speeds- some suede and rubber- and encountered a little trouble getting these materials to stick to a different kind of plastic than I was accustomed to.
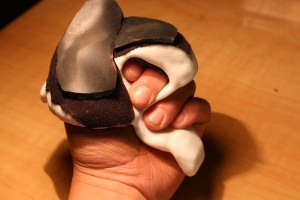
IMG_0384Once I discovered that using contact cement was the best method, I started putting the glove to good use! We were very excited that the glove held up after just using it for one training run, but we’re happy to announce that the glove is still working perfectly after over 200 miles of force and exertion.
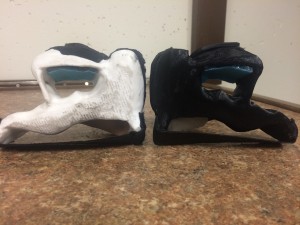
 

IMG_7456The next step was mirroring the 3D glove file in order to print another glove for my right hand.  Once we figured that out, I added the same extra materials and used the gloves to race in the 2015 Boston Marathon. They worked beautifully!


The things that make this project so successful though were all of the benefits we discovered after the prints proved their durability. For one thing, the plastic that we printed with is incredibly lightweight. My original gloves weighed 174 grams each, and the printed glove only weighs 70 grams. It may not sound like much, but this, I’ve noticed, makes a significant difference when using the gloves to climb hills and push at high speeds. Their lightweight quality also aids in injury prevention. It is common among wheelchair racers to get tendonitis in the wrist from overuse, but the 100 grams that the printed gloves shave off put less stress on the tendons and hopefully decrease the risk of injury. The cost is another great advantage! To print a single glove cost only 4 dollars, that’s a lot of green left in your pocket from the original pair costing a minimum of 300 dollars. The replicability is probably the greatest benefit here though. The fact that you could print multiple pairs of gloves for different weather conditions could be a huge advantage when racing. Some of the world’s best athletes lose important races because they weren’t prepared for the conditions, whether it was rain, humidity, or even snow. Now that we found a way to print the perfectly fitting glove, it is possible to make many, many varieties.

Our next step is to help everyone on the University of Illinois’ Wheelchair Racing team to get their own pair of printed gloves! We’ve started scanning more and more pairs and the team is getting excited. Eventually we would like to discover a process to create a pair of gloves from scratch- just by scanning an athlete’s hand. Over the summer we will continue to explore different methods so potentially people all across the world could buy a pair by simply sending us a file of their scanned hand.

We are very excited to continue pursuing this project, and hope to see it keep growing into the future! The uses for 3D scanning and printing are endless, and it is so thrilling to be a part of discovering why!

Arielle, Mark, Sebastian

My DigitalMaking Experience

In January 2015 I came to the US and to the University of Illinois to study abroad for one semester. Back home I had to chose several classes. Digital Making was of course not one of them, because nobody had told me before about it. However, Database Design, a class also offered by Vishal, was one of them. During the first class of Database he mentioned the MakerLab, the worlds first 3d printing lab at a Business College. I was impressed, I’ve heard a lot about 3d printing before, but I haven’t seen a printer in real life before. Of course, there are many 3d printers in Vienna as well. There are some at the FabLab, at the Technical University, and so on… Nevertheless, that day Vishal also mentioned his course DigitalMaking! So I asked Vishal if I could participate and I also asked him if I would receive credits for that course. I thought: „An interesting and fun class, that’s not something you get credits for!“ But we did!

First of all, I want to say what I expected this class to be – and what it was not about. I expected this class to be all about 3d printing. Isn’t it taught at the MakerLab?
Of course, this course was about 3d printing, but that was only one piece. It is a lot more and therefore you don’t have to be afraid to be locked into the MakerLab the whole semester! 🙂 Let me organize all facilities as a list

Truly, I can say that I have learned a lot in this course! We started by designing simple things on Tinkercad, moved on to scanning and printing our own head. We thought about finding solutions for several problems and we later started using the powerful tool Fusion 360. We used a more precise 3d scanner and of course printed our scan. We „printed“ by stitching and engraved paper and wood, and we learned about the small but powerful Arduionos.

But what was this all for? For me, it was a hands on experience on several different tools. I think Vishal designed this course to show us all these tools to use them in future. It is not possible to try every tool in detail in class, but you are able to get to know them.

So I got to know all these different tools, and I can tell you, I will use all of them in future! I have plans to buy an Arduino, a temperature sensor and an Wifi Add-On like this to connect it to IFTTT and my Nest Thermostat. I have also several ideas of things I wanted to design and 3d-print. As I am going home in a few weeks, I will not be able to use the facilities at UIUC but I’m looking forward to visiting similar facilities at Vienna!

Laser Cutting @ the FabLab

LaserCutting @ the UI FabLabThis week we met at the UIUC FabLab the third – and last time. This time, I did not print. I cut things precisely.

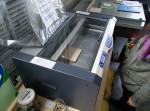
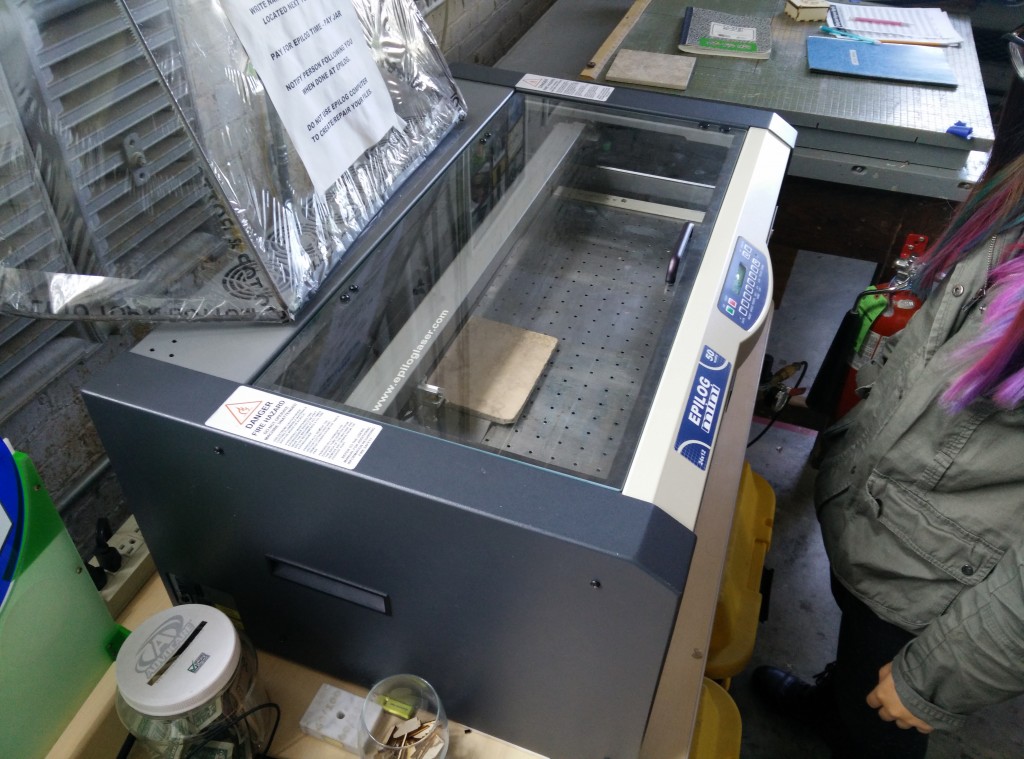
UI FabLab has an Epilog Mini 24 Laser Cutter. It can cut or engrave a lot of materials. Paper, Wood, Glas, … You can find the full list here. It can even engrave cylindrical elements by using a “Rotary Attachment”. Now, I’ve already mentioned the two basic purposes you can use the Epilog for. You can either cut things or just engrave on the surface. It uses a laser that makes that job pretty precise.

We started our experience by using the software InkScape. In fact, you don’t have to use that specific software, as the Epilog just needs a PDF file to start the “print”. InkScape, however, makes a quite good job in converting images that you import into Black & White (without any grey-scales). The trick to tell the Epilog when to cut and when to engrave is the thickness of a line. A thin line of 0.001 inch tells him to cut. Any other black line or object will be engraved.

I engraved an image on small paper booklet. As it was pretty easy and worked well I decided to engrave and cut a small pice of wood. However, both things will be gifts and that’s why I won’t upload pictures of them at this time.

Stitching @ FabLab!

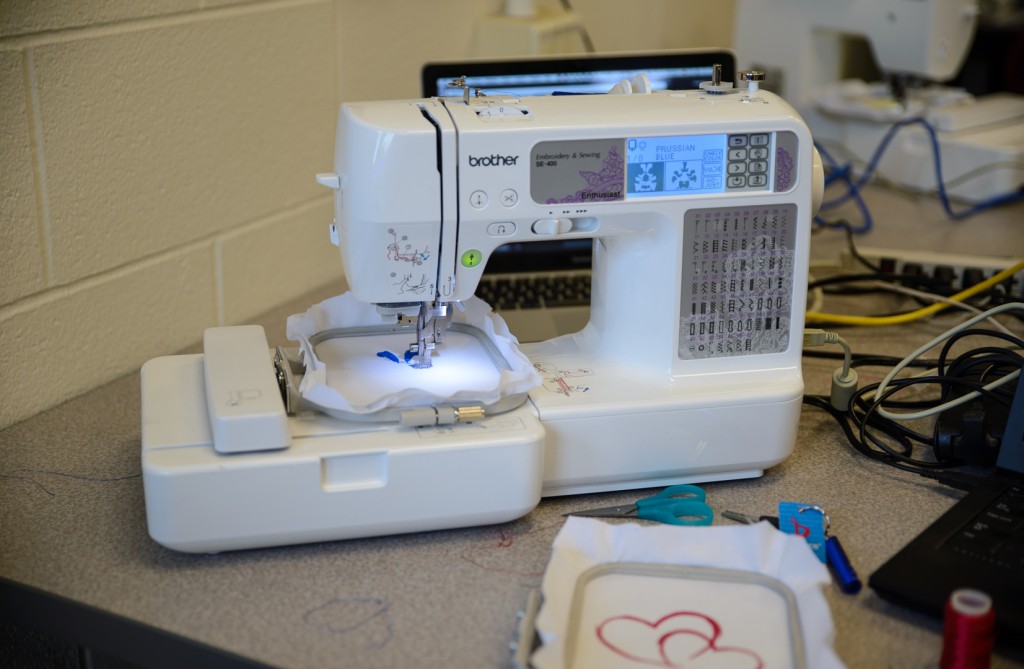
Do you know the company brand “Brother”? Yes that company that sells printers. I thought they only sell desktop (paper) printers? However, they sell printers that “print” using threads!

At the UIUC’s FabLab you can find multiple of these printers! One of these I used today!

  1. The first step was to find a picture you wanted the printer to stitch. It should not have to many details. I started with a simple drawing of two hearts.
  2. We loaded that picture into the program SewArt. A software that converts a jpg, png, etc. into a specific file format for the printer.
  3. Basically we used the tools “Color Reduction” and “Merge Colors”. That is because we don’t wanted to stitch 250 different colors. We tried to simplify the image to use about 5 different colors.
  4. Then we saved the file using “Stitch image” and Fill and Auto-sew Color.
  5. The file is then loaded to the printer, which appears as disk on the computer.
  6. The file will then appear on the printer’s display. And you can start sticking!

Stitching

Arduino @ FabLab!

Arduino?? No, that’s not a dog’s name. It is a toy. A toy not for small kids, but for big kids. Like we are! 🙂

Arduino is a tiny computer, which does what you tell him. You can use your computer to write some code that is later transferred to the Arduino via USB. The Arduino then runs your program. If you have ever written any kind of code, you won’t get into any trouble. If you have not, you will also be able to program your Arduino! The language is easy to understand and the coding application comes with lots of examples.

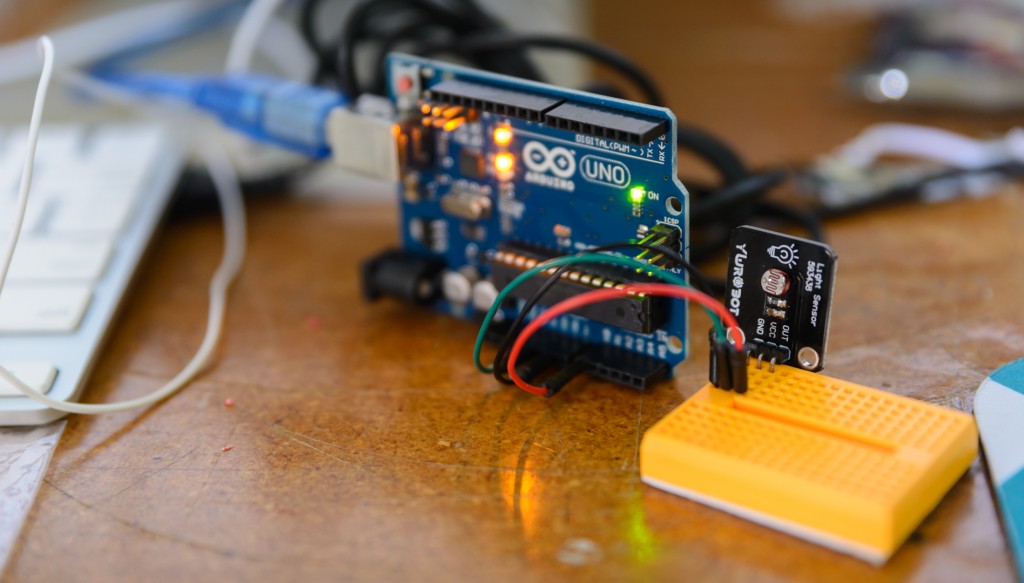
We started by writing code that blinks an LED. Yes, that alone is not very useful in “real life”, however, you could combine it with some other code … or some other Arduino parts! We added a light sensor and of course some code to the Arduino. We told the Arduino to turn on the LED when there was less daylight and turn it off again when we had more daylight again.

Arduino and a Light Sensor

For me, the Arduino seems to be a powerful and useful device! I’m a fan (and user) of home automation devices like the Nest Thermostat. Maybe the Arduino will be the next nerdy device at my home 🙂

Here’s another inspiration what you could do with an Arduino! Found at http://www.engadget.com/2015/04/04/moon-phases/ 


High accuracy 3d scanning

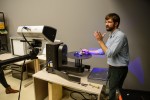
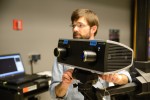
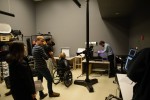
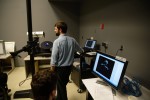
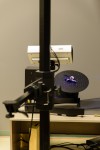
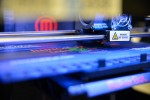
Last week we visited the Beckman Institute at the U of I. This institute has one of the best 3d scanners. A Steinbichler L3D. A powerful device! It works with a blue LED light and a single camera. You can either move the scanner around the object you are scanning, or place the object on a flexible platform that is connected to the scanner. The platform will then move as the scanner needs it. The scanner comes with his own software.

At first we thought we could scan multiple objects in one hour. But it turned out that this scanner needs his time. And the time of an expert who knows how to operate hard- and software.

Travis was the expert at Beckman. As the scan did not work out as he expected it, he decided to keep the item for another day we wanted him to scan.


The second scanner at Beckman was not that accurate as the Steinbichler. One can say, the scan was not successful. Take a look at the pictures below to get what I mean.


One week later, Travis visited us at the MakerLab. He finished the scan of our object. However, the raw scan data can not be used for CAD or 3D printing. Together with Travis we made our first steps in Geomagic. A software that is for preparing scan-data for CAD or 3d printing. In short: First we needed to clean the object. Eliminate noise. There are some automatic functions that could help a lot. Next we drew faces on the object. Finally, we tried to split the object into basic objects like circles or cylinders, to export them to a CAD software.

All in all, I think this software was a bit to powerful for us to learn in such a short time.

Fly Fusion360-bird!

As an IT nerd, I know how to use tons of different applications. But when using a new software I really have to motivate myself every time. So here we are again. I should use Fuison 360. I installed the software, opened it. And then. CMD+Q, which closes an application on a Mac. I need some help!

Industrial Designer Jeff Smith came to our class to help us with our first Fusion 360 experience. Jeff seems to know quite a lot about designing things. He has made lots of amazing products. So we started building a lamp. It took us almost 4 hours to build it including sculp mode, faces, sketches and lots of “modifys”. Now I have no doubt any more that you can build everything in Fusion 360!

Bildschirmfoto 2015-02-24 um 14.09.54

A few days later I started to build my own, wooden, headphones. I followed the Autodesk Fusion Tutorial. Now it took about half an hour to build. I start to enjoy designing in Fusion 360!

But I wanted to design and print something that is useful. I decided to design a bird, that you can nail on the wall to use it as a hook. Designing that bird was everything else than difficult. All i needed was the Sculpt mode, a Box, Symmetry and some modifications. Of course some small details need some time, but it never got boring, as I knew, afterwards I will send it to a Makerbot and start the 3d print! 🙂

Lr_5299

3d scanning and printing in black-and-white

For me, it’s quite hard to belive that 3d printing is still in the “black-and-white-age”. It was on 1. January, 1969 when the first television programm was broadcasted in color! Before that time, did people image that there could exist any “upgrade” to black-and-white TVs?

Aric Rindfleisch Executive Director of the Illinois MakerLab made clear, that 3d printing is still in its infancy stages. We cannot yet imagine what we will print in 2025, or 2035. Do we still have to go to a grocery store to buy food or will every family have a printer in their kitchen?

scan my head

In any case, I was facinated how easy it was to scan ourselves within minutes! Yes, there occured some problems so that we had to rerun our scans, however we really did not need to spend more than 5 minutes per scan!

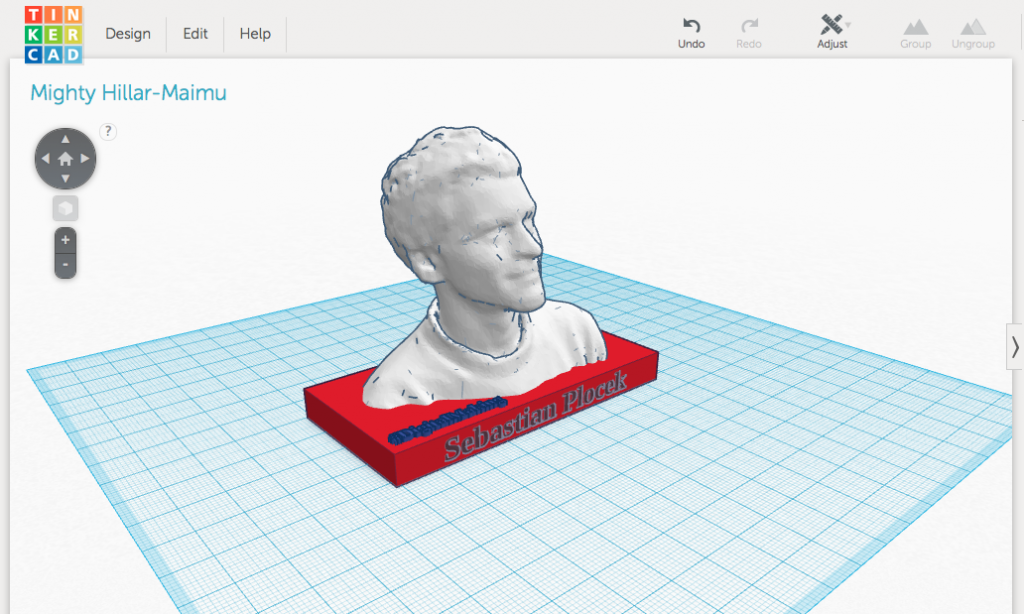
Next, we imported our scans to TINKERCAD and … well see the picture below.

My head virtually at tinkercad

me in tinkercad

print my head

The printing itself was not that successful. The reason was a problem with the printer. He unfortunately stopped grabbing new material. I’ll repat my print another time. For now, watch my 10-seconds black-and-white 3d printing video

HCD with DFA

This week’s class was all about HCD. Human-centered design focusses on the “needs, wants, and limitations of end users of a product” [1] The Design for America Team was invited to make a workshop about HCD, to improve our skills to see problems, find out humans needs and find solutions to solve these problems.

We tried to design solutions to stop distracted driving. One week before class, I saw this video about an Android application that was introduced in Australia. It was quite not to keep their ideas in mind, while we tried to think about our own ideas. 🙂

I’ve learned about learning at individual as well as on organizational learning within the last year. I really like the approach to focus on human needs to define problems. In our workshop we tried to go similar ways. We tried not to find solutions at the beginning but after two hours of different brainstorming phases. Then we started prototyping our idea.

[1] Wikipedia contributors, “User-centered design,” Wikipedia, The Free Encyclopedia, http://en.wikipedia.org/w/index.php?title=User-centered_design&oldid=644383288 (accessed February 8, 2015).

And what’s about 3d printing?

In class we did not print anything this week, nevertheless, I came to the lab this week to print an updated version of my SENOL cube. I made some corrections (see problems here) and “upgraded” the size.

In addition I started printing the OnePlus One dock. However, MakerBot hasn’t finished printing on friday, so I haven’t seen the outcome yet.

Please update your profile

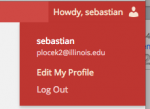
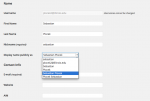
Please visit “Edit My profile” and insert your names and set “Display name publicly as” to your Full Name! Then scroll down and click Update Profile.