Arduino Practice – Week 13

Our last week at the FabLab! I have already been introduced to lazer cutting and stitch printing. This week it was time for arduino work. Fortunately, I have already practiced using adruinos in the MakerLab earlier in the semester so I was able to skip some of the beginner work (making a light blink at different frequencies, to be specific) and go to use some of  the cooler arduino addons.

IMG_0364

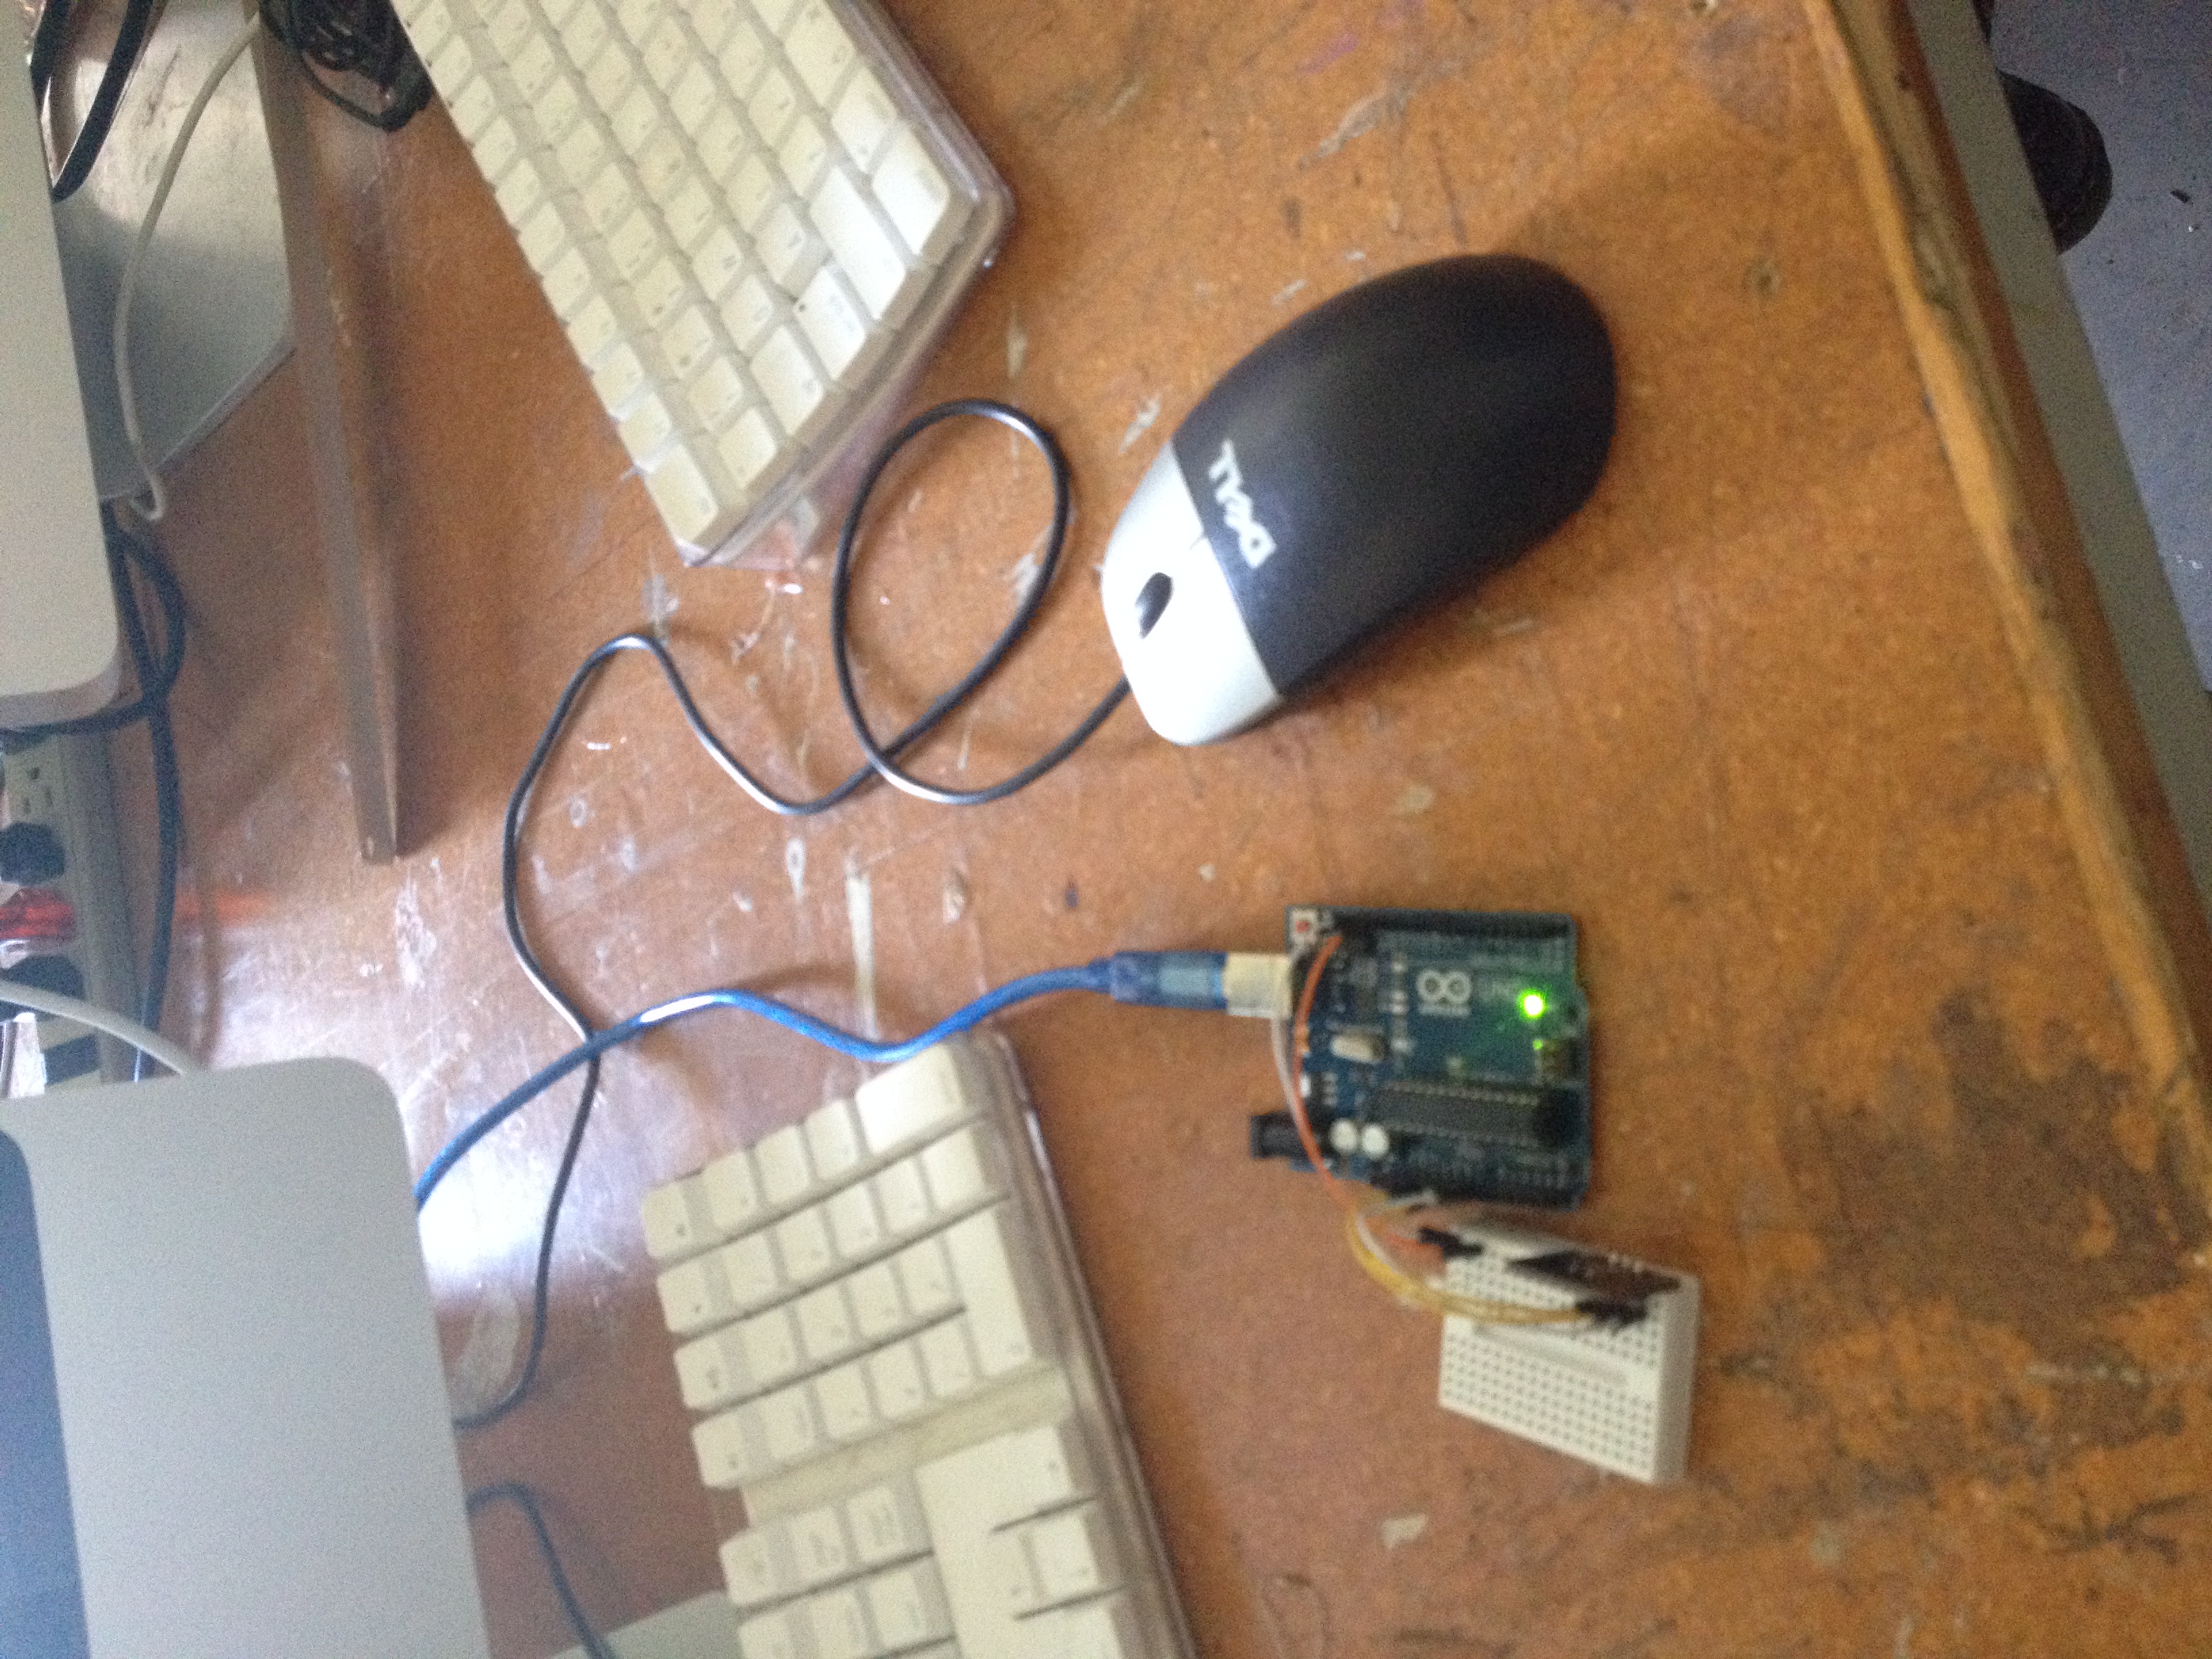
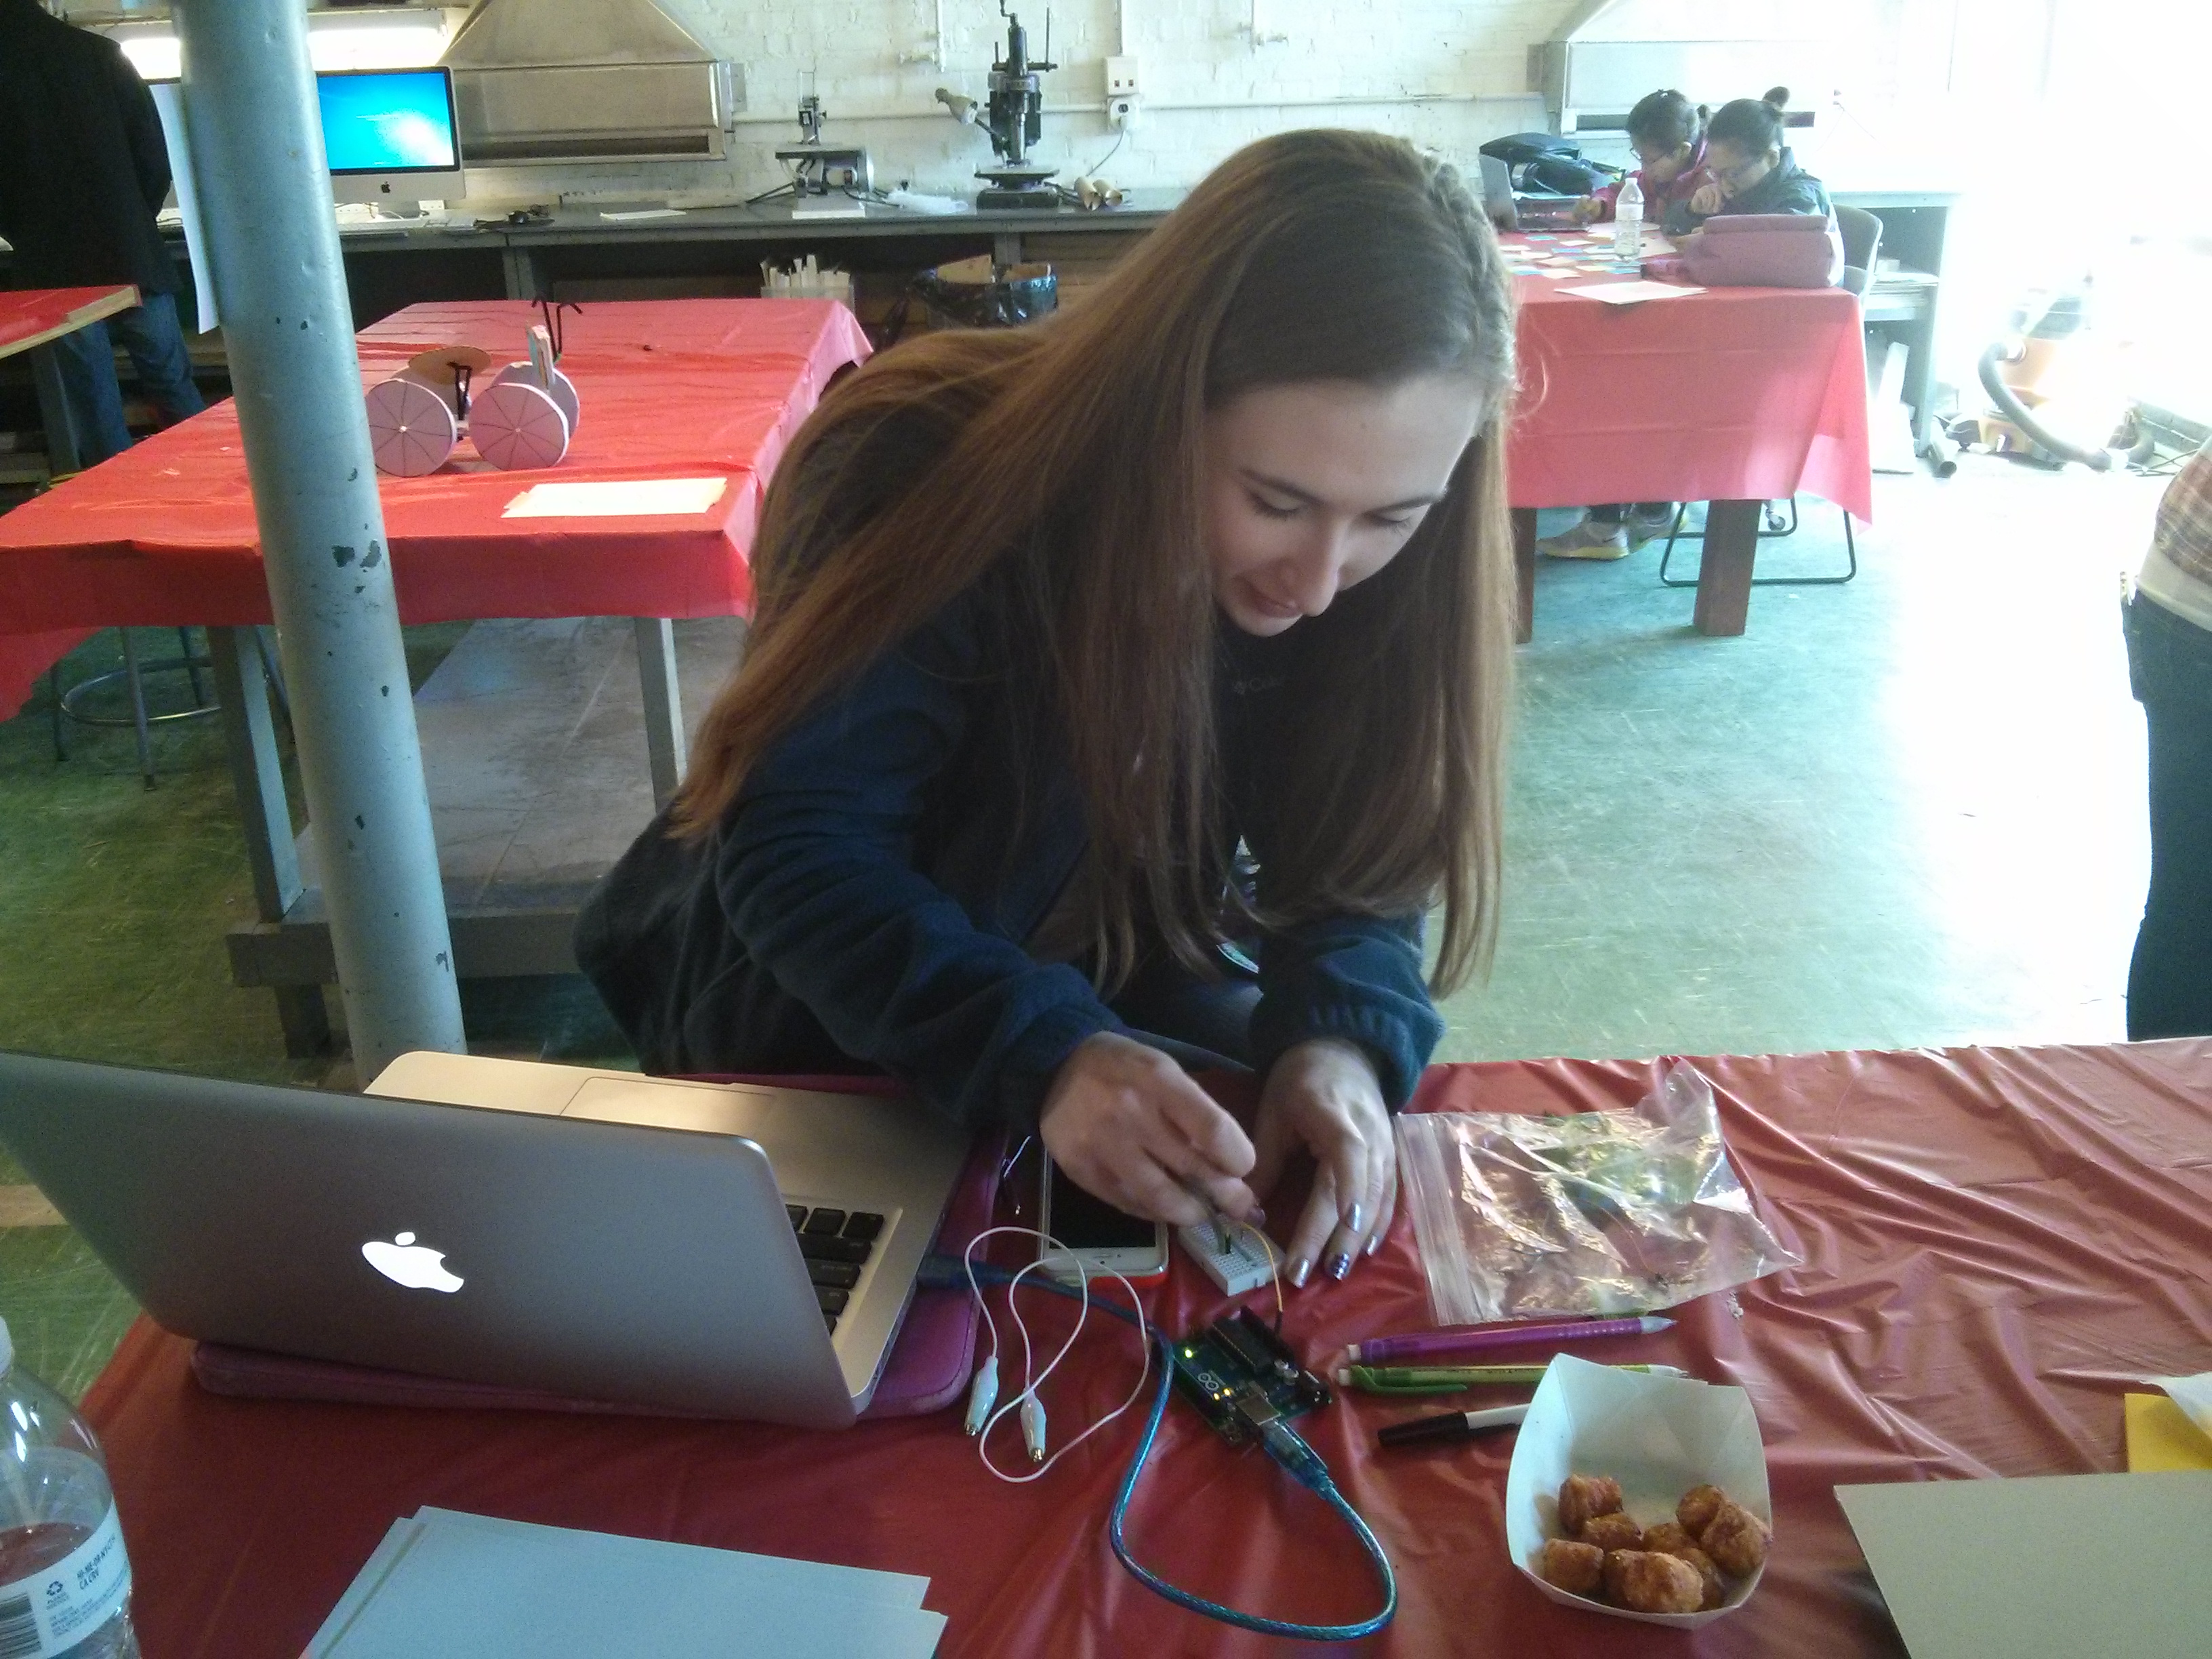
My arduino and its brightness sensor.

The lab expert in arduinos had a few different activities for us depending on where we each were at in terms of our abilities. Since I had already gone through the arduino equivalent of the classic programming “Hello World”, I jumped right into using some addons. It was a bit daunting at first because arduinos do require code commands if they are to do anything and I had zero idea how to code on the arduino-one terminal to make a piece of hardware such as an echolocation sensor work. Fortunately for me, my instructor encouraged cheating! By cheating I am referring to using Google to jack other people’s code. If I learned anything from my CS major roommate, the best programmers steal. So I have no shame! Using some code found on the internet and some tinkering with the wiring between my arduino and the bread board, I was able to work a sensor that recorded the distance of the object in front of it using echolocation and a sensor that recorded the relative brightness of the object in front of it. With both of those sensors I went a step up and took recordings that followed certain parameters. For instance, I set it where a light would only blink if the distance from the sensor was under a certain distance. It really gave me a good concept of how these electronics imbedded in things that I use all the time (idk a coffee maker, for instance) have motherboards that respond to commands. And now I was using it on my own!

Week 13: From Arduinos Making to the Deloitte Greenhouse

This week Digital Making started out with a sad event-our final session at the Fab Lab. I’ve learned so much there in the last few weeks and have had my eyes opened to tons of ne ideas for projects (as you can probably see from my ever growing Maker Movement Pinterest board) so I’m sad to see our time there coming to an end. I will definitely be back at some point on my own though! For our last rotation, my group was working with Aurduinos, something I knew about from my Intro to Electrical Engineering class, but that I haven’t really had a chance to mess around with on my own. We did a few basic activities, like programming the Aurduino to blink and then learning how to have it blink out and S.O.S. After that we got to use some of the sensors, which would allow us to add a bunch of cool stuff like light sensitivity or the ability to do something when the sensor senses a change in temperature or someone touches it to our projects. After that our instructor was helping people add specific things to their final projects, so I got started on a new project of my own, making a cardboard lamp out of a box I had just gotten a shipment of shoes in. I had seen this project on Instuctables a while back (here: http://www.instructables.com/id/Geometric-Cardboard-Lamp/), but cutting out all the pieces by hand seemed like a lot of hard work. Working with the laser cutter at the Fab Lab last time we were there, though, made me realize I might be able to make this lamp much more quickly-by using the laser cutter to do the cutting work for me! After checking with the Lab gurus if it was okay to cut cardboard, I got to work. Things went quite smoothly and after putting in a bit of work punching out the pieces and gluing, I had my very own cardboard lamp!

IMG_3633

I got invited to dinner with the Fab Lab team (they were making pasta in the back room) and I still had some time to kill before it was done, so I started working on the screenprinting project I had started last week. In just about 15 minutes, I was able to successfully screenprint two more shirts with my logo in addition to the sweater I made last time. Lesson learned: screenprinting is pretty dang easy once you have the screen made!

FullSizeRender

Overall, my last week at the Fab Lab, was pretty productive, but the Digital Making fun wasn’t over for the week. We still had our Friday field trip to the Deloitte Greenhouse to look forward to. The trip ended up being well worth the wait. Once in Chicago and done with our awesome meal at Roti, we headed over to the Deloitte offices, where we, along with some of the Making Things students, were shown around the client innovation center aka “The Greenhouse.” There we learned about some of the newest technologies that are changing modern industry, including

Augmented Reality, Data Visualization, and of course 3D printing! After a getting an introduction to each of these technologies from some Deliotters who worked at The Greenhouse, we had opportunity to work in teams to solve a mini-case regarding incorporating these technologies into Ameren’s business. This aspect of the tour really showed us how Deloitte goes about trying to bring new technologies into client projects and what we might expect to see if we were to work at Deloitte one day (a definite possibility for me). To end the day, we got to talk to a panel of current Deloitte analysts about their jobs and life at Deloitte, which was quite interesting as well. I learned even more about the company and am looking forward to applying for an internship with them again next year. Hopefully, it works out better than this year, where I got to the final round of interviews but did not get an offer.

Laser Cutting @ the FabLab

LaserCutting @ the UI FabLabThis week we met at the UIUC FabLab the third – and last time. This time, I did not print. I cut things precisely.

UI FabLab has an Epilog Mini 24 Laser Cutter. It can cut or engrave a lot of materials. Paper, Wood, Glas, … You can find the full list here. It can even engrave cylindrical elements by using a “Rotary Attachment”. Now, I’ve already mentioned the two basic purposes you can use the Epilog for. You can either cut things or just engrave on the surface. It uses a laser that makes that job pretty precise.

We started our experience by using the software InkScape. In fact, you don’t have to use that specific software, as the Epilog just needs a PDF file to start the “print”. InkScape, however, makes a quite good job in converting images that you import into Black & White (without any grey-scales). The trick to tell the Epilog when to cut and when to engrave is the thickness of a line. A thin line of 0.001 inch tells him to cut. Any other black line or object will be engraved.

I engraved an image on small paper booklet. As it was pretty easy and worked well I decided to engrave and cut a small pice of wood. However, both things will be gifts and that’s why I won’t upload pictures of them at this time.

Fab Lab – Week 3 (& Reunion)

This week we returned to the Fab Lab for our final session. I already had an idea what I was doing based on my classmates’ work in the prior weeks, so I was excited to learn the last topic. I got to try out digital embroidery!

I was excited to return to the Fab Lab this week, so I planned ahead and made a design that had some meaning behind it. So this week was especially exciting because my roommate for the last 3 years was returning from her semester abroad in London! She actually was meeting me right after class that day and planned to stay through the weekend. Here is a picture of her from the last day in London.

2015-04-17 23.49.10


Since I knew she was visiting me and it was also her birthday a few days before, I decided to make her something in class this week. After a brief introduction to the sewing machine I was using and the software, I was off to importing my design and choosing my patterns and colors. Here is the design as I was choosing the patterns and trying to pick some colors.

2015-04-21 15.32.05


Before I tried the intricate design with the lettering, I did a test run of a smaller scale version. I should note why there is a girl holding a flag…my roommate is on the Marching Illini Color Guard, and is a returning captain for the upcoming season. Anyways, here was the test run and some of the process.

2015-04-21 14.28.55 2015-04-21 15.00.53      2015-04-21 15.23.06


I was really excited that there was a pattern of music notes, and I loved how it looked in the background. Since the smaller scale one was quick and easy, I tried out the one with the letters added on.

2015-04-21 17.16.24

I was so happy with the results! I had a little trouble with the letters, but I didn’t have a lot of time to perfect it because I had to go meet my roommate and show her what I made! The main issue I was having besides the loose thread between the letters that I needed to cut off, was the bobbin thread got pulled through for some of the letters. So I ended up going over a few parts to correct the problem. I wanted to go over the blue letters again, but I was already running late by correcting the silver letters. But it turned out that my roommate loved it and was not expecting it at all! She wants to sew the patches onto her duffle bag for this season! Here’s a picture of us reunited.

2015-04-22 22.58.20

I had a great week in class and with her. I’m so glad I got to see her and I can’t wait to see the patch on her duffle bag. I may have requests from the rest of the team so they can have matching ones. I hope that I can return to the Fab Lab after this semester for fun projects like this.

Not another FAB Lab Post!

Tuesday April 21st was another day of class filled with new adventures into the “making things” world.  For the final session at the Urbana-Champaign Community Fab Lab, I set out on using a laser to etch the front and back covers of a notepad.  The first step to the process was getting familiar with InkScape, where the images would be laid out.  In order to produce a high quality laser etch, I used a silhouette of the Chicago skyline to start.  Our instructor for the day, Judy, walked us through how to take the image we found online, and create a path of the image used by the laser.  After creating the path, you have to delete the original image, and finalized your path for printing.  When I finalized my skyline path, I sought a better picture, and added a few special touches.  First, I took away a sailboat from the skyline silhouette, and added a yacht type looking boat (a better depiction of Chicago boating scene and a more stylish compliment to the skyscrapers).  Next, I added the sun in the upper right corner, because why not.  The final touch to the front cover of the notepad is my name in the bottom right. The final product can be seen below:

image1 (1)

After completing the front of the notepad, I decided to keep the Chicago theme, and added some of my favorite Chicago sports team’s logos to the back cover. Chicago Cubs and Chicago Bulls.

image3

Here is link to a video of the laser etching the Chicago Bulls logon onto the notepad: Video

Below is a picture of the Laser Printer:

image1

Overall, I was surprised at how well the printer was able to etch detail of the skyscrapers. I look forward to using my notepad all the time and showing off my newly acquired maker skills to all my friends!

-Mark Panno

Learning Pathways in #DigitalMaking

Importance of Creating Learning Pathways

This past week, we spent time in class working on our individual projects and getting our progress caught up to speed with our group members. My particular project is focused on creating online learning resources to help individuals interested in learning more about 3D printing, 3D scanning, and 3D design. Additionally, our team is tasked with creating these resources in a way that enables users to access these resources through somewhat of a ‘profiled’ gateway that would help users understand what resources they want. To elaborate, our plan is to construct a compilation of many different learning pathways that users could go through based upon their interests and background. For example, if you are a supply chain manager interested in learning more about how additive manufacturing is decreasing product lead times, our resources would direct you to a sequence of links and information pages that would help you to navigate your own path of learning. We are excited to leverage a platform like the MakerLab to help outpour these resources to much greater communities that expand beyond Champaign-Urbana borders.

africa-technology

What Kinds of Learning Pathways Are We Creating?

Below are some examples of the different learning pathways we are creating for the MakerLab that we feel will benefit individuals wanting to learn more about making from any background or skill level:

Entrepreneurship: Individuals looking to start their own businesses or leverage technology like 3D printing to innovate on existing products will be able to access links, individuals, and learning resources to use a place like the MakerLab to explore new ideas. This area will also explore the concept of rapid prototyping that  will aid the new product development process.

Education: Individuals seeking to learn more about how the maker movement is transforming education at various levels and wanting to acquire resources to help introduce themselves and others will find this learning path very beneficial. We hope to craft some great connections to communities around the United States that are talking about ways to integrate the ‘making’ process into our school curriculums.

Management: This path of resources will help individuals in management or other business process-related roles learn how to leverage areas like 3D printing, scanning, and design to improve their supply chains, enhance product development, or help their employees become literate in emerging technologies. We feel that this resource will also be very useful to students interested in business that want to learn more about how 3D printing is changing the business landscape and how additive manufacturing processes are impacting the value chain of a business.

Week 12&13

In the past two weeks I have done stitching at the FabLab, participated in Make-a-thon and continued working on my final project.

So, first it was an interesting experience using “3D” sewing machines at the Fablab. I decided to make a bear. I first downloaded a black and white picture from the web and then edited it a little bit and added a brown color to the bear. And it was ready to go to the sewing machine.

IMG-20150407-WA0000

It’s kind of cool that it shows a picture of the bear on its small screen. By putting a string in the right place on the machine (there are 7 steps to do it) it was ready to start stitching.

IMG-20150407-WA0002

That is how it looked in the beginning….the bear had legs and the head was to come soon. Essentially, the machine did everything for me, I just had to wait for it to be done.

IMG-20150407-WA0004 (1)

Here is the ready bear….but something else had to be done. I cut off the extra white material around the bear and put a sticky paper on the back side of the bear. Then I ironed it so some strings in the back wouldn’t stand out. And this is how the final product looked like.

IMG_20150419_215602 IMG_20150419_215610

Then, on April 12th my teammates and I participated in Make-a-thon. It was a great event that allowed many people to try their skills in creating/making something new. The topic of the event was a “Senior accessibility”, which meant to create something that would help elder people in their day to day activities. We created a sensor on a pill box which elder people would use to keep track when they need to take their medication. Then we also wanted to create a wristband that would receive notification of when to take the medication. However, our project is not complete, and we are still working on finalizing it.

Here is Amanda Kowalski working with arduino to make the sensor functioning.

IMG_20150411_144742


Week 13 Reflection

In this week, we were given time to continue working on individual’s final projects during class.Some of my classmates worked on their own, others cooperated with group members. Our group decided to refine the BeanGrap and reprint it, since the previous module was a little oversized. Near the end of the class, Jill accomplished editing and started printing the new model with Maker Bot. Based up this version, we will mimic a silicon one, which is close to the texture we meant to have on the real product. There was an exhibition from another section of the course during the class time. Some of classmates went to see and learn from the show. This week’s class doest not have something special, but everyone was as productive as usual.

Fab times in the Fab Lab! (Part 2/2)

This week at the Fab Lab, I dabbled in using Arduinos. Having never coded before in my life, using an Arduino came as a bit of a challenge. We started out using a basic Blink code, which caused a light on the Arduino to blink. Using the code, we were able to change the code so the light would pulse faster or slower depending on the numbers we inputted.

After completing this, we expanded on the concept through wiring our Arduino up to an LED, so this time the code corresponded to the LED light. After, I found a code online to make the LED fade in and out. Wanting to test my new knowledge of coding, I attempted to combine the Blink and Fade codes, which ended up failing. I still found other ways to play around with what I learned, however, such as by hooking up a second LED to the Arduino and modifying the code so that the two LED’s flashed at different times.

After playing around with LED’s, we were given light sensors to play with. With the code associated with them, they were able to pick up on data about how much light was around them. We then also had an LED hooked up and found an “if” function online so that when the light it sensed was above a certain level, the light turned on. We then reversed this code to program the light to be like an automatic nightlight so that when the light was below a certain reading the light would turn on.

Although coding probably is not my thing, learning about it made me realize that anyone now has the capability to add innovation to society. There are a lot of people with highly creative abilities who are now able to make their ideas reality because of the ability to just copy and paste codes from online.