
The decision to take this class was one of the best decisions I have made in my college career. Week in and week out I found myself inspired by a new piece of technology that I had never heard of. Even more inspiring was the way these technologies were making the world a better place. I think it is incredible that machines like 3D printers can be applied to so many fields to save lives and make the world a better place.
When deciding on my semester-long project, my head was all over the place. I considered helping with the smart glove (fantastic idea), or pursuing some sort of business-related application so that I could sell my idea. Instead, I settled on solving a different need. Jack Carlson and I spent the semester working on a light-up, fully functioning and wearable DJ-helmet, similar to ones used by professional DJs such as Deadmau5 or Daft Punk.


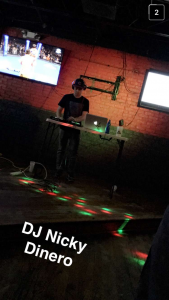
While this idea sounds ridiculous, there is a reason why these artists choose to perform the way they do. Anonymity is a huge part of art in the 21st century, as many artist choose to “make art for arts sake”. Additionally, many performers choose to obscure their identity out of embarrassment. I would say that I fall into the second category. This semester, I entered a DJ competition at a local bar. I knew that my performance would benefit from light effects and added mystique, so my friend and partner Jack had the idea to create a DJ mask similar to the ones shown above. While the mask was not ready by the time of my performance,we still were able to create some prototypes that could be used by DJs in the future.
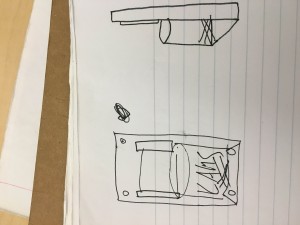
Our first step in the design process was laying out what we wanted the helmet/mask to look like. We sketched some front and side views in a notebook. We drew from many inspirations for the etchings on the helmet.
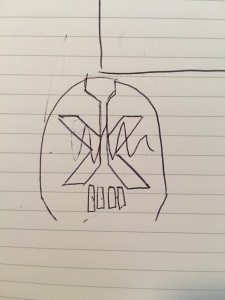
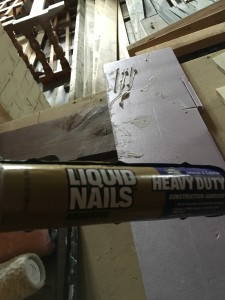
The outer, black part of the mask was designed with Darth Maul inspired insignias from Star Wars, and the red, inner part of the mask was taken from an album cover by the band the Arctic Monkeys. Next was deciding what materials to use. For the interior, Jack had the idea to use glue foam together into a large block, and then shape it with knives and cut out the middle so that a head could fit in. We glued the foam together with liquid nails, let it dry, and came back to the FabLab to check it out from day to day.
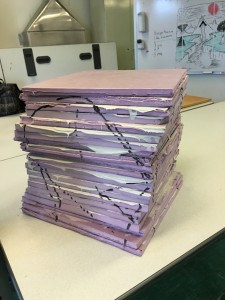
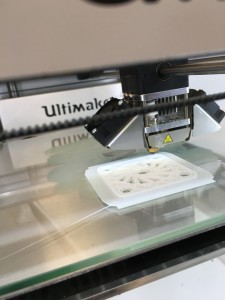
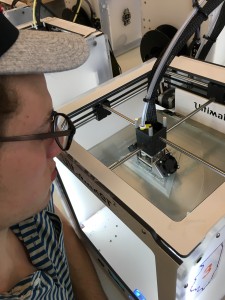
During the drying process, we rasterized and cut acrylic to form the red and black shiny parts of the mask. We also 3D printed ear and mouth holes for the mask.
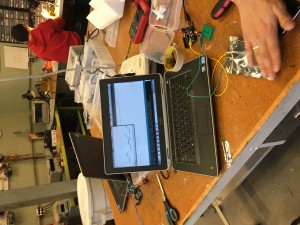
After that, we returned to the FabLab workshop to realize we had used to much glue, and that we would be unable to cut through the foam. Essentially, prototype 1 had failed. Our next idea was to buy a helmet from a costume store, and attach our pieces to that. while I have been away from campus, Jack has been working on putting all our pieces together. Hopefully we will have time to use arduinos to the helmet so that it will light up during a performance. I would say the biggest thing I have learned from this project is that like any tech-related project, it is an iterative and incremental process. At times, we worked too quickly which led to us making stupid mistakes. Luckily this is only prototype 2! Hopefully in the future Jack and I can collaborate on future creative projects and make them more effective and efficient.
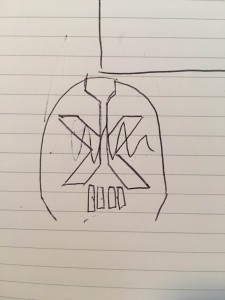 (front view)
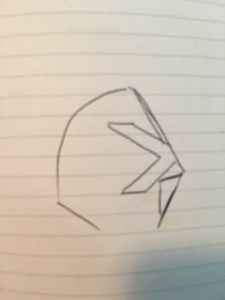 (side view)
 (unfortunately is got crushed in my backpack on the way home).
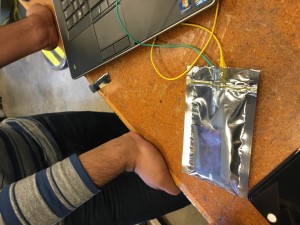