Up until this point, my group XNihilo has been working on more of the hardware and design when it comes to our project. As a reminder, our group’s main objective is to create a hydration wristband. The first week of starting our project, we came up with the initial concept and design of our product as well as sourced materials and resources for the product. The second week, we created our cardboard prototype of the product and refined our idea. Additionally, we had tested the moisture sensor from copper tape in order to find the perfect distance to space the strips. The third week, we worked more specifically on the band design and then created the moisture sensor and circuitry from copper wire.
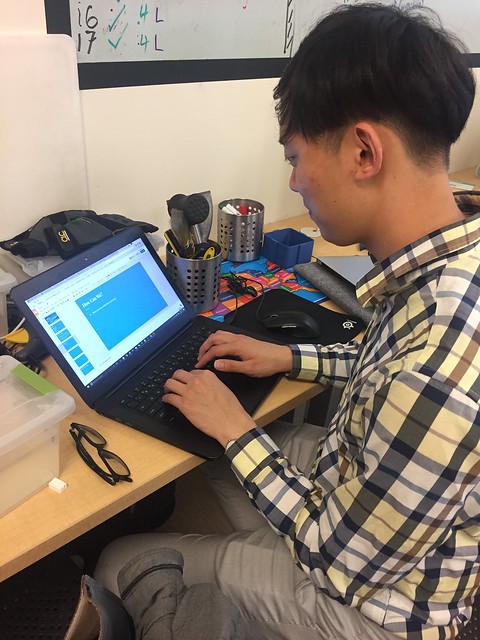
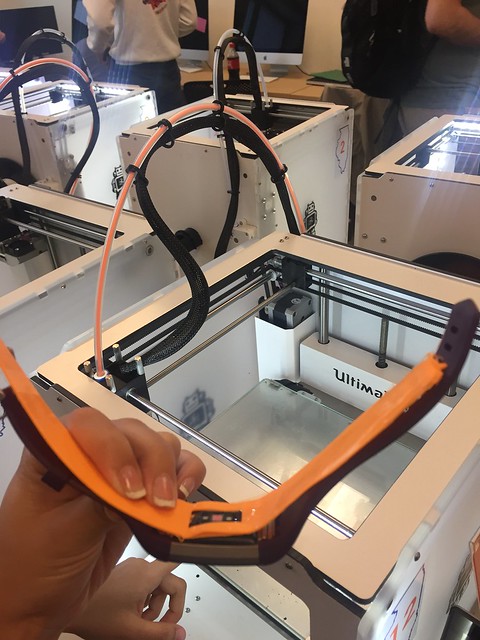
This week in class at the maker lab, Anjali was modeling the wristband on Fusion 360 and taking precise measurements of the FitBit screen while Ben and I were working on our final presentation PowerPoint. Used her amazing design skills and knowledge of Fusion 360 to design a wonderful band for us. This was one of the wonderful maker concepts brought to life in font of our eyes. By doing a project with people who have different backgrounds, we can utilize their skills. In this case, with Anjali’s major in industrial design gave us a sleek design of the wristband. We wanted to make sure that the band would be able to fit the FitBit screen so we attempted to print the design on regular filament rather than the semi-flex that the final design would be printed in due to another group using the semi-flex filament at the same time. We will be printing the final design with semi-flex material in this upcoming week. Unfortunately for us, we were unable to test out our band as the 3D printer could not print our design properly, the edge of one side of the band kept lifting up and we were sadly left with a strip of plastic.
Ben working on PowerPoint
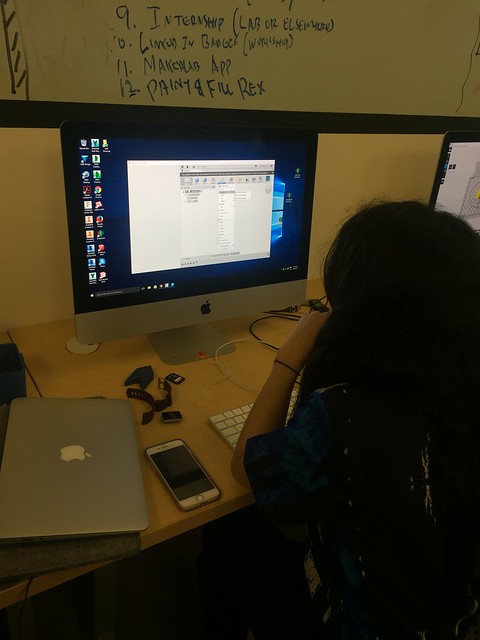
Anjali on Fusion 360
Our band on fusion 360
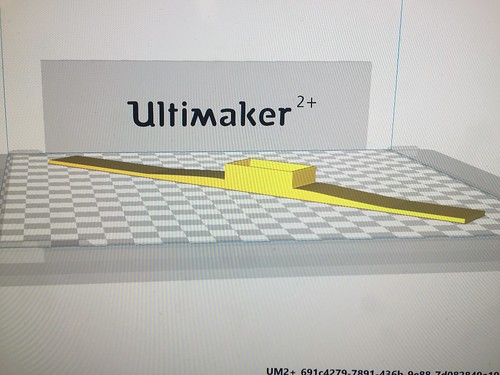
Band printing

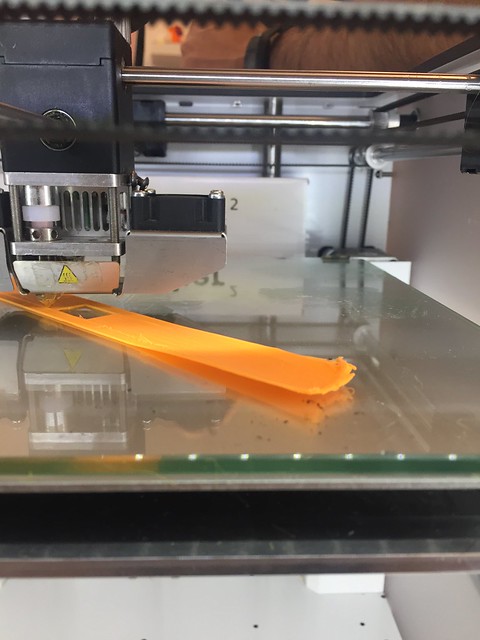
What were able to print
“You can print in whatever color you like as long as it’s orange” – Professor Vishal Sachdev
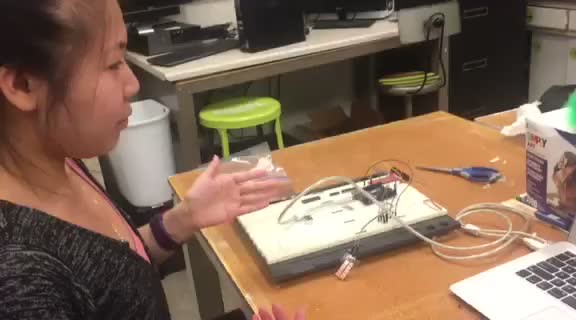
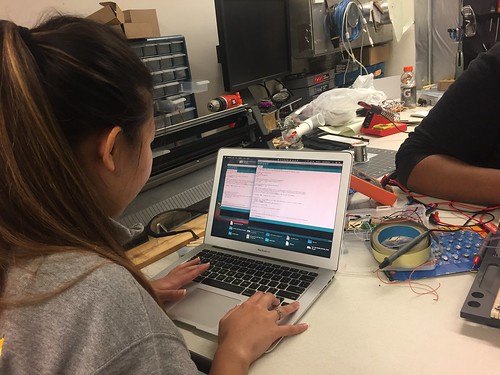
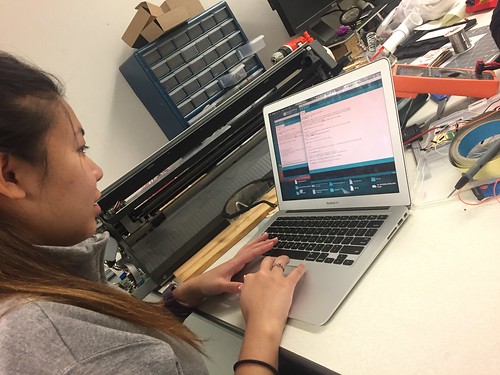
On Tuesday and Wednesday, we met up in the FabLab in order to get some coding done. This was the part I was responsible for. I hadn’t coded for about 3 years before taking this class. As aforementioned in my previous blogs, I had coding experience from high school where I coded in Java and Flash. Unfortunately for me, coding for Arduinos only took C/C++ . Although the logic was similar when it came to coding, the syntax threw me off. Additionally, beside the small bit of coding we had done for our flashing light box, I had no idea what I was doing. Luckily for me, the FabLab was equipped with many helpful resources, including our main resource Brandon. While I was coding to make the LED lights flash , Brandon gave me hints and moral support. I learned so much from him as I learned new functions such as millis(), which count the number of milliseconds in which it has been since the program has called the function. With Brandon’s help, I was able to learn C’s syntax and code for the lights to blink different colors after we had calibrated the sensor by testing people’s skin for moisture sensitivity. It was truly a magical moment when it finally worked after hours of debugging the code and solving logical errors.
Me coding
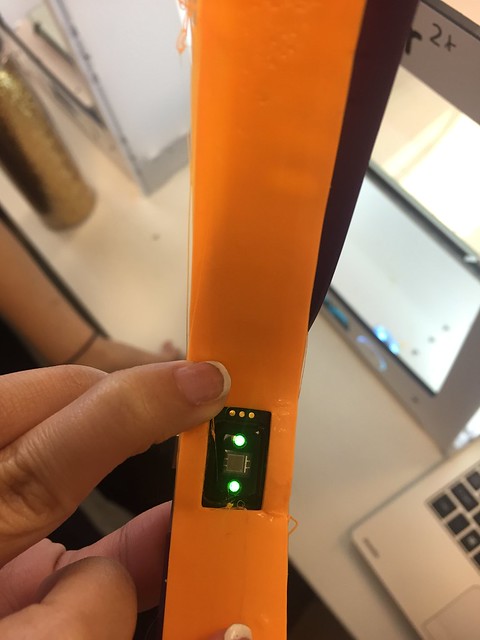
Testing sensor to calibrate it with code:


Our sensor is now able to:
- Blink red 3 times, if the skin moisture is below average/dehyrated.

- Blink blue 3 times, every 3 seconds (this will be changed to every 3 hours, as a this is an estimate of how often a person should drink a cup of water)

- Blink green 3 times, if the skim moisture is too high, such as when a person is perspiring and losing water.

Please enjoy this video of me explaining what is happening with our sensor: