Welcome to the FAB Lab
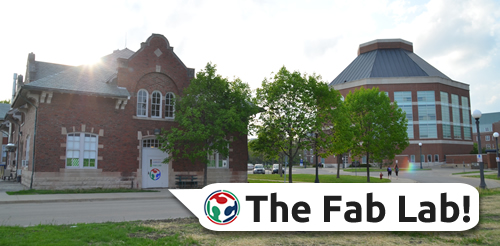
This past week, our class had the extraordinary privilege of visiting the Champaign Fab Lab for our weekly session. As the campus’ 3rd oldest building, you would never guess the place is such a hub for innovation and creativity! What once housed horses and manure is now a platform for making and makers in many different ways.
Upon walking into the FAB Lab, the essence of raw ideas waiting to be transformed into tangible creations was exceedingly evident through the ways the staff interacted with you and the whimsical designs on the walls. My group and I were led back into a room where we saw dozens of patches and three very cool looking sewing machines, but they looked just a bit different from the normal ones!
Champaign Fab Lab
Blast from the Past
One of the themes I’ve noticed throughout my experience in this course is that different techniques digital making often tend to be something we’re capable of doing without these softwares, but on a much more basic, rudimentary scale. For example, I could likely create a model for a house using sketches, plastic or wood, and some adhesive. However, the beauty of digital making is the capability of the different platforms to expedite, optimize, and perfect these making processes using technology and computing. Digital embroidery is no different! As I saw the various sewing machines with their fancy screens, I was reminded of a sewing class I took in 8th grade. I marveled at the precision and speed that the machine was able to produce an embroidered masterpiece.
My Turn: Time to Sew
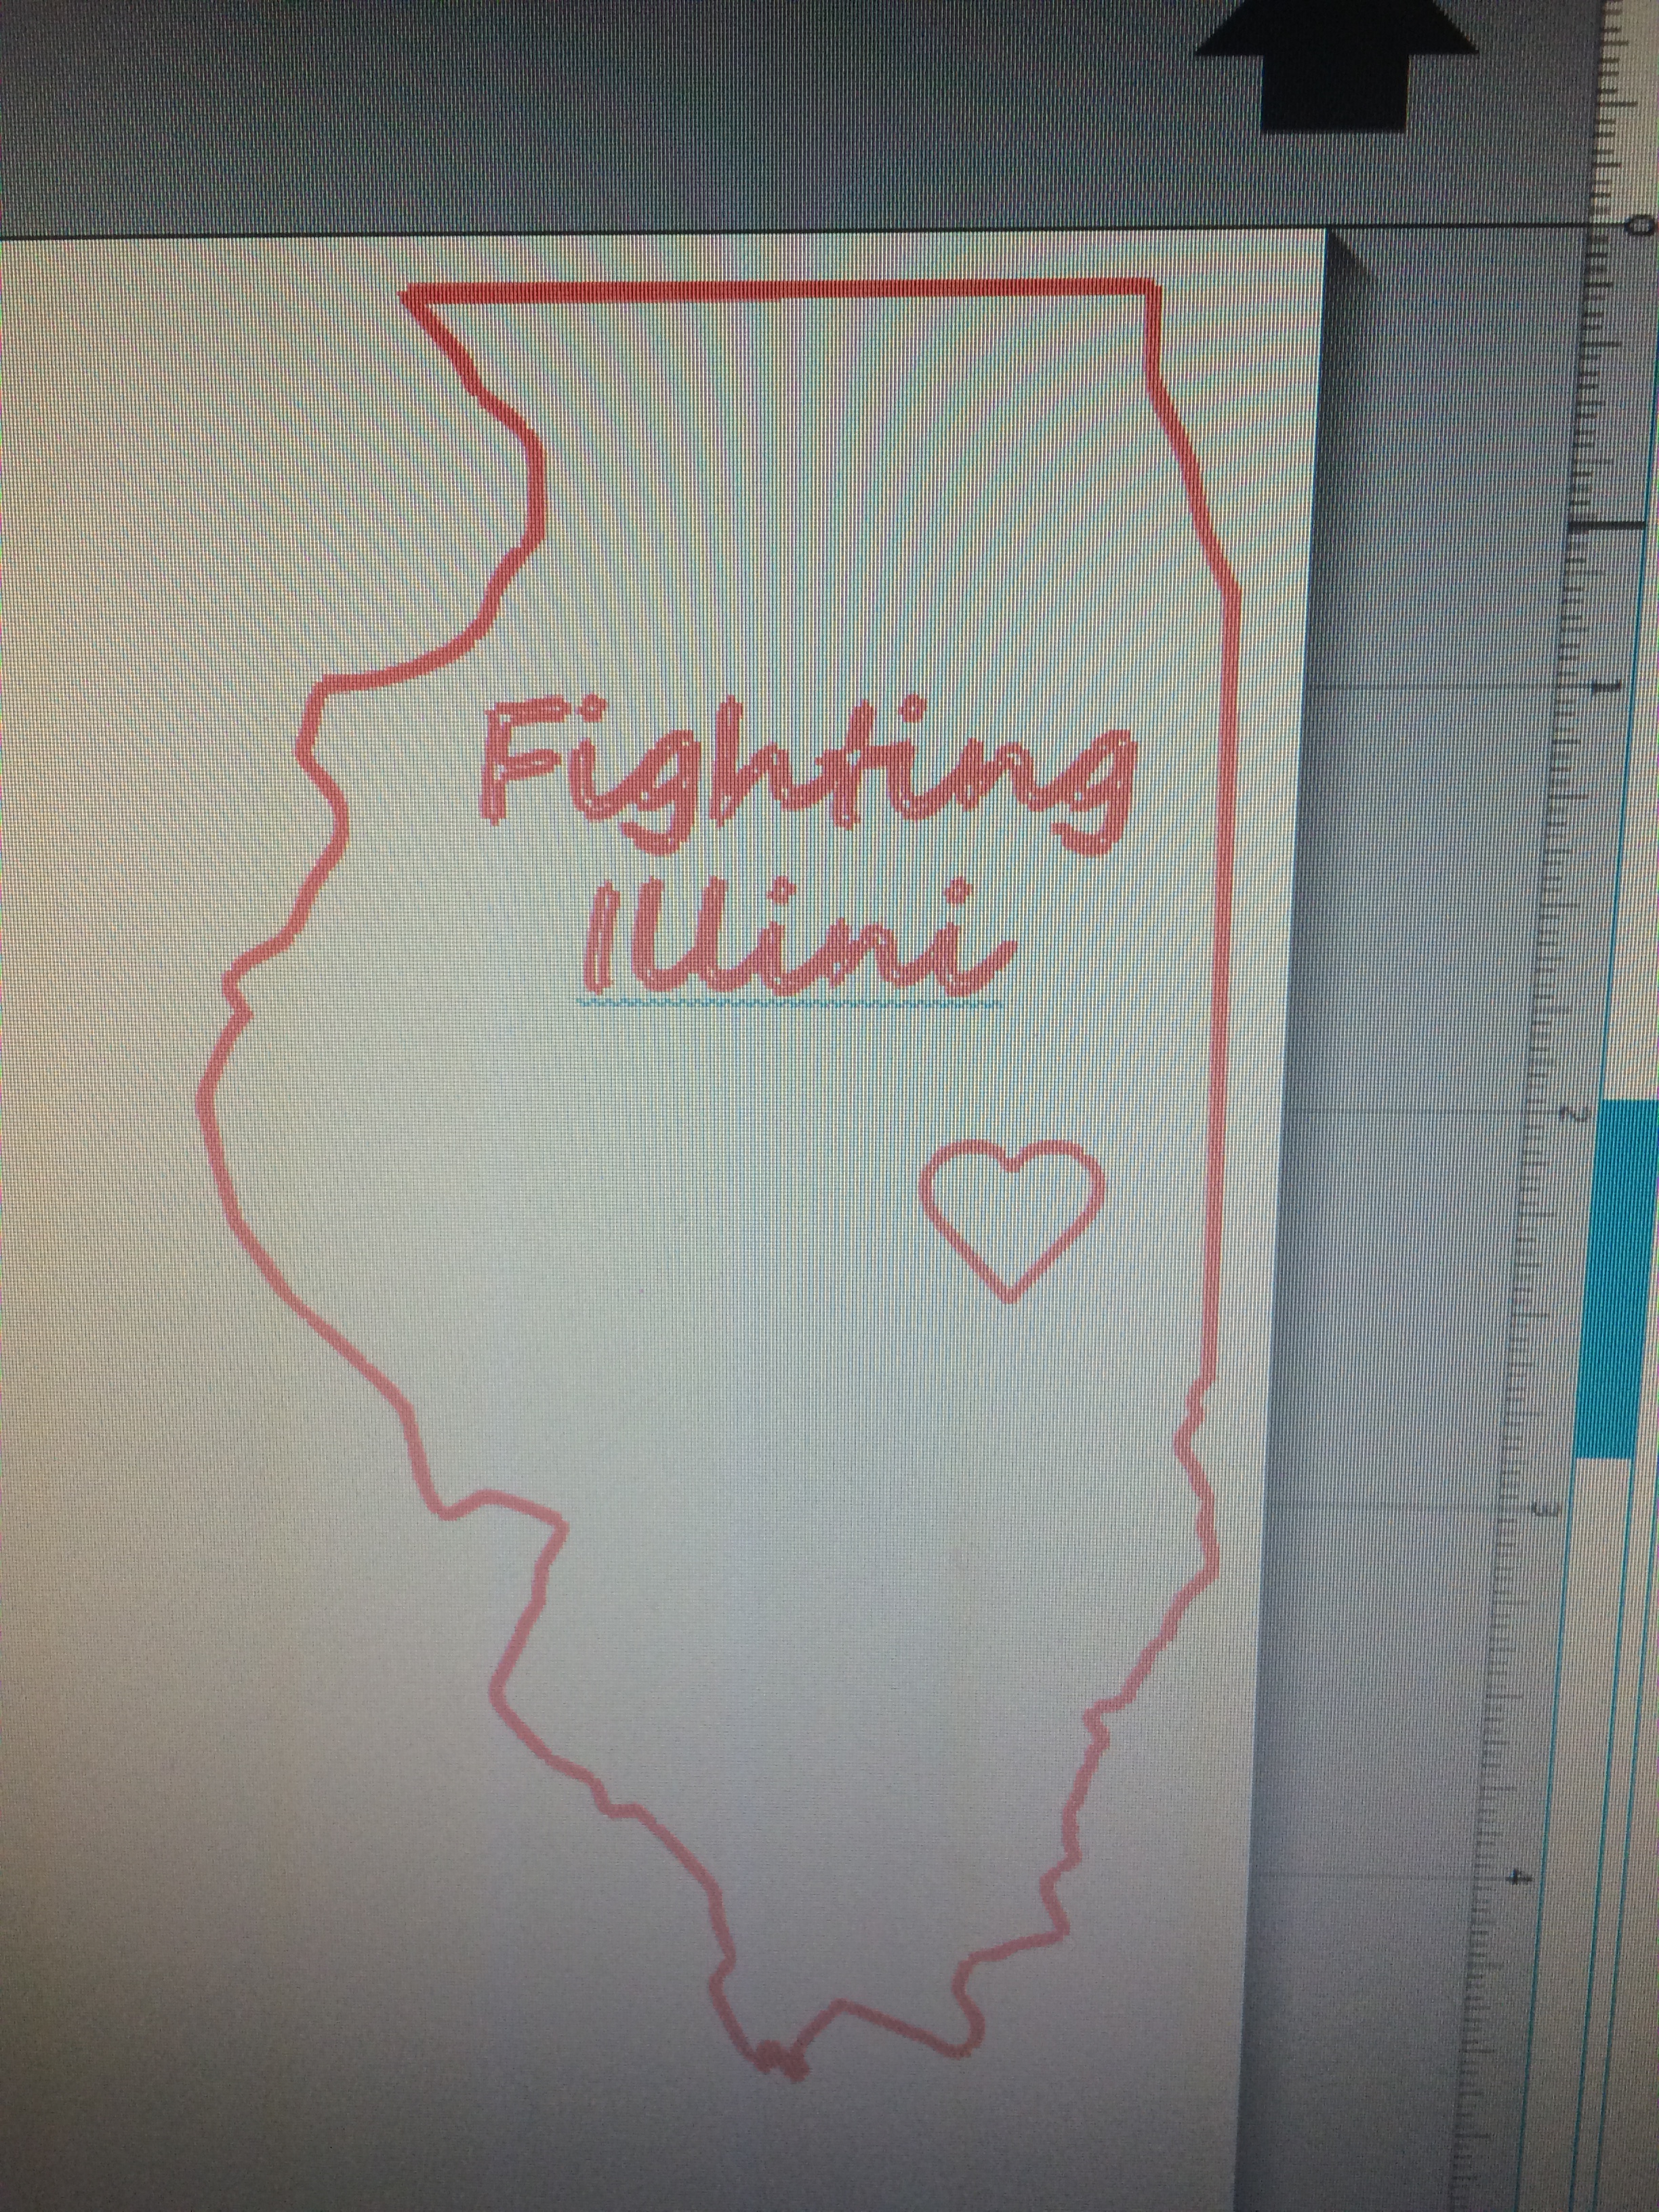
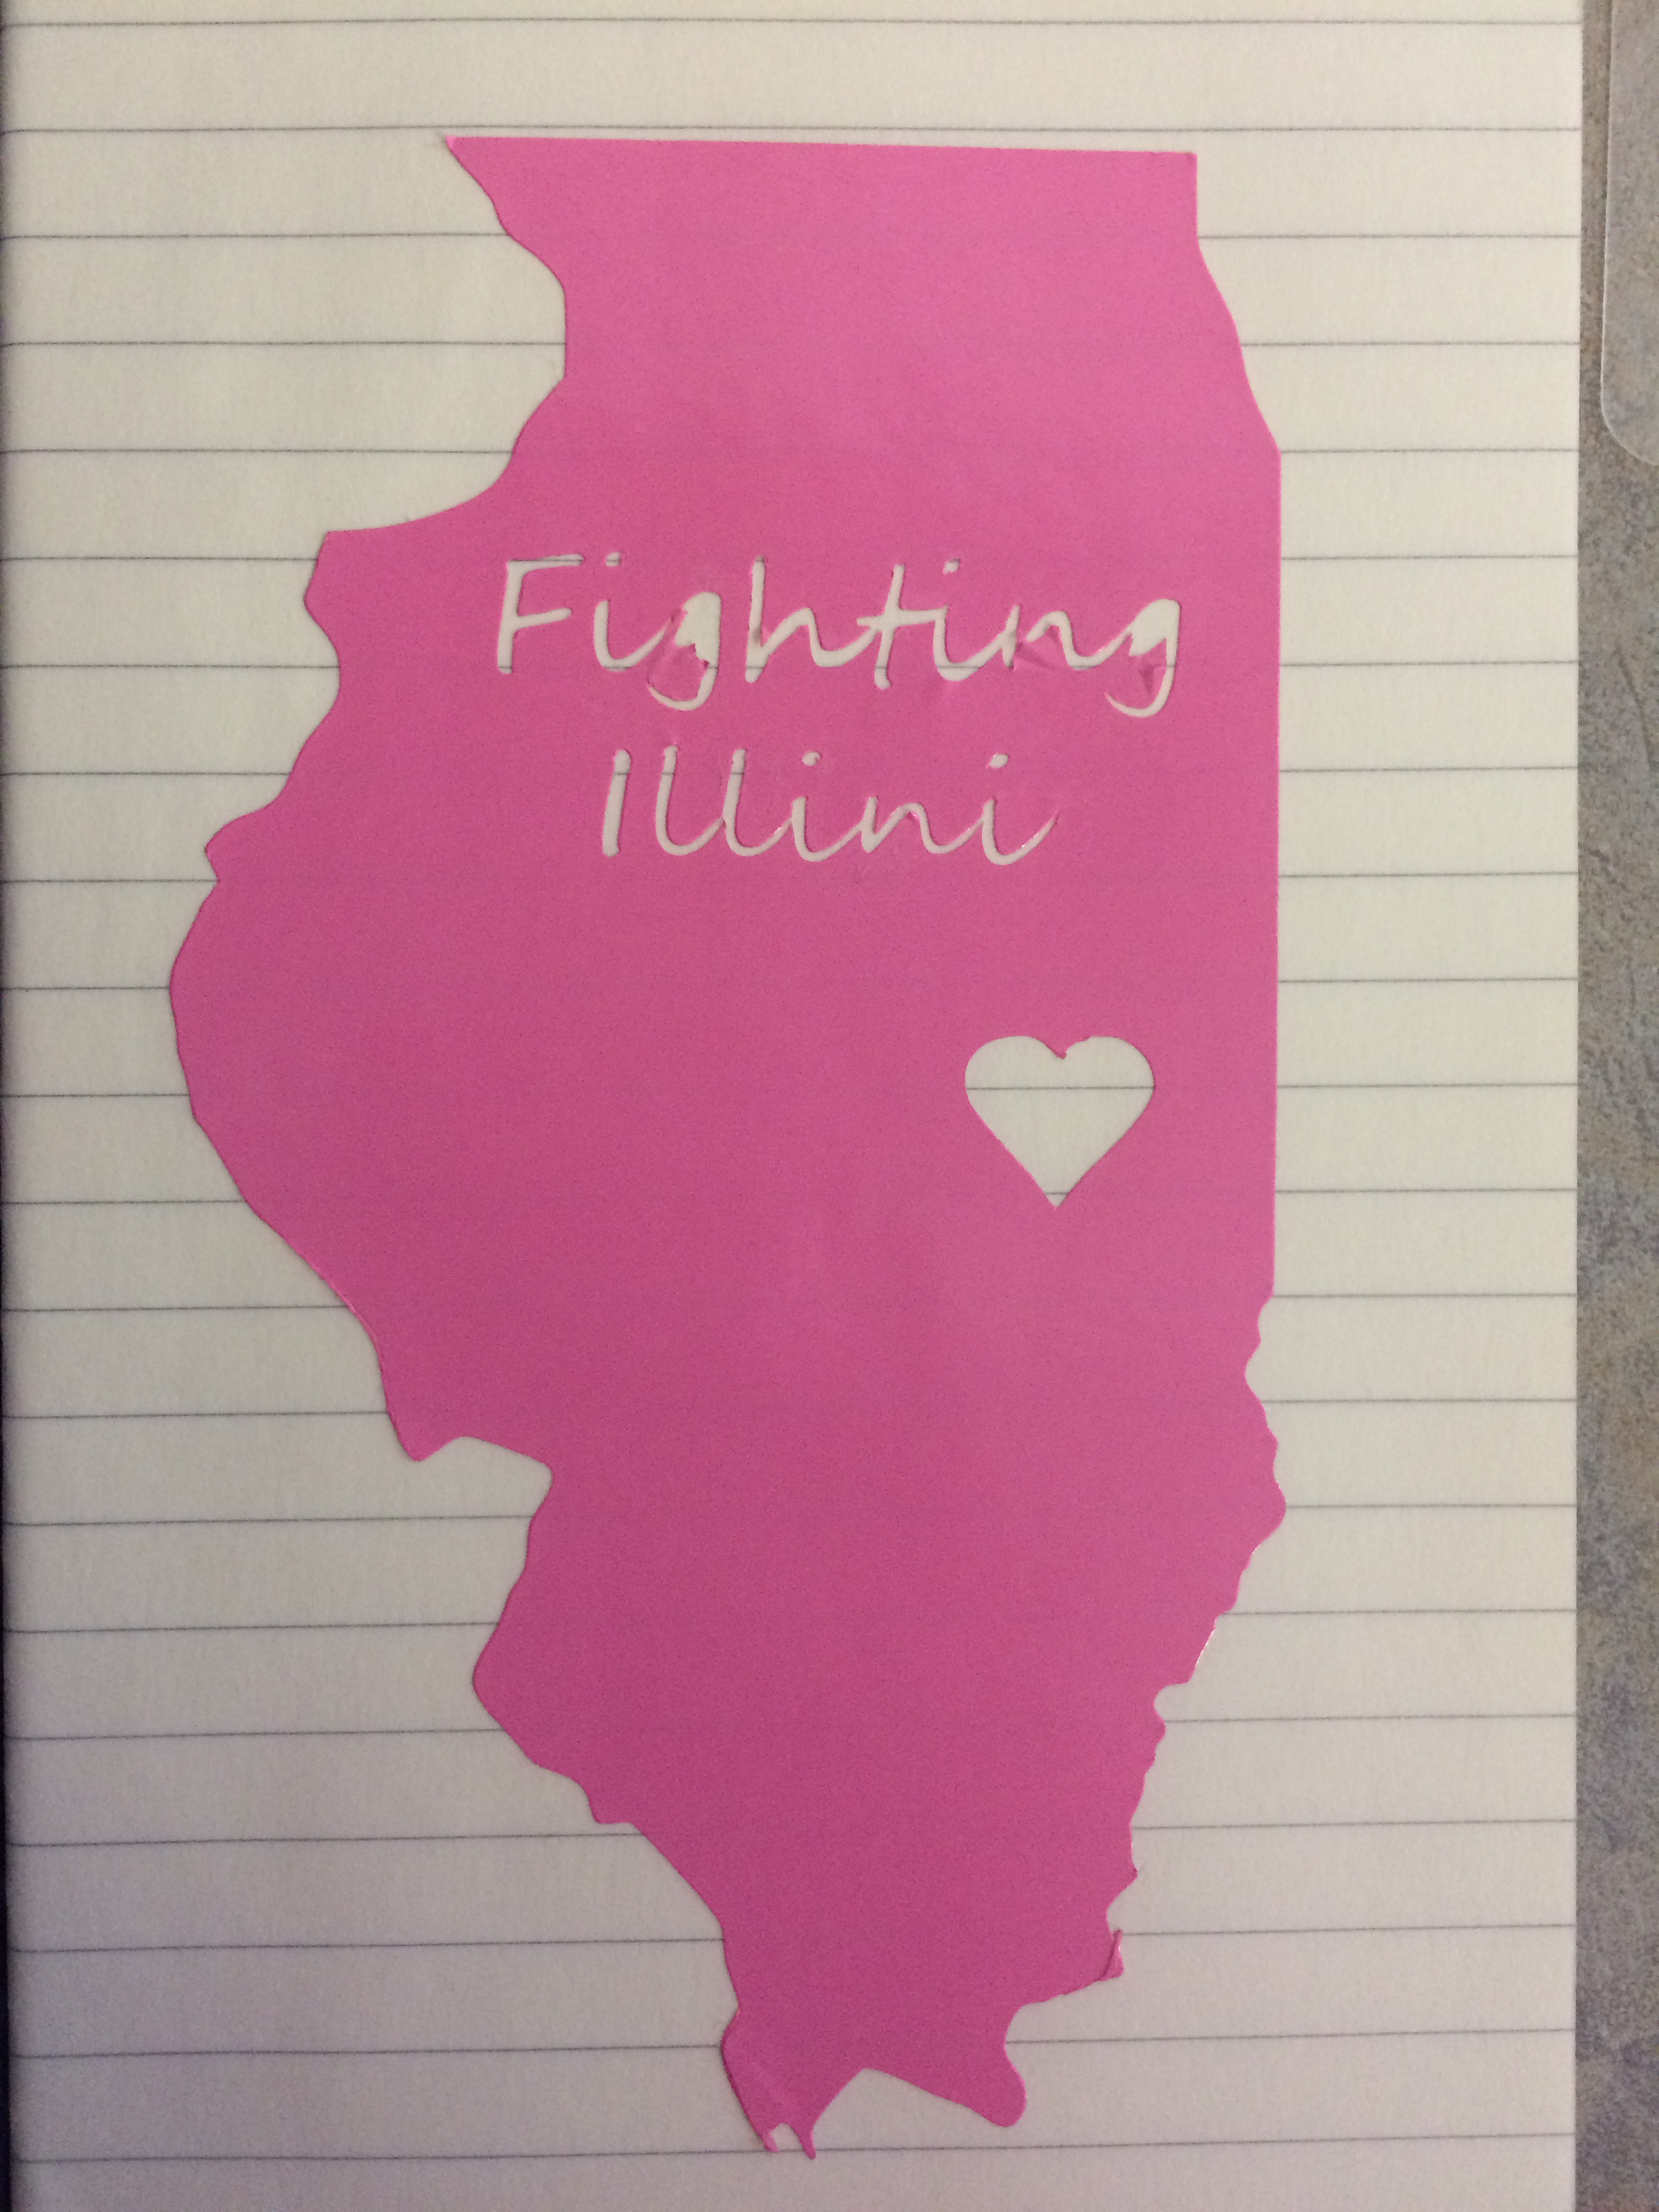
Not quite, though! While I could have shown off some of my middle school sewing skills with my knowledge of how to thread the machine and get the bobbin ready and what-not, I had to let the experts show us how it’s done. We learned how the digital pattern from the computer would be transferred into the sewing machine via a USB cable and then how the machine actually carried out the sewing. The machine would segment the image (and eventual patch) into its various areas of color and create the patch by focusing on one color at a time. The way that the machine began the digital embroidery began sewing reminded me a ton of how the MakerBot 3D printers laid out their bases for printing objects and then built off from there. Within the few seconds or so, you were able to see somewhat of an outline of the colored area that the machine would stitch over.
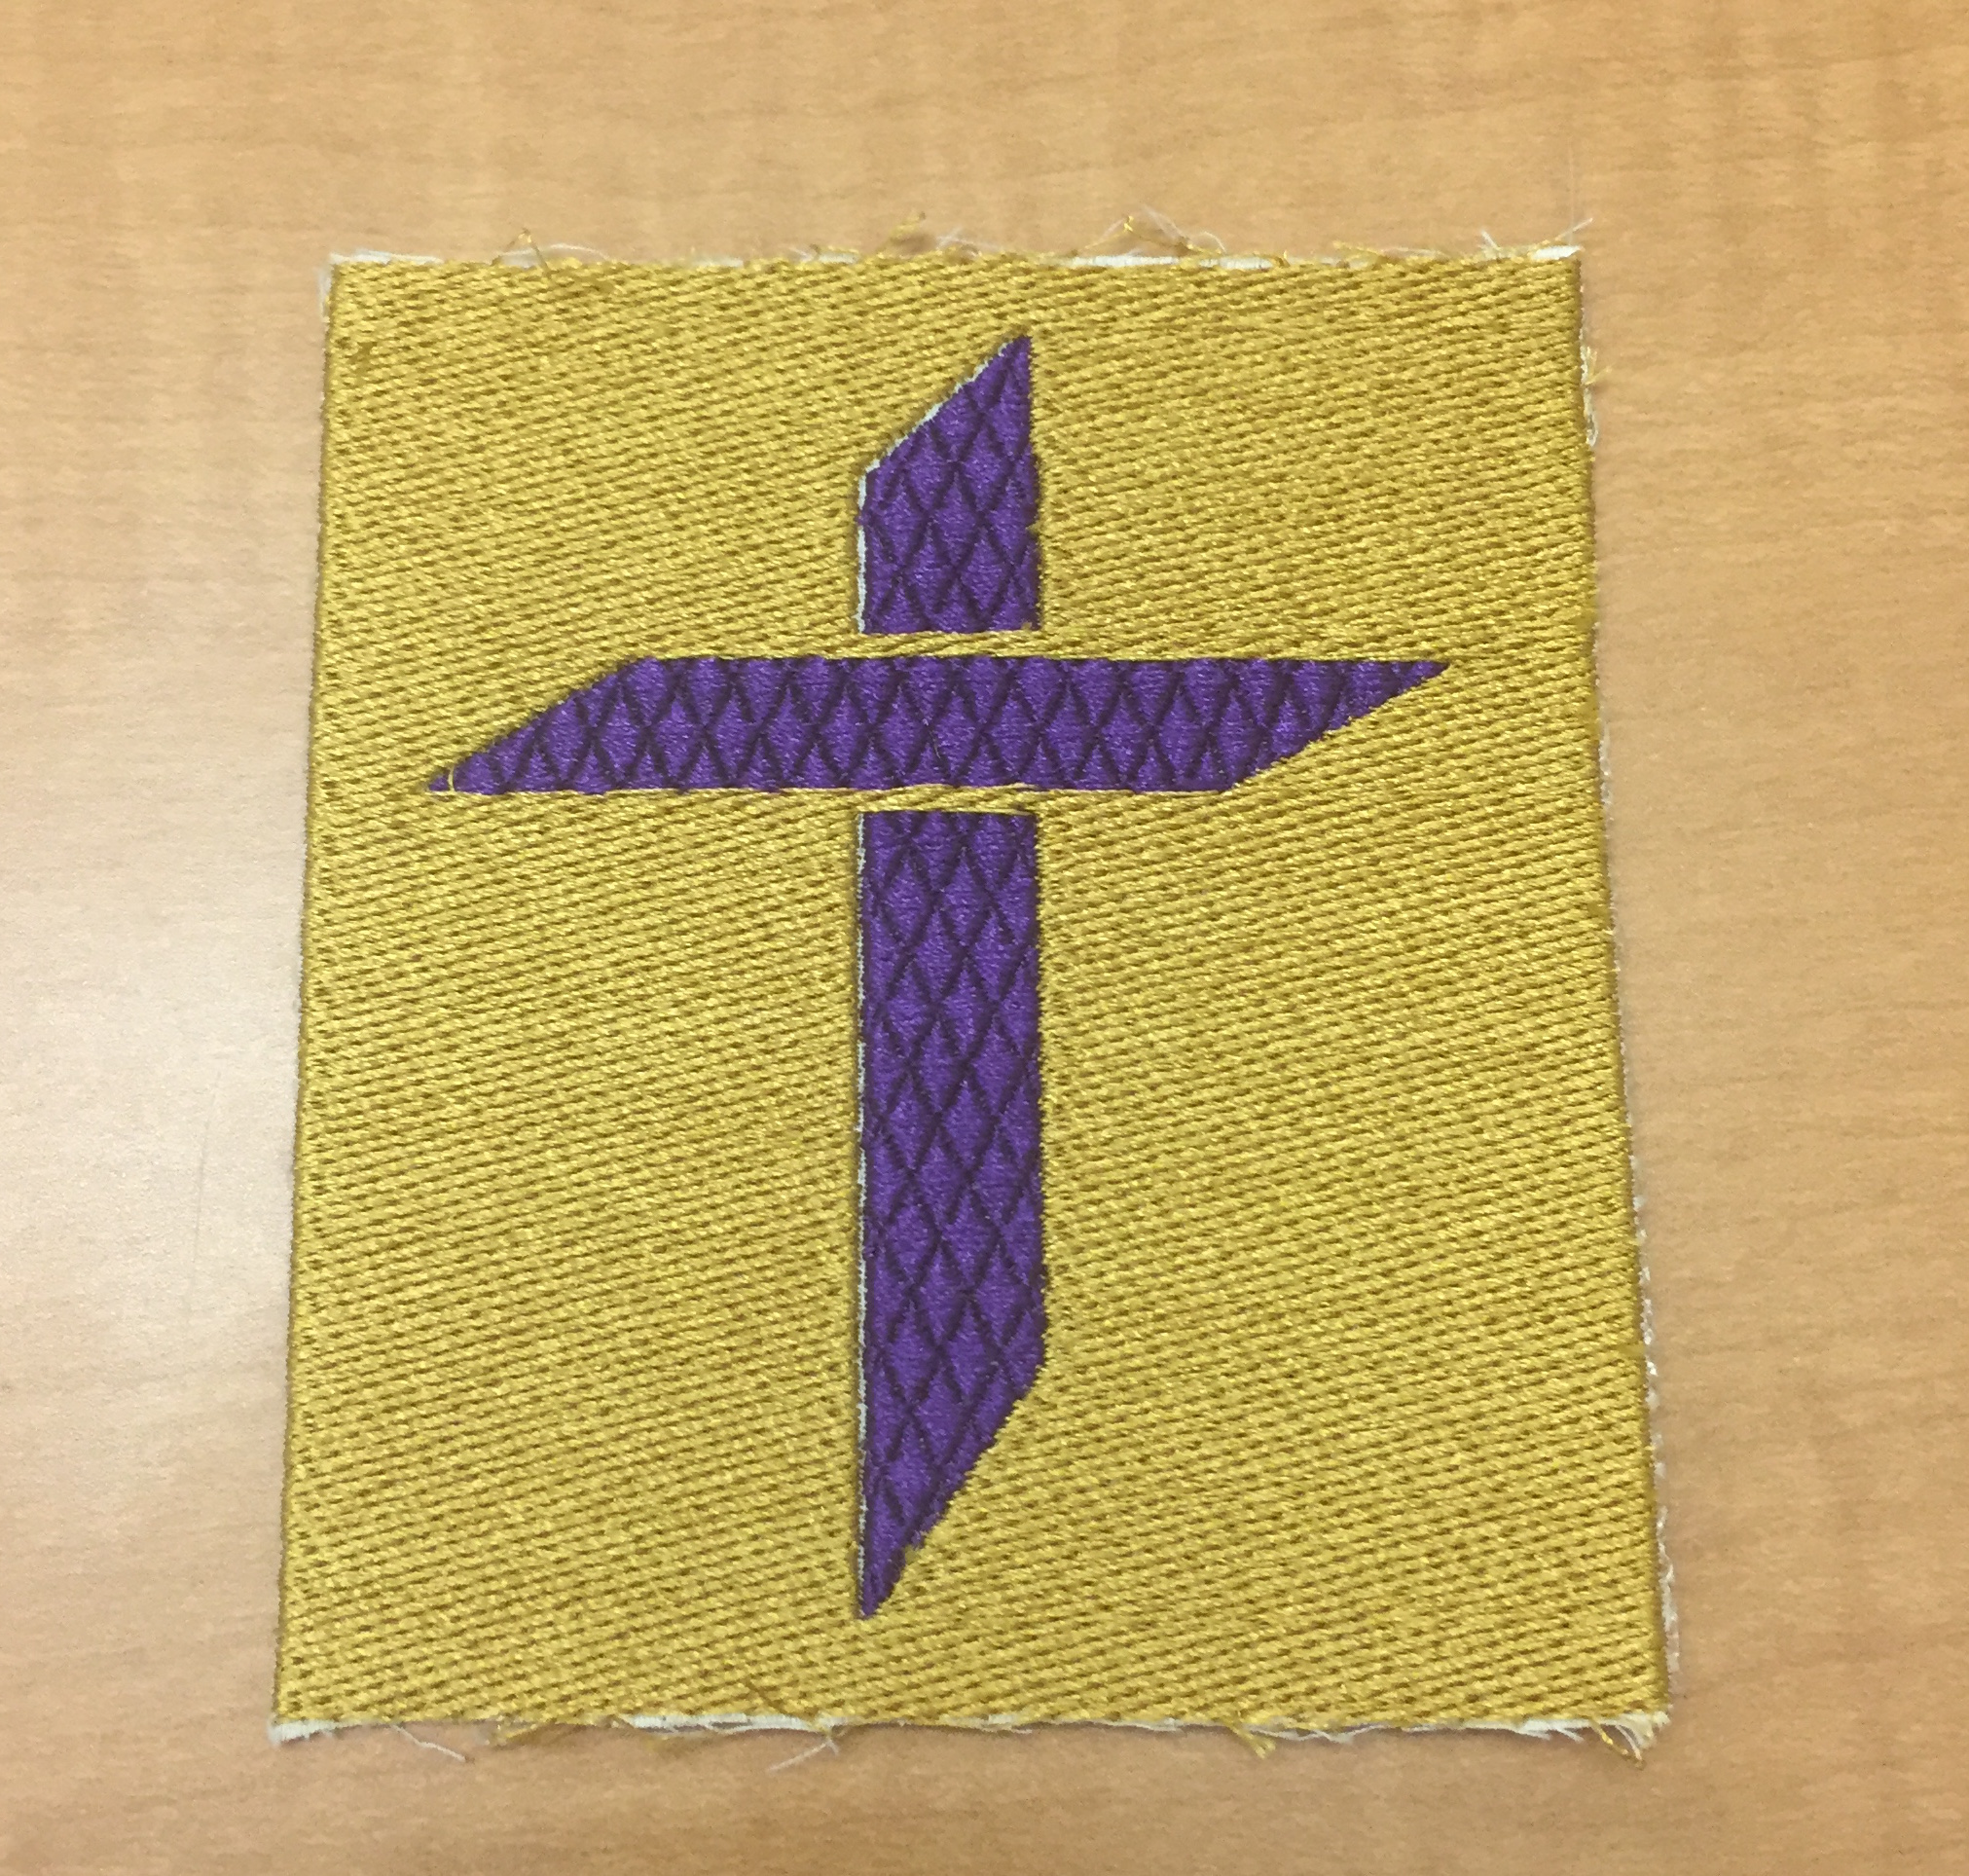
For my patch, I couldn’t decide on something but then decided to make a Holy Cross to use as a bookmark or patch in light being in the middle of Holy Week (a religious week observed by Christians). I got pretty excited when I found a cross that I liked and chose a color combination that I thought would turn out pretty neat – and it did! You can see the cross printed out below. Myself and my friends all ended up digitally embroidering different kinds of patches with different symbols and designs. I’m still AMAZED with the precision and accuracy by which the patch was stitched. I’m excited to learn more about how technology is automatic actions like sewing to create even more things like this!
My patch!