
These next couple weeks we are venturing away from the Maker Lab and get to learn a bit about the variety of things that the Fab Lab has to offer. We split into three groups for the different sessions, and my group got to start in the front area of the lab. This area has computers available to design products using any of the available software they have installed, multiple 3D printers (that we won’t be using at all since we have access to them in the Maker Lab), a laser engraver, and multiple electronic cutters.
Laser Engraver
We first focused on the laser engraver, a hot spot in the lab. We were given small journals that we got to design a cover for. After a brief introduction to the Inkscape software, we were off to designing. Our instructor for the session, Jeff Ginger, set up the laser engraver and showed us the safety precautions that were in place to prevent fires.
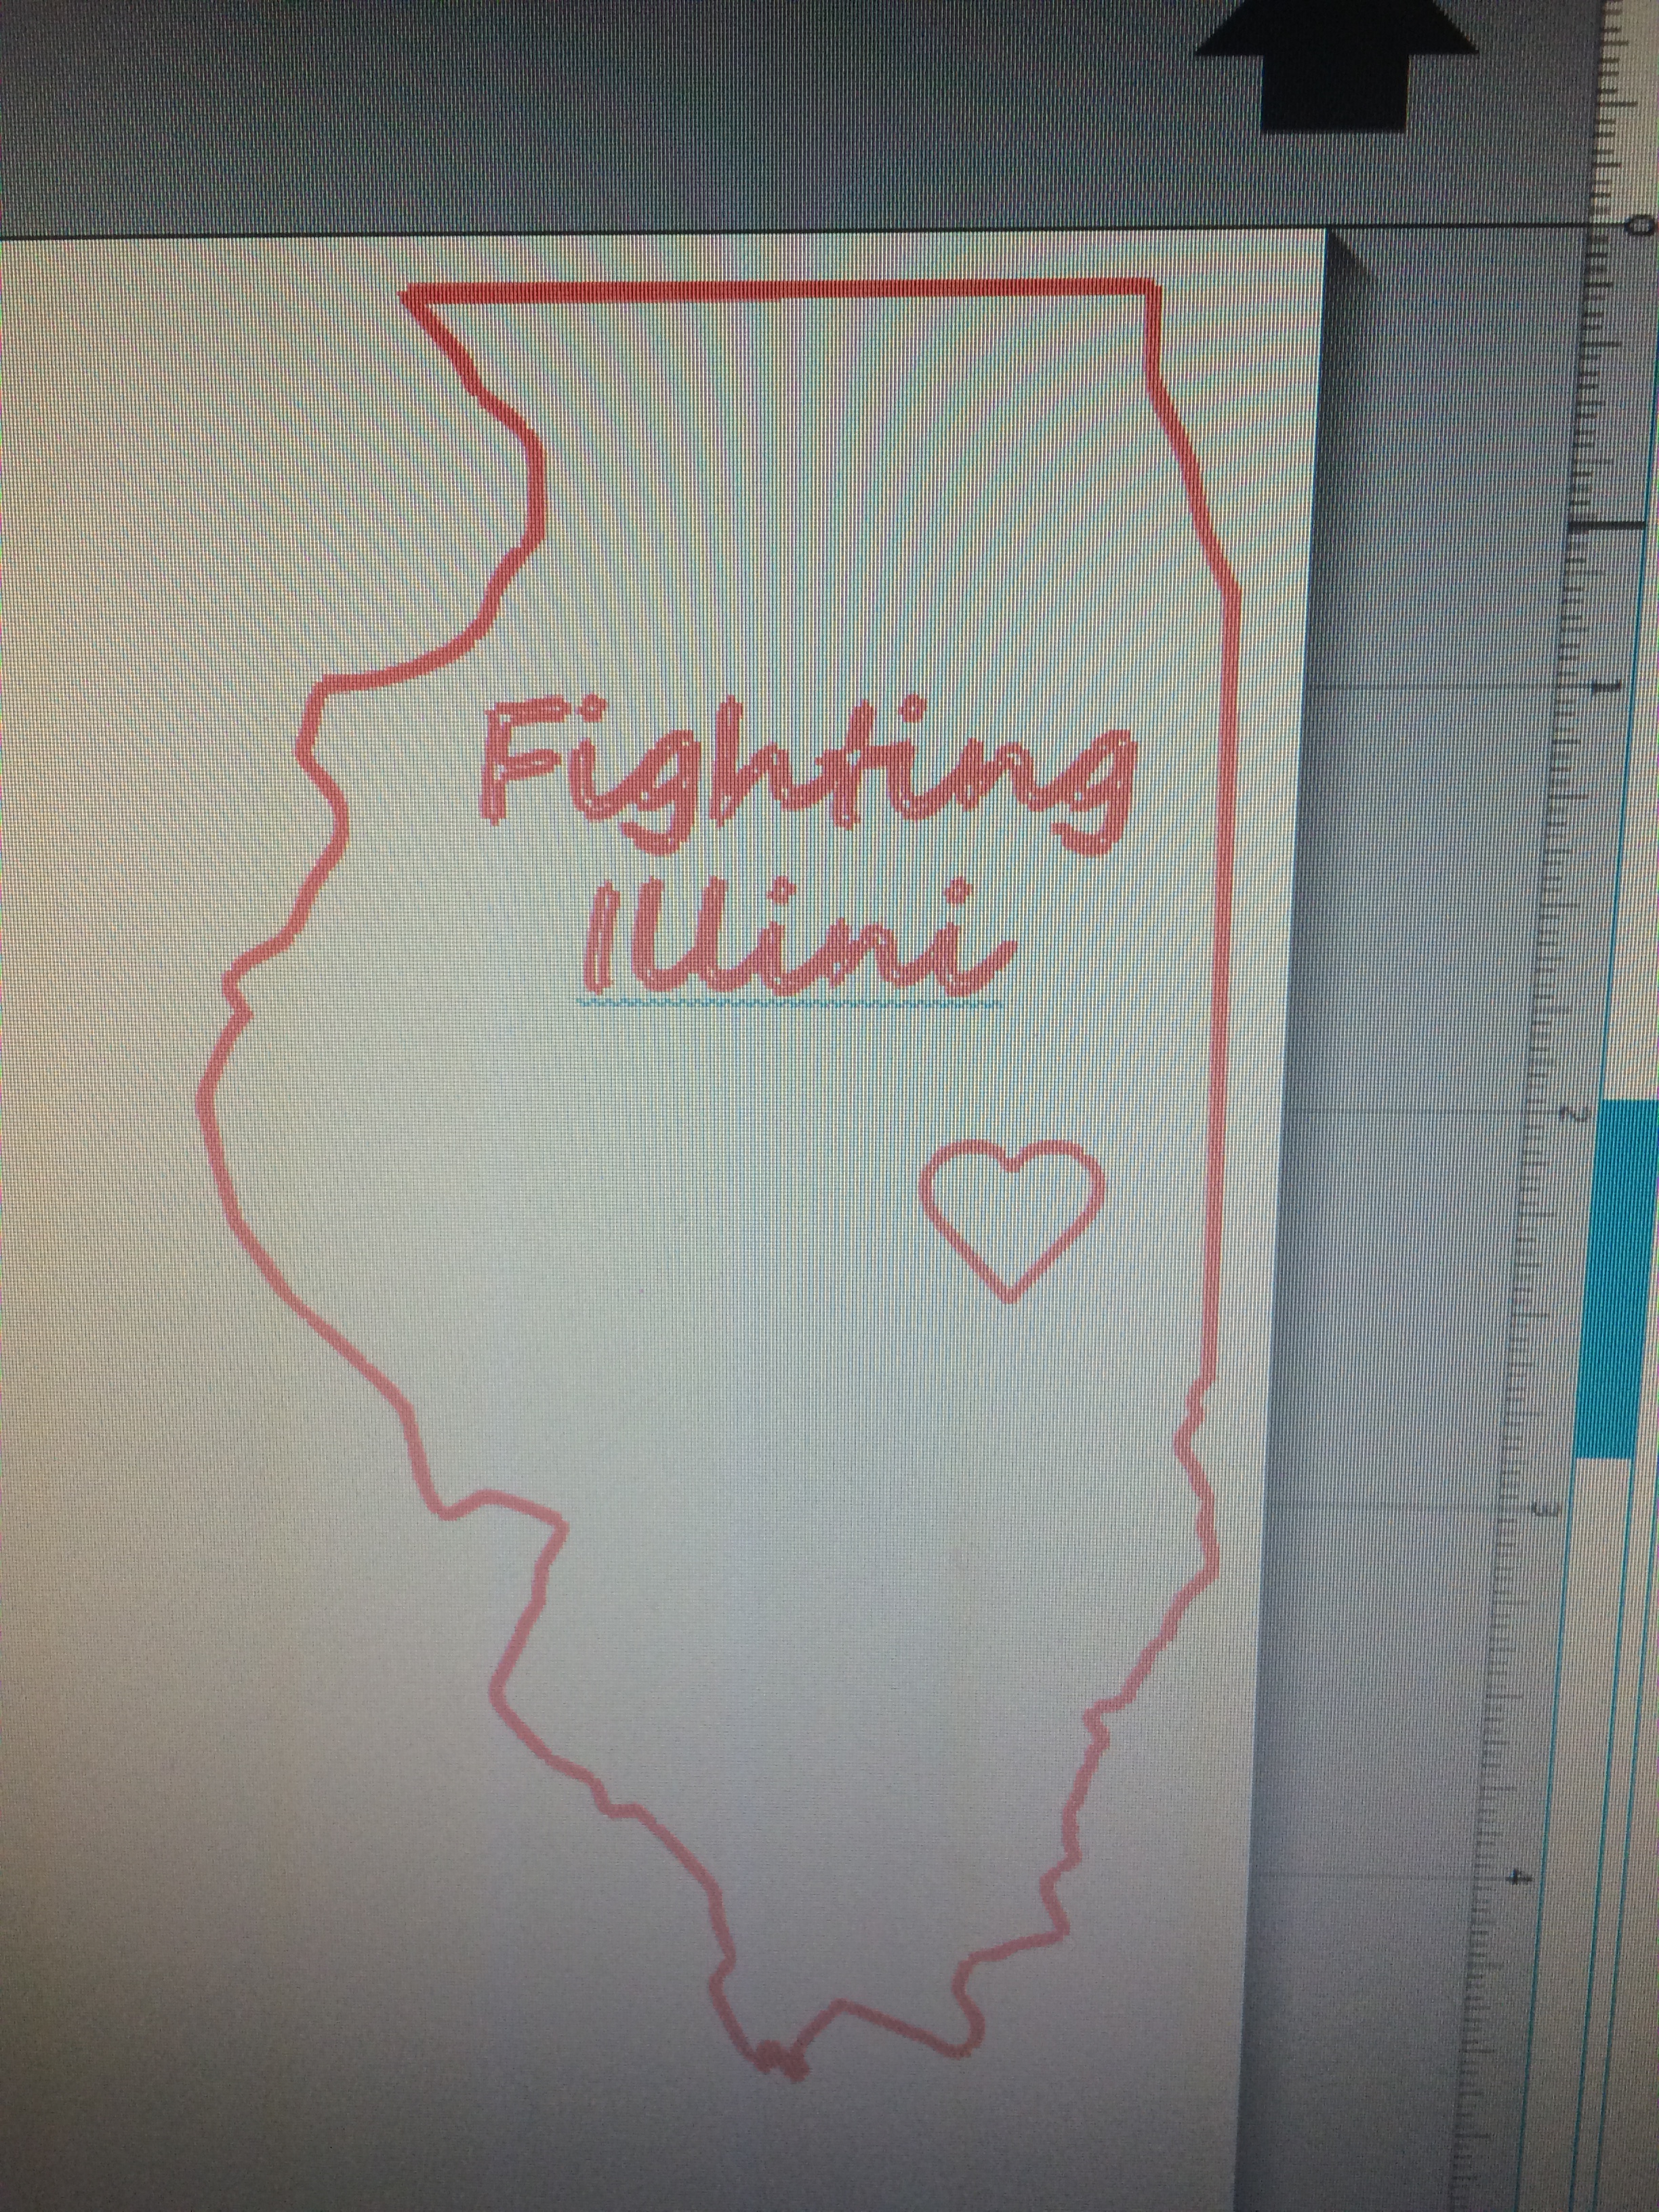
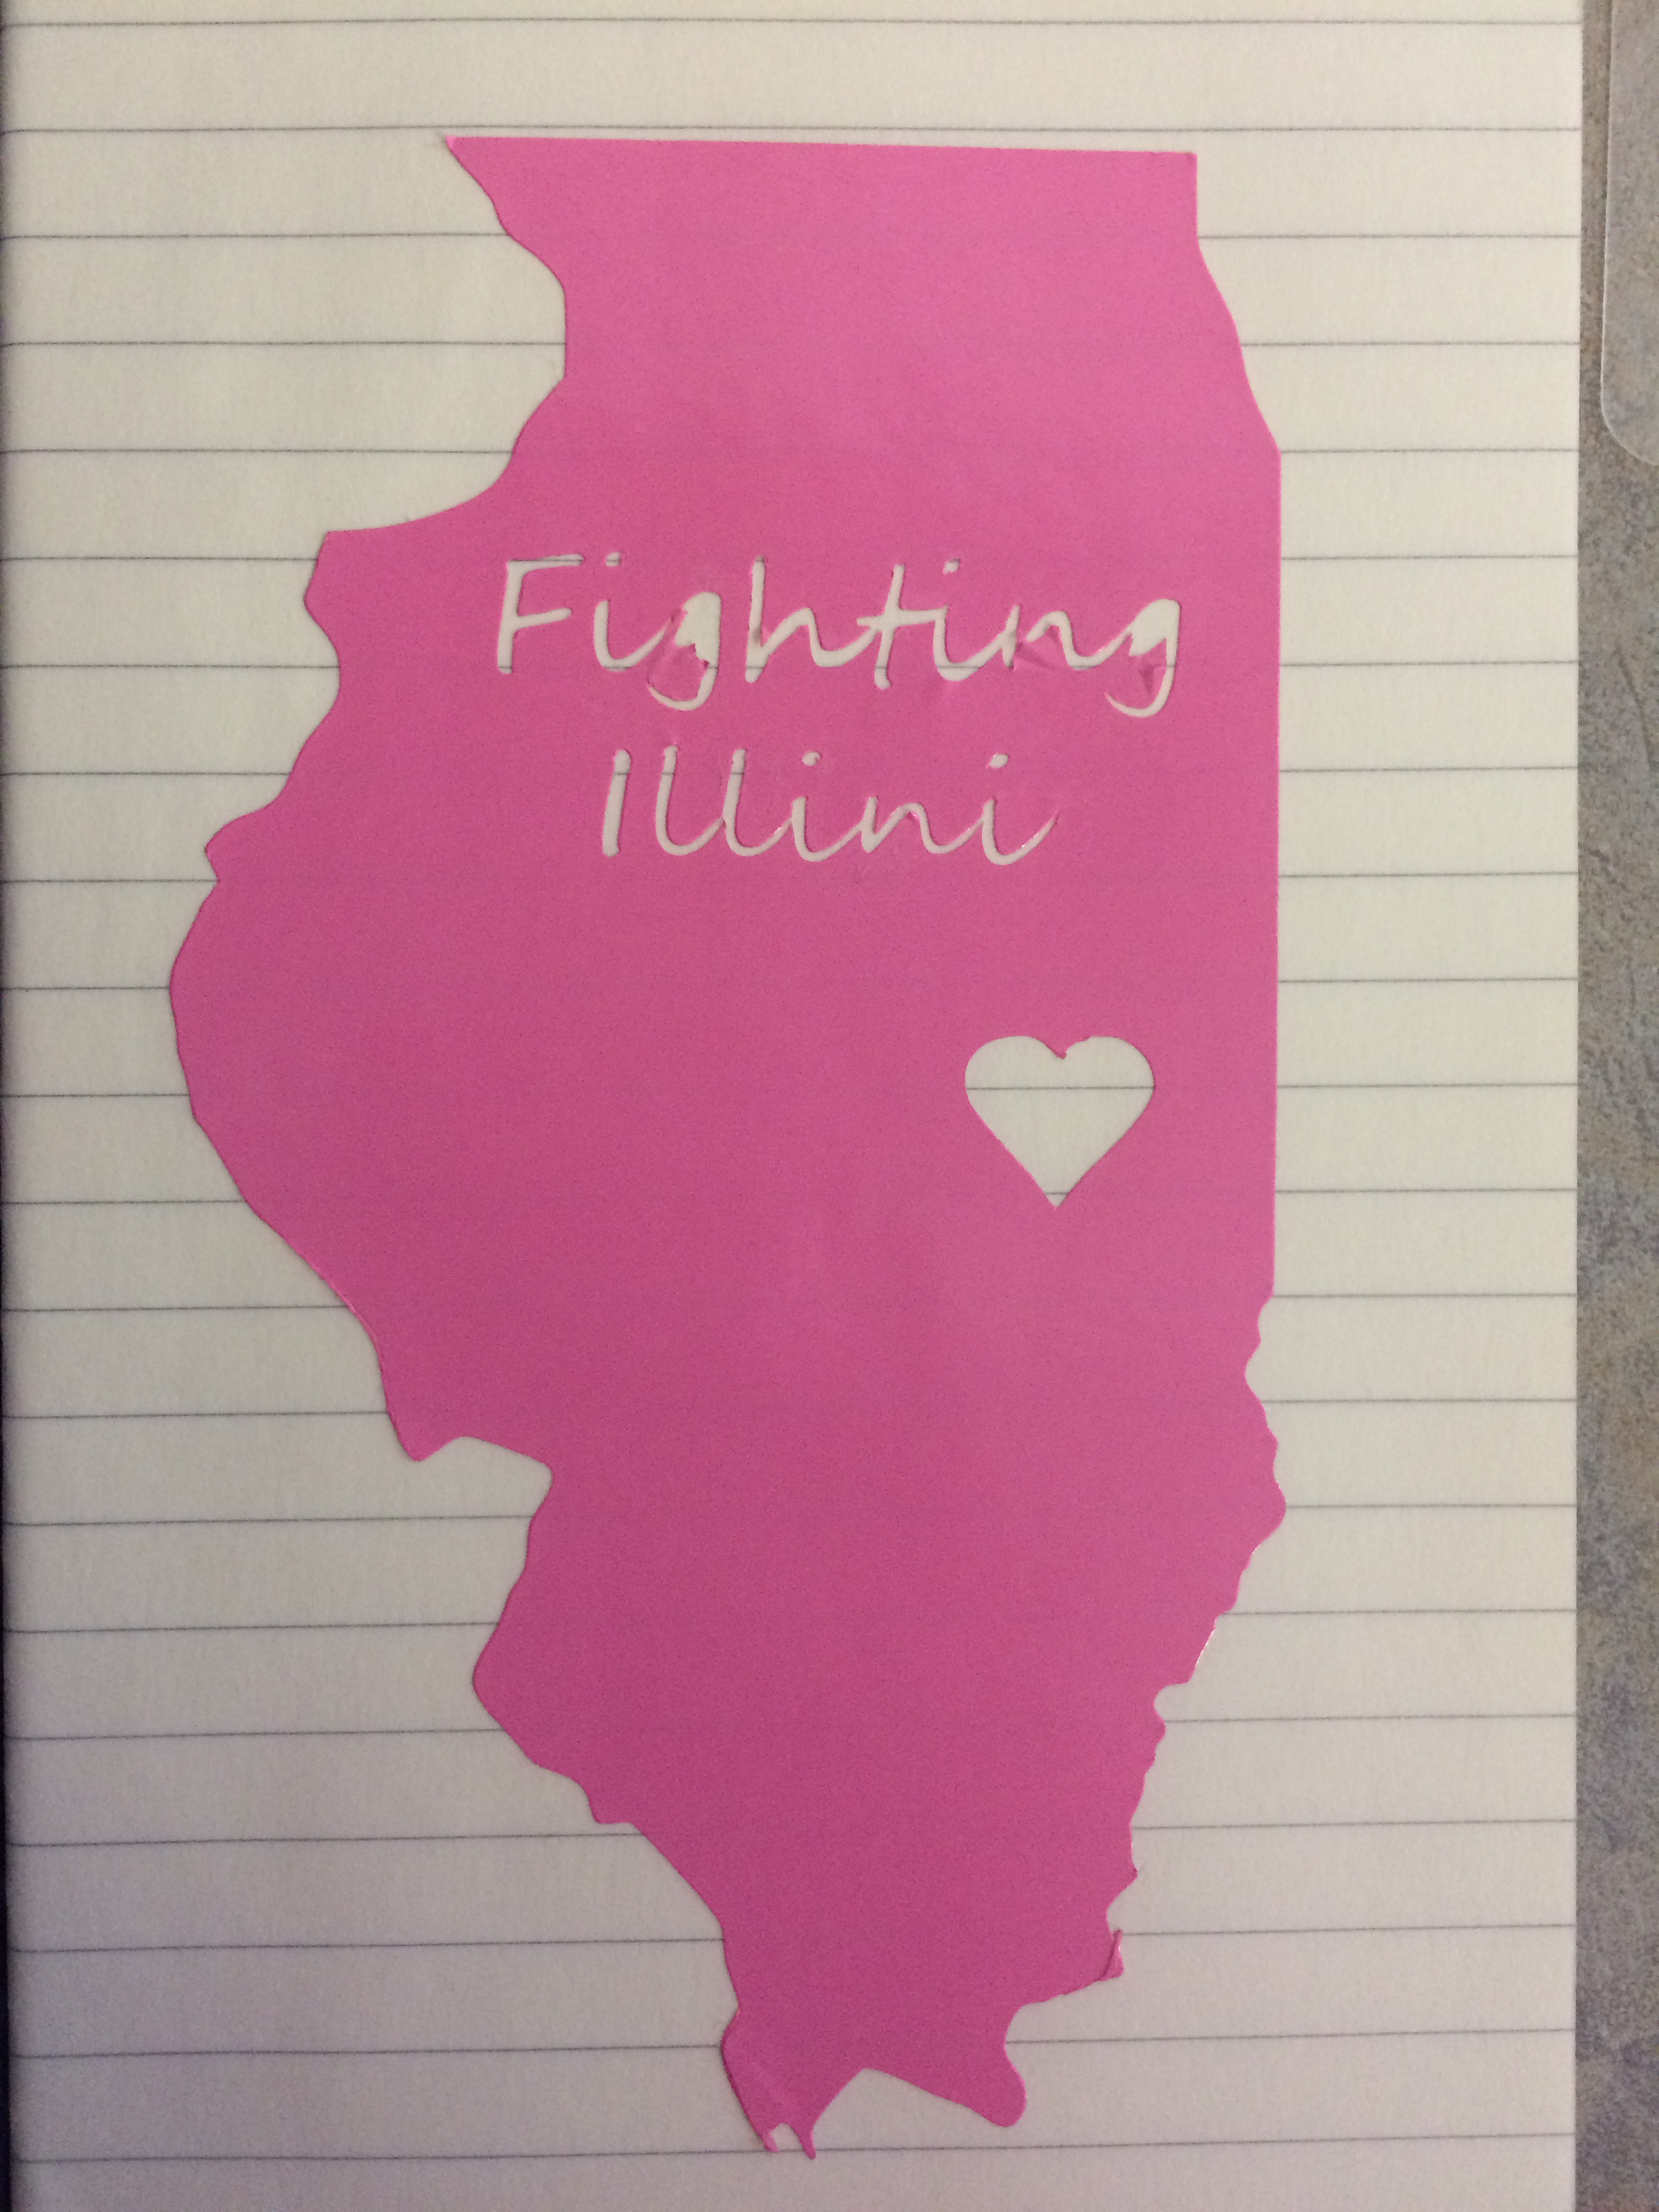
Here’s what I designed on Inkscape and my completed journal cover:
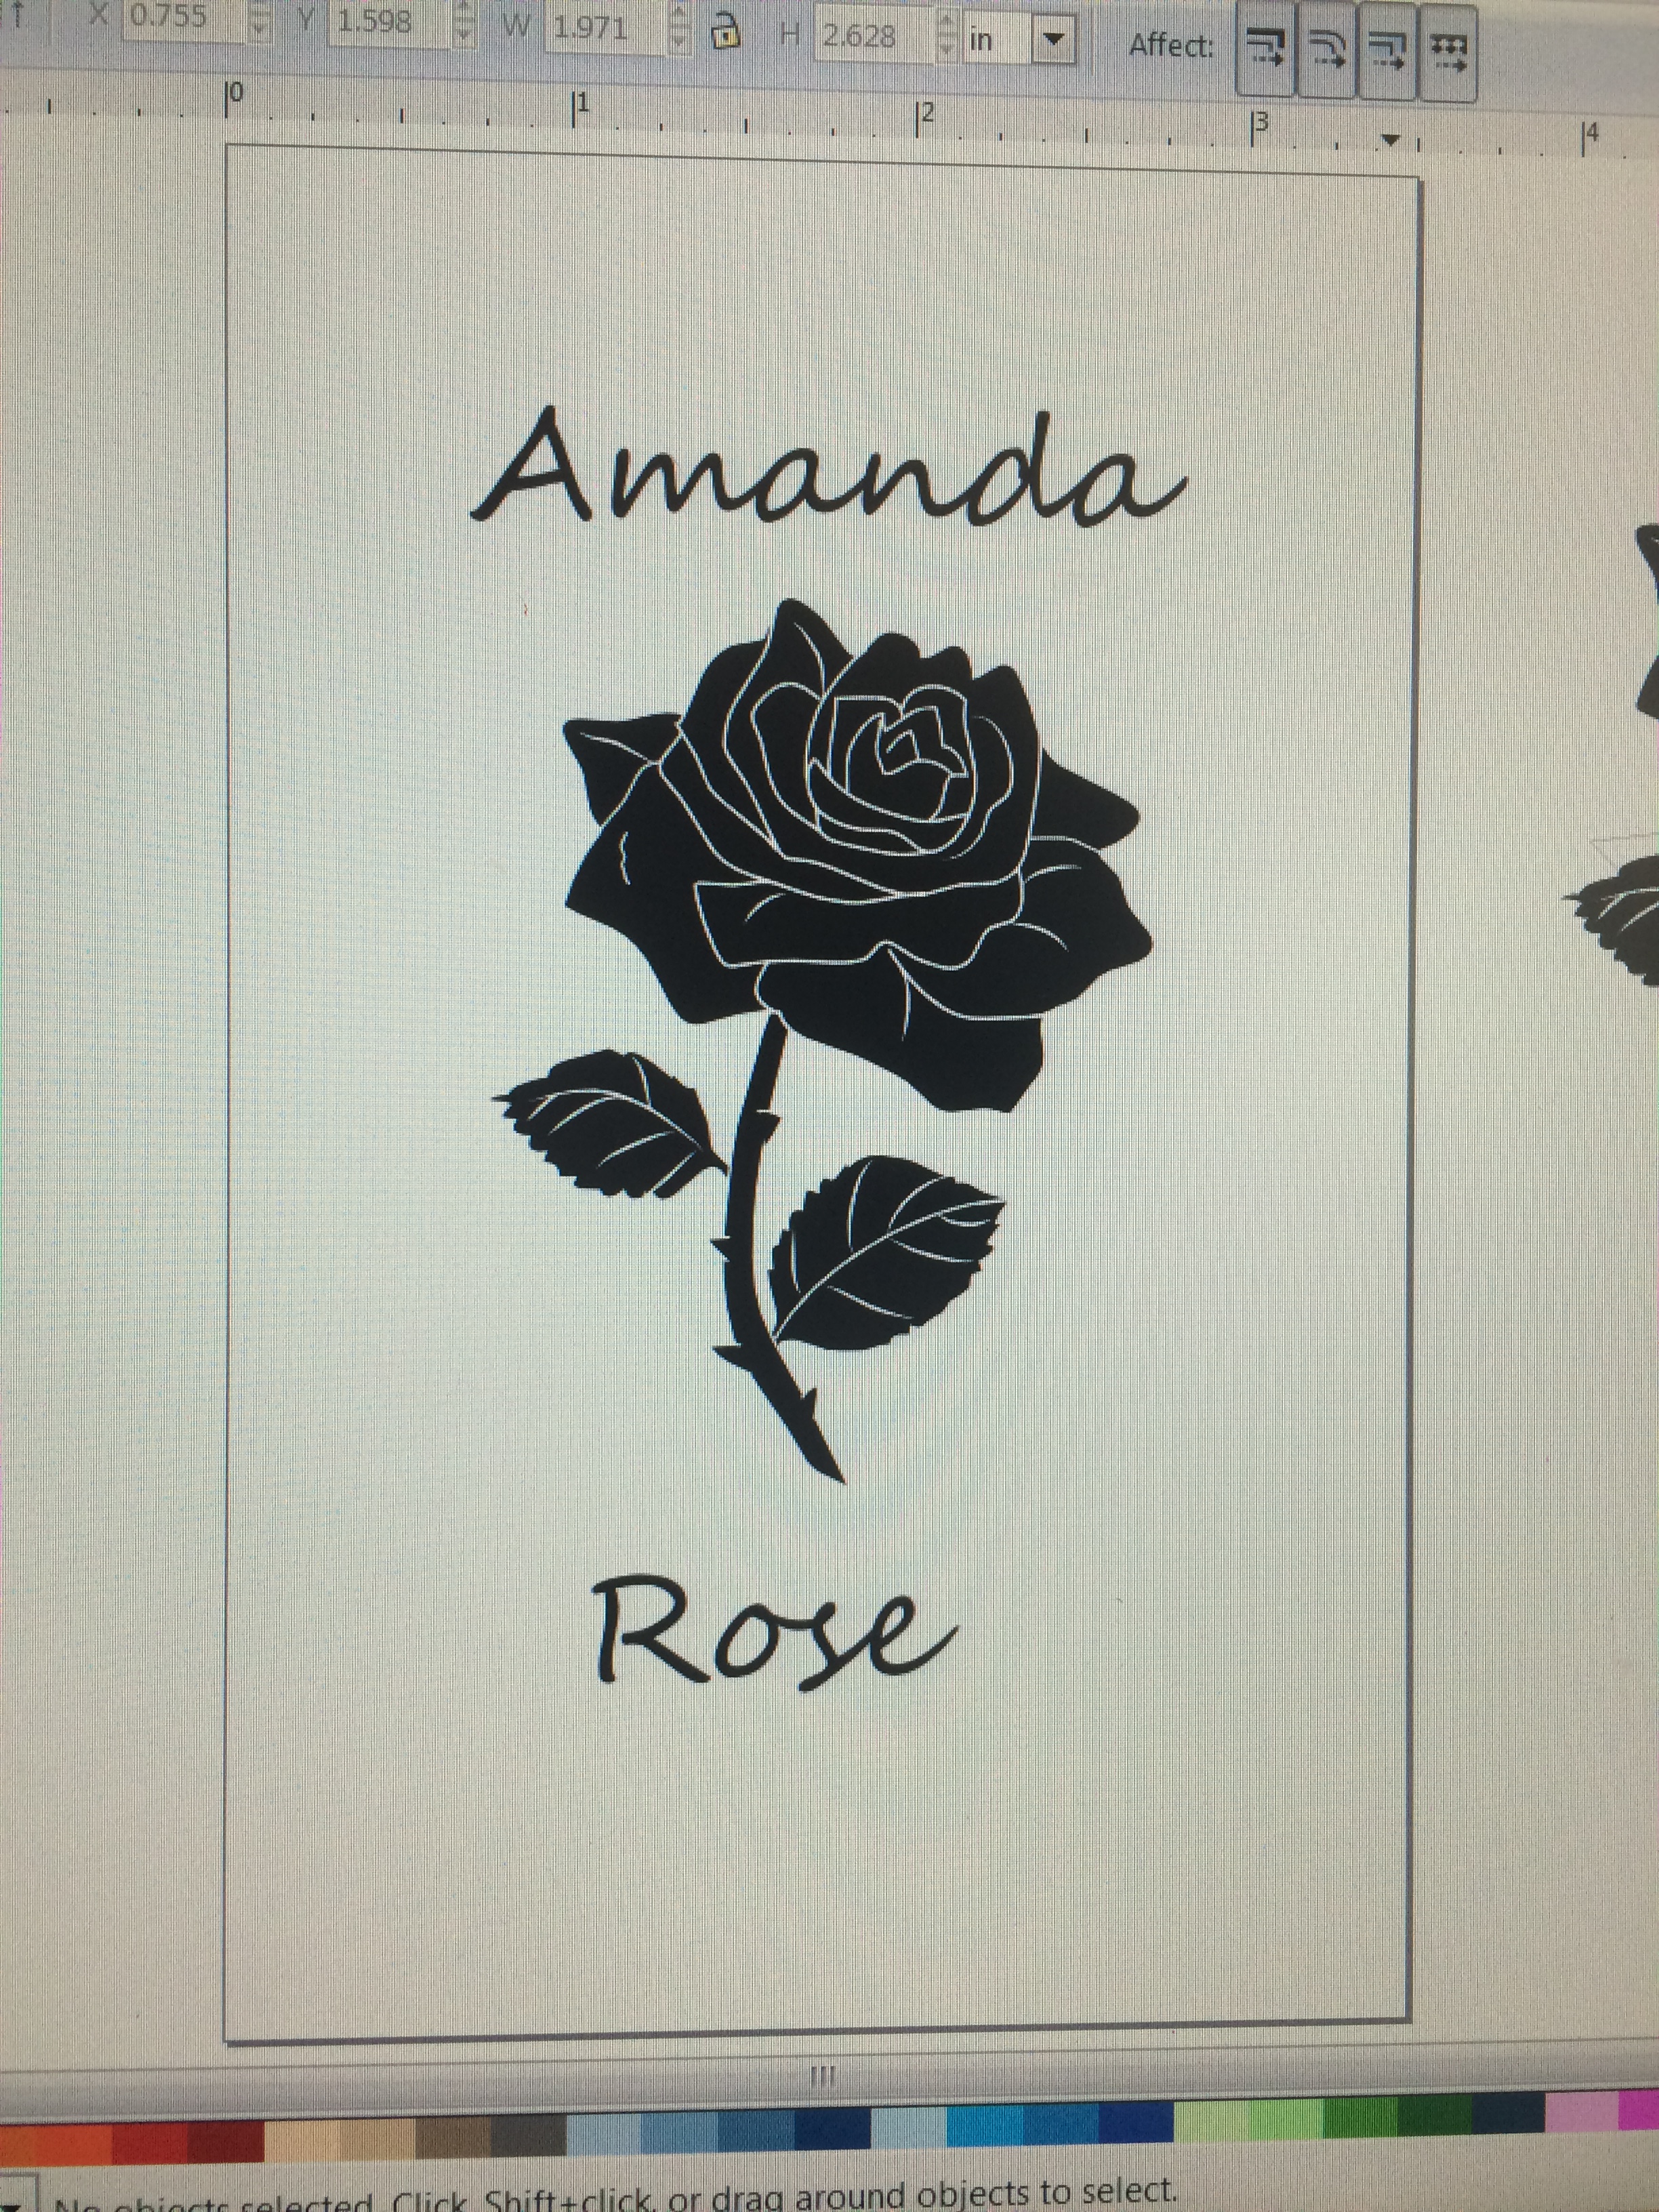
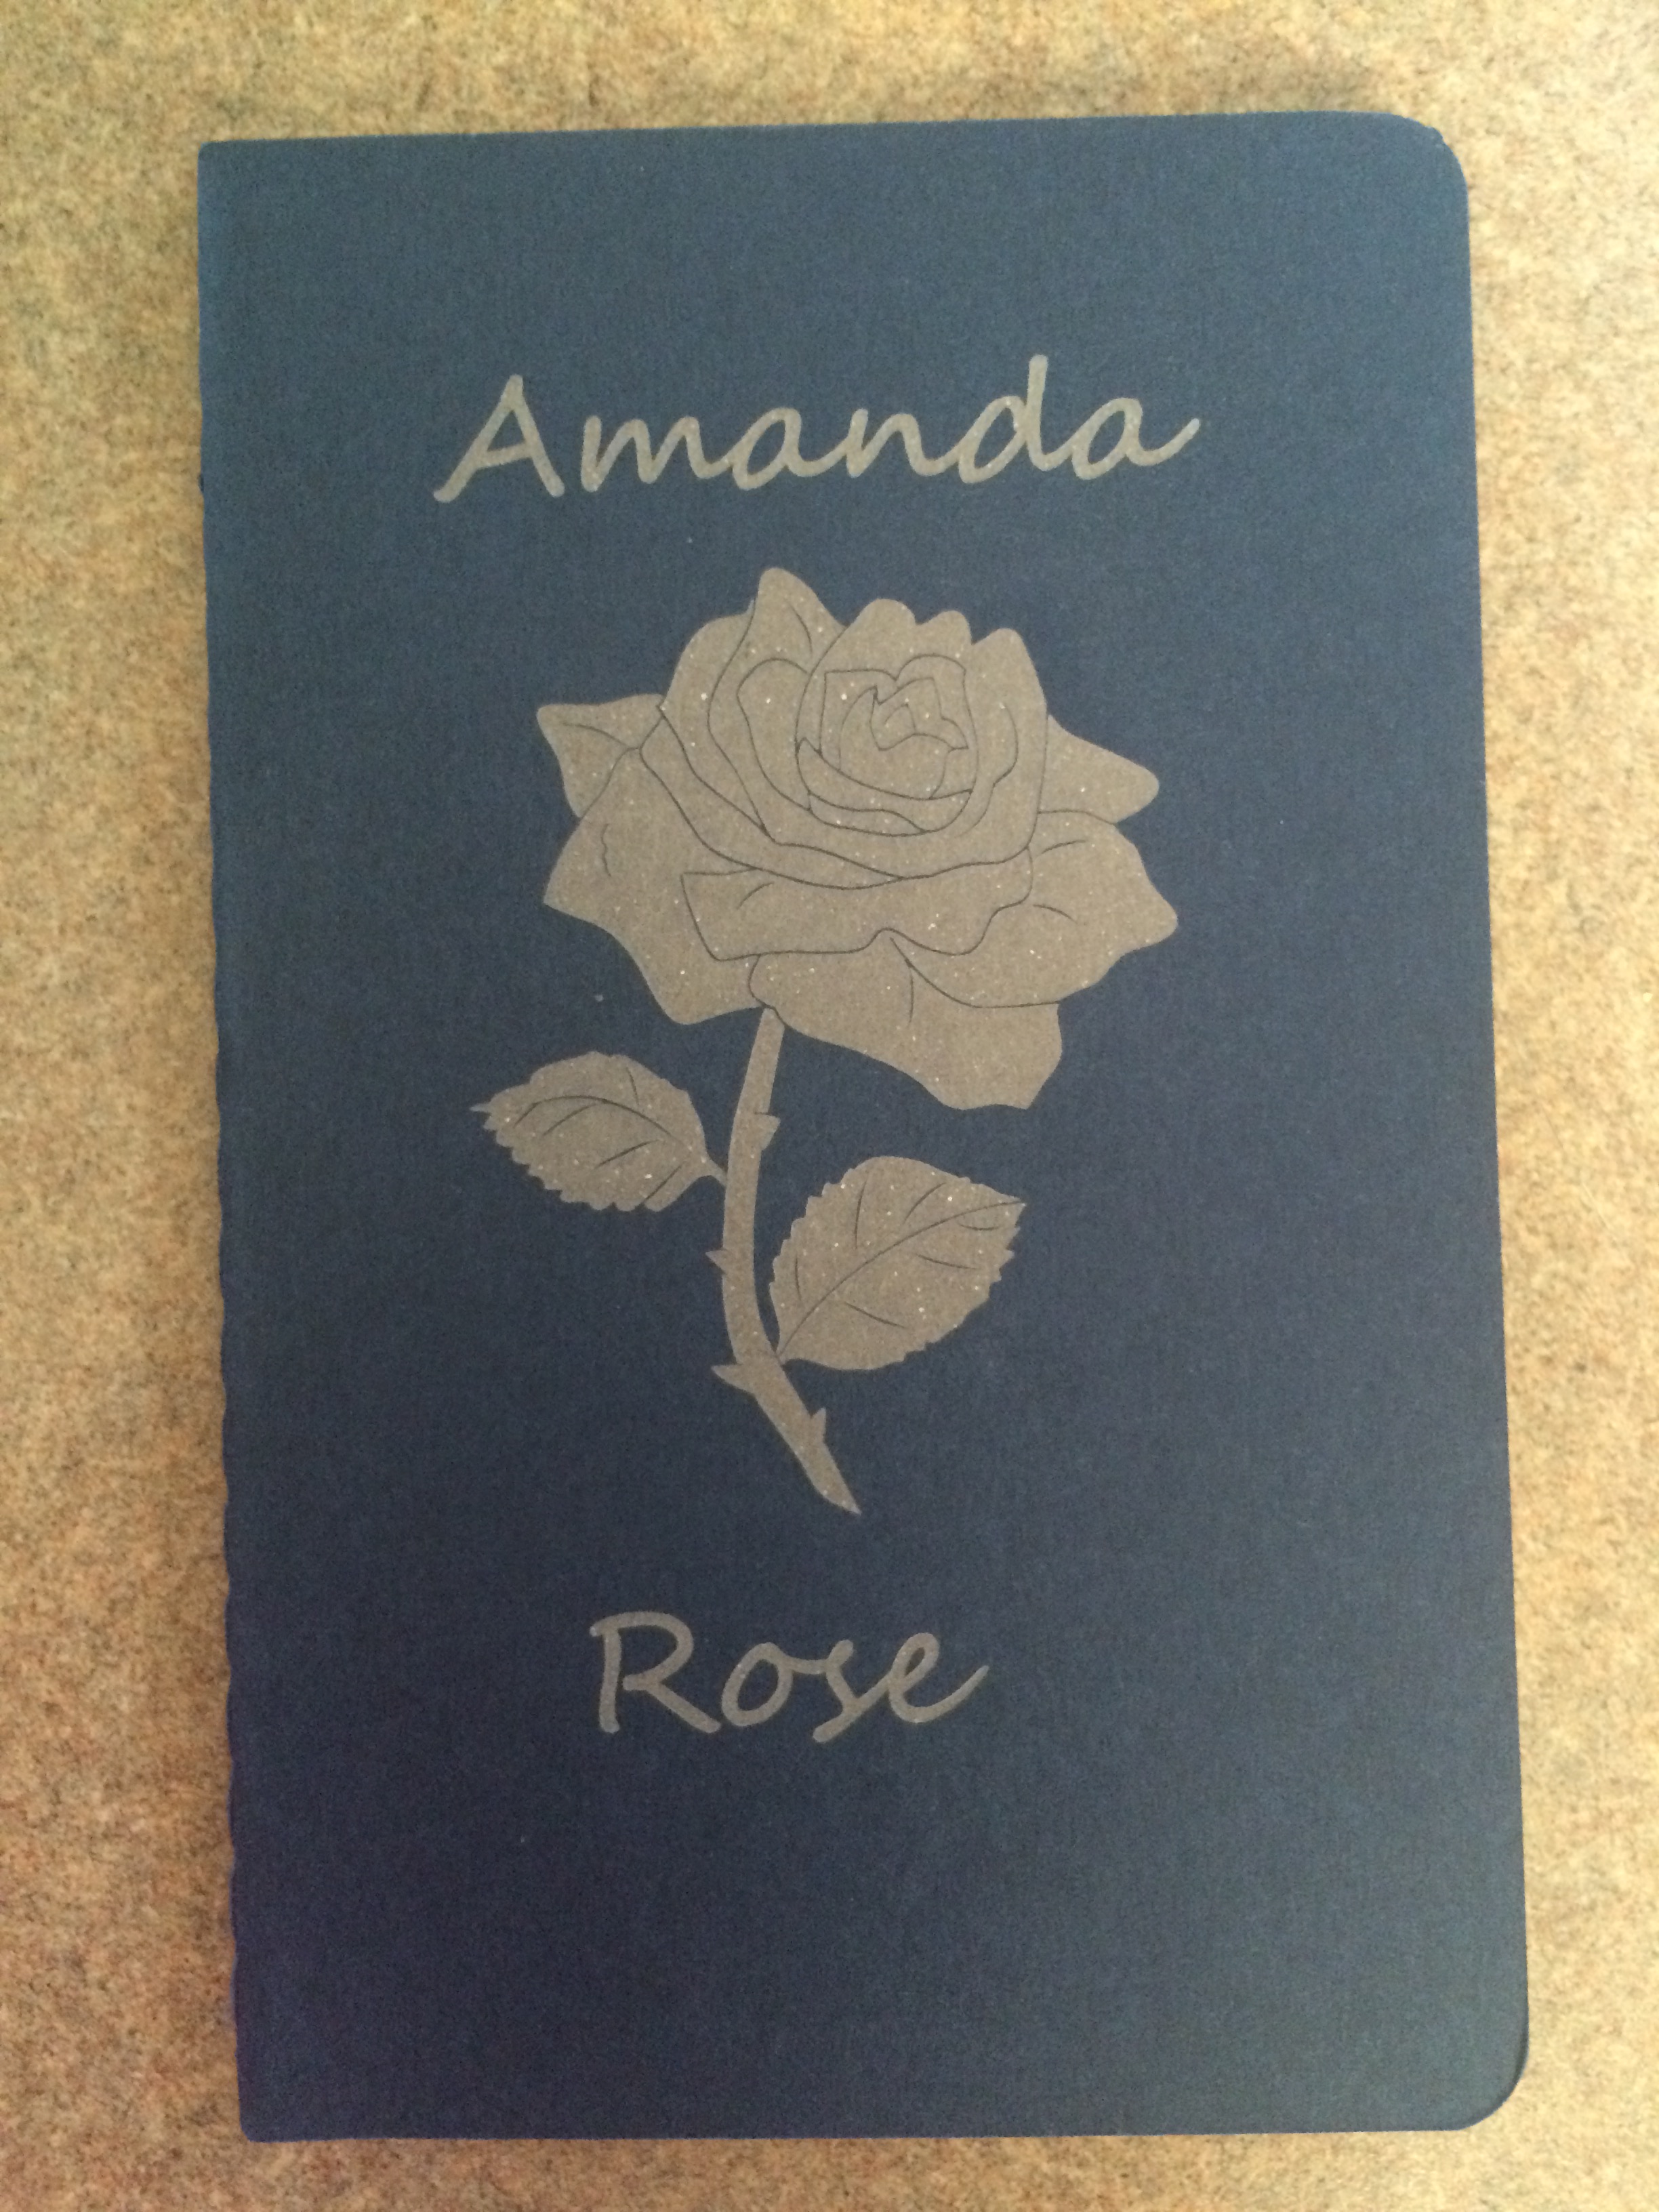 I am very happy with how my journal turned out, and I am so glad I got to watch it be made. We learned the difference between raster and vector as we watched. Raster takes off a layer of the material, which is what we did to the journal cover, and vector cuts right through the material. I hope in the next couple weeks we can see the machine vector something.
Electronic Cutter
Next we learned about the the electronic cutters. We continued using Inkscape to learn a few more of its functions as we designed our next project. This project was to cut out stickers from sheets of vinyl. We chose two animals and learned how to morph them together to create one creature. Unfortunately, I wasn’t too creative in my choices and went with an elephant and a giraffe. The next step was to bring our design into the Silhouette Studio program. We learned how to set our designs up to send it to the cutter.
Here is my design and cut out sticker:
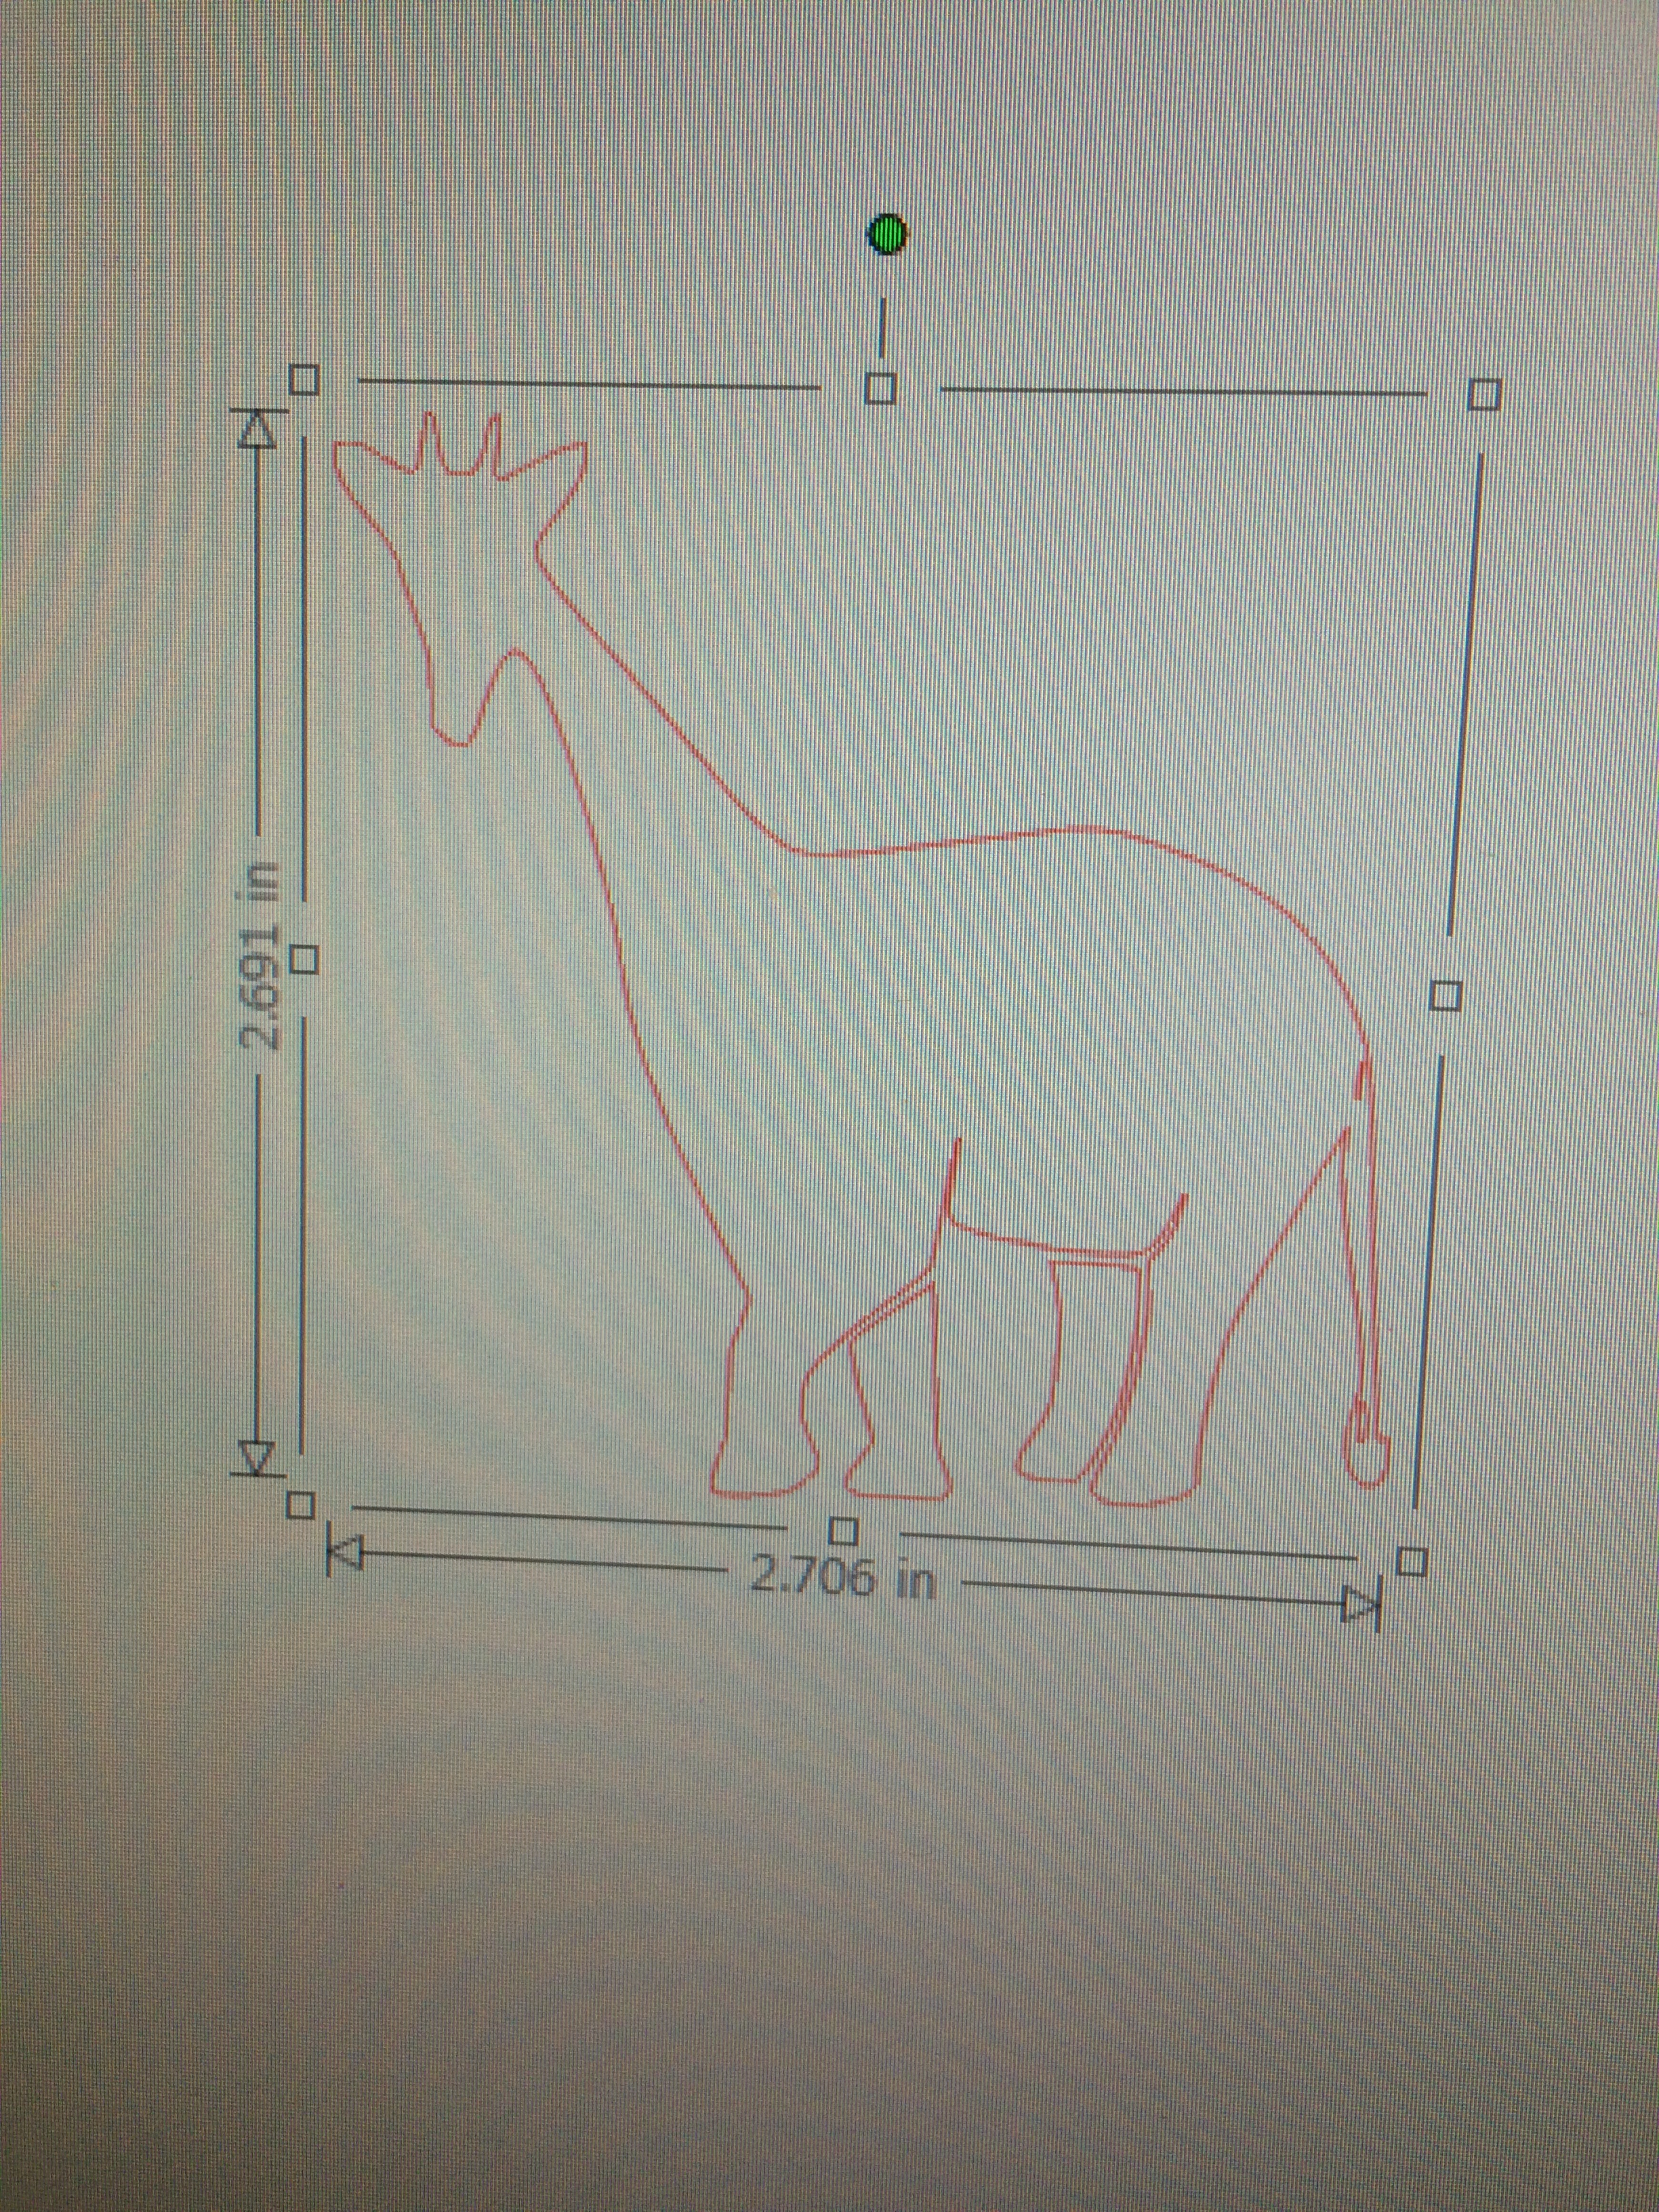
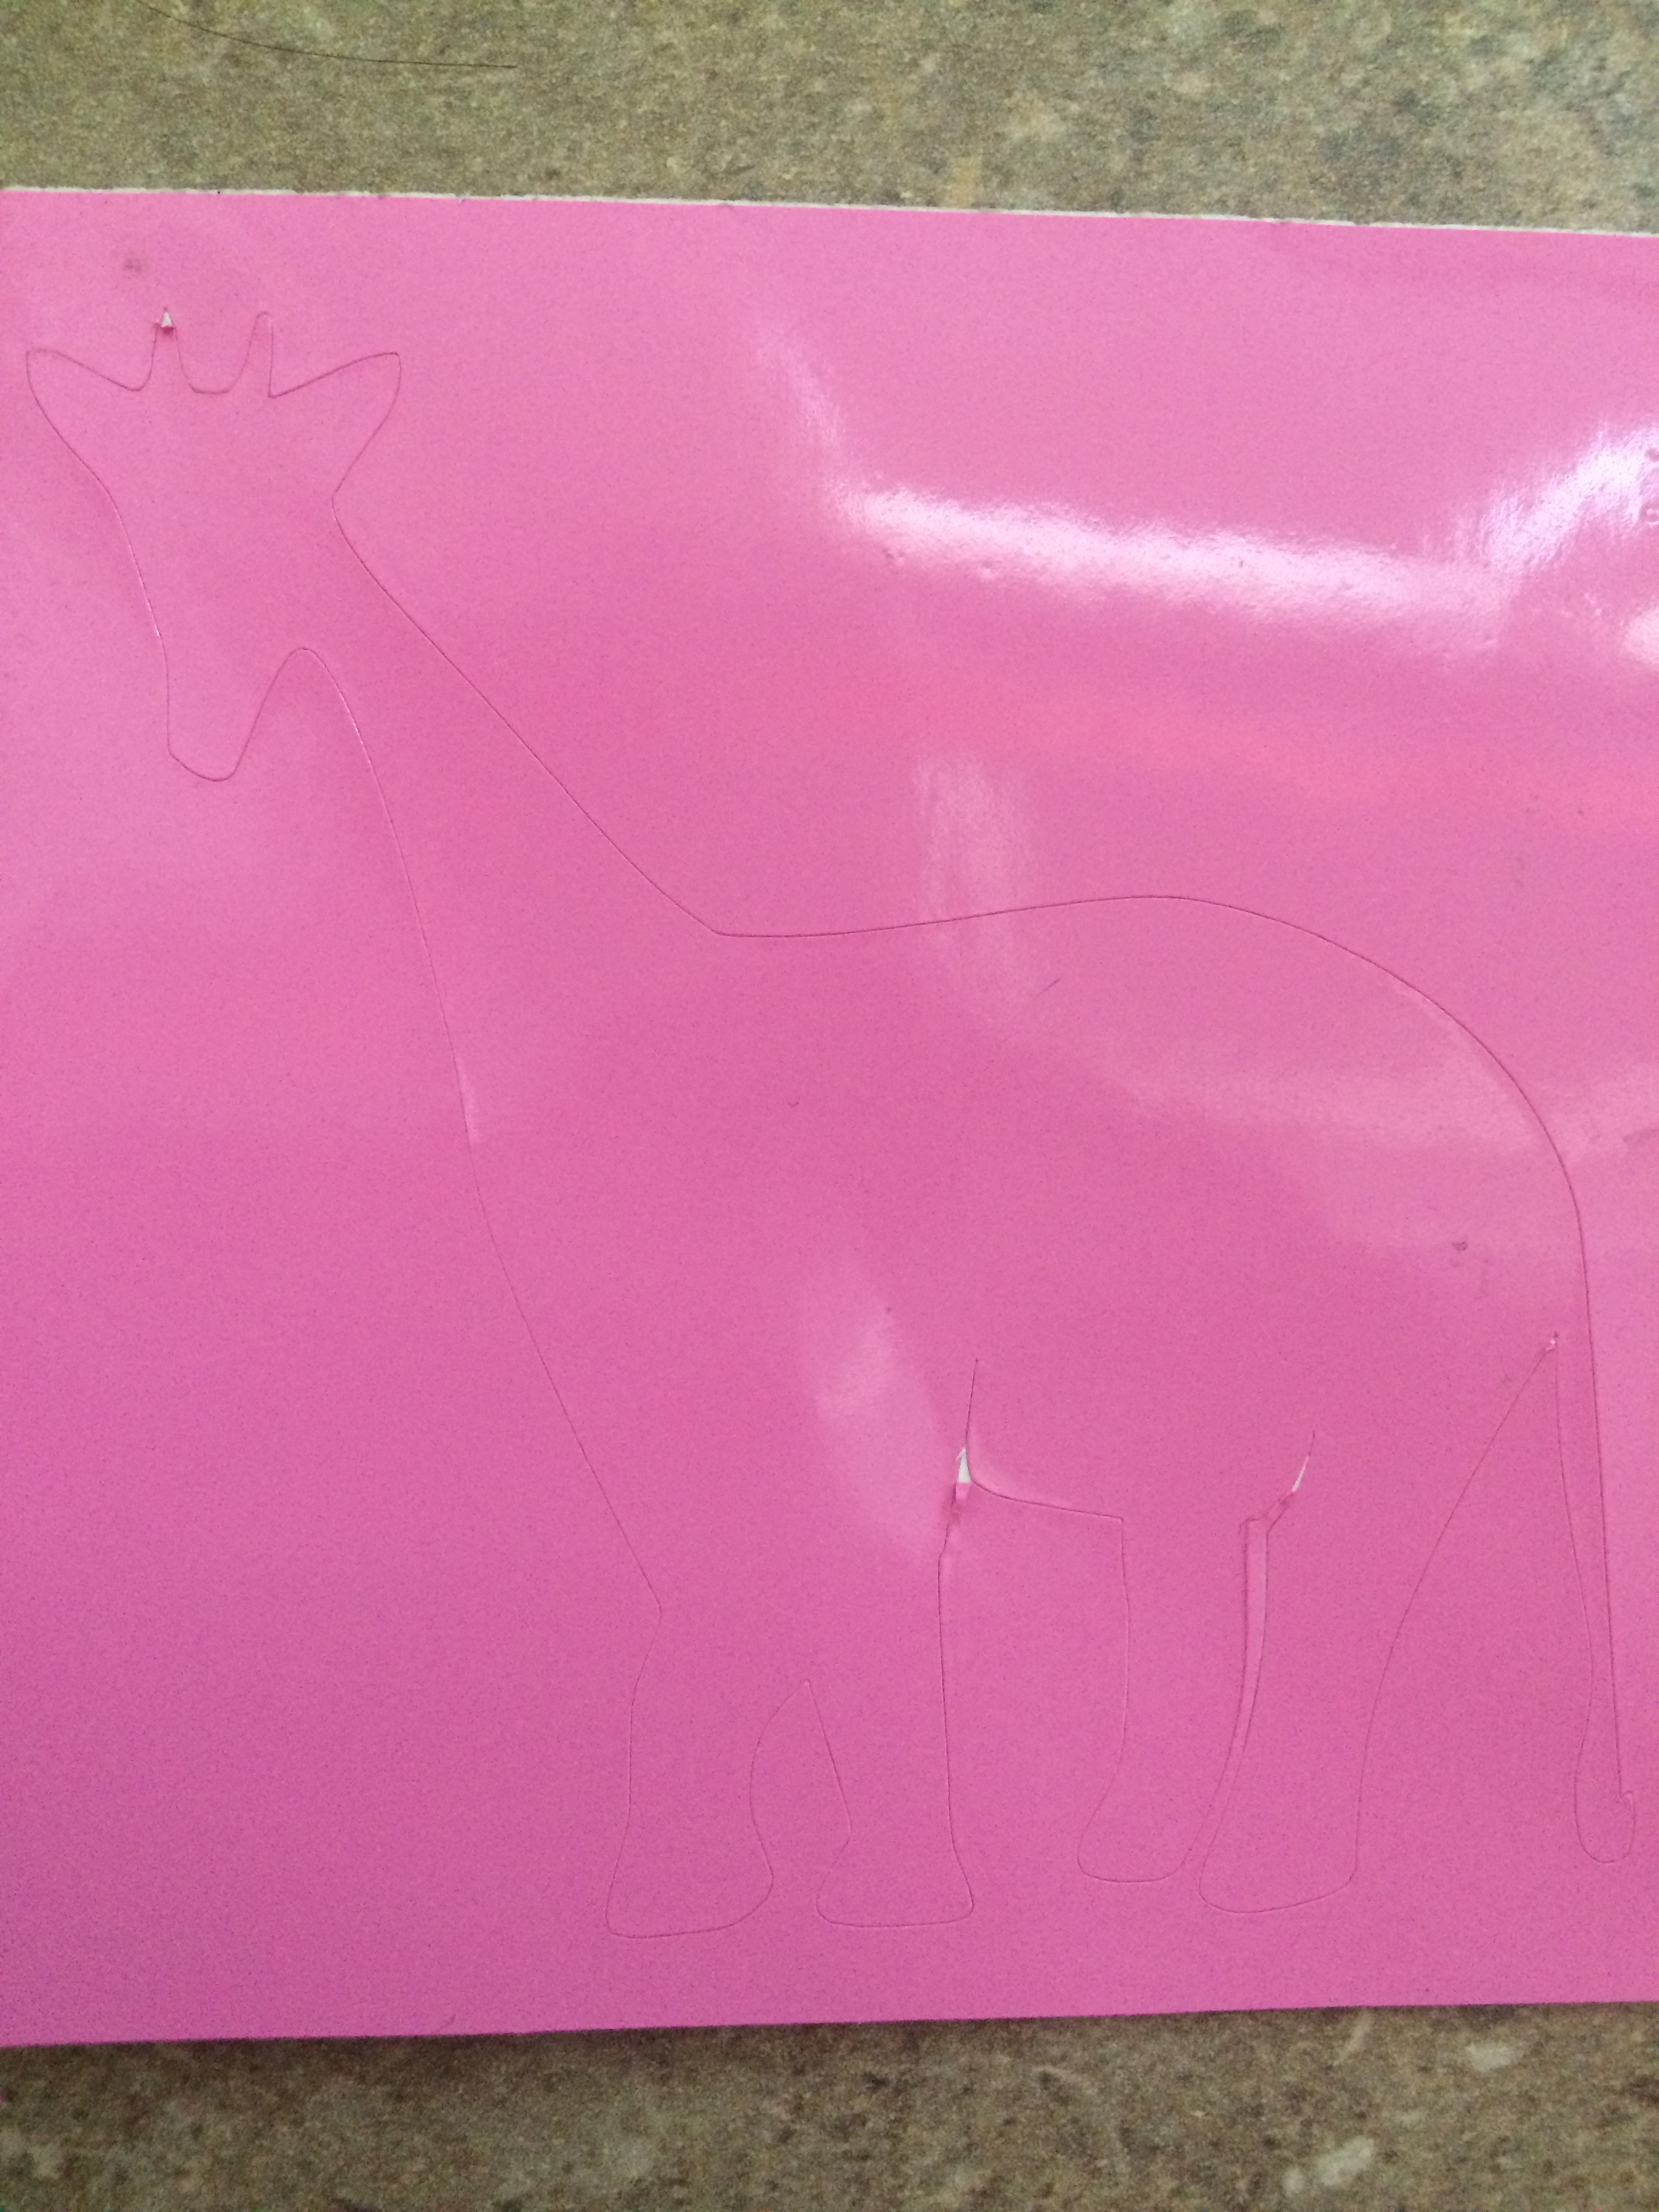
I wasn’t too pleased with my design, and I never even peeled the sticker off. (It was pretty lame compared to some of the other creatures that my classmates created.) But I decided with the remaining time left of the session that I would print out a better design that I would be proud to show off. I went with a school spirit filled design. It took two tries to cut properly because I did not set up the machine correct the first try, but I am very pleased with the results!
Here is my design and sticker:
I placed my sticker in my journal so I could keep them together. I am so glad that I got the chance to use the laser engraver and electronic cutter this week. I learned a lot and had a great time in the lab. I can’t wait to see what next week will bring!