
After soldering Arduino circuit last week, we came to the Fablab the second time this week for the next stage of our project. Arduino circuit is an internal function unit of our project and we successfully made it last week. This week, our goal was to design an exterior shell for the project. First thing first, we needed to design the patterns or pictures with the help of the open-source software Inkscape. Inkscape was quite user-friendly and we were able to use the basic functionalities to design our own work after listening the short demonstration shown by the instructors at the FabLab. Basically, we would import our favorable pictures from the Internet to Inkscape and then trace the picture so that the picture would have been transformed into the vectors. The transformed pictures could allow the users to precisely adjust the pictures points by points.
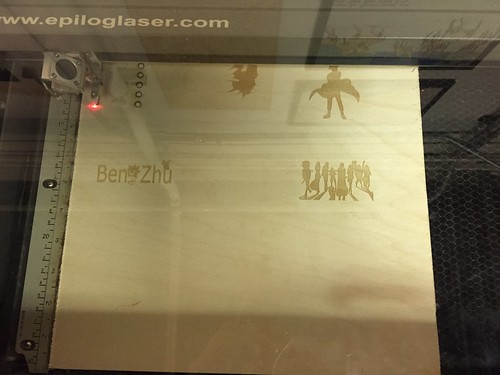
The container consisted of 6 pieces of wooden board. Thus, we designed the size and shape of each wooden board on Internet. After importing the board outline into the Inkscape, we would place our customized imagines into each board. By default, we set color in RBG mode with 255 for Red and 0.001 m for the size of cut. We had to ensure that these parameters were definitely correct so that the laser cutter could precisely conduct the objects we designed. As you can tell from the picture below, I am a big fan of comic. The images I chose were Batman, Naruto, Pokemon, and Onepiece.
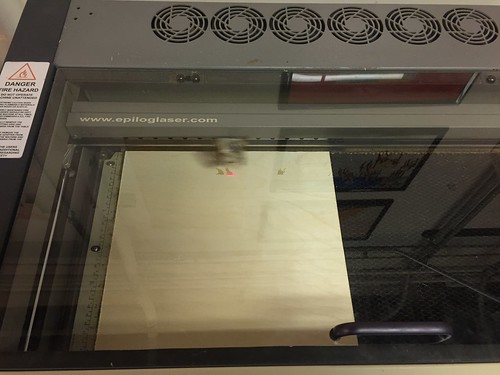
Although the laser printer was efficient at producing customized artwork, we only had two laser printers while 8 objects needed to be printed. Thus, I waited for almost 15 minutes before the printer started to print my own object. I was so excited when seeing my design printed into physical objects. Now, I had the internal circuits and external containers. Next Monday, I would learn how to code and import a program into the circuits. I can’t wait to see my final project when I finished all of the three different but inter-related parts.
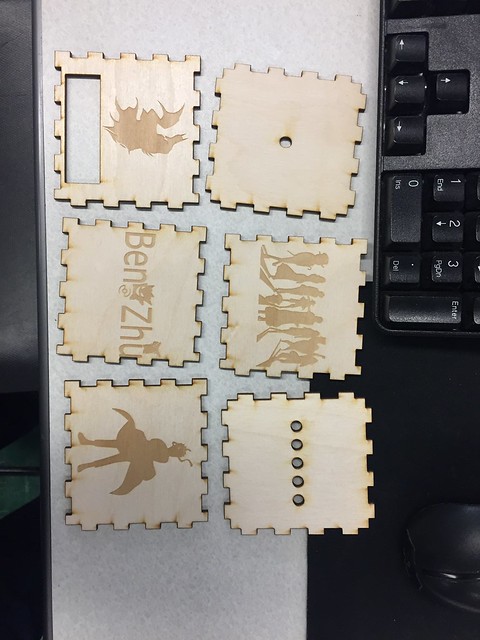
I really like all of the designs you chose for your panels, especially the one with your name. Incorporating the Gengar was really neat. It’s amazing how accurate these machines are to the point where anyone can recognize your pictures that you selected. I’m also really looking forward to next week where we can combine all 3 sessions together into a working box.