As we are continuing on through the semester, we trekked over to the South Quad for another class day spent at the Champaign-Urbana Community Fab Lab. Last week, I was able to practice soldering in the electronics section working to piece together the wiring and LED’s for the light sensitive blink box. This week, I was able to try out laser engraving in the back of the Fab Lab.
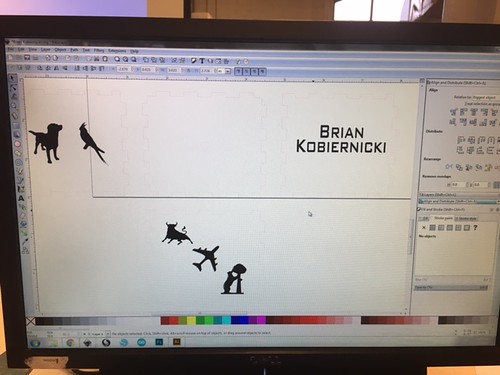
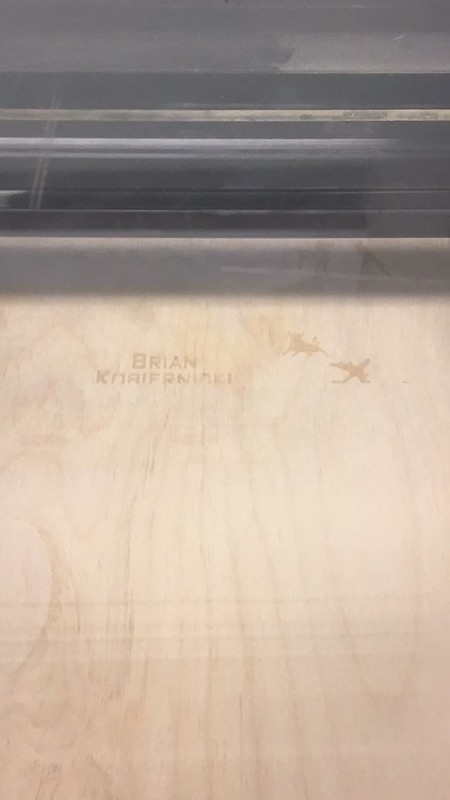
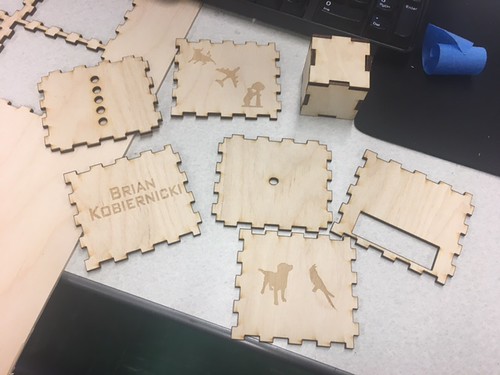
The objective of this week was to make the wood box that would house our blinker box. Helping our group along the way were Alexis Papak and Clinton Gandy. Alexis and Clinton gave us a great tutorial of Inkscape, the software that we used to design our boxes. Inkscape is a free, open source program that is very easy to use. We downloaded a template from the Internet for the press-fit box, but we had to make some changes to ensure the laser could cut the wood properly. For the laser to cut through the wood, we had to format the lines to be red and .001mm thickness. Then we learned how to format images correctly. We were able to take silhouettes from Google Image and use Inkscape to trace their paths to ensure only the actual design was engraved. We were allowed to decorate the boxes however we wanted, but I kept mine relatively simple. However, it did spark my interest in little projects I could make myself. Once I finished my design, Alexis double-checked that all the lines and images were within specification and I saved it to take to the laser. Clinton helped load the file onto the computer where we made some final adjustments to the settings and sent it away. The Fab Lab has two lasers, and I used the Universal Laser Systems X-600, which reads PDF files to make the cuts. After resetting the origin and turning on the ventilation to prevent fires, I started the laser and away it went. The laser first etched all the images from the designs, going back and forth like a 3D or traditional Inkjet printer, then made the actual cuts very quickly. Once it was finished I was able to pick it up right away and take my pieces back to my desk.
This week, I found another Instructables article with tips and tricks of designing for laser engraving. The post offers some “inside tips” on how to achieve the best outcomes. Like 3D printing, you have to pay attention to some pretty small details to make sure your design turns out as planned. I also found this collection of open designs. While we don’t need any more designs for the blinker boxes, they may be useful for our group projects or even personal uses.
Because we used a template, the box wasn’t tight enough to press together and hold so I will need to use glue when assembling the box. However, I could still assemble it to see how it will stand together with the LED’s and Arduino inside. For our semester project, my group can make a housing with a press-fit box and engrave designs onto it, or make a storage box to keep it in. I am excited to see how my team would be able to use the laser for our project. Next week we will move onto the coding section and I am exited to get that experience in our final week at the Fab Lab.


Hi Brian,
Great post detailing what laser engraving is, its entire process, and providing a picture of your end product. I just had this session today and I agree that it’s really refreshing and definitely sparked my interest in making something for my personal enjoyment. Also, thanks for sharing that article from Instructables on tips for laser engraving. I think the masking tape idea is a good one since my box did end up with some smoky edges. I actually found a few cool LED projects such as an LED umbrella on that same website which I had included in my post last week. Nice work!