
The time flies so fast! We only have one month before ending this semester. Now, it is time for us to utilize what we have learnt in the first half of the semester and realize our ideas with the power of 3D printing. I am in the team XNihilo. We plan to design a fitbit wristband attachment that can detect hydration levels from the skin. When the user dehydrates too much, the wristband attachment could flash to remind the user to drink water.
Yes, it sounds complicated and none of us has much engineering background. However, with the support from the Fab lab, we want to do our best to see whether we can make it.

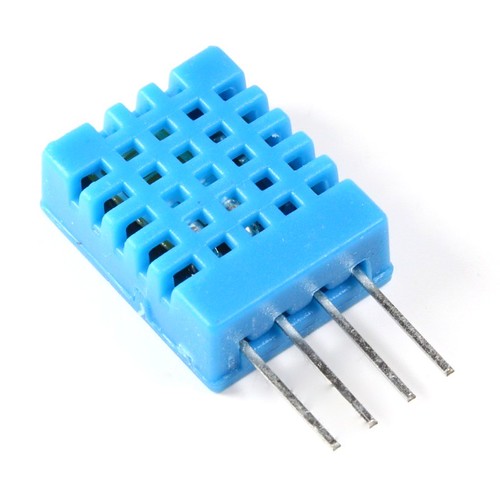
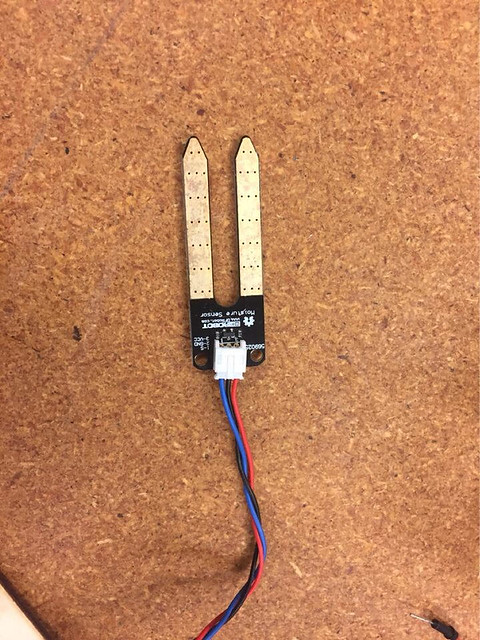
At the very beginning, we thought that we need to use a humidity sensor that is compatible with the Arduino platform. Thus, we did a substantial amount of online research and found some promising sensors. One of the sensors I found is DHT 11. DHT 11 is an ideal sensor for our project because it can precisely detect the hydration level of the skin and the size is small enough to be installed on a wristband. Then, we went to the Fab lab to check whether we could get DHT 11 or other similar hydration sensor directly from the lab.
We met Brandon at the Fab lab and explained our idea to him. To our surprise, Brandon mentioned that we might not need to use the humidity sensor if we only wanted to detect the hydration level of the skin. We could use a very simple circuit to test the resistance on the skin. If the skin was wet, then the resistance should be lower; if the skin was dry, the resistance should be higher. Comparing the size of a humidity sensor to a simple circuit, we decided to try the circuit first. If it did not work, we could still use the humidity sensor.
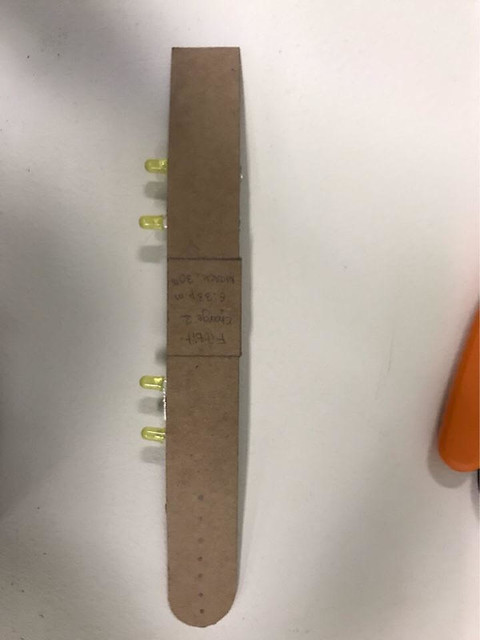
After we determined the solution of how to detect the humidity level of the skin, we needed to set up a proper distance between the positive and negative coil we placed on the skin. If the distance was too large, the sensor would not be precise enough; if the distance was too small, the resistance would always be low. Therefore, it was time to do a scientific experiment. We wrote down four distance that we wanted to test. As you can see from the picture below, the distance are 15, 10, 5, 2 mm. Then, we placed the coils based on the distance we set up on Ana’s arm. We connected the coil to the circuit one by one and we selected four most frequent numbers displayed on the screen.
| Data Set | |||||||
| SD | |||||||
| Skin 1 | 331 | 327 | 329 | 317 | 6.218253 | ||
| Skin 2 | 295 | 288 | 277 | 286 | 7.416198 | ||
| Skin 3 | 354 | 323 | 321 | 317 | 17.01715 | ||
| Skin 4 | 318 | 315 | 317 | 310 | 3.559026 |
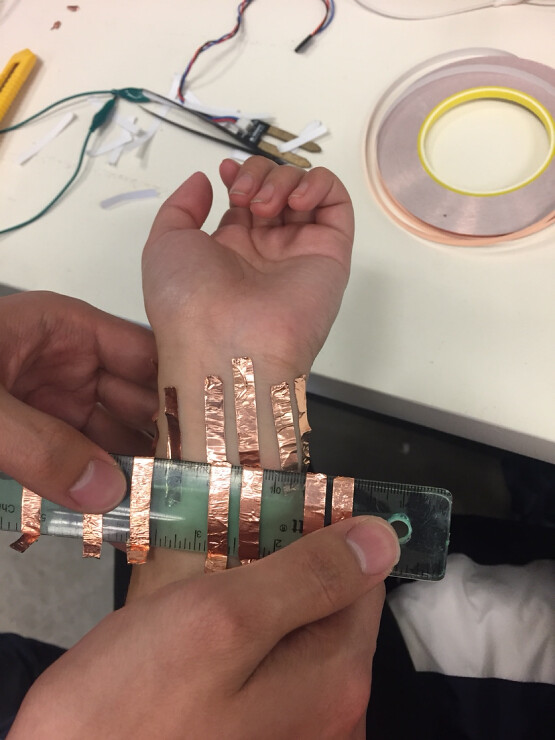
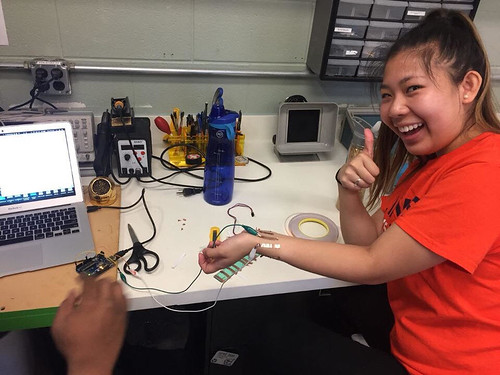
Because we want to select the distance that can work stably, we calculated the standard deviation of the data we collected. The SD of distance Four(2mm) was the smallest, so we chose 2 mm distance for our humidity sensor simulation circuit. To give our classmates and professor Vishal an idea of what we would make, we did a super simple prototype, a cardboard warp. In this upcoming week, we plan to use the 3D printer to make a solid wrap and improve our circuit.
Hey Ben,
I’m real glad to see your progress and hard work. You’re project is continually looking more feasible with the a physical prototype. Visualization definitely helps but even more does your statistics from the testing! Looking forward to seeing your coming progress and project
Hi Ben,
I really enjoyed watching the process of how your team had solved different issues and came up with the first prototype. It’s really easy to visualize how your process is going and I’m glad that all of you are able to learn on the way especially through great resources like the FabLab. Can’t wait to see how your group ends up designing the product to be more compact for the user!