Reflecting on this week, it’s been pulling together the final parts of quite a few pieces that I’ve been having a hand at: a bit of “this and that”, and a few mini-projects along the way.
I recently came across the concept of coin traps, and used Fusion360 again (Ready, Steady GO! for my first shot at Fusion360), to design one that would fit a dime. These are great for demonstrating the additive nature of 3D printing, because you have to pause your print part way through to add in the coin, before allowing it to continue and create the enclosing case around the coin.
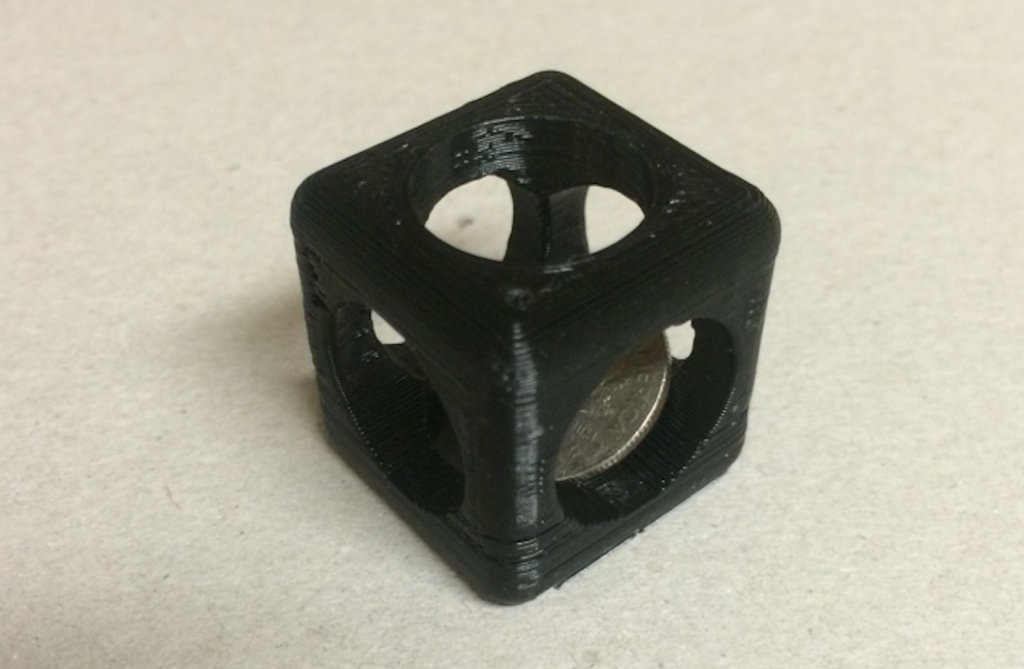
I CAD-ed up my own model of this to practice some dimensioning and to see how many steps it takes- 18! (a handful of those are just chamfering the edges). My design is for a 17mm diameter coin. This can easily be scaled up and down when using Cura, to create coin traps of different sizes.
A throwback to one of my earliest posts Beauty in Equations, I found this blog recently of 365 days of prints, ‘a print a day’, and it demonstrates a interesting selection of mathematical prints:
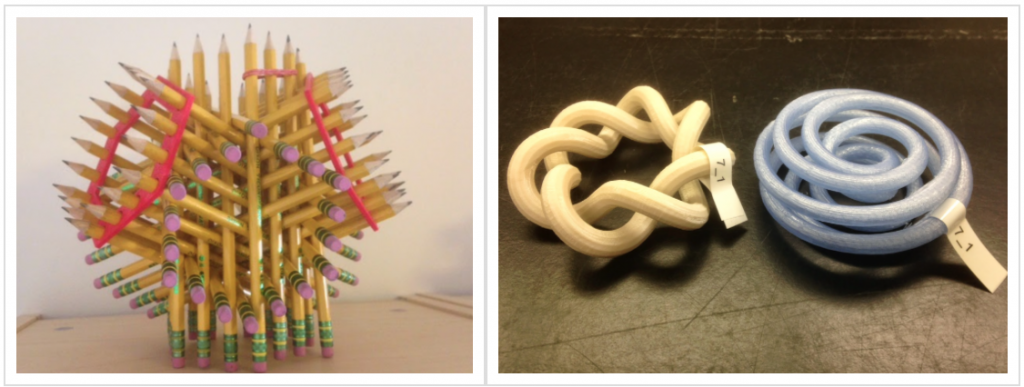
1) pencil sculpture created through using 3d printed supports 2) knotty mathematical shapes
3) trefoil knots as a 3D puzzle 4) demonstration of stereographic projection
(mathsy explanation of stereographic projection here!)
The blogger uses a special program to conceptualise the mathematical models, before converting them to .stl files for 3D printing.
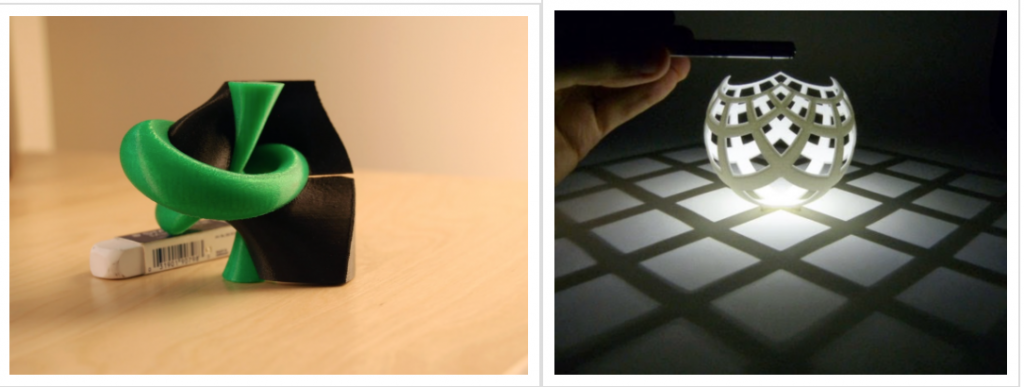
In my post on 3D printing (Getting going, lets 3D print!), I highlighted some fun things that can be designed and printed using PLA 3D printing.
Here’s my own take on one of them. It’s a key-hanging device, designed in Fusion360 and printed at the Illinois Makerlab:
<photo>
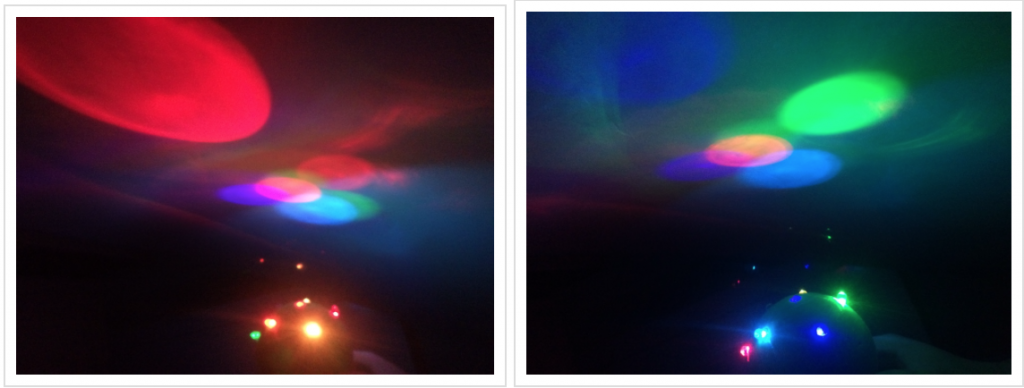
More recently when we started playing around with electronics, I procured a few extra components and have made my own LED lamp.
The base structure was created in Fusion360, and printed using supports to maintain the dome structure.
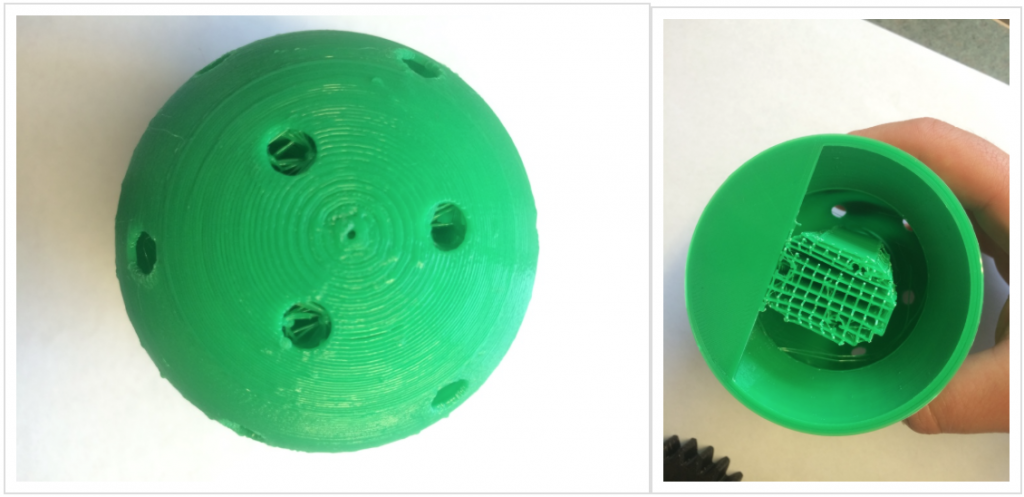
A breadboard frame would have been easier, but I’ve used cardboard for basic LED positioning.
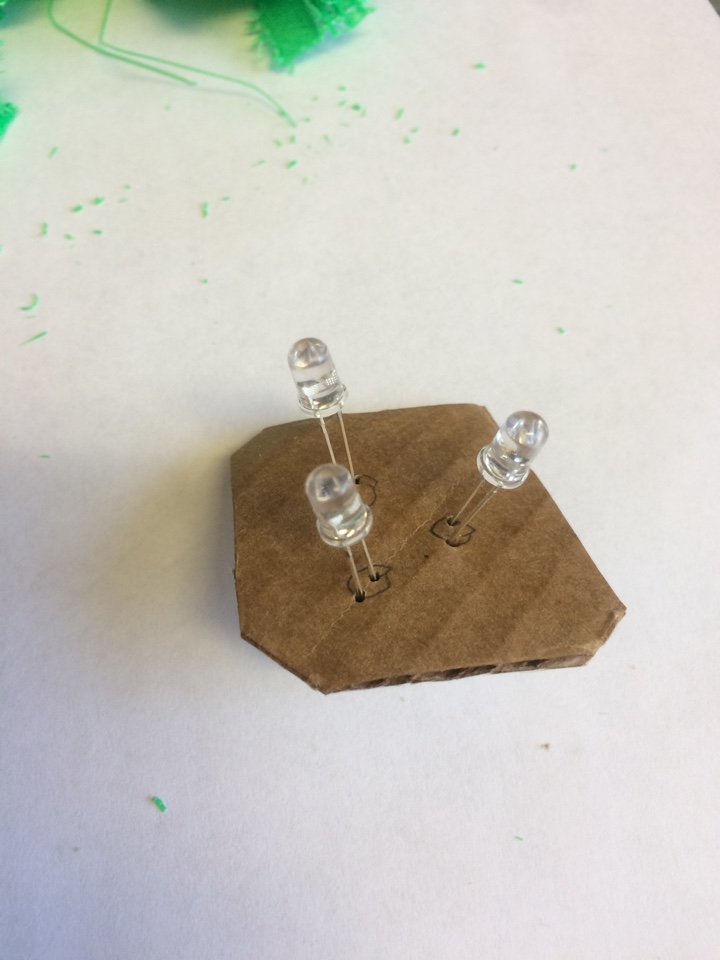
The rest of the innards are held together with a combination of electrical tape, sticky tape and white tack.
End result worked out ok though!