
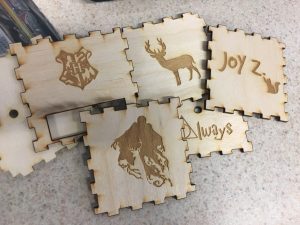
This is the second lesson that we take in the C-U Community Fab Lab. This week, I picked up the laser engraved wood board and learned coding with Arduino.
In the past, I had very limited exposure to coding. I coded in my freshman year in JavaScript and this semester in SQL, while neither of these experiences were related to electric modules outside of the computer. Therefore, I’m really excited for this opportunity to transform code written on the screen to the Arduino unit that I can see and touch.
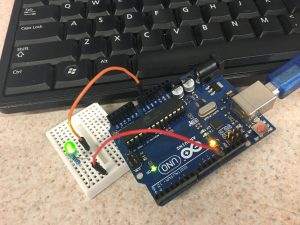
We established a basic understanding in coding with Arduino by controlling one LED unit on the board. We first connected the LED with the Arduino board, and then connected it with the computer. One thing needs attention is that each LED has a positive polar and a negative polar, suggested by a longer leg and a shorter leg. In order for it to work, you need to have those legs in the right place.
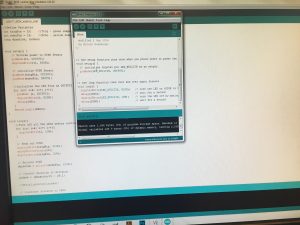
Then we opened the Arduino coding software and tested it with demonstrative code. Through reading and testing the code, we learned how to control the LED light by using three demand: high voltage, low voltage, and delay. By combining these three demands, we are able to turn the LED on and off, or keep it on and off. After learning how code and Arduino works, we further explored coding by completing a simple task: using the light to convey the Morse code of SOS.
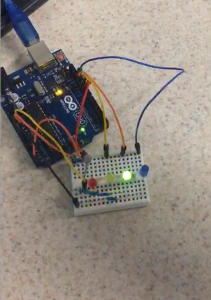
Then we started to test build the circuit for the Light Box, which we will be completing in the next lesson. For the Light Box circuit, we have five LED lights reacting to the distance. Connecting five LED lights and a distance sensing unit to the board is nothing more difficult than connecting one, except for requiring more patience. However, the code became quite hard to understand. I feel lucky that we don’t have to build the entire code from scratch. To understand how does the distance sensing unit works, I opened up the log in software and saw the output from the distance sensing unit. The distance it sensed was transformed to numbers and refreshed (supposedly) in every millisecond.
From this lesson, I gained great experience learning to code and see the output. It’s interesting to see what’s behind the board and how does the distance sensing units work. For our group’s term project, we were thinking about using Arduino when building the prototype. In the next lesson, I’m going to learn soldering the circuit board, and I believe it will be helpful for our term project as well.