This week is where we put together the culmination of our new found maker knowledge. We are to finally design the dehydration wristband fit bit attachment. In class, we had 3 hours to work on prototypes, create initial crude prototypes or detailed sketches, start work on any CAD design required, create Final Bill of materials/order or source any parts required, establish contact with any human resource required for the project, finalize information resources for the project, and review work allocations among team members.
We had definitely found research to prove the feasibility of our project in the weeks prior and we also know that people have created an extremely accurate hydration sensor before according to this article. Although we knew that this technology existed, we weren’t able to find the same sensor for sale. So we looked and found a sensor for moisture and heat online. Our next issue was designing the band and having all of our materials fit in one small space. We had known that we would be using Arduinos for our project but we had only seen the larger Arduinos that would not it on our band. With more research, we found out that there were smaller Arduinos that we could utilize. We discovered that we could use either a micro Arduino or a Lilypad which could work better on fabrics. We wanted to know which of these would be the best option for our design. To figure out what other materials we needed for our design, we took a trip to the CU FabLab to see what they could offer us in terms of materials and design advice.
Us on our way to the CU FabLab

CU Fab Lab in the Distance
Arriving at the FabLab we were greeted with some familiar faces ready to help us figure out hat our projects need. We approached Brandon, who was an ECE major and led the programming workshop for our class, he took interest in our project and agreed to be our contact and resource for this project. Brandon explained that they did have a lot of the materials which we need for the project. He showed us how small Arduinos can be and how they can fit on the Fitbit Charge 2 that we were modeling it after. Furthermore, he told us that we can made a moisture sensor in the lab instead of ordering one online. We made plans to meet with him in the FabLab on Thursday to do some work on our prototype, sensor and the project as a whole. The worries that we had immediately vanished. We knew what materials we were going to use, what design we were going to use, what we were going to do when we meet and who would be responsible for each job on the project.
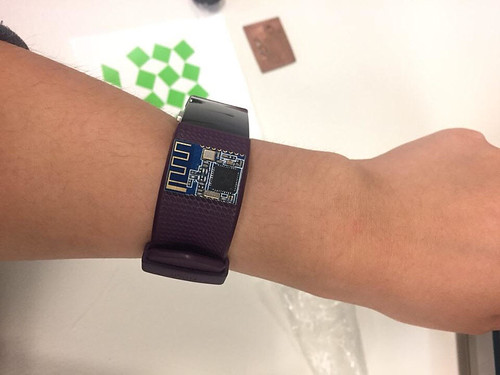
Size of the micro Arduino we would use compared to the FitBit wristband:
Here’s a summary of what we had decided on:
Materials: 3D printing filament, wires, LEDs, resistors, copper strips and a fitbit.
Jobs: Ana – coding and test subject, Ben – soldering and research, Anjali – Design on fusion. We also had all agreed to collaborate to get the project done in the FabLAb with Brandon and help each other out when help was needed.
Here’s a summary of what had happened after class on Monday:
Wednesday – Met up with Anjali at the MakerLab in the BIF to try to scan the current wristband attachment for Fitbit. We found out that it would just be easier to design the band as one long strip instead of two separate attachments and that designing on Fusion 360 would be easier than to scan the bands. We had found a downloadable link on Thingiverse for a Fitbit wristband attachment which we could edit to fit the Fitbit model which we had (Fitbit Charge 2)
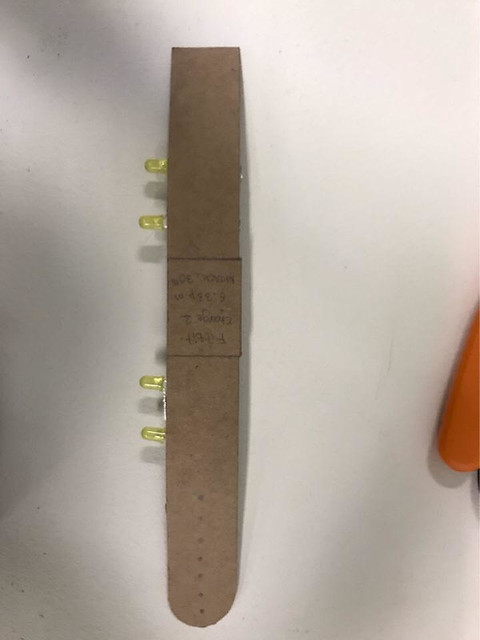
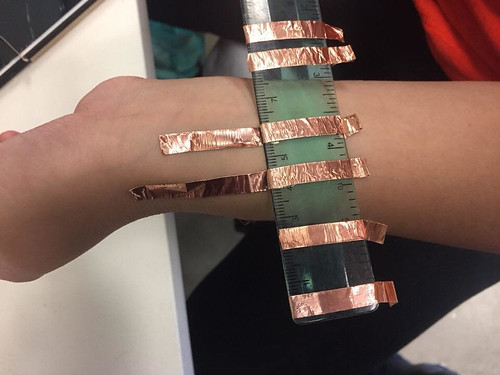
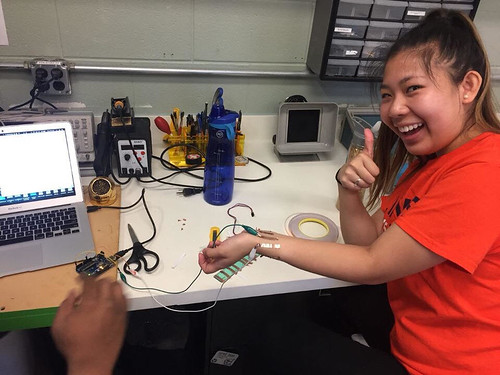
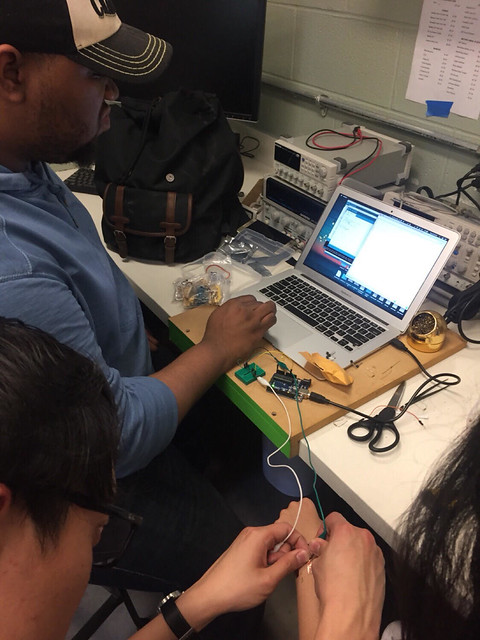
Thursday – The whole team met up with Brandon at 5pm at the CU FabLab to work on our prototype for monday. We decided to use a cardboard material instead of the 3D wristband because we had not had time to edit and print the design we saw. However, during this meeting we had decided to solder some LEDs and wire and start testing out how we would like to create the moisture sensor with the copper strips. We measured out different distances to see which would pick up the most activity. The strips on the ruler was our control because there should be no moisture on it, and my skin was the experimental factor. We kept running some tests before time ran out and we went home. However, we at least had an idea of what we were going to do in the weeks going forward. In the next few weeks we plan to meet with Brian to figure out how to put together the sensor and work on the design overall with the 3D printed wristband.
Here’s some visuals of our time in the Fablab:
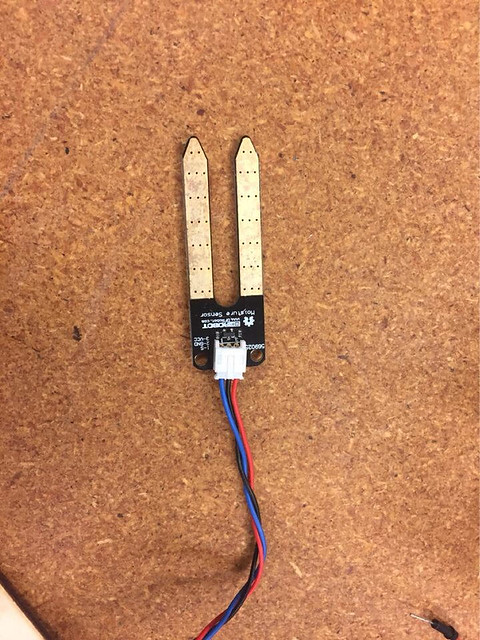
Sensor we are modeling our moisture sensor after
Control on ruler compared to skin
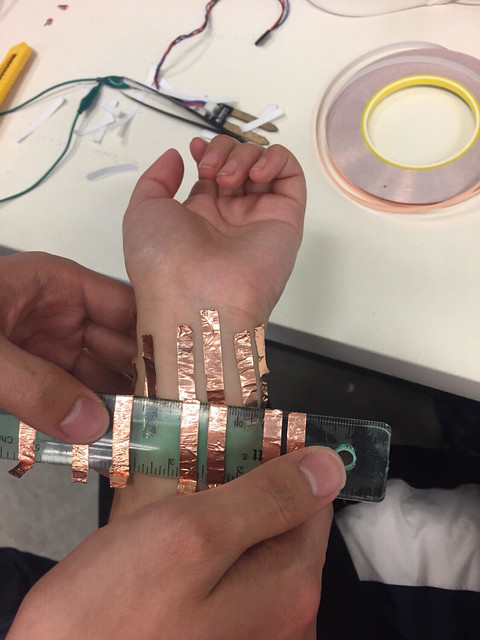
Skin Experiment
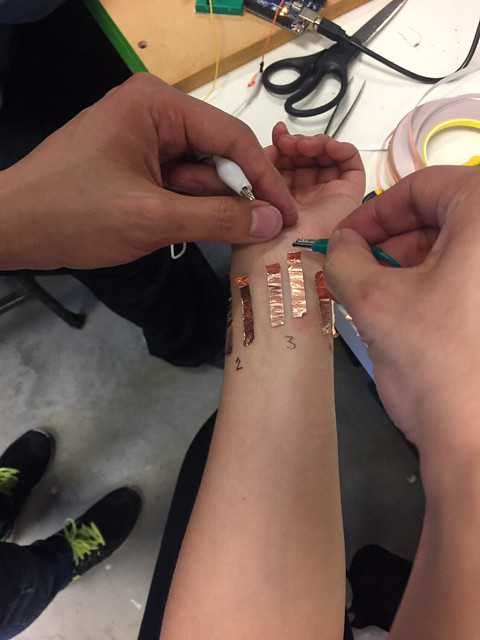
Testing out the sensors
Cardboard Prototype