
This week, we headed back to the MakerLab to continue working on our final projects. Beforehand, though, we given a demonstration of another technique for creating 3D objects and also could maybe be incorporated into our final projects: 3D scanning. By utilizing a digital scanner, one can scan any object or even their own bust for modeling and printing. I can see how this method could be used in some of the class projects, but my group will most likely not need it. So after the demonstration and some toying around with it, we got back to work.
3D scanning is based on using specially designed scanners to scan every inch of an object, which computer software then pieces together to create a 3D model. The two types of scanners we were introduced to were desktop and mobile scanners. The desktop scanner was composed of a special laser device with a rotating plate that would allow for a 360 degree view of an object. The mobile version was a smaller and more compact device that attached to an iPad camera. The iPad version seemed to be more reliable as a person could freely move around the object or person they were scanning to get an accurate impression. The desktop scanner does work, but can be pretty ineffective at times. It is easily skewed by darker objects, or those with “hidden” features that can’t easily be detected, such as if one portion of the object blocks another. Shadows are also an issue as well, so its recommended that the objects scanned be completely white is possible. After the objects are scanned, they are imported as a model into software where a user can edit the model for errors or just make adjustments if desired. When done under good circumstances, the results can be quite astounding. They may not be perfect, but the 3D printed busts created by these scans are very recognizable. 3D scanning for consumer use still needs some development, but the current state of it certainly shows its potential.
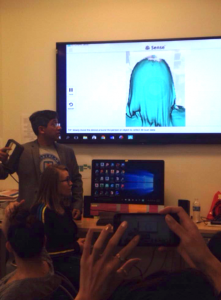 Scanning demonstration
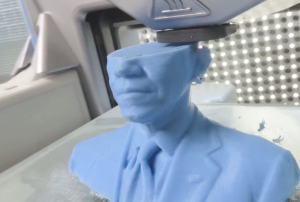 Example of a bust during printing
The process on everyone’s final projects seems to be going well, everyone is either in the process of prototyping or are making adjustments based on their last development. We created our first model and attempted to churn out a print for testing, but the extruder unfortunately malfunctioned about half way through. Not all was lost, however, as the basic shape and size of the print are we really wanted to test. Some adjustments definitely need to be made, but that was to be expected. Things may not be necessarily going as smoothly as hoped for, but the direction and goal of the project is definitely clear. We’ve got plenty of work to do in terms of processing and testing, but the final result will surely be worth it.
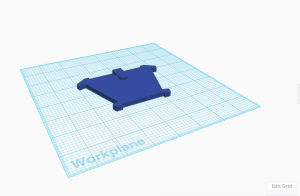 1st edition prototype model of our “Tie Helper” in TinkerCAD
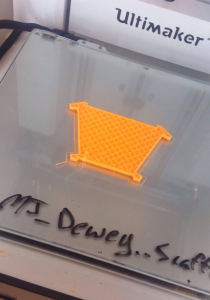 What the printed managed to create before failing
Hi Brian,
I agree, the 3D scanning technology still leaves much to be desired. It can often be fickle and requires strong lighting, among other criteria. I also agree that Team MakerLax is encountering a few challenges, however I hope today we are able to iron out some of the details!
Hi Brian, I think the lesson on 3D scanning was definitely very informative. As you mentioned, we were able to see some of the shortcomings of different scanning methods but were also able to learn different ways to ensure higher quality scans. I also liked how you talked about the problems your team is facing right now. It highlights the benefits of rapid prototyping. What you have now can still be far from the final product as long as your able to test the basic functionality. With 3D printing it is so easy to test, redesign, and retest. I’m looking forward to seeing your final project.