Installing python
We will use the anaconda python stack, which is a commercial product of Continuum Analytics, Inc. It is free for use in education and research. We will be using python version 3.5 in this course. gordon is a 64-bit linux cluster, so we need that version (there are versions for OS X and Windows as well).
To obtain the software for linux, log into gordon, and copy the linux 64 bit python 3.5 download link from the Anaconda web site, and type
wget [URL copied from anaconda site]
To install the software
bash [name of file downloaded in the previous step ending in .sh]
Follow all of the instructions and default answers for questions. Congratulations you have a basic python installation!
adding packages to your anaconda environment
Python is a programming language on its own, but there are many packages that can be installed to greatly enhance the capabilities of python. There are at least 4 ways to install these packages (in increasing order of ‘cowboyness’)
- conda – this is the easiest way, where you download pre-compiled binaries from packages configured for anaconda python, however not all packages are available
- pip – downloads and compiles python packages
- easy_install – not the ‘easiest’, but also can install packages
- download the source code, install yourself – requires a bit of familiarness with unix and how to install python packages in your environment
In this course, we will use the first two.
To prepare your environment for this class, we need to install some packages. The first one is called xray, which enables easy reading and writing of netCDF files. Installing is quite easy using conda, and it handles all the dependencies:
conda install xarray
Answer yes, and you’re all set. You can install more than one package at a time:
conda install pandas geos shapely proj.4 gdal pillow
Some packages are not available in the conda environment, so we then use pip
First update pip itself (using conda)
conda update pip
Now we can use pip
pip install pyshp
pip install pyepsg
pip install cartopy
Now you should have some nice packages for mapping and plotting WRF output.
Interacting with python on gordon
For light processing, we can run python on the login node of gordon. Later, for more heavy lifting, we will run code on the cluster nodes. We will worry about how to configure that later.
We will be using jupyter notebook to interact with iPython on gordon. You can set up the same thing on keeling if you wish. jupyter notebook enables you to interact with code through a web browser. This can be done locally (if you install python on your local computer, or remotely (in this case on gordon) and display the code, results, figures, etc. on your local web browser. This way, you can harness the power of the more powerful remote computer, yet have the responsiveness and interactivity of your local machine. All you need is internet access (with keeling, if you are off campus, you need to be logged into the VPN).
To set this up, we will use ssh tunneling and port forwarding – which will set up an encrypted data connection between your machine and the remote server.
On the mac, this is done at a terminal window. On a pc, putty can be configured to set up a ssh tunnel.
Here are the steps:
- Come up with a port number that you will use. It has to be greater that 1024 – usually I use something in the 8000-9000 range since firewalls usually don’t block these ports. Remember this number, and replace PORT with it below.
- ssh into the remote computer (gordon.sdsc.edu). Note that this puts you onto one of the login nodes (ln[1-4]). You will need this node below.
- Start iPython. PORT is replaced with the number you came up with in Step 1.
ipython notebook --no-browser --port=PORT --ip=* - Now, start an ssh tunnel to the same login node that you logged into in step 2 from your local computer, replacing PORT again. Windows users need to set up a putty session to do port forwarding. Follow the directions here, and enter your PORT where required.
On a mac, type the following into a terminal window. It will look like you are just ssh’ing, but it is forwarding the port as long as that ssh session is running.ssh gordon-ln[1-4].sdsc.edu -L PORT:localhost:PORT
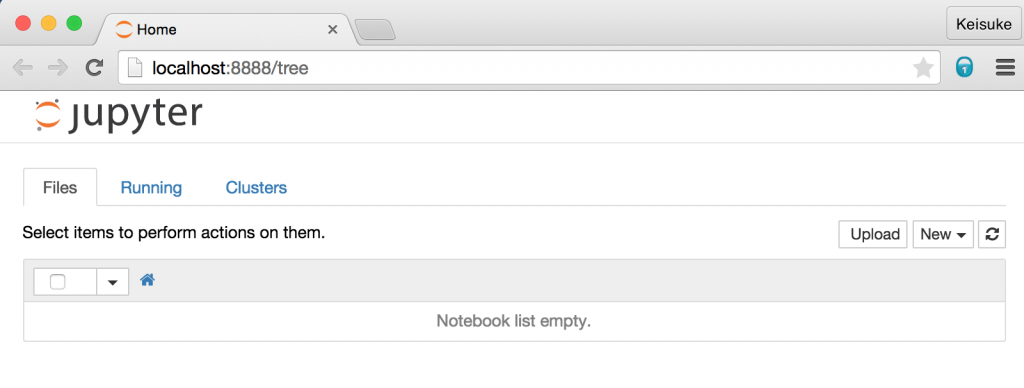
Now, open your local web browser, and go to http://localhost:PORT
You should see this:
Now you are all set to try out some interactive python!
If you want a quick video introduction to using jupyter with python (it also works with other languages such as R), check out this video.